Introduction
Switching to a new iPhone is an exciting experience, but it often involves the essential task of changing the SIM card to ensure seamless connectivity. Whether you've upgraded to the latest model or simply need to replace a lost or damaged device, transferring your SIM card to the new iPhone is a crucial step in the process. This comprehensive guide will walk you through the necessary steps to successfully change the SIM card in your iPhone, ensuring that your new device is fully functional and ready to use.
Changing the SIM card in your iPhone involves several key steps, including backing up your old device, removing the SIM card, inserting it into the new iPhone, activating the new SIM card, and restoring your data. Each of these steps plays a crucial role in ensuring a smooth transition to your new device, allowing you to retain your existing phone number, contacts, and other essential data.
By following this guide, you'll gain the confidence to navigate the process with ease, empowering you to make a seamless transition to your new iPhone. Whether you're a tech-savvy individual or a newcomer to the world of mobile devices, this guide is designed to provide clear and concise instructions, allowing you to complete each step with confidence.
As you embark on this journey of transitioning to a new iPhone, remember that each step is an essential part of the process. From backing up your old device to activating the new SIM card, each action contributes to the successful transfer of your data and connectivity to your new iPhone. With this guide as your companion, you'll be equipped with the knowledge and understanding needed to accomplish this task efficiently and effectively.
Now, let's delve into the step-by-step process of changing the SIM card to a new iPhone, ensuring that you have all the information and guidance necessary to complete this transition smoothly. Let's begin with the first crucial step: backing up your old iPhone.
Step 1: Backing Up Your Old iPhone
Before embarking on the journey of transitioning to a new iPhone, it is crucial to safeguard your valuable data by backing up your old device. This step ensures that all your important information, including contacts, photos, apps, and settings, is securely stored and ready to be transferred to your new iPhone. Apple provides multiple options for backing up your iPhone, allowing you to choose the method that best suits your preferences and needs.
iCloud Backup
One of the most convenient ways to back up your old iPhone is through iCloud. To initiate an iCloud backup, ensure that your device is connected to a Wi-Fi network and plugged into a power source. Then, navigate to Settings, tap your name at the top of the screen, select iCloud, and choose iCloud Backup. From here, you can toggle the iCloud Backup option to enable automatic backups. Once activated, your iPhone will automatically back up to iCloud when it is connected to Wi-Fi, locked, and charging.
iTunes Backup
Alternatively, you can opt for an iTunes backup by connecting your iPhone to a computer with the latest version of iTunes installed. After connecting the device, open iTunes and select your iPhone. From the Summary tab, click "Back Up Now" to initiate a manual backup. This method stores a complete copy of your iPhone's data on your computer, providing an additional layer of security for your information.
Data Backup Considerations
Regardless of the backup method you choose, it's essential to ensure that your backup is up to date before proceeding with the SIM card transfer. This ensures that all your recent data and settings are included in the backup, allowing for a seamless transition to your new iPhone. Additionally, it's advisable to check that there is sufficient iCloud storage or available space on your computer to accommodate the backup.
By diligently backing up your old iPhone, you are taking a proactive step to safeguard your valuable data and ensure a smooth transition to your new device. With your data securely stored, you can proceed with confidence to the next step of transferring the SIM card to your new iPhone, knowing that your information is safe and ready to be restored.
The process of backing up your old iPhone is a critical foundation for the successful transition to a new device. By prioritizing this step, you are setting the stage for a seamless transfer of your data and settings, allowing you to embrace your new iPhone with confidence and peace of mind.
Step 2: Removing the SIM Card from Your Old iPhone
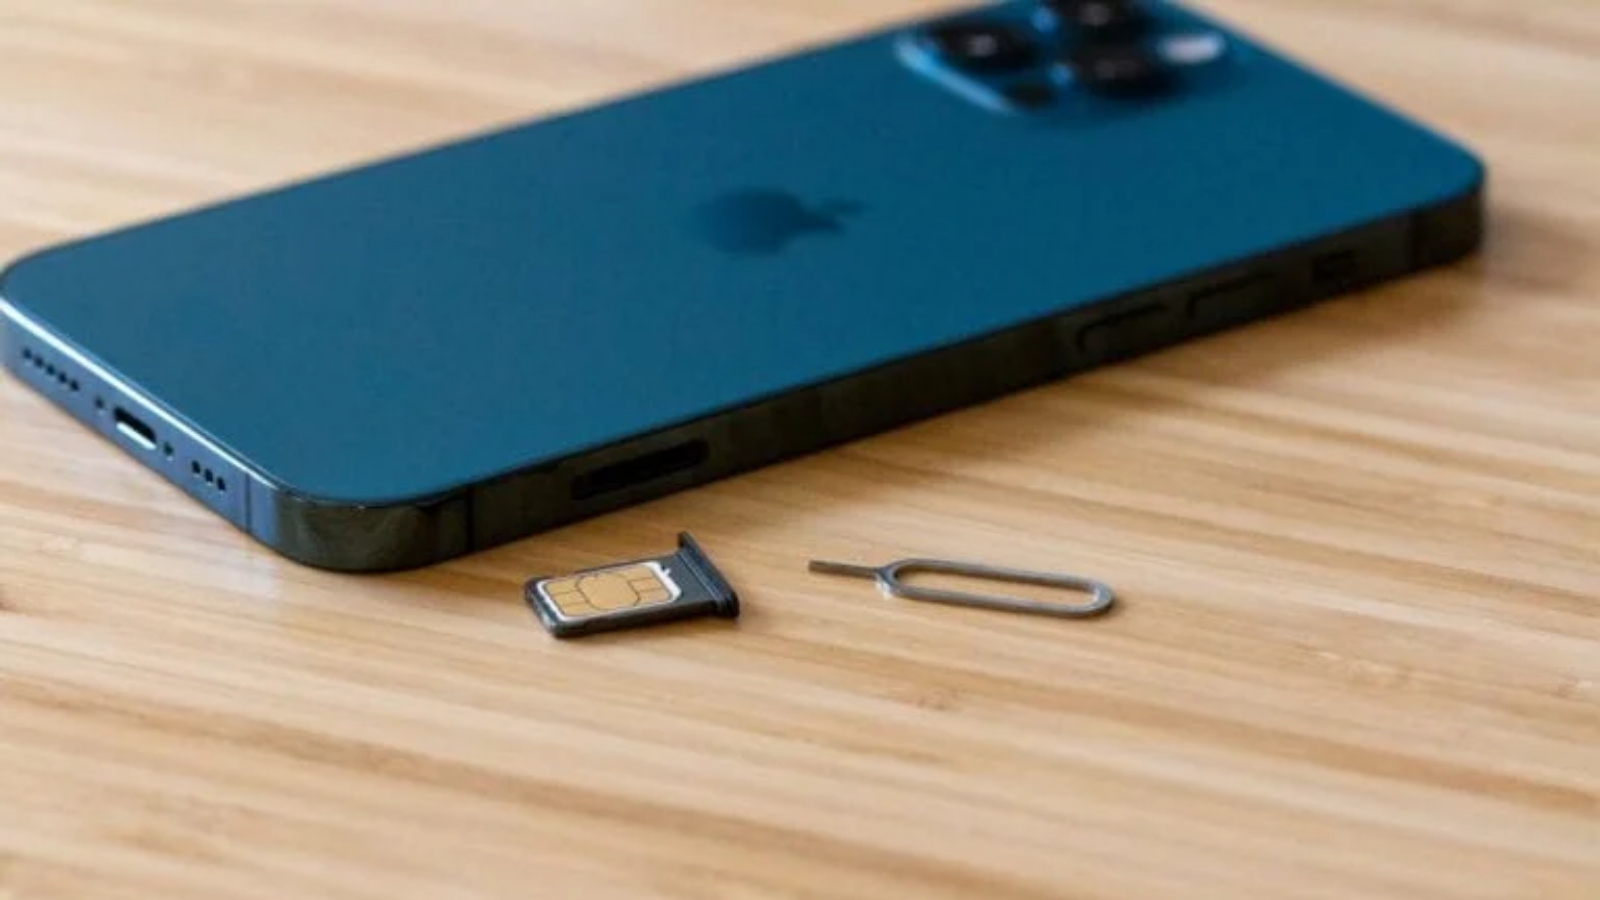
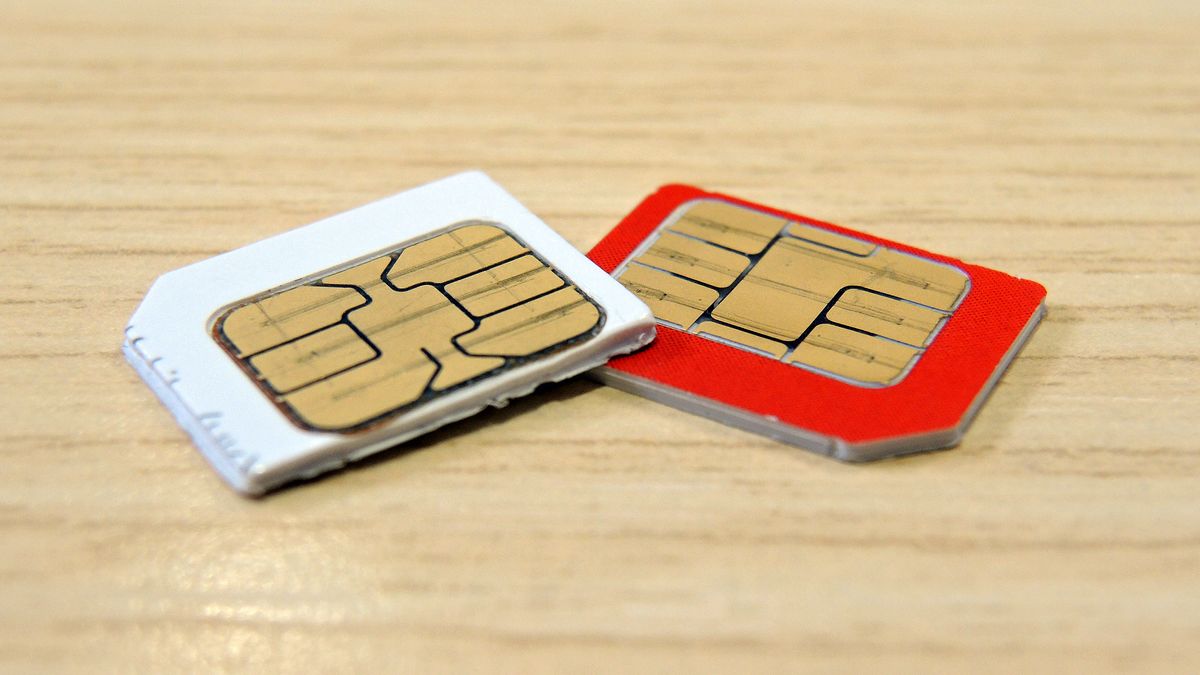
Removing the SIM card from your old iPhone is a pivotal step in the process of transitioning to a new device. The SIM card, which stands for Subscriber Identity Module, is a small, removable card that stores your phone number and allows you to connect to your wireless carrier's network. Before removing the SIM card, it's important to ensure that your old iPhone is powered off to prevent any potential damage to the device or the SIM card itself.
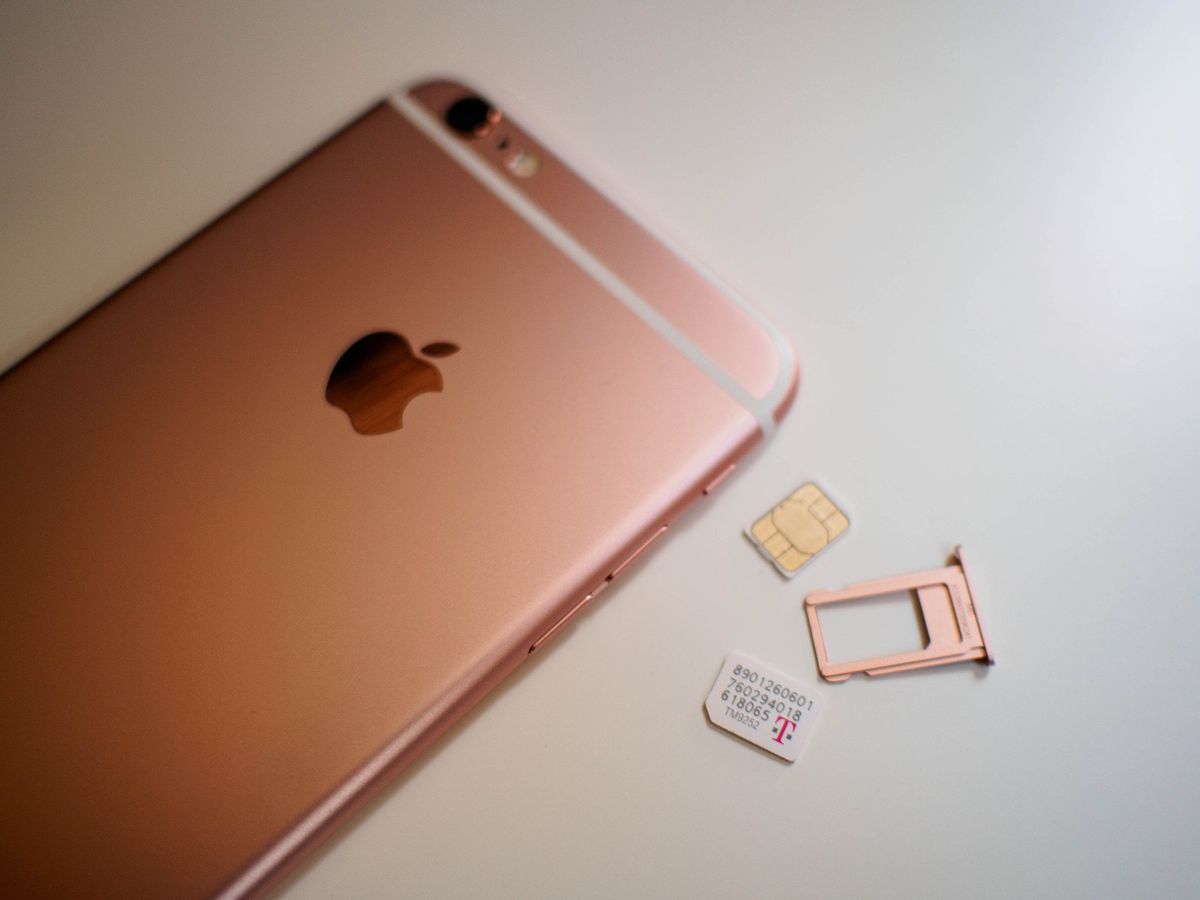
To access the SIM card tray, locate the SIM card slot on the side of your iPhone. The location of the SIM card slot varies depending on the iPhone model. For instance, on older models such as the iPhone 6 and earlier, the SIM card slot is typically located on the right-hand side of the device. In contrast, newer models like the iPhone X and later feature a SIM card slot on the left-hand side of the device. Once you've identified the location of the SIM card slot, you can proceed to remove the SIM card by following these steps:
-
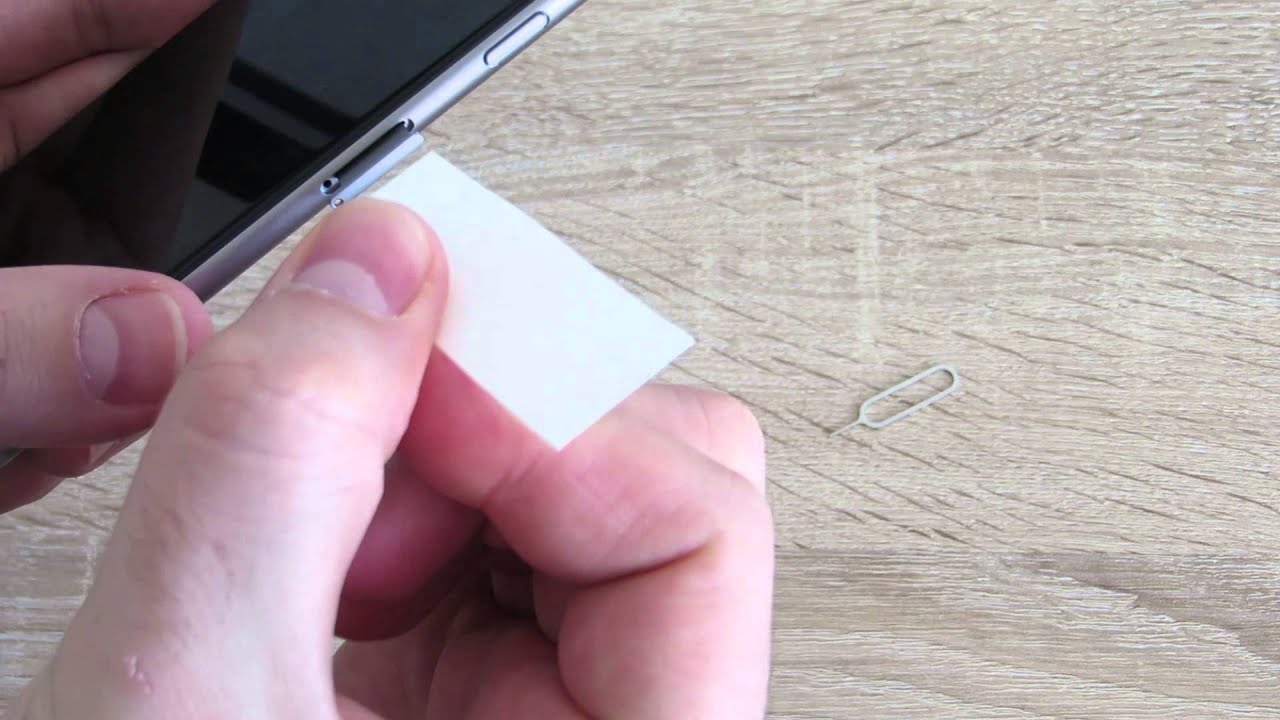
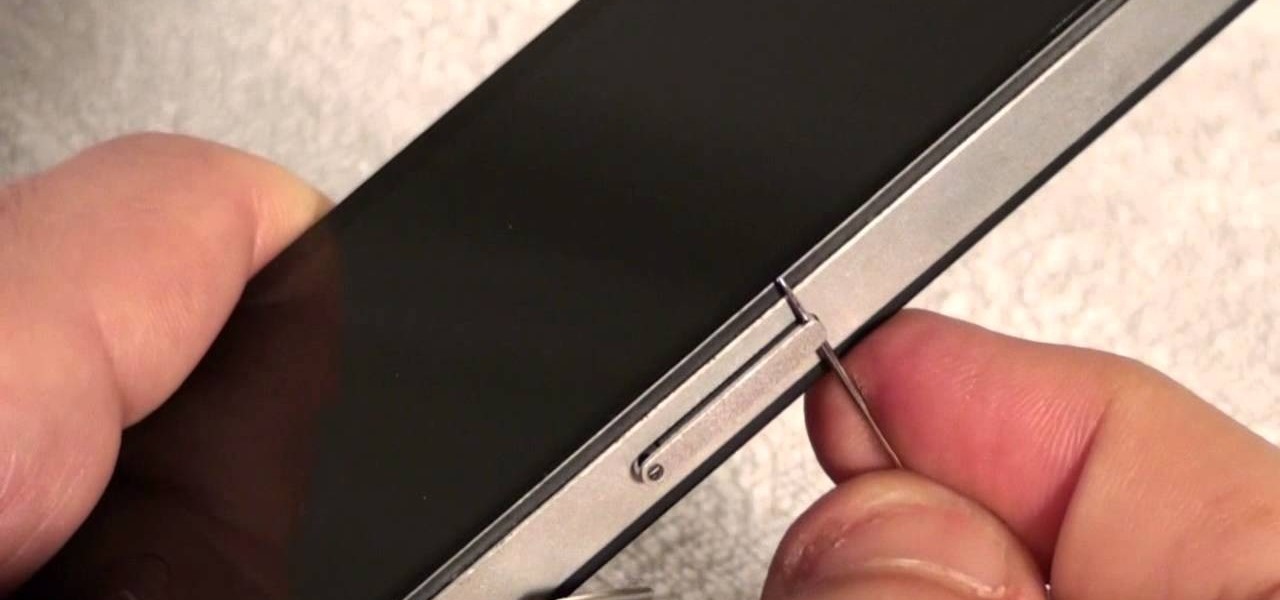
Ejecting the SIM Card Tray: Use the SIM card eject tool, which is often included with your iPhone or can be obtained separately, to gently press into the small pinhole located next to the SIM card slot. Applying light pressure will cause the SIM card tray to pop out slightly, allowing you to grasp and remove it from the device.
-
Removing the SIM Card: Carefully pull the SIM card tray out of the iPhone, ensuring that it is fully ejected from the device. Once the tray is removed, gently tip it to slide the SIM card out of the tray. Take care not to touch the gold contacts on the SIM card, as this can potentially interfere with its functionality.
By following these steps, you can safely remove the SIM card from your old iPhone, setting the stage for its transfer to your new device. It's essential to handle the SIM card and tray with care to avoid any damage during the removal process. With the SIM card in hand, you're now ready to proceed to the next step: inserting the SIM card into your new iPhone.
Removing the SIM card from your old iPhone marks a pivotal moment in the transition to a new device. By executing this step with precision and care, you are one step closer to seamlessly transferring your connectivity and data to your new iPhone.
Step 3: Inserting the SIM Card into Your New iPhone
After successfully removing the SIM card from your old iPhone, the next crucial step is to insert it into your new device. This process ensures that your new iPhone is equipped with the necessary components to connect to your wireless carrier's network and enables you to retain your existing phone number and service plan. To complete this step seamlessly, follow the instructions below:
-
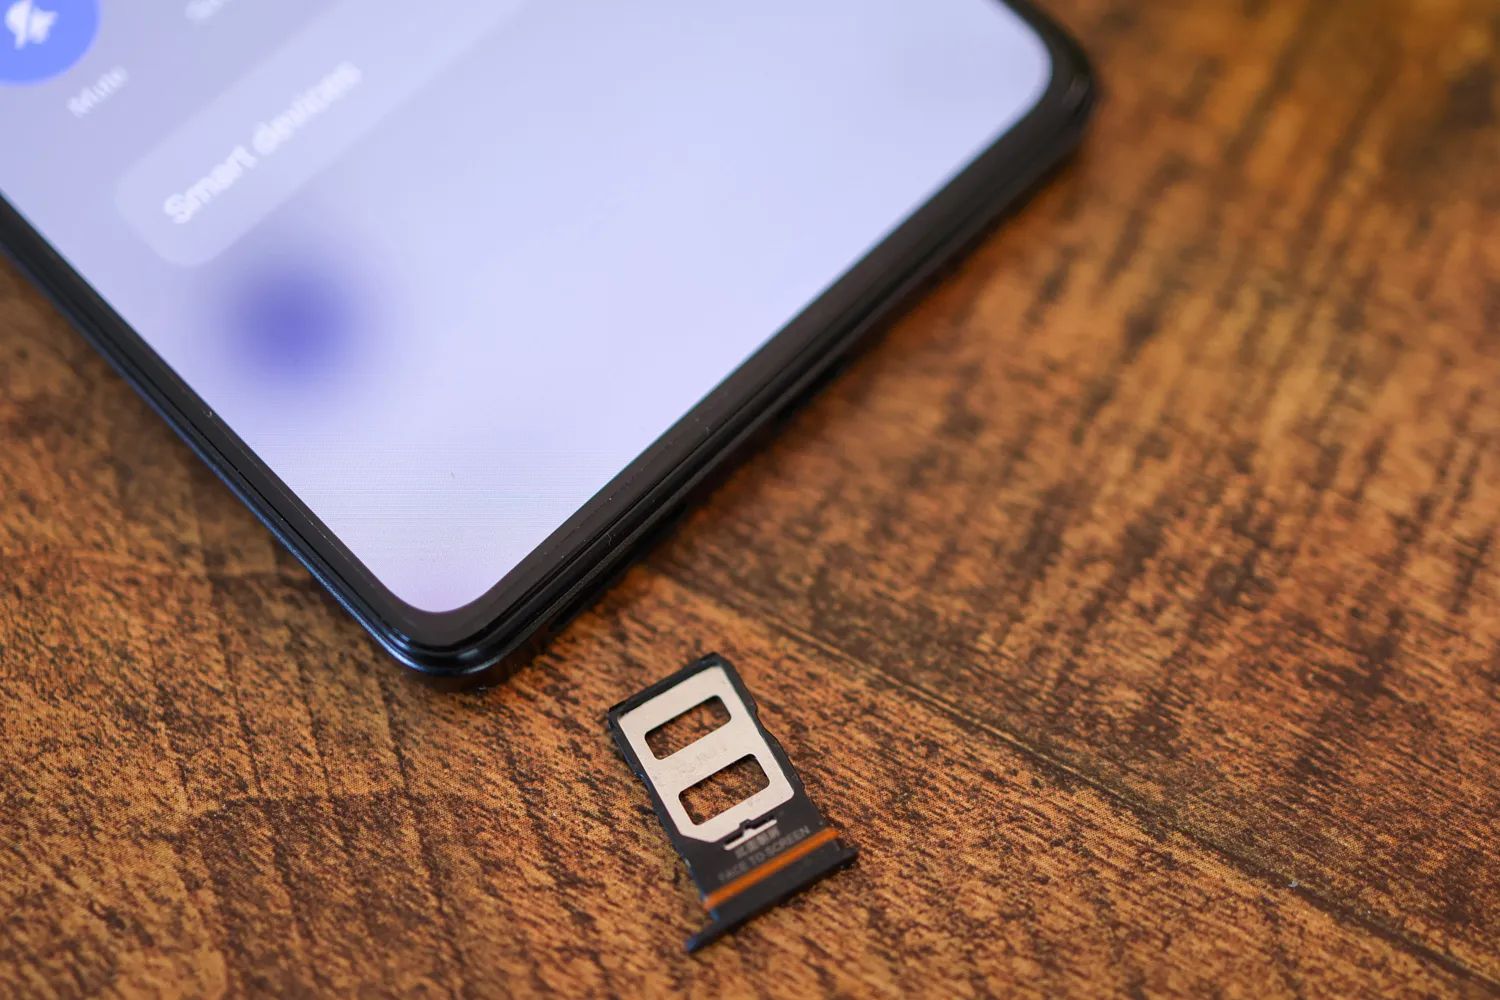
Locating the SIM Card Tray: Begin by identifying the SIM card tray on your new iPhone. The location of the SIM card tray varies depending on the iPhone model. For instance, on newer models such as the iPhone X and later, the SIM card tray is typically located on the right-hand side of the device. On older models like the iPhone 8 and earlier, the SIM card tray is situated on the right-hand side of the device.
-
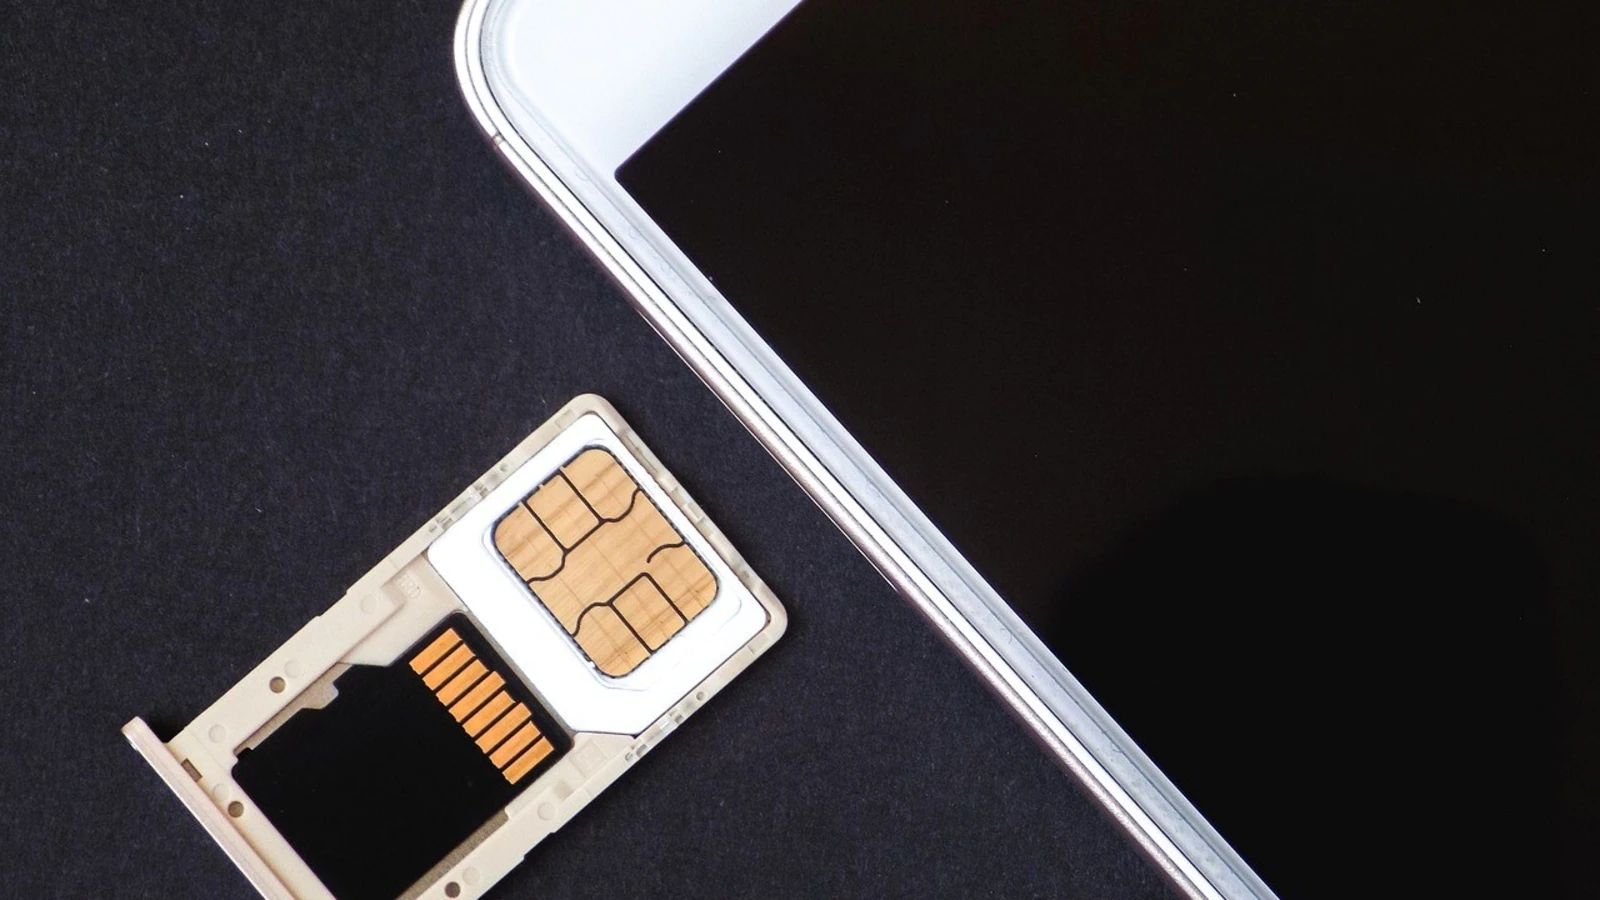
Preparing the SIM Card: Before inserting the SIM card, ensure that it is free from any dust or debris that may affect its functionality. Additionally, verify that the SIM card is oriented correctly to align with the SIM card tray. Most SIM cards have a corner cut at a specific angle, which should match the corresponding corner of the SIM card tray.
-
Inserting the SIM Card: Using the SIM card eject tool or a paperclip, gently press into the pinhole next to the SIM card tray to release it from the device. Once the SIM card tray is partially ejected, carefully remove it from the iPhone. Place the SIM card into the designated area on the tray, ensuring that it fits securely without any forceful pressure. Once the SIM card is in place, reinsert the tray into the iPhone until it sits flush with the device.
By following these steps, you have successfully inserted the SIM card into your new iPhone, paving the way for the activation of your new device and the restoration of your data. This essential process ensures that your new iPhone is ready to establish a connection with your wireless carrier, enabling you to make calls, send messages, and access mobile data seamlessly.
The successful insertion of the SIM card marks a significant milestone in the transition to your new iPhone. With this step completed, you are ready to proceed to the next vital phase: activating the new SIM card to ensure uninterrupted connectivity on your new device.
Step 4: Activating the New SIM Card
Activating the new SIM card is a pivotal step in the process of transitioning to your new iPhone. This crucial process ensures that your new device is ready to establish a connection with your wireless carrier, enabling you to make calls, send messages, and access mobile data seamlessly. By following the steps outlined below, you can activate the new SIM card with ease and efficiency.
Contacting Your Wireless Carrier
The first step in activating the new SIM card is to contact your wireless carrier. Whether you're switching from an old iPhone or setting up a new service, reaching out to your carrier's customer service or visiting their website can provide guidance on activating the SIM card. During this process, you may need to provide the SIM card number and your device's IMEI number, which can typically be found on the device's original packaging or by accessing the settings on your iPhone.
Online Activation
Many wireless carriers offer the option for online activation, allowing you to activate the new SIM card without visiting a physical store. By accessing your carrier's online portal or using their mobile app, you can follow the prompts to activate the SIM card, verify your account details, and complete the activation process. This convenient method eliminates the need for in-person visits and enables you to activate the new SIM card from the comfort of your home.
In-Store Activation
If you prefer a hands-on approach, visiting a local store or authorized retailer of your wireless carrier provides an opportunity for in-store activation. The store's staff can assist you in activating the new SIM card, ensuring that the process is completed accurately and efficiently. Additionally, in-store activation allows you to address any questions or concerns directly with knowledgeable staff, providing a personalized experience tailored to your specific needs.
Verification and Testing
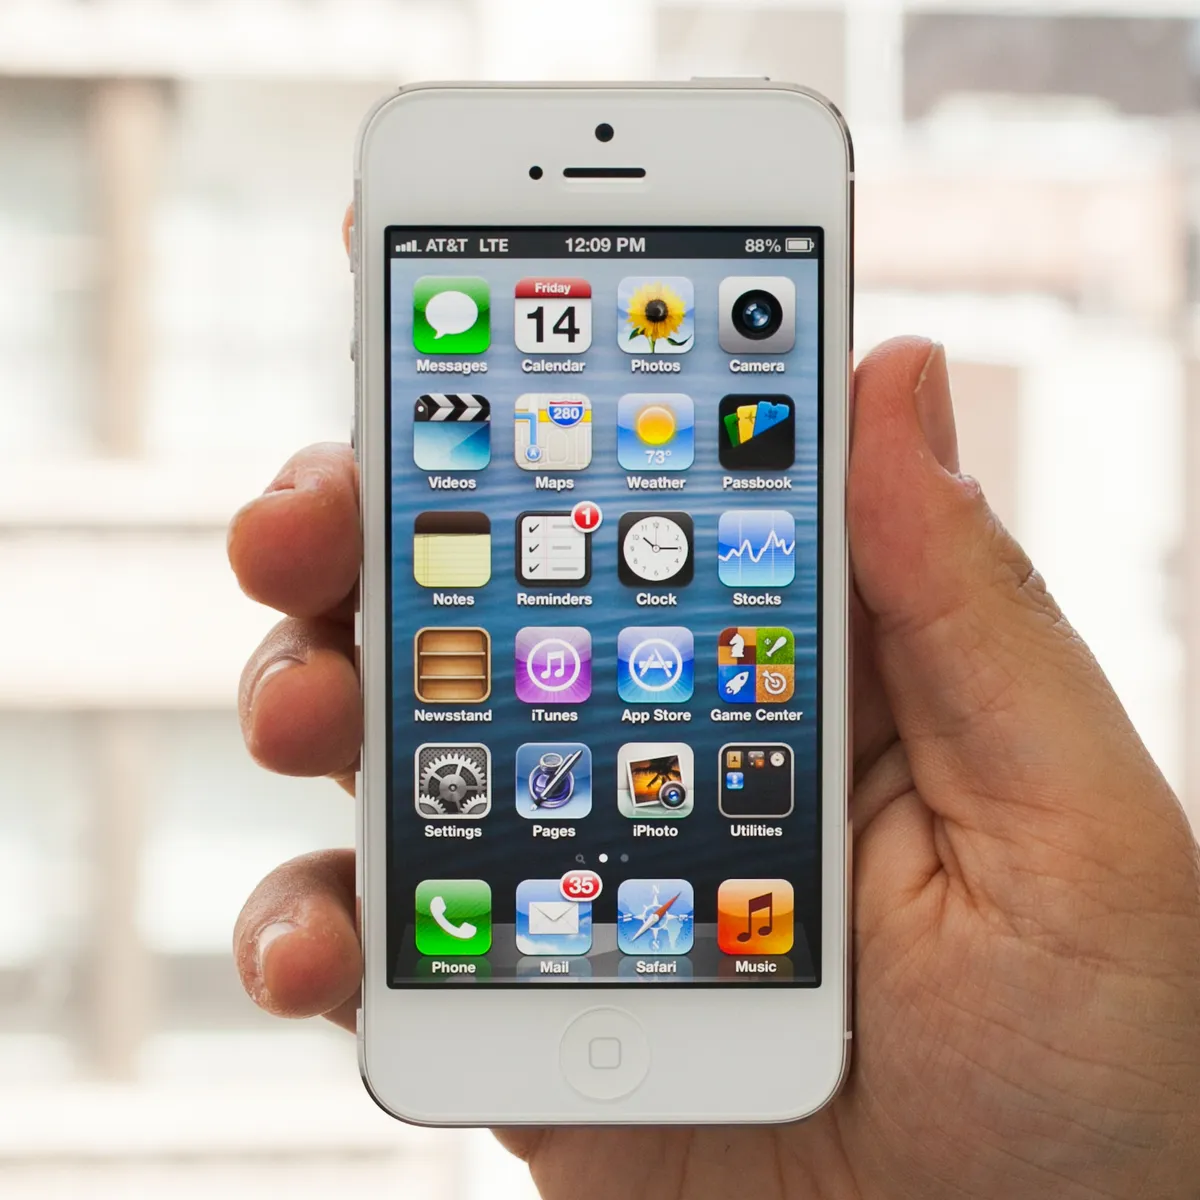
Once the new SIM card is activated, it's essential to verify that the activation process is successful. This involves checking for a signal on your new iPhone, making a test call, and ensuring that you can send and receive text messages. Additionally, testing the mobile data connectivity confirms that the new SIM card is fully activated and ready for use.
By diligently following these steps, you can successfully activate the new SIM card, empowering your new iPhone to establish a seamless connection with your wireless carrier. This critical process lays the foundation for uninterrupted connectivity, allowing you to fully utilize the features and capabilities of your new device.
The activation of the new SIM card is an essential milestone in the transition to your new iPhone. With this step completed, you are prepared to proceed to the final phase: restoring your data to the new device, ensuring that your valuable information is seamlessly transferred and accessible on your new iPhone.
Step 5: Restoring Your Data to the New iPhone
Restoring your data to the new iPhone is the final and crucial step in the process of transitioning to your new device. This essential process ensures that all your valuable information, including contacts, photos, apps, and settings, is seamlessly transferred from your old iPhone to the new one, allowing you to pick up where you left off without missing a beat. By following the steps outlined below, you can restore your data with confidence and precision, setting the stage for a seamless and uninterrupted experience on your new iPhone.
iCloud Backup Restoration
If you previously backed up your old iPhone using iCloud, the restoration process is straightforward. During the initial setup of your new iPhone, you will be prompted to choose a backup to restore from. Select the most recent iCloud backup that contains your desired data and settings. Once confirmed, your new iPhone will begin the restoration process, downloading your backed-up information and applying it to the device. It's important to ensure that your new iPhone is connected to a stable Wi-Fi network throughout the restoration process to facilitate the seamless transfer of your data.
iTunes Backup Restoration
For those who opted for an iTunes backup of their old iPhone, the restoration process involves connecting the new iPhone to a computer with the latest version of iTunes. After connecting the device, open iTunes and select your iPhone. Choose the option to restore from a backup, and select the most recent iTunes backup that contains your desired data. iTunes will then proceed to restore your old iPhone's data and settings to the new device, ensuring that your information is seamlessly transferred.
Data Verification and Setup
Once the restoration process is complete, it's essential to verify that your data has been successfully transferred to the new iPhone. Check your contacts, photos, apps, and settings to ensure that everything is as it was on your old device. Additionally, take the time to set up any additional preferences or configurations specific to your new iPhone, such as Face ID, Touch ID, or other personalized settings.
By diligently following these steps, you can successfully restore your data to the new iPhone, ensuring that your valuable information seamlessly transitions to your new device. This critical process allows you to continue using your new iPhone with confidence, knowing that your data and settings are intact and readily accessible.
Restoring your data to the new iPhone marks the final phase of the transition process. With this step completed, you can embrace your new device with the assurance that your valuable information is securely transferred and ready for use.
Conclusion
Congratulations on successfully completing the comprehensive process of changing the SIM card to your new iPhone! By following the step-by-step guide outlined in this article, you've navigated through essential tasks such as backing up your old iPhone, removing and inserting the SIM card, activating the new SIM card, and restoring your valuable data. Each of these steps plays a pivotal role in ensuring a seamless transition to your new device, empowering you to embrace its features and capabilities with confidence and peace of mind.
As you reflect on the journey of transitioning to your new iPhone, it's essential to acknowledge the significance of safeguarding your data through diligent backups. By prioritizing the preservation of your contacts, photos, apps, and settings, you've laid a strong foundation for a smooth transfer to your new device. The careful removal and insertion of the SIM card further exemplify your attention to detail, ensuring that your new iPhone is equipped with the necessary components to establish connectivity with your wireless carrier.
The activation of the new SIM card marks a pivotal moment in the process, enabling your new iPhone to seamlessly integrate with your service provider and ensuring uninterrupted communication and data access. Finally, the meticulous restoration of your data completes the transition, allowing you to seamlessly continue your digital journey on your new iPhone without missing a beat.
As you embark on this new chapter with your iPhone, remember that each step you've taken contributes to a successful transition, culminating in the seamless integration of your data and connectivity on your new device. By embracing the process with patience and attention to detail, you've empowered yourself to fully utilize the capabilities of your new iPhone while retaining the familiarity of your existing data and settings.
The completion of this transition not only signifies the technical achievement of changing the SIM card to your new iPhone but also reflects your proactive approach to safeguarding your digital life. Your commitment to preserving and transferring your data demonstrates a dedication to continuity and a seamless user experience, setting the stage for a fulfilling and uninterrupted journey with your new device.
As you explore the features and possibilities of your new iPhone, carry forward the confidence and knowledge gained from this process. Embrace the seamless connectivity, enjoy the familiarity of your restored data, and embark on new experiences with the assurance that your new iPhone is fully equipped to support your digital lifestyle.
With the successful completion of the SIM card transition, you are now poised to embark on a new chapter with your iPhone, armed with the knowledge and confidence to navigate its capabilities and features with ease. Here's to the exciting journey ahead with your new iPhone!