Introduction
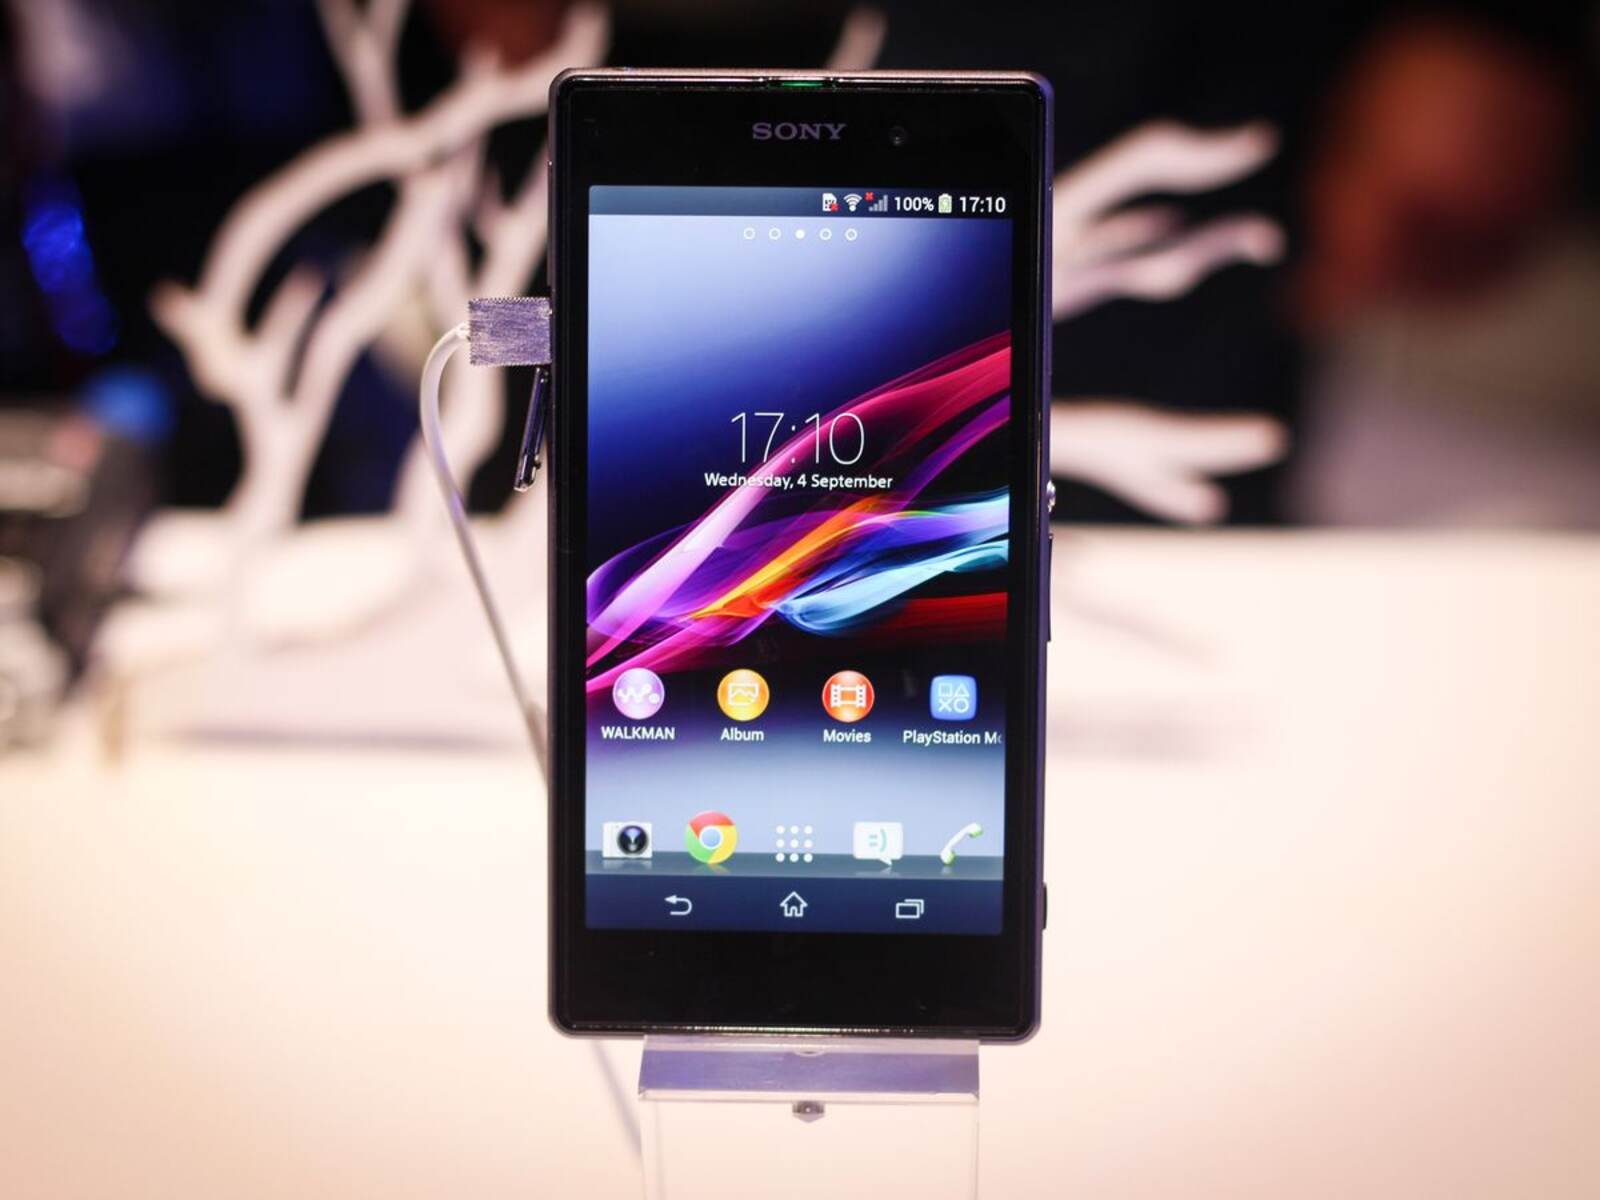
The Sony Xperia Z1 is a remarkable device that has garnered a loyal following due to its impressive features and sleek design. However, as with any electronic device, the battery of the Xperia Z1 may eventually require replacement after prolonged use. Understanding the process of replacing the battery can help users extend the lifespan of their beloved device and continue to enjoy its exceptional performance.
Replacing the battery of the Xperia Z1 is a task that requires careful attention to detail and the use of the right tools. By following a systematic approach and taking necessary precautions, users can successfully replace the battery and restore their device to optimal functionality. This guide aims to provide a comprehensive overview of the battery replacement process for the Xperia Z1, empowering users to undertake this task with confidence.
The steps outlined in this guide are designed to be user-friendly and accessible to individuals with varying levels of technical expertise. Whether you are a seasoned tech enthusiast or a novice user, this guide will equip you with the knowledge and guidance needed to navigate the battery replacement process effectively. With the right tools and a methodical approach, users can breathe new life into their Xperia Z1 and continue to benefit from its impressive capabilities.
In the following sections, we will delve into the specific tools required for the battery replacement, outline the step-by-step procedure for executing the replacement, and highlight essential precautions to ensure a smooth and safe process. By the end of this guide, you will be well-prepared to embark on the battery replacement journey for your Xperia Z1, enabling you to prolong the lifespan of your device and maintain its exceptional performance for years to come.
Tools Required
Before embarking on the battery replacement process for your Sony Xperia Z1, it is essential to gather the necessary tools to ensure a smooth and efficient procedure. Having the right tools at your disposal will not only streamline the replacement process but also contribute to the overall safety and success of the endeavor. Here are the essential tools required for replacing the battery of the Xperia Z1:
-
Replacement Battery: The cornerstone of the battery replacement process is, of course, the replacement battery itself. It is crucial to acquire a high-quality replacement battery that is compatible with the Xperia Z1 model. Ensuring compatibility is paramount to guarantee optimal performance and seamless integration with the device.
-
Screwdriver Set: A precision screwdriver set is indispensable for accessing the internal components of the Xperia Z1. The set should include a variety of screwdriver heads, including Phillips and Torx, to accommodate the different types of screws used in the device.
-
Plastic Opening Tools: These non-conductive and non-scratch tools are essential for prying open the casing of the Xperia Z1 without causing damage. Plastic opening tools provide the necessary leverage to carefully separate the components and access the internal circuitry.
-
Spudger or Nylon Pry Tool: A spudger or nylon pry tool is instrumental in safely disconnecting delicate ribbon cables and connectors within the device. These tools enable precise maneuvering and prevent accidental damage to the internal components during disassembly.
-
Adhesive Strips: Adhesive strips are crucial for securing the new battery in place within the device. These specialized strips ensure a secure and stable attachment, preventing any movement or displacement of the battery during usage.
-
Heat Gun or Hair Dryer (Optional): In some cases, a heat gun or hair dryer may be utilized to soften adhesive securing certain components, facilitating their removal without causing damage. However, caution must be exercised when using heat, and it should only be applied as directed in the specific steps of the replacement process.
By assembling these essential tools, you will be well-equipped to undertake the battery replacement process for your Xperia Z1 with confidence and precision. Each tool plays a crucial role in facilitating the safe disassembly, replacement, and reassembly of the device, ensuring a successful outcome and the restoration of optimal battery performance.
Remember, patience and attention to detail are key virtues throughout the battery replacement process. With the right tools and a methodical approach, you can navigate the replacement procedure effectively, prolonging the lifespan of your Xperia Z1 and preserving its exceptional functionality.
Steps for Battery Replacement
Replacing the battery of the Sony Xperia Z1 is a meticulous process that demands careful attention to detail and a methodical approach. By following the step-by-step procedure outlined below, users can confidently navigate the battery replacement process and restore their device to optimal functionality.
-
Prepare the Work Area: Begin by setting up a clean and well-lit workspace to perform the battery replacement. Ensure that all the necessary tools, including the replacement battery, screwdriver set, plastic opening tools, spudger or nylon pry tool, adhesive strips, and optional heat gun or hair dryer, are readily accessible.
-
Power Off the Device: Before commencing the replacement process, power off the Xperia Z1 and ensure that it is completely shut down. This step is crucial to prevent any electrical mishaps and ensure the safety of the user and the device during disassembly.
-
Remove the Back Cover: Using the appropriate plastic opening tools, carefully pry open the back cover of the Xperia Z1. Exercise caution to avoid applying excessive force and causing damage to the cover or the device's frame. Once the back cover is removed, set it aside in a safe location.
-
Disconnect the Battery Connector: Upon gaining access to the internal components, locate the battery connector attached to the device's motherboard. Using a spudger or nylon pry tool, gently disconnect the battery connector to ensure that the device is completely powered off and safe to proceed with the replacement.
-
Remove the Old Battery: With the battery connector detached, carefully remove the old battery from its position within the device. Exercise caution and precision to avoid damaging any surrounding components or cables during the extraction process.
-
Prepare the Replacement Battery: Take the new replacement battery and ensure that it is compatible with the Xperia Z1 model. Position the replacement battery correctly, aligning it with the designated space within the device to facilitate a seamless installation.
-
Secure the Replacement Battery: Utilize the adhesive strips to securely affix the replacement battery in place within the device. Ensure that the battery is firmly and evenly positioned, minimizing any potential movement or instability during usage.
-
Reconnect the Battery Connector: Carefully reconnect the battery connector to the device's motherboard, ensuring a secure and snug fit. This step is crucial to establish the electrical connection and enable the proper functioning of the new battery within the Xperia Z1.
-
Reassemble the Device: With the replacement battery securely in place and the battery connector reconnected, proceed to reassemble the Xperia Z1 by carefully attaching the back cover. Ensure that the cover is properly aligned and snaps into place without any gaps or misalignment.
-
Power On and Test: Once the device is reassembled, power on the Xperia Z1 to verify that the replacement battery is functioning as intended. Monitor the device for any irregularities and ensure that it powers up successfully, indicating a successful battery replacement.
By meticulously following these step-by-step instructions, users can effectively replace the battery of their Sony Xperia Z1, prolonging the lifespan of the device and sustaining its exceptional performance. It is essential to approach each step with patience and precision, prioritizing the safety and integrity of the device throughout the replacement process. With the right tools and a methodical approach, users can confidently undertake the battery replacement journey, revitalizing their Xperia Z1 and ensuring continued enjoyment of its impressive features.
Precautions
When embarking on the task of replacing the battery of your Sony Xperia Z1, it is crucial to observe a series of precautions to ensure a safe and successful outcome. By prioritizing these precautions, users can mitigate potential risks and navigate the replacement process with confidence and precision. Here are the essential precautions to consider before, during, and after replacing the battery of the Xperia Z1:
-
Safety First: Prioritize safety throughout the entire battery replacement process. Ensure that the device is powered off completely before initiating any disassembly, minimizing the risk of electrical mishaps and ensuring the user's safety.
-
Static Discharge: Guard against static electricity by grounding yourself before handling the internal components of the Xperia Z1. Static discharge can potentially damage sensitive circuitry, so it is essential to discharge any static buildup by touching a grounded metal surface before commencing the replacement process.
-
Battery Compatibility: Verify that the replacement battery is specifically designed for the Sony Xperia Z1 model. Using an incompatible battery can lead to performance issues and potential damage to the device, emphasizing the importance of ensuring compatibility before proceeding with the replacement.
-
Gentle Handling: Exercise extreme care and gentleness when handling the internal components of the Xperia Z1. Delicate ribbon cables, connectors, and circuitry require precise maneuvering to avoid accidental damage during disassembly and reassembly.
-
Adhesive Application: When applying adhesive strips to secure the replacement battery, ensure that the strips are positioned accurately and evenly to provide stable and secure attachment. Proper application of adhesive strips is crucial to prevent any movement or displacement of the battery within the device.
-
Heat Application: If utilizing a heat gun or hair dryer to soften adhesive during the disassembly process, exercise caution and apply heat sparingly and precisely. Overheating can potentially damage the device, so it is essential to follow the recommended guidelines for heat application.
-
Reassembly Alignment: When reassembling the Xperia Z1 after replacing the battery, pay close attention to the alignment of the back cover and ensure that it snaps into place seamlessly. Misalignment or gaps in the reassembly can compromise the device's structural integrity and water resistance.
-
Functional Testing: After completing the battery replacement, power on the Xperia Z1 and conduct thorough functional testing to ensure that the new battery is operating as intended. Monitor the device for any irregularities and verify that it powers up successfully, indicating a successful replacement.
By adhering to these precautions, users can approach the battery replacement process for the Sony Xperia Z1 with a heightened sense of awareness and preparedness. Prioritizing safety, compatibility, precision, and thorough testing is paramount to achieving a successful and seamless battery replacement, prolonging the lifespan of the device and preserving its exceptional performance.
Conclusion
In conclusion, the process of replacing the battery of the Sony Xperia Z1 is a task that demands meticulous attention to detail, the use of the right tools, and a steadfast commitment to safety and precision. By following the comprehensive guide outlined in this article, users can confidently undertake the battery replacement journey, empowering them to extend the lifespan of their beloved device and continue to benefit from its exceptional features.
The essential tools required for the battery replacement, including the replacement battery, screwdriver set, plastic opening tools, spudger or nylon pry tool, adhesive strips, and optional heat gun or hair dryer, form the foundation of a successful replacement endeavor. These tools, when utilized with care and precision, enable users to navigate the disassembly, replacement, and reassembly of the Xperia Z1 with confidence and efficiency.
The step-by-step procedure for replacing the battery provides a clear and structured roadmap for users to follow, ensuring that each stage of the replacement process is approached with patience and precision. From preparing the work area to testing the device post-replacement, each step is designed to prioritize safety, compatibility, and the seamless integration of the replacement battery within the Xperia Z1.
Furthermore, the outlined precautions serve as a vital framework for users to mitigate potential risks and navigate the replacement process with a heightened sense of awareness and preparedness. By adhering to these precautions, users can safeguard the integrity of the device and minimize the likelihood of any mishaps during the battery replacement.
Ultimately, the successful replacement of the battery of the Sony Xperia Z1 not only prolongs the lifespan of the device but also contributes to sustainable usage and the preservation of its exceptional performance. With the right tools, a methodical approach, and a steadfast commitment to safety and precision, users can revitalize their Xperia Z1, ensuring continued enjoyment of its impressive features for years to come.
In essence, this comprehensive guide equips users with the knowledge, tools, and precautions necessary to undertake the battery replacement process for the Sony Xperia Z1 with confidence and precision. By embracing the guidance provided in this article, users can embark on the battery replacement journey, revitalizing their device and sustaining its exceptional functionality for the long term.