Introduction
Removing a SIM card from your Xperia Z1 is a straightforward process that allows you to switch to a new device, change your mobile carrier, or troubleshoot connectivity issues. The SIM card, which stands for Subscriber Identity Module, is a small, removable card that stores your mobile subscription information. It enables you to connect to your mobile network, make calls, send text messages, and access mobile data. Whether you're upgrading to a new phone or need to replace a damaged SIM card, understanding how to remove it from your Xperia Z1 is essential.
By following a few simple steps, you can safely remove the SIM card without causing any damage to your device. This guide will walk you through the process, ensuring that you can complete the task with confidence and ease. Before you begin, it's important to gather the necessary tools, such as the SIM card eject tool or a paperclip, to facilitate the removal process. With these preparations in place, you'll be ready to proceed with the step-by-step instructions for removing the SIM card from your Xperia Z1.
Step 1: Locate the SIM card slot
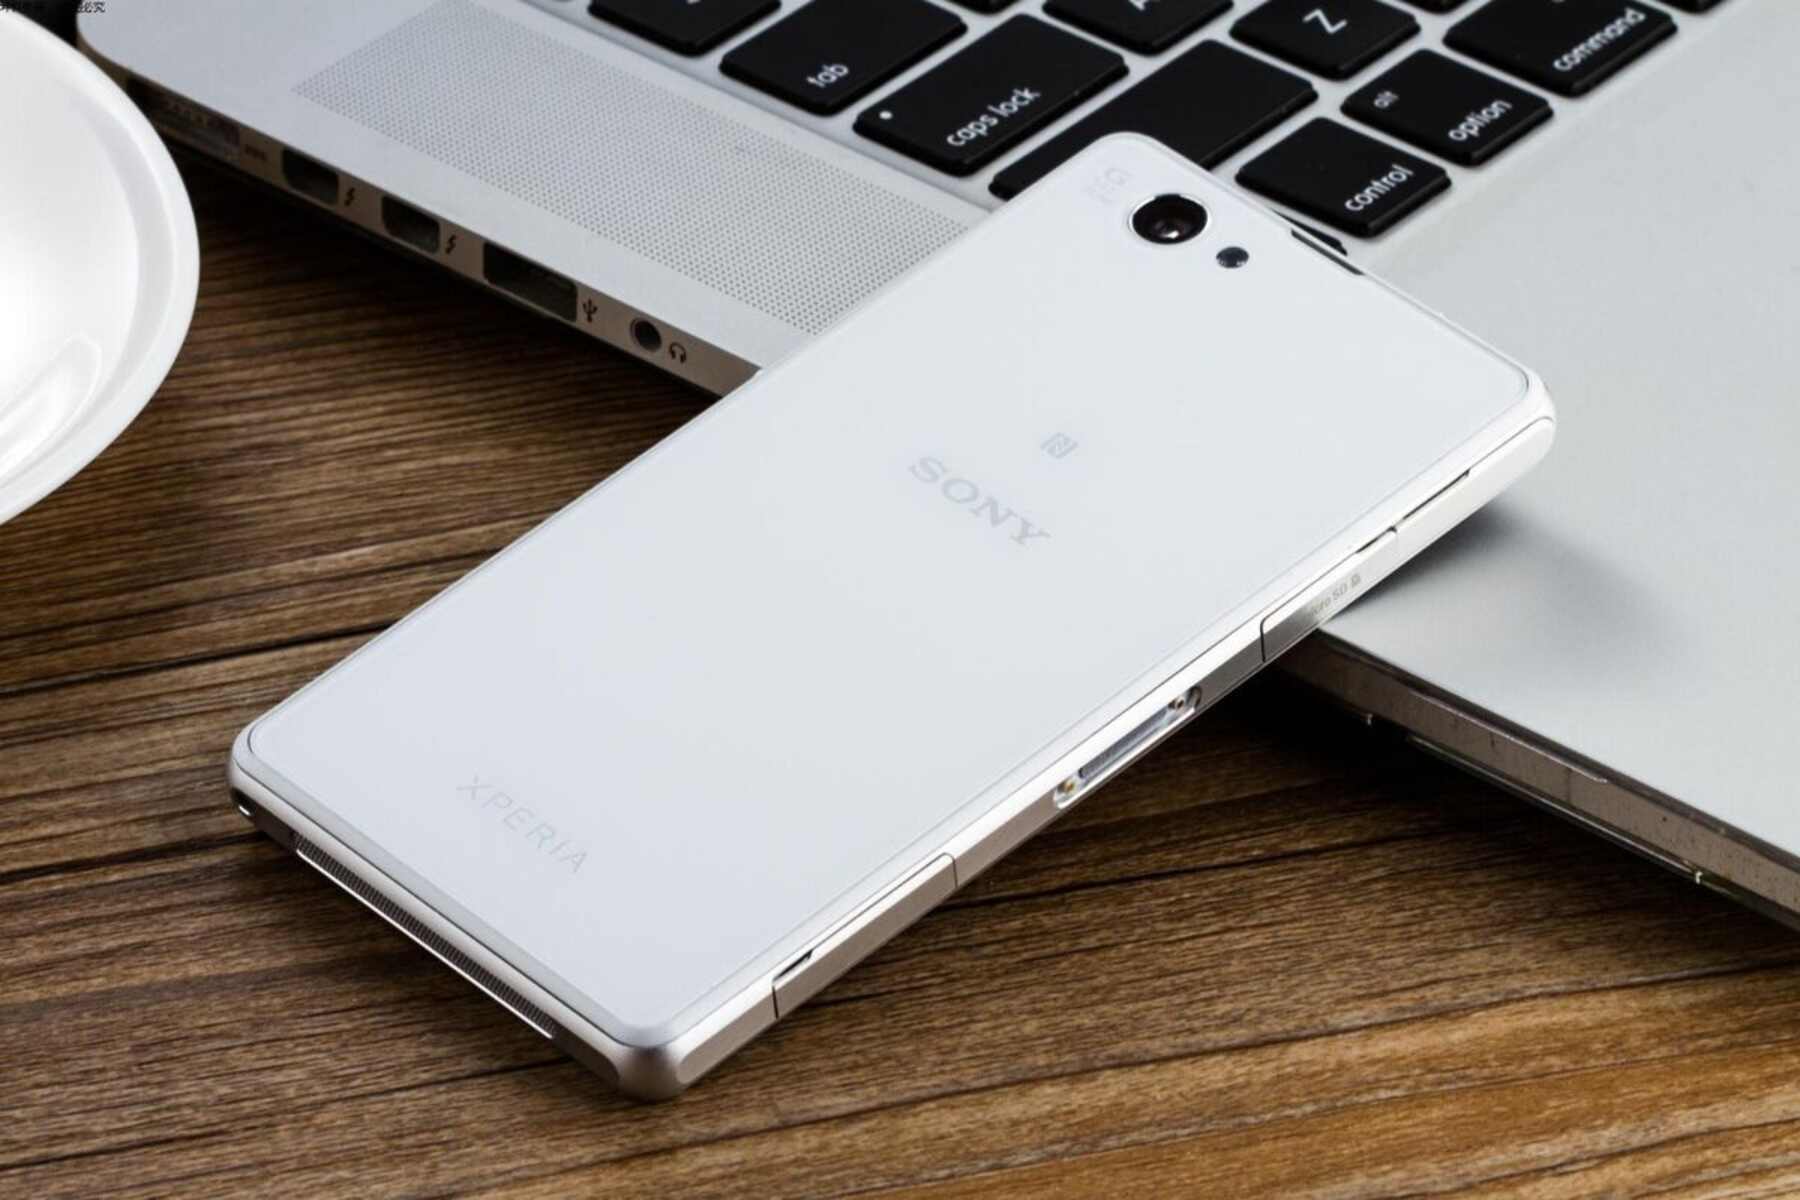
The first step in removing the SIM card from your Xperia Z1 is to locate the SIM card slot. The SIM card slot on the Xperia Z1 is typically located on the side of the device. To find it, you can start by holding your Xperia Z1 with the screen facing up and the power button on the right side. The SIM card slot is usually positioned on the left-hand side, just below the power button.
Once you have identified the location of the SIM card slot, you will notice a small pinhole or a tray with a small indentation. This is where the SIM card tray is housed. The Xperia Z1 features a convenient and easily accessible SIM card slot design, allowing for hassle-free removal and insertion of the SIM card.
It's essential to handle your device with care during this process to avoid any accidental damage. Take a moment to familiarize yourself with the physical layout of your Xperia Z1, ensuring that you can confidently identify the SIM card slot without any confusion.
By locating the SIM card slot, you have completed the first step in the process of removing the SIM card from your Xperia Z1. With this initial step accomplished, you are now ready to proceed to the next stage of ejecting the SIM card tray.
Step 2: Eject the SIM card tray
Ejecting the SIM card tray from your Xperia Z1 is a crucial step in the process of removing the SIM card. The SIM card tray houses the SIM card securely within your device and allows for its safe removal without causing any damage. To eject the SIM card tray, you will need to use a SIM card eject tool or a paperclip, which are commonly provided with your Xperia Z1 or can be obtained separately.
Begin by locating the SIM card tray on the side of your Xperia Z1, as mentioned in the previous step. Once you have identified the SIM card slot, you can proceed with the following steps to eject the SIM card tray:
-
Prepare the SIM card eject tool: If you are using a SIM card eject tool, ensure that it is readily accessible. Alternatively, if you are using a paperclip, straighten it out to create a small, rigid tool that can be inserted into the pinhole on the SIM card tray.
-
Insert the SIM card eject tool: Gently insert the SIM card eject tool or the straightened paperclip into the pinhole located next to the SIM card slot. Apply light pressure to ensure that the tool is inserted securely into the pinhole.
-
Eject the SIM card tray: Once the SIM card eject tool is properly inserted, exert a small amount of pressure to initiate the ejection mechanism. You will feel a slight resistance as the SIM card tray is released from its position. Carefully pull the SIM card tray out of the device, ensuring that you do not apply excessive force that could cause damage.
-
Remove the SIM card tray: With the SIM card tray ejected, carefully remove it from your Xperia Z1. The SIM card will be securely placed within the tray, allowing for easy access and removal.
By successfully ejecting the SIM card tray, you have completed the second step in the process of removing the SIM card from your Xperia Z1. This step sets the stage for the final phase of removing the SIM card from the tray, which will be covered in the subsequent section.
With the SIM card tray now ejected, you are ready to proceed to the next step of removing the SIM card from your Xperia Z1.
Step 3: Remove the SIM card
With the SIM card tray successfully ejected from your Xperia Z1, the next step involves removing the SIM card from the tray. The SIM card is securely positioned within the tray, allowing for easy access and removal. To proceed with this step, follow the detailed instructions below:
-
Identify the SIM card: Upon removing the SIM card tray, you will notice the SIM card resting within the designated slot. Take a moment to visually inspect the SIM card and familiarize yourself with its size and shape. The SIM card is typically a small, rectangular card with a metallic chip embedded on one side.
-
Gently remove the SIM card: Using your fingertips, carefully grasp the SIM card that is seated within the tray. Apply light pressure to slide the SIM card out of the tray. It's important to handle the SIM card with care to avoid any bending or damage to its delicate components.
-
Inspect the SIM card: Once the SIM card has been removed from the tray, take a moment to inspect it for any signs of damage or wear. Check the metallic contacts on the SIM card for any debris or corrosion, as these can affect its functionality. If you notice any issues with the SIM card, such as visible damage or contamination, it may be necessary to replace it with a new SIM card provided by your mobile carrier.
-
Store the SIM card securely: If you are not immediately transferring the SIM card to another device, it's important to store it in a safe and secure location. Consider using a SIM card holder or a small, labeled container to prevent misplacement. Additionally, avoid exposing the SIM card to extreme temperatures or moisture, as these factors can compromise its performance.
By following these steps, you have successfully removed the SIM card from your Xperia Z1. Whether you are replacing the SIM card with a new one or simply storing it for future use, this process ensures that the SIM card is handled with care and precision. With the SIM card safely removed, you can proceed with your desired course of action, whether it involves transferring the SIM card to a new device or making arrangements for a replacement from your mobile carrier.
With the SIM card removal process completed, you have successfully navigated through the essential steps for removing the SIM card from your Xperia Z1. This guide empowers you to manage your SIM card with confidence and ease, allowing for seamless transitions and troubleshooting when necessary.
Conclusion
Congratulations! You have successfully completed the process of removing the SIM card from your Xperia Z1. By following the step-by-step instructions outlined in this guide, you have gained valuable insights into the essential procedures for safely handling and removing the SIM card from your device. Whether you are upgrading to a new phone, switching mobile carriers, or troubleshooting connectivity issues, the ability to remove the SIM card with confidence is a valuable skill that empowers you to manage your mobile device effectively.
As you reflect on the process, it's important to acknowledge the significance of handling the SIM card and the SIM card tray with care and precision. By locating the SIM card slot, ejecting the SIM card tray, and removing the SIM card, you have demonstrated a keen understanding of the intricate components within your Xperia Z1. This knowledge not only allows you to perform the necessary tasks with ease but also instills a sense of confidence in managing your device's hardware components.
Furthermore, the process of removing the SIM card serves as a gateway to various mobile device management activities. Whether you are exploring advanced features, troubleshooting technical issues, or simply maintaining your device, the foundational knowledge gained from this experience will undoubtedly serve you well in your mobile device endeavors.
As you proceed with your mobile device journey, remember to store the removed SIM card securely and handle it with care. Whether you are transferring it to a new device or storing it for future use, maintaining the integrity of the SIM card ensures its optimal performance and longevity.
In conclusion, the ability to remove the SIM card from your Xperia Z1 is a fundamental skill that enhances your overall mobile device management capabilities. By mastering this process, you have taken a significant step towards understanding the intricate components of your device and gaining confidence in managing its hardware elements. As you continue to explore the possibilities of your Xperia Z1 and other mobile devices, the knowledge and skills acquired from this experience will undoubtedly serve you well in navigating the dynamic landscape of mobile technology.