Introduction
Capturing screenshots on your Xperia Z1 can be incredibly useful for a variety of reasons. Whether you want to save a memorable conversation, capture a high score in a game, or simply document important information, knowing how to take a screenshot on your device is a valuable skill. Fortunately, the Xperia Z1 offers multiple methods to accomplish this task, providing flexibility and convenience to users.
In this article, we will explore three simple and effective methods for capturing screenshots on your Xperia Z1. By following these step-by-step instructions, you'll be able to effortlessly capture and save anything displayed on your device's screen. Whether you're a tech enthusiast, a casual user, or someone who simply wants to make the most of their Xperia Z1, mastering the art of taking screenshots will undoubtedly enhance your overall mobile experience.
Now, let's delve into the various methods available for capturing screenshots on your Xperia Z1. Whether you prefer using hardware buttons, quick settings, or assistive touch features, you'll find a method that suits your preferences and makes the process of taking screenshots a seamless and enjoyable experience. Let's get started!
Method 1: Using the Power and Volume Down Buttons
Capturing a screenshot on your Xperia Z1 using the Power and Volume Down buttons is a straightforward and efficient method. This classic approach is widely favored by users due to its simplicity and reliability. Follow the steps below to master this method:
-
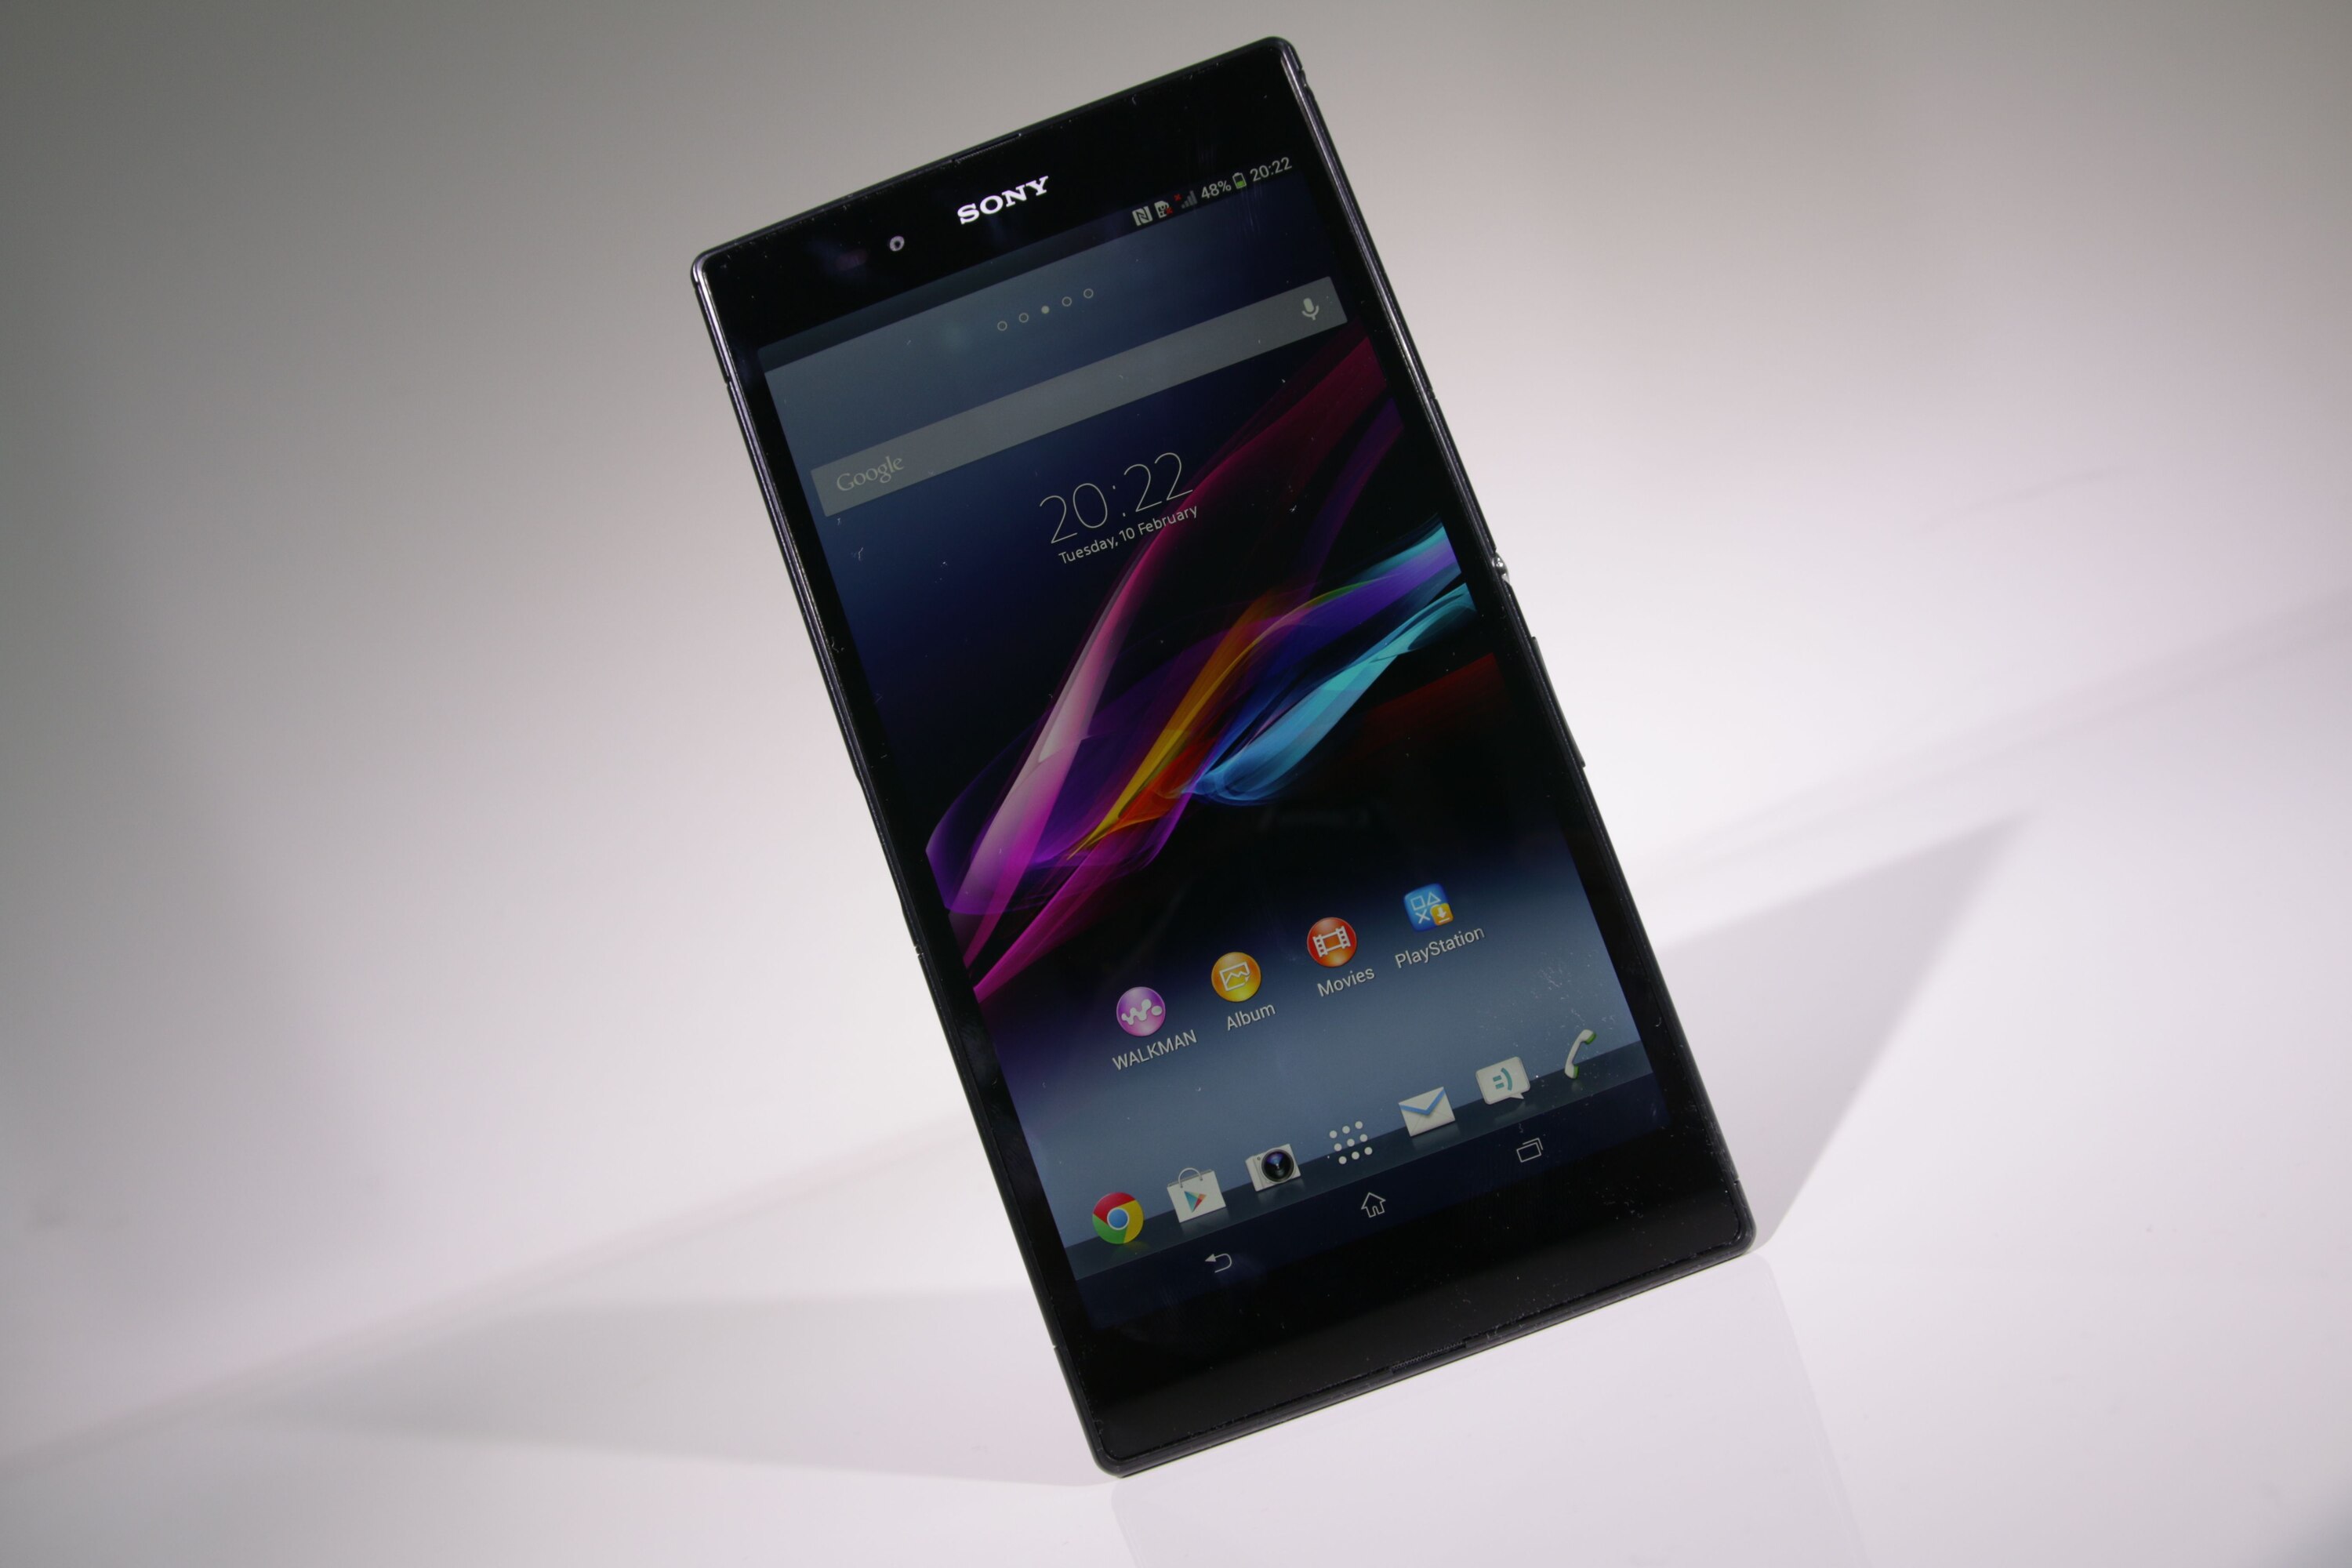
Identify the Content: First, ensure that the content you want to capture is displayed on your Xperia Z1's screen. Whether it's a memorable text message, an impressive gaming achievement, or an important piece of information, make sure it's ready for the screenshot.
-
Locate the Buttons: The Power button is typically located on the right side of your Xperia Z1, while the Volume Down button is positioned on the left side. Familiarize yourself with the location of these buttons to prepare for the screenshot.
-
Simultaneous Press: With the desired content on the screen, press the Power button and the Volume Down button simultaneously. It's essential to press both buttons at the same time to trigger the screenshot capture.
-
Confirmation and Notification: Upon successfully capturing the screenshot, you'll typically hear a camera shutter sound, and a visual notification will briefly appear on the screen. This indicates that the screenshot has been saved and is ready for your access.
-
Accessing the Screenshot: To view the captured screenshot, navigate to the "Screenshots" folder in your Xperia Z1's gallery or photo app. From there, you can easily access, edit, share, or delete the screenshot according to your preferences.
By utilizing the Power and Volume Down buttons, you can seamlessly capture and preserve important moments, valuable information, or entertaining content on your Xperia Z1. This method's simplicity and reliability make it a popular choice among users who appreciate a quick and intuitive approach to taking screenshots.
Mastering the art of capturing screenshots using the Power and Volume Down buttons empowers you to effortlessly document and share noteworthy content from your Xperia Z1. Whether it's for personal use, sharing with friends, or professional purposes, this method provides a convenient way to immortalize moments and information displayed on your device's screen.
Method 2: Using the Quick Settings Panel
Capturing screenshots using the Quick Settings Panel on your Xperia Z1 offers a convenient and efficient alternative to the traditional button-press method. This approach is particularly favored by users who prefer a streamlined and accessible way to take screenshots without relying on physical buttons. Let's explore the step-by-step process of using the Quick Settings Panel to capture screenshots on your Xperia Z1.
-
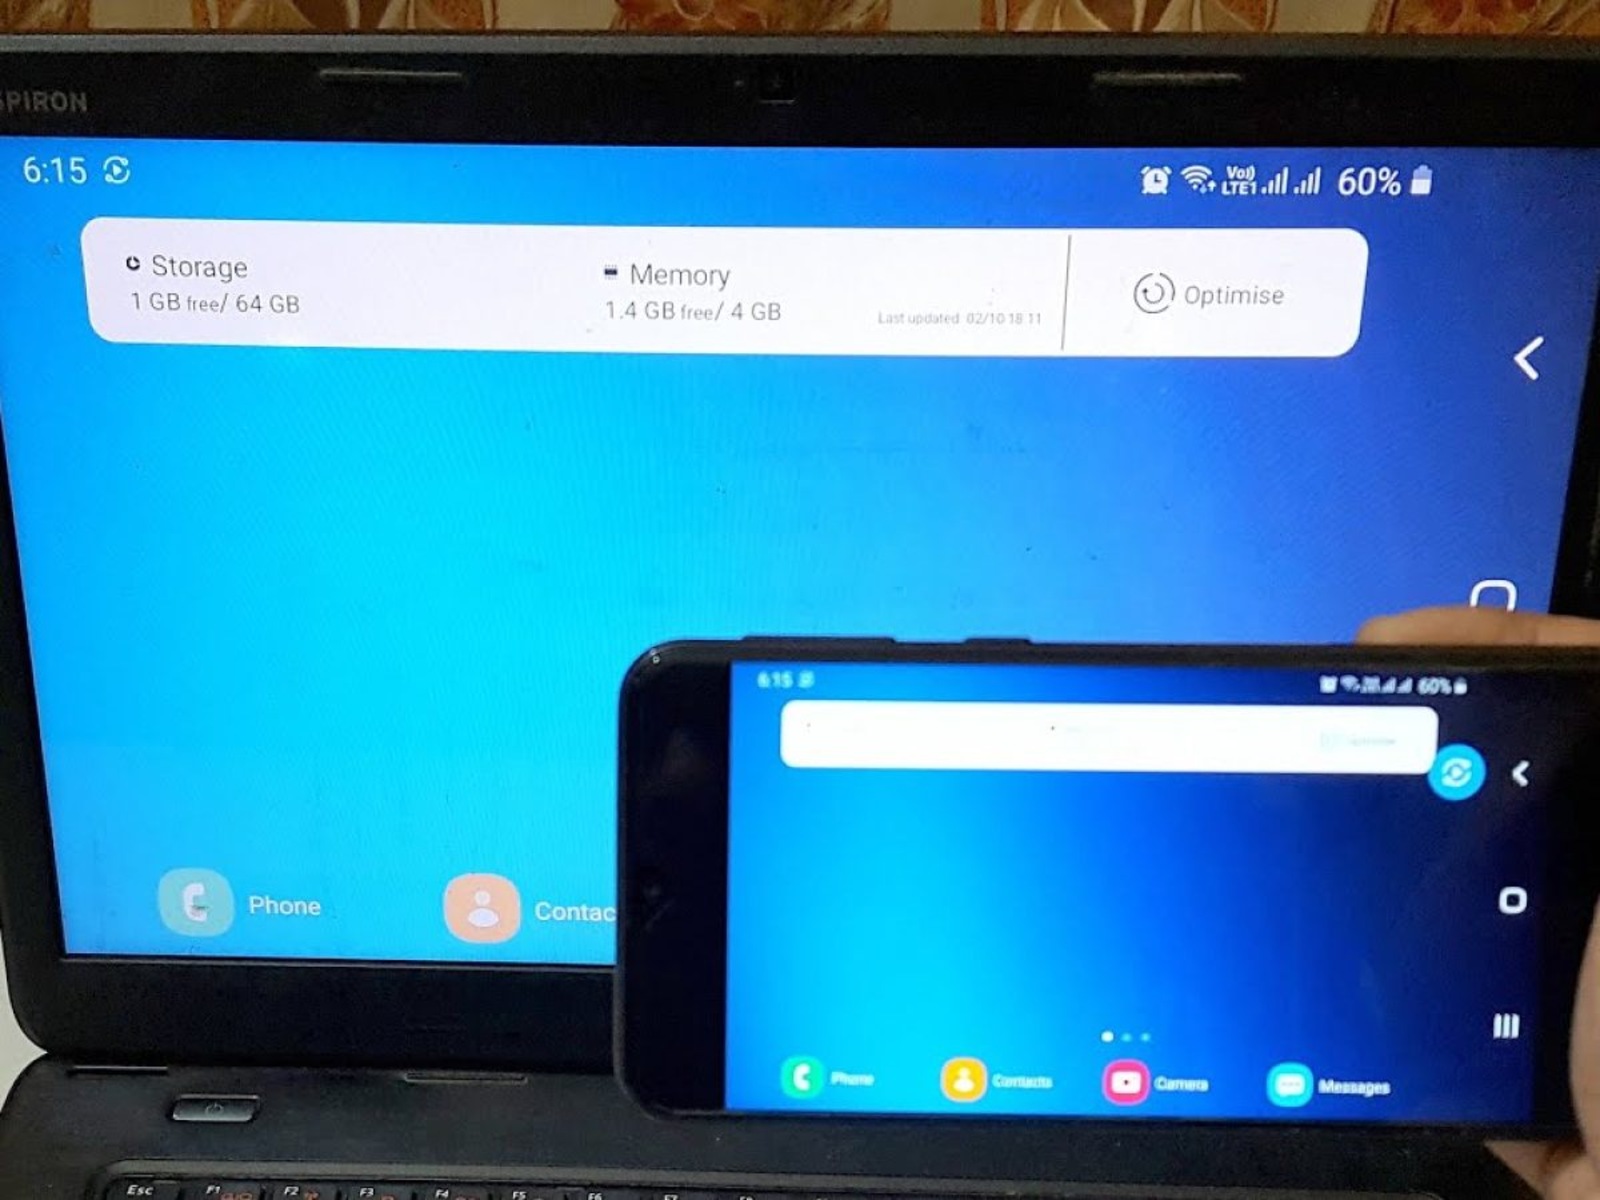
Access the Quick Settings Panel: Begin by swiping down from the top of your Xperia Z1's screen to reveal the Quick Settings Panel. This panel provides quick access to essential functions and settings, including the screenshot capture feature.
-
Locate the Screenshot Icon: Within the Quick Settings Panel, locate the "Screenshot" icon. This dedicated icon is designed to initiate the screenshot capture process with a single tap, eliminating the need for simultaneous button presses.
-
Tap the Screenshot Icon: Once you've located the "Screenshot" icon, simply tap on it to trigger the screenshot capture. This action instantly captures the content displayed on your Xperia Z1's screen, providing a seamless and efficient way to preserve important information, memorable moments, or entertaining content.
-
Confirmation and Notification: Upon successfully capturing the screenshot, your Xperia Z1 will typically provide a visual notification to confirm the action. This notification serves as an indication that the screenshot has been saved and is ready for your access.
-
Accessing the Screenshot: To view the captured screenshot, navigate to the "Screenshots" folder in your Xperia Z1's gallery or photo app. From there, you can conveniently access, edit, share, or delete the screenshot based on your preferences.
Utilizing the Quick Settings Panel to capture screenshots on your Xperia Z1 offers a user-friendly and accessible method that complements the device's intuitive interface. This approach is particularly beneficial for users who prefer a touch-based and gesture-driven interaction with their device, providing a modern and efficient way to capture and preserve content.
By incorporating the Quick Settings Panel into your screenshot capture routine, you can seamlessly document and share noteworthy content from your Xperia Z1. Whether it's for personal use, sharing with friends, or professional purposes, this method empowers you to effortlessly capture and save valuable information and memorable moments with ease.
Incorporating the Quick Settings Panel into your screenshot capture routine enhances the overall user experience of your Xperia Z1, offering a modern and accessible approach to preserving content displayed on the device's screen. Whether you're a tech enthusiast, a casual user, or someone who values convenience, mastering this method provides a valuable skill that enriches your mobile experience.
Method 3: Using the Assistive Touch Feature
Capturing screenshots on your Xperia Z1 using the Assistive Touch feature introduces a modern and innovative approach that leverages the device's intuitive interface. This method is particularly beneficial for users who prefer a touch-based interaction and seek alternative ways to perform essential functions without relying solely on physical buttons. Let's explore the step-by-step process of using the Assistive Touch feature to effortlessly capture screenshots on your Xperia Z1.
-
Enable Assistive Touch: Begin by accessing the settings menu on your Xperia Z1 and navigating to the accessibility options. Locate the Assistive Touch feature and enable it to activate the on-screen touch controls. Once enabled, a virtual button overlay will appear on your device's screen, providing quick access to essential functions.
-
Access the Screenshot Function: With the Assistive Touch feature activated, locate the virtual button designated for capturing screenshots. This dedicated button is designed to initiate the screenshot capture process with a single tap, offering a convenient and accessible alternative to physical button presses.
-
Tap to Capture: Once you've located the screenshot function within the Assistive Touch overlay, simply tap on the designated button to trigger the screenshot capture. This action seamlessly captures the content displayed on your Xperia Z1's screen, providing a modern and user-friendly approach to preserving important information, memorable moments, or entertaining content.
-
Confirmation and Notification: Upon successfully capturing the screenshot, your Xperia Z1 will typically provide a visual notification to confirm the action. This notification serves as an indication that the screenshot has been saved and is ready for your access.
-
Accessing the Screenshot: To view the captured screenshot, navigate to the "Screenshots" folder in your Xperia Z1's gallery or photo app. From there, you can conveniently access, edit, share, or delete the screenshot based on your preferences.
Utilizing the Assistive Touch feature to capture screenshots on your Xperia Z1 introduces a touch-based and intuitive method that aligns with the device's modern interface. This approach is particularly beneficial for users who appreciate alternative ways to interact with their device, offering a seamless and accessible way to capture and preserve content.
Incorporating the Assistive Touch feature into your screenshot capture routine enhances the overall user experience of your Xperia Z1, providing a modern and accessible approach to preserving content displayed on the device's screen. Whether you're a tech enthusiast, a casual user, or someone who values convenience, mastering this method empowers you to effortlessly capture and save valuable information and memorable moments with ease.
By leveraging the Assistive Touch feature, you can seamlessly document and share noteworthy content from your Xperia Z1, further enriching your mobile experience. Whether it's for personal use, sharing with friends, or professional purposes, this method offers a contemporary and user-friendly way to capture and preserve content, aligning with the device's modern capabilities.
Conclusion
Mastering the art of capturing screenshots on your Xperia Z1 opens up a world of possibilities, allowing you to effortlessly preserve and share valuable content, memorable moments, and essential information with ease. By exploring the three distinct methods for capturing screenshots – utilizing the Power and Volume Down buttons, leveraging the Quick Settings Panel, and incorporating the innovative Assistive Touch feature – you gain a comprehensive understanding of the diverse approaches available on your device.
Each method offers unique advantages, catering to different user preferences and enhancing the overall mobile experience. The classic approach of using the Power and Volume Down buttons provides a reliable and familiar method, ideal for users who appreciate a traditional and tactile interaction with their device. On the other hand, the Quick Settings Panel introduces a streamlined and touch-based alternative, offering convenience and accessibility for capturing screenshots with a single tap.
Furthermore, the Assistive Touch feature represents a modern and innovative approach, aligning with the Xperia Z1's intuitive interface and providing a touch-based method for capturing screenshots. This feature is particularly beneficial for users who seek alternative ways to interact with their device, emphasizing accessibility and user-friendly functionality.
By mastering these methods, you empower yourself to seamlessly document and share noteworthy content from your Xperia Z1, whether it's for personal use, sharing with friends, or professional purposes. The ability to capture screenshots effortlessly enriches your mobile experience, allowing you to immortalize important information, cherish memorable moments, and share entertaining content with confidence.
As technology continues to evolve, the Xperia Z1 remains at the forefront of innovation, offering versatile methods for capturing screenshots that align with modern user preferences and interface design. Whether you prefer the tactile feedback of physical buttons or the convenience of touch-based controls, the Xperia Z1 accommodates diverse user needs, ensuring that capturing screenshots is a seamless and enjoyable experience for all.
In conclusion, mastering the art of capturing screenshots on your Xperia Z1 not only enhances your ability to preserve and share content but also reflects the device's commitment to user-centric design and functionality. Embracing these methods empowers you to make the most of your Xperia Z1, transforming everyday interactions into memorable and valuable experiences.