Introduction
Activating your AT&T SIM card is a crucial step in getting your mobile device up and running. Whether you've just signed up for a new AT&T plan or replaced a lost or damaged SIM card, the activation process is essential for establishing a connection to the AT&T network. This guide will walk you through the step-by-step process of activating your AT&T SIM card, ensuring that you can seamlessly transition to using your device without any hiccups.
Activating your SIM card is a fundamental part of setting up your mobile device, as it enables you to make calls, send text messages, and access mobile data. While the process may seem daunting at first, rest assured that with the right guidance, you'll be able to complete the activation smoothly and efficiently.
By following the steps outlined in this guide, you'll gain a comprehensive understanding of how to activate your AT&T SIM card, empowering you to take control of your mobile connectivity. Whether you're a tech-savvy individual or someone who's new to the world of mobile devices, this guide is designed to provide clear and concise instructions that anyone can follow.
So, let's dive into the process of activating your AT&T SIM card and get you one step closer to enjoying the full functionality of your mobile device. Whether you're eager to stay connected with friends and family, access essential apps, or simply browse the web, the activation of your SIM card is the gateway to unlocking the full potential of your device.
Step 1: Gather Necessary Materials
Before you begin the process of activating your AT&T SIM card, it’s essential to gather the necessary materials to ensure a smooth and hassle-free experience. By having all the required items at hand, you can streamline the activation process and minimize any potential disruptions. Here’s what you’ll need:
-
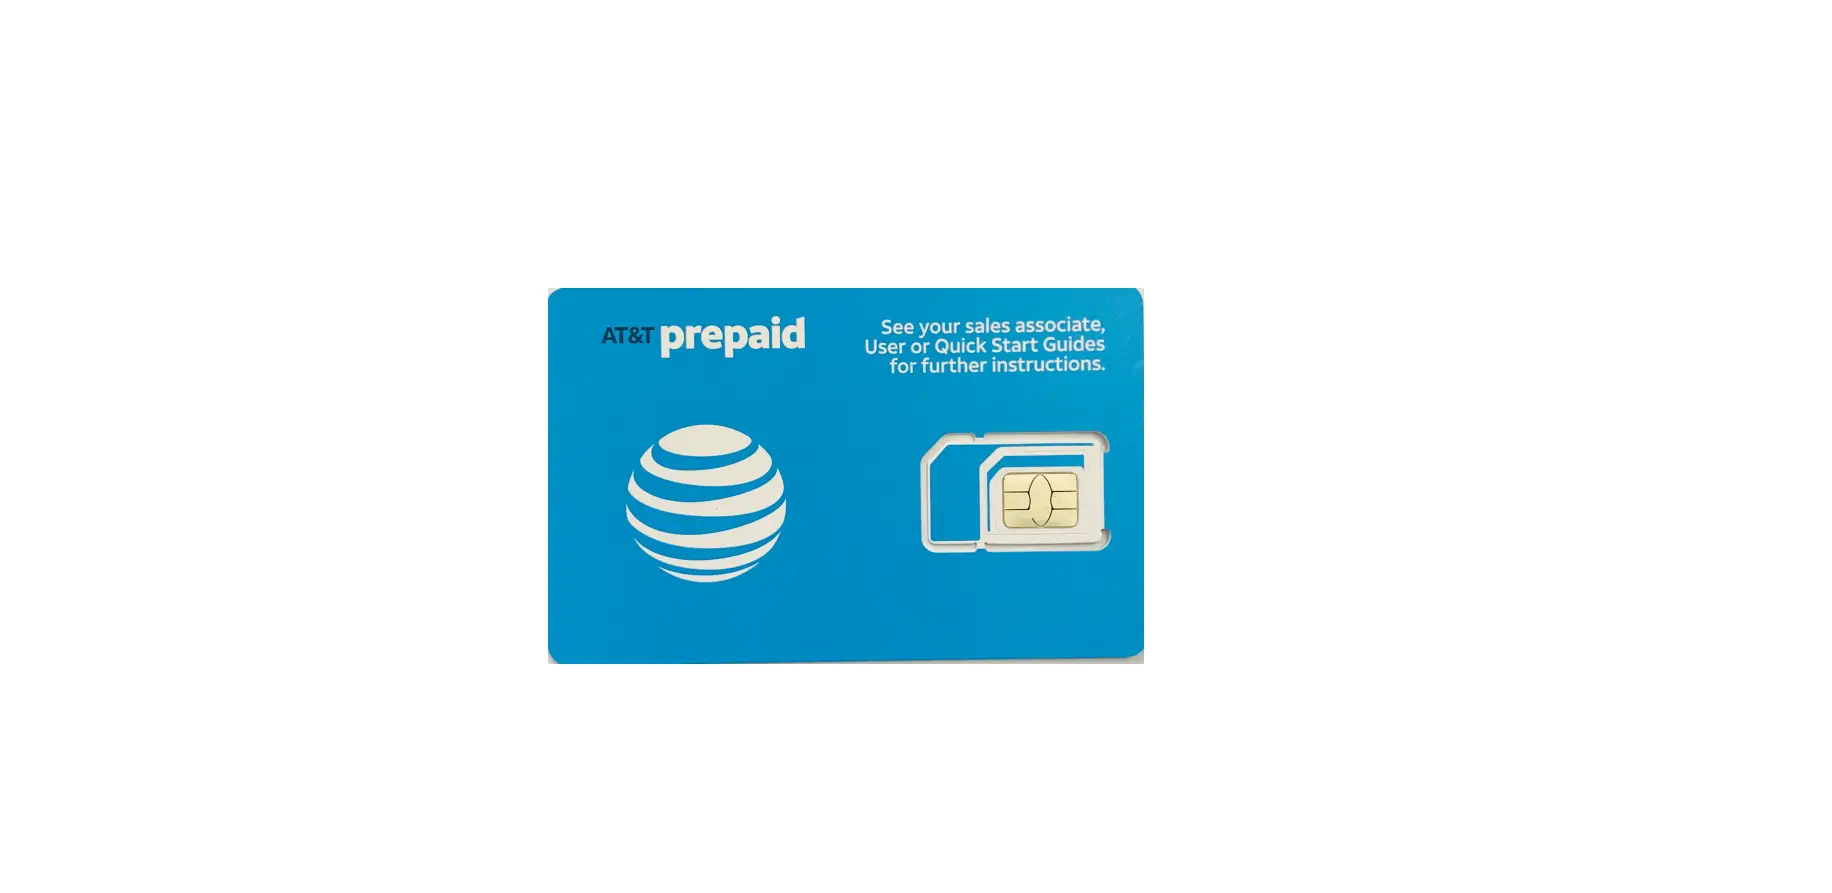
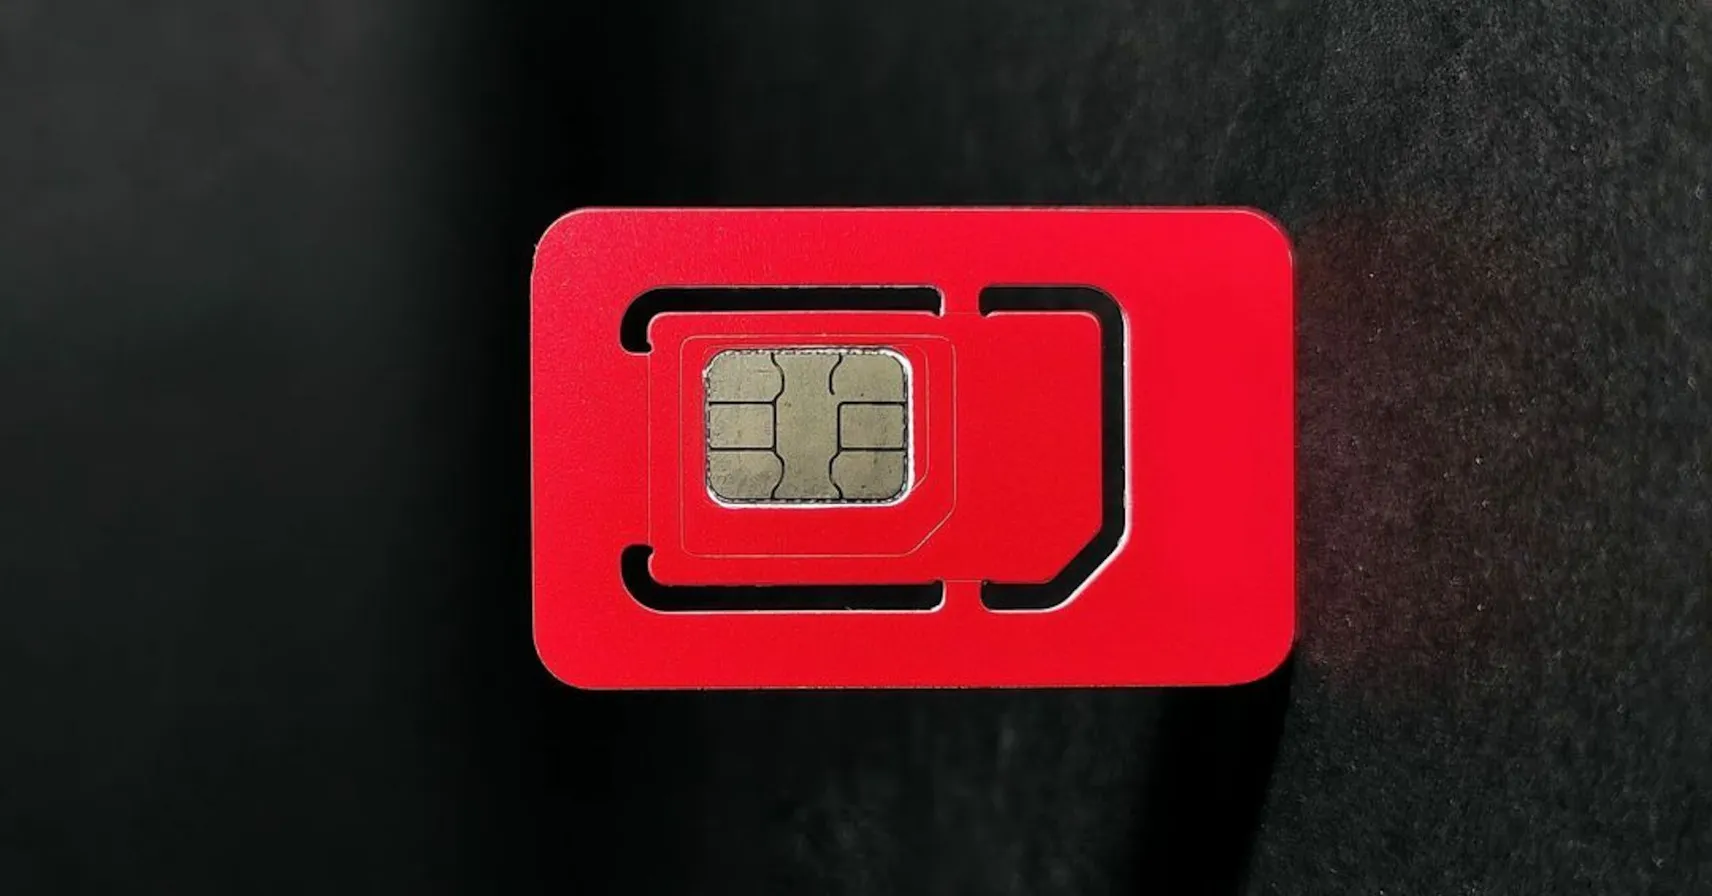
AT&T SIM Card: This is the heart of the activation process. Whether you received a new SIM card as part of signing up for a new AT&T plan or obtained a replacement SIM, ensure that it’s readily available.
-
Mobile Device: Have your mobile device, such as a smartphone or tablet, on hand. This is where the SIM card will be inserted, and having it nearby will allow you to proceed seamlessly through the activation steps.
-
Access to the Internet: Ensure that you have access to the internet, either through Wi-Fi or a mobile data connection. This is essential for activating your SIM card online and completing the necessary steps through the AT&T website.
-
AT&T Account Information: Be prepared with your AT&T account information, including your account username and password. This information will be required when accessing your account online to activate the SIM card.
-
Paperclip or SIM Eject Tool: In some cases, you may need a small, unfolded paperclip or a SIM eject tool to open the SIM card slot on your device. Having one of these tools nearby can be helpful if your device requires it.
By ensuring that you have all these materials within reach, you can proceed with confidence in the activation process. With everything in place, you’ll be well-prepared to move on to the next step of locating your SIM card and initiating the activation process.
Remember, having the necessary materials at hand can save you time and effort, allowing you to seamlessly progress through each step of activating your AT&T SIM card. So, gather these items, and let’s move on to the next phase of the activation process.
Step 2: Locate Your SIM Card
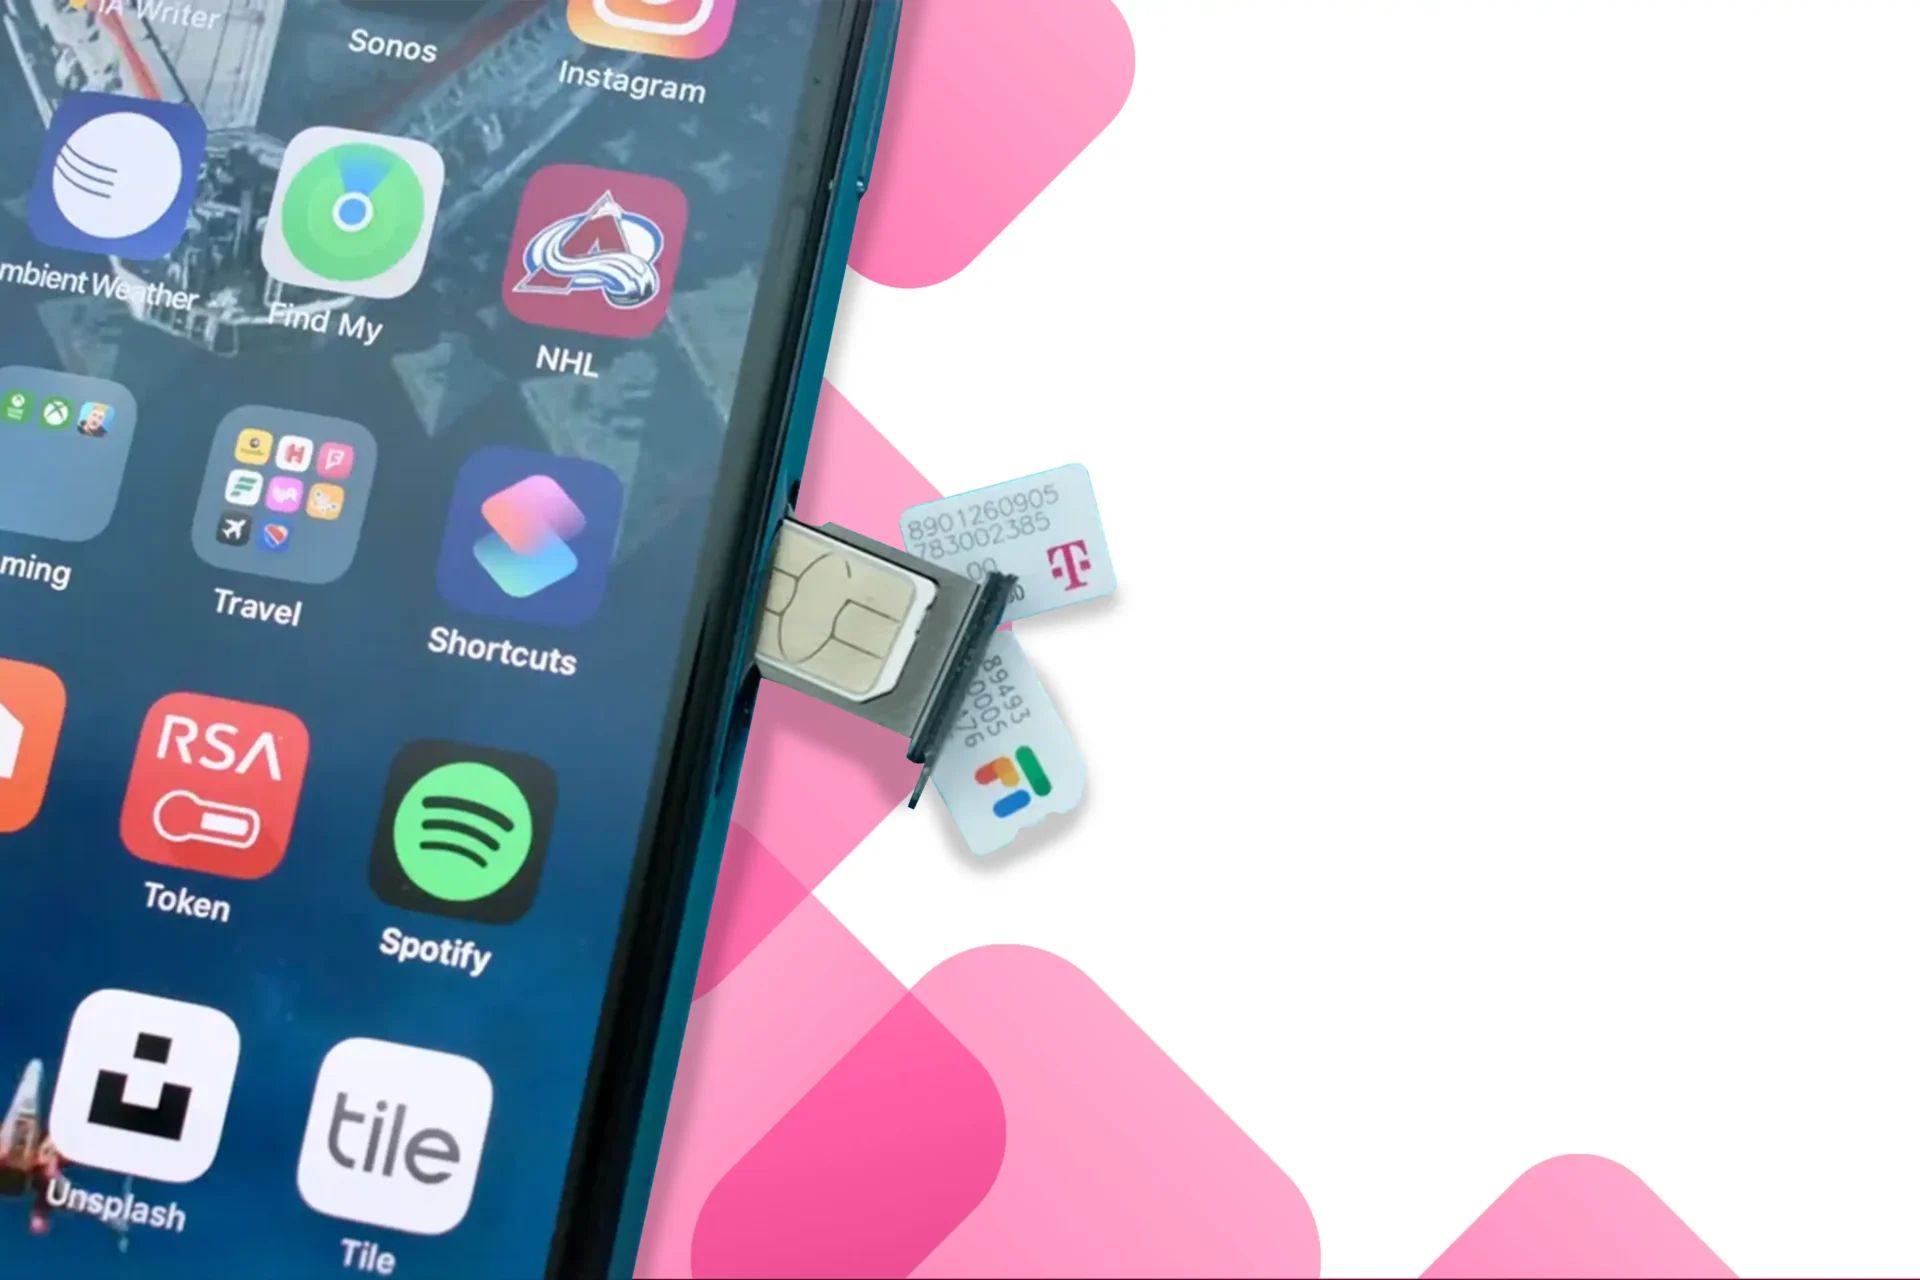
Locating the SIM card slot on your mobile device is a crucial step in the activation process. The SIM card is a small, rectangular chip that establishes the connection between your device and the AT&T network. Here’s how you can locate your SIM card and prepare it for activation:
-
Consult Your Device Manual: If you’re unsure about the location of the SIM card slot on your device, referring to the device manual can provide valuable guidance. The manual typically contains detailed instructions and illustrations that pinpoint the exact location of the SIM card slot.
-
Inspect the Exterior of Your Device: In most cases, the SIM card slot is located on the side of the device. Look for a small tray or compartment with a pinhole or a small opening. This is where the SIM card will be inserted.
-
Use a SIM Eject Tool or Paperclip: If your device has a SIM card tray with a pinhole, you can use a SIM eject tool or a small, unfolded paperclip to gently press into the pinhole. This will release the SIM card tray, allowing you to access the SIM card slot.
-
Open the SIM Card Tray: Carefully remove the SIM card tray from the device using the SIM eject tool or paperclip. The SIM card slot will be located within the tray, and you can proceed to insert the SIM card into this slot.
-
Identify the SIM Card Slot: Once the SIM card tray is removed, you’ll be able to identify the SIM card slot, which is typically a small, rectangular opening that matches the size of the SIM card. Take note of the orientation of the SIM card slot to ensure that you insert the SIM card correctly.
By following these steps, you can successfully locate the SIM card slot on your device, setting the stage for the next phase of the activation process. Once you’ve located the SIM card slot, you’ll be ready to proceed with inserting the SIM card and powering on your device to initiate the activation process.
Step 3: Insert the SIM Card into Your Device
With the SIM card slot located and accessible, it's time to proceed with inserting the SIM card into your mobile device. This step is pivotal in establishing the connection between your device and the AT&T network, paving the way for the activation process to unfold seamlessly. Here's a detailed guide on how to insert the SIM card into your device:
-
Prepare the SIM Card: Before inserting the SIM card, ensure that it is free from any visible damage and is oriented correctly. The SIM card will have a unique shape that aligns with the SIM card slot in your device. Take a moment to inspect the SIM card and verify that it matches the size and shape required for your device.
-
Align the SIM Card: Holding the SIM card with gentle care, align it with the SIM card slot on your device. The SIM card will have a notched corner or a specific orientation that matches the slot, ensuring that it can only be inserted in one direction. Align the SIM card accordingly to avoid any potential issues during insertion.
-
Insert the SIM Card: With the SIM card properly aligned, carefully slide it into the SIM card slot. Apply gentle pressure to ensure that the SIM card is securely seated in the slot. Take note of any resistance during the insertion process, as the SIM card should slide in smoothly without the need for excessive force.
-
Replace the SIM Card Tray: Once the SIM card is successfully inserted, carefully place the SIM card tray back into the device. Ensure that the tray is aligned with the slot and gently push it back into place. Listen for a soft click or indication that the tray is securely reinstalled.
-
Power On Your Device: With the SIM card inserted and the tray securely in place, power on your device. As the device boots up, it will recognize the newly inserted SIM card and initiate the activation process. Be patient as the device establishes the connection to the AT&T network.
By following these steps, you have successfully inserted the SIM card into your device, setting the stage for the next phase of the activation process. With the SIM card in place, your device is now ready to be powered on, initiating the crucial step of activating your AT&T SIM card online.
Step 4: Power On Your Device
With the SIM card securely inserted into the device, it's time to power on your device and initiate the activation process. This step plays a crucial role in establishing the connection between your device and the AT&T network, allowing you to proceed with the online activation of your SIM card. Here's a detailed walkthrough of the process of powering on your device and what to expect during this pivotal stage.
-
Press the Power Button: Locate the power button on your device, typically located on the side or top edge. Press and hold the power button until the device begins to boot up. You may see the device manufacturer's logo or a loading screen as the device powers on.
-
Wait for the Device to Start Up: As the device boots up, it will recognize the presence of the newly inserted SIM card. Depending on the device model and network conditions, this process may take a few moments. Be patient as the device establishes the connection to the AT&T network.
-
Observe the Signal Strength: Once the device has powered on, observe the signal strength indicator on the screen. This indicator typically appears in the form of bars or a visual representation of the network signal. A strong signal indicates that the device has successfully established a connection to the AT&T network.
-
Check for Network Connectivity: After the device has fully powered on, navigate to the network settings or status section in the device's settings menu. Verify that the device displays the AT&T network as the active carrier. This confirmation indicates that the SIM card is functioning correctly and has been recognized by the network.
-
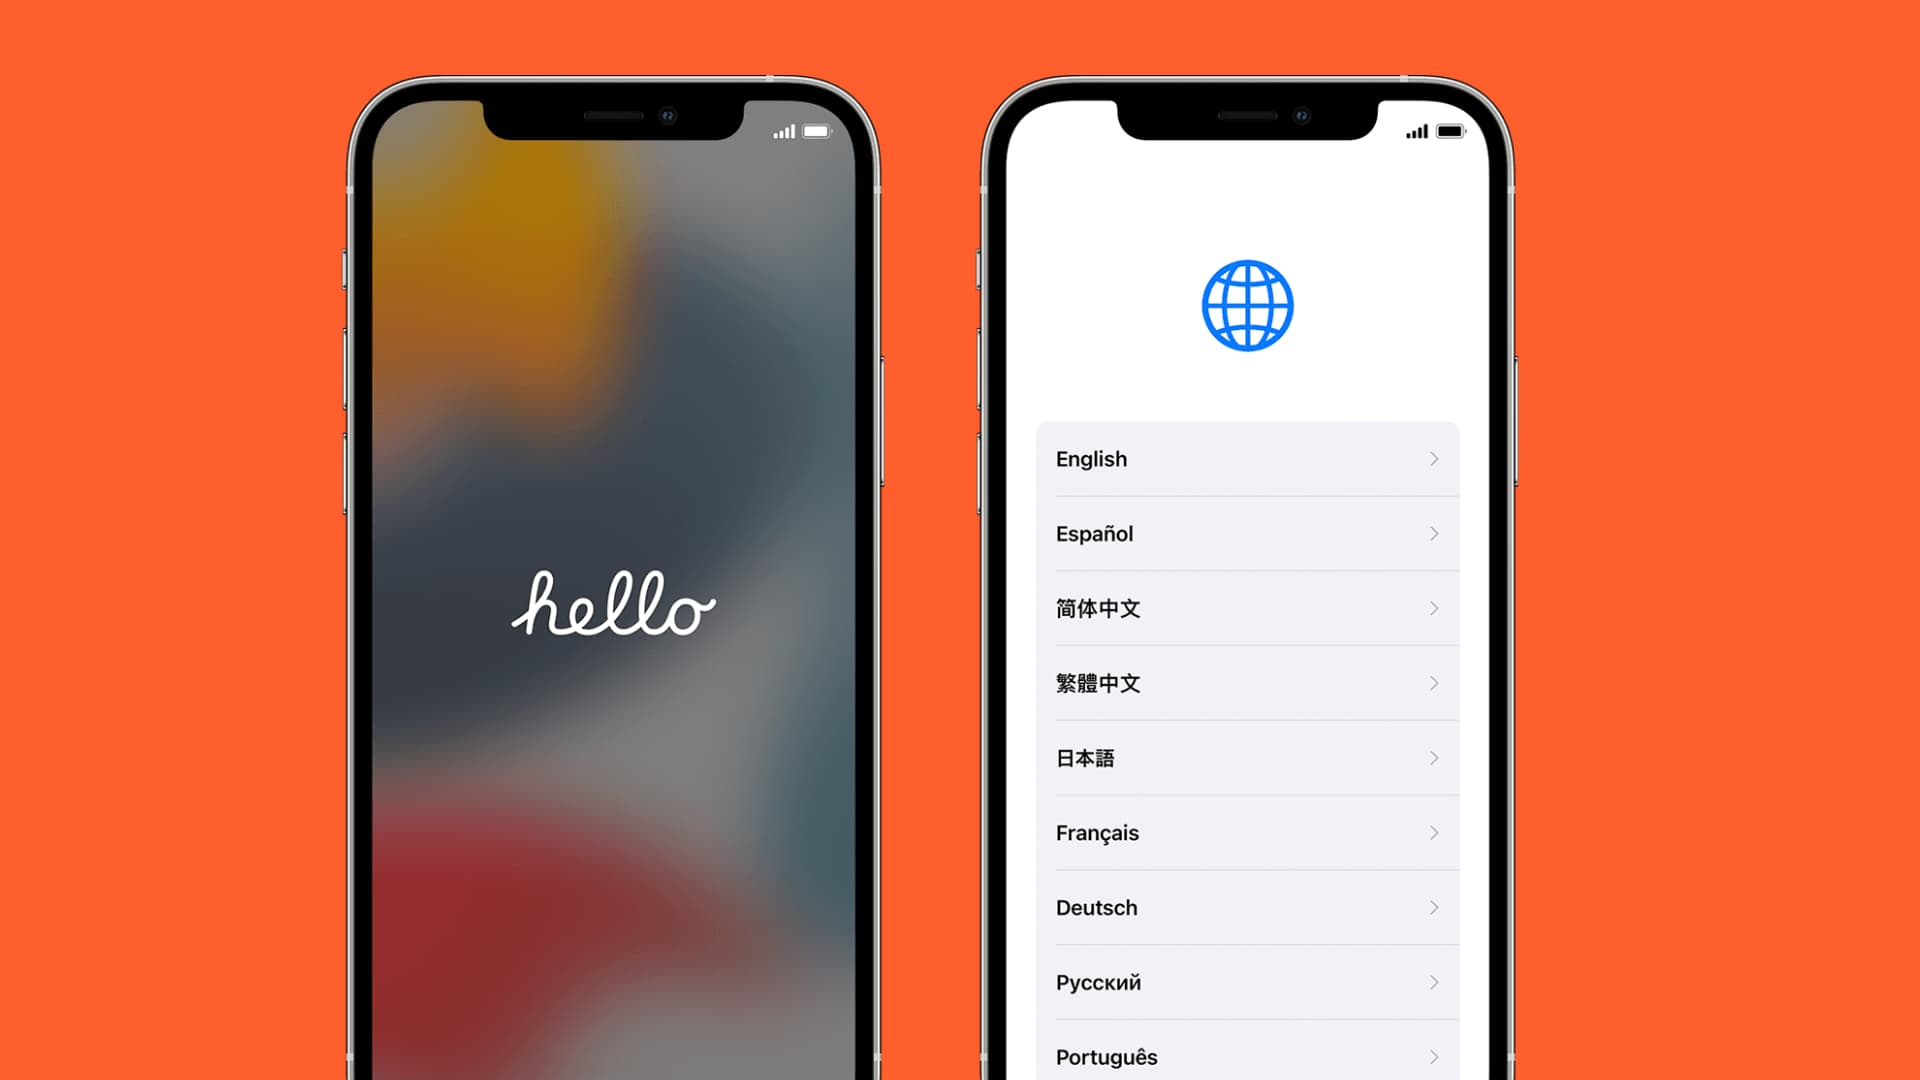
Initiate the Online Activation: With the device powered on and the SIM card recognized by the network, you're now ready to proceed with the online activation of your AT&T SIM card. Access the AT&T activation website using a web browser on your device or a computer. Follow the on-screen instructions to log in to your AT&T account and complete the activation process.
By powering on your device and ensuring that it establishes a connection to the AT&T network, you've successfully set the stage for the final phase of the activation process. With the device powered on and the SIM card recognized, you can proceed with confidence to activate your SIM card online, bringing you one step closer to enjoying the full functionality of your mobile device.
Step 5: Activate Your SIM Card Online
Activating your SIM card online is a convenient and efficient way to establish the connection between your device and the AT&T network. By completing the activation process through the AT&T website, you can ensure that your SIM card is fully operational, allowing you to make calls, send text messages, and access mobile data. Here’s a detailed guide on how to activate your SIM card online, guiding you through the essential steps to complete the process seamlessly.
-
Access the AT&T Activation Website: Using a web browser on your device or a computer, navigate to the AT&T activation website. This online platform provides the necessary tools and interfaces to guide you through the activation process, ensuring that your SIM card is fully functional.
-
Log In to Your AT&T Account: Upon accessing the activation website, you will be prompted to log in to your AT&T account. Enter your account username and password to gain access to the activation portal. If you don’t have an AT&T account, you may need to create one before proceeding with the activation process.
-
Enter Your SIM Card Information: Once logged in, you will be prompted to enter the information associated with your SIM card. This typically includes the SIM card number, which is printed on the SIM card itself, and other relevant details. Ensure that the information is entered accurately to avoid any potential activation issues.
-
Follow the On-Screen Instructions: The activation website will guide you through the necessary steps to complete the activation process. Follow the on-screen instructions carefully, ensuring that each step is completed accurately. This may include confirming your personal details, selecting a plan if applicable, and verifying the activation request.
-
Wait for Confirmation: After submitting the activation request, you will receive a confirmation message indicating that the activation process is underway. This confirmation may appear on the website or be sent to your registered email address or mobile number. Be patient as the activation request is processed.
-
Restart Your Device: Once the activation process is complete, restart your device to ensure that the changes take effect. This step allows the device to refresh its network settings and establish a seamless connection to the AT&T network using the activated SIM card.
By following these steps to activate your SIM card online, you can ensure that your device is fully connected to the AT&T network, allowing you to enjoy the full range of mobile services. The online activation process streamlines the setup of your SIM card, providing a user-friendly and accessible method to complete this essential step in getting your device up and running.
Step 6: Test Your Device
After completing the activation process for your AT&T SIM card, it's essential to perform a comprehensive test of your device to ensure that the activation was successful and that all essential features are fully functional. Testing your device allows you to confirm that you can make calls, send text messages, and access mobile data without any issues. Here's a detailed guide on how to test your device after activating your AT&T SIM card:
-
Make a Test Call: Initiate a test call to a known number, such as a friend or family member. Confirm that the call connects successfully and that you can communicate without any disruptions. Pay attention to call quality and ensure that both incoming and outgoing calls function as expected.
-
Send a Test Text Message: Send a test text message to another mobile device. Verify that the message is delivered promptly and that you receive a response if applicable. Check the messaging app for any error messages or delays in sending or receiving texts.
-
Access Mobile Data: Open a web browser or a mobile app that requires an internet connection. Verify that you can access mobile data without any issues. Load a webpage, stream a short video, or perform any other activity that relies on mobile data to confirm that the connection is stable and functional.
-
Check Network Signal Strength: Observe the signal strength indicator on your device. Ensure that the indicator displays a strong and consistent signal, indicating a stable connection to the AT&T network. Note any fluctuations in signal strength and identify areas where the signal may be weaker.
-
Test Additional Features: If your device supports additional features such as mobile hotspot, visual voicemail, or Wi-Fi calling, test these features to ensure that they are operational. Verify that each feature functions as intended and that you can utilize them without encountering any issues.
-
Verify Roaming and International Usage: If you anticipate using your device while roaming or during international travel, verify that these features are enabled and functional. Test the device's behavior when connecting to international networks or roaming partners to ensure seamless connectivity.
By thoroughly testing your device after activating your AT&T SIM card, you can gain confidence in the functionality and reliability of your mobile connectivity. Any issues identified during the testing phase can be addressed promptly, ensuring that you can fully enjoy the capabilities of your device without interruptions or limitations.
Conclusion
In conclusion, successfully activating your AT&T SIM card is a pivotal step in unleashing the full potential of your mobile device. By following the comprehensive step-by-step guide provided in this article, you've navigated through the essential stages of preparing, inserting, powering on, and activating your SIM card, culminating in a thorough testing phase to ensure seamless connectivity.
The activation process is not only about establishing a connection to the AT&T network but also about empowering you to stay connected with friends, family, and the digital world at large. It's a gateway to accessing essential communication services, enjoying mobile data, and leveraging the myriad features of your device.
By gathering the necessary materials, locating the SIM card slot, inserting the SIM card, powering on your device, and activating the SIM card online, you've taken the proactive steps to ensure that your mobile connectivity is robust and reliable. The testing phase further solidifies your confidence in the functionality of your device, allowing you to make calls, send messages, and access mobile data without any hiccups.
As you embark on your mobile journey with your newly activated AT&T SIM card, it's essential to stay informed about additional features and services that AT&T offers. Exploring features such as mobile hotspot, visual voicemail, and Wi-Fi calling can enhance your mobile experience, providing added convenience and flexibility in how you communicate and stay connected.
Furthermore, maintaining an awareness of roaming and international usage capabilities equips you for seamless connectivity when traveling domestically or abroad. By verifying these features, you can ensure that your device transitions effortlessly between networks, allowing you to stay connected wherever you go.
Ultimately, the successful activation of your AT&T SIM card marks the beginning of a seamless and enriching mobile experience. Whether you're using your device for personal communication, work-related tasks, or leisure activities, the reliability and functionality of your mobile connectivity are paramount.
By completing the activation process and conducting thorough testing, you've positioned yourself to make the most of your mobile device, leveraging its capabilities to stay connected, informed, and engaged in today's interconnected world. The activation of your SIM card is not just a technical process – it's the key to unlocking a world of possibilities at your fingertips.