When people ask how to set up a VPN, the first thing that usually comes to mind is how tedious the task might be. Although setting up a VPN can be confusing, it is an important tool to stay private and secure online, whether through your computer or another device. Before diving in and discussing how to set up a VPN, it’s important to understand what a virtual private network (VPN) is.
What Is VPN?
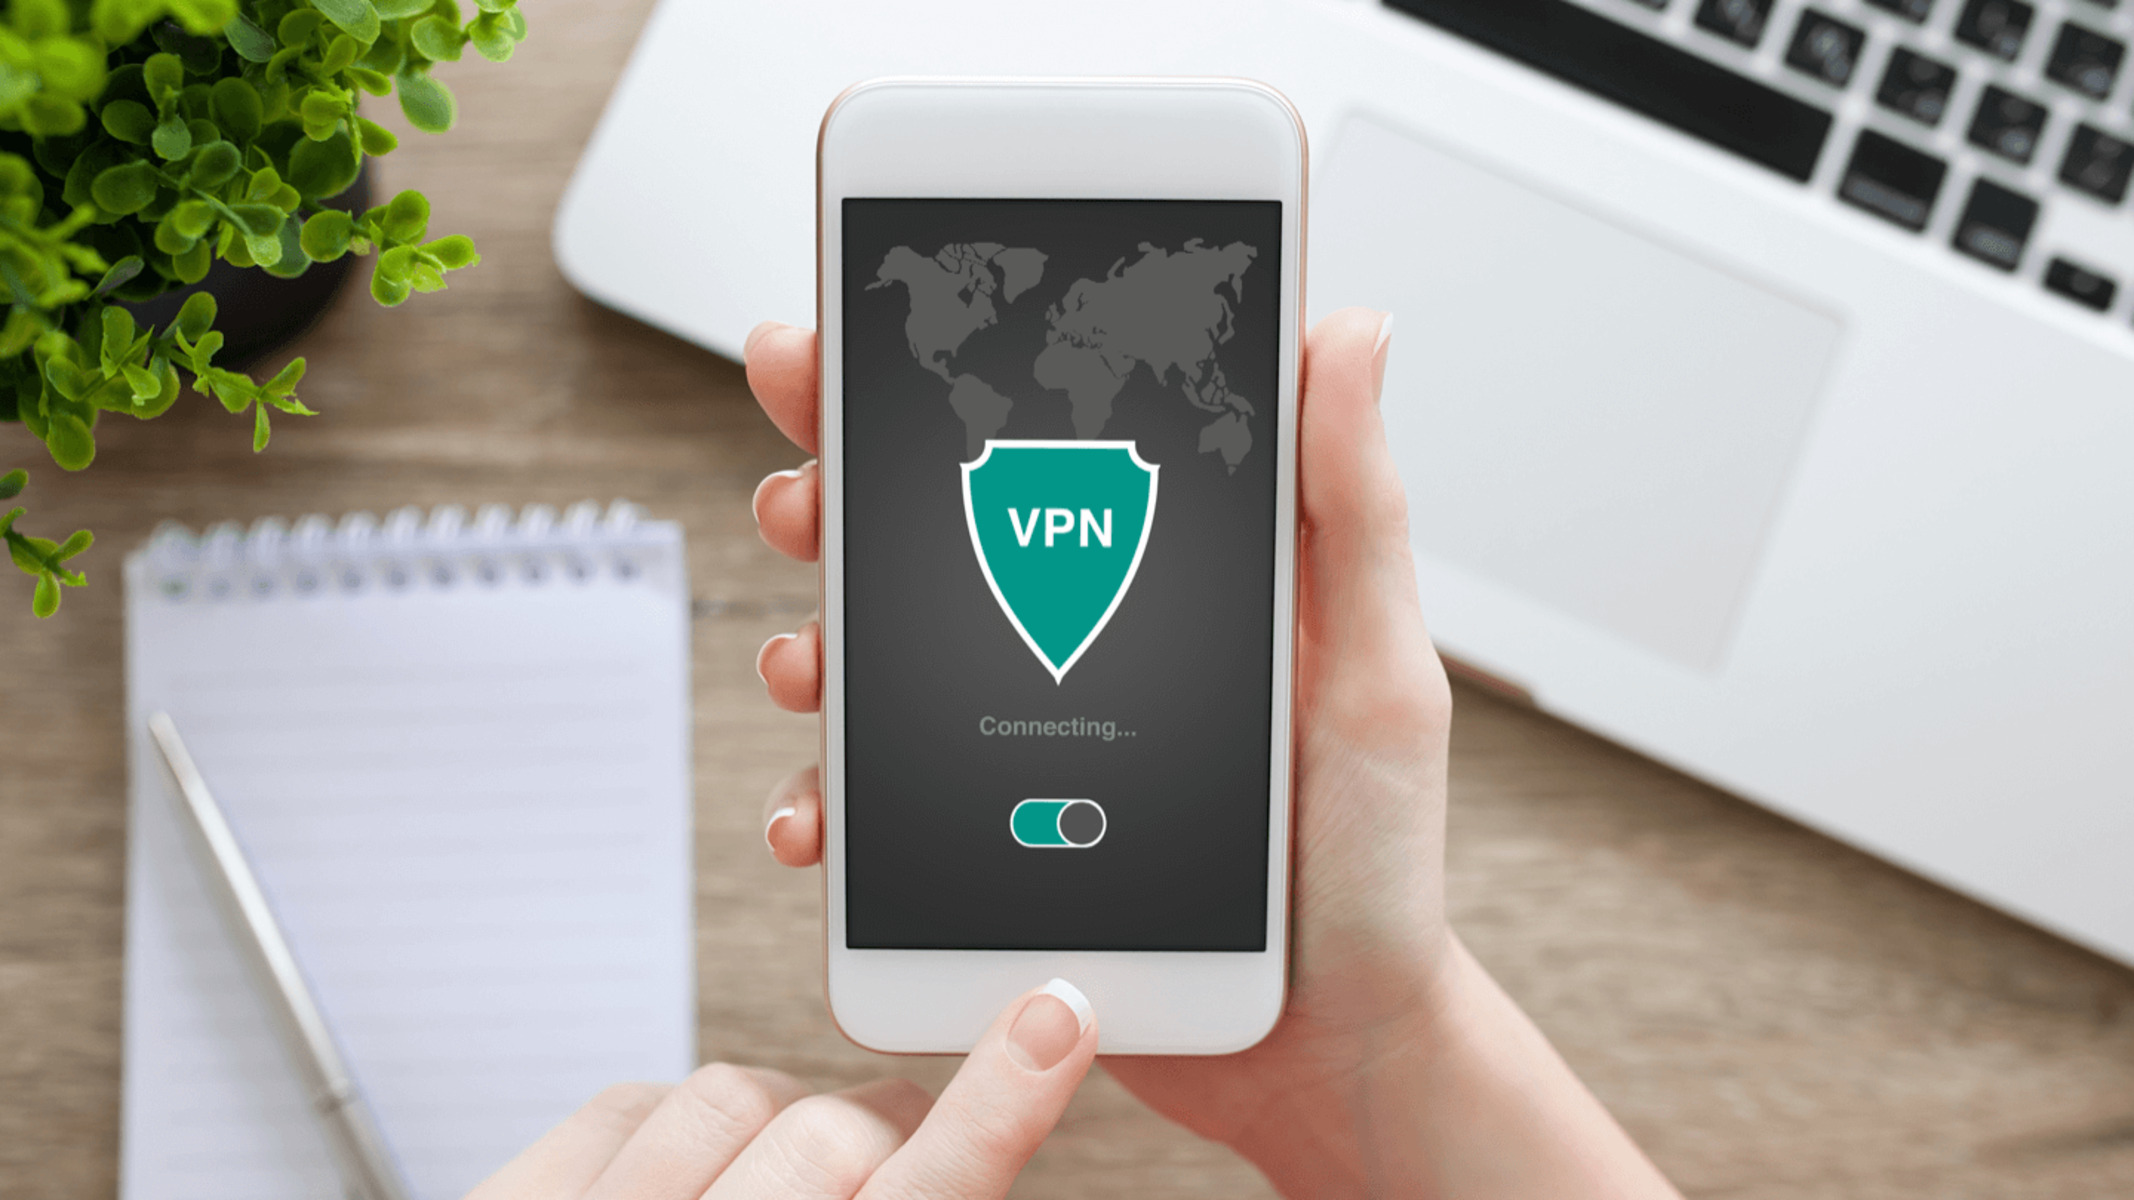
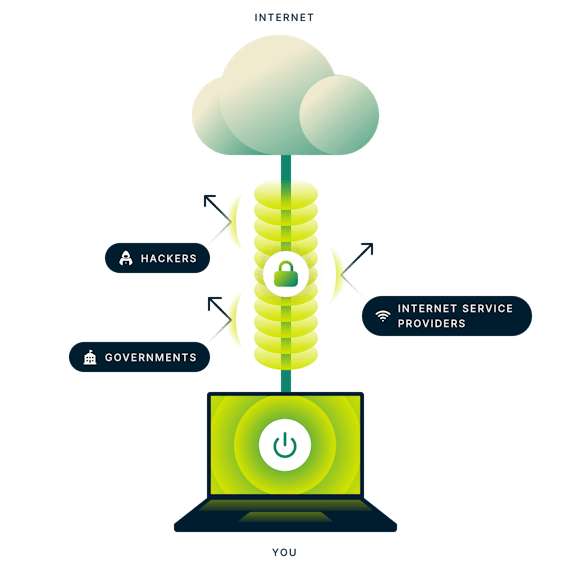
A virtual private network or VPN is an encrypted tunnel that runs between the client (the VPN application on your computer or device) and the VPN provider’s server. This protects your data from being seen or tampered with by hackers, internet service providers (ISPs), or nosey governments.
The most common uses of VPNs are to facilitate private and secure surfing from home or public networks, as well as for companies to allow their employees to securely connect to a corporate network from a remote location.

How Does VPN Work?
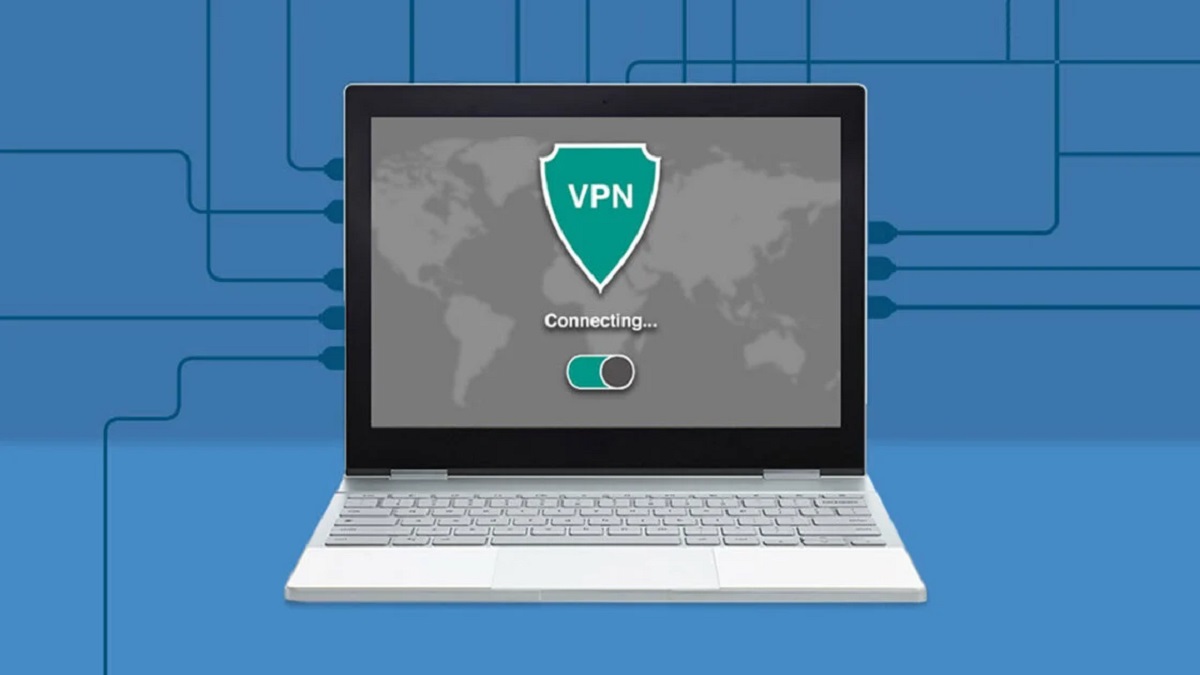
When you use the internet, the connection may not be fully encrypted, which means that the government and any motivated hackers can see what you’re looking at, downloading, or uploading. This setup is neither secure nor private. If you install a VPN, the encryption allows you to look up and access things anonymously with a greater amount of security and privacy.
Once you encrypt, data travels through your VPN provider’s server, then sent to another server of your choice. Some providers have servers around the world, which allow you to spoof your location. This means that your connection will appear to be coming from a different server to where you are physically located, and it can be used to hide where you are or to access geo-restricted content.
Although data is encrypted as it travels to your VPN provider, there is the potential for your provider to access it either through poor security practices or from some kind of scam (like many free VPN providers). This is why it is important to choose a trustworthy provider.
How to Choose the Right VPN
When setting up a personal VPN, you should look for a provider that suits your unique needs. Are you looking for one that is secure and private, or do you want to get around geo-restrictions? There are many different VPNs, but here are the most popular ones:
ExpressVPN
This VPN can support up to five devices and has 160 locations in 94 countries, with clients for a wide range of platforms. ExpressVPN is one of the most popular VPNs due to its high-quality service. It doesn’t offer a free trial, but if you are not happy with the service, ExpressVPN offers a 30-day money-back guarantee.
NordVPN
One of the main advantages of NordVPN is its large pool of servers (5,000+) with more than 60 available locations around the globe. Its popularity comes from its ability to support up to six devices, and the data gets a 2048-bit encryption.
Also Read: ExpressVPN vs NordVPN: Which Is Better?
IPVanish
IPVanish is one of the cheaper providers, but that doesn’t mean it offers a poor service. The company claims to operate as “the world’s fastest VPN” with almost a thousand VPN servers spread across 60 countries. Just like ExpressVPN, it also supports up to 5 connections.
How to Set Up a VPN?
Most VPN apps support OpenVPN protocol, making the process to set up a VPN simple by allowing the app access to configure settings for you. The exact steps will differ depending on the provider, device, and use case, but the following is a rough outline for a range of common platforms.
Setting Up a VPN on Windows
First, you’ll need to create a VPN profile which you’ll fill out with details from a VPN provider.
- Click on the Windows button, head into Settings > Network & Internet > VPN, and click on Add a VPN connection.
- On the page, select Windows (built-in) as your VPN provider. Under the Connection name, give your VPN a name. Provide the server name or address, the VPN type, and the type of sign-in info.
- Add a user name and password for maximum security (this step is optional but recommended). You can choose whether to have the computer remember your sign-in info or not.
- Next, click on Save.
- To connect to your new VPN, go back to Settings > Network & Internet > VPN. Click on the VPN name.
- If you want, you can select Advanced Options to edit the connection properties, clear your sign-in info, or set up a VPN proxy.
- Select Connect and enter a password if you’ve set up one.
Setting Up a VPN on MacOS
Some apps will automatically install the VPN, but you can also do it manually.
- To start, go to System Preferences, and then click on Network.
- From there, the process is easy. On the bottom left, click on the Plus symbol button, and use the drop-down menu to choose VPN. You’ll need the details from your VPN provider to fill out the VPN Type and Service Name.
- Next, click on the Create button. In the appropriate fields, fill out the server address, remote ID, and local ID. Click on Authentication Settings.
- Enter the username and password from your VPN app.
- Click on OK and Connect.
Setting Up a VPN on iOS
If you don’t want the app to automatically configure settings for you, here’s how to set up VPN manually on iOS:
- Go to Settings and tap on General.
- Scroll down to select VPN (the device will say if you’re currently connected to one or not).
- Hit on Add VPN Configuration, and then on Type, select a security protocol. (Follow the instructions provided by your chosen provider).
- Go back to the Add Configuration screen and add the VPN’s description, server, remote ID, and local ID.
- Enter the username and password. You can also use a proxy.
- Tap Done. You will see the VPN screen. Toggle the Status switch to on.
Setting Up a VPN on Android
Here’s how to use VPN manually on android:
- Go to Settings > Network & Internet > Advanced > VPN (you should see a little key icon). If you’re unable to see Network & Internet in the Settings menu (which may happen depending on your Android interface), search for VPN within Settings. Tap the Add button.
- If you’re using a new phone without any screen lock or password or you don’t have any, Google will ask you to create one. You need to do so.
- Create your VPN profile. Add the VPN name, type, and Server address from your provider. Click on Save.
- You’ll be back on the VPN screen, where the name of your VPN appears. Tap on it, and put in the name and password. You can also choose to save your account information, and have the option to make the VPN always on.
- Click on Connect.
Setting up a VPN may seem overwhelming, but being secure and protected should always be a top priority, especially when you surf and browse the internet. For VPN used in gaming, check out this guide to everything you should know about gaming VPN.