Introduction
Welcome to the world of Venmo, the popular digital wallet that allows you to send and receive money quickly and easily. Whether you want to split a bill with friends, pay your share of the rent, or send a thoughtful gift to a loved one, Venmo has got you covered. With its user-friendly interface and seamless integration with your bank account or debit card, Venmo has revolutionized the way we handle transactions in the digital age.
With Venmo, you no longer need to carry cash or write checks. Simply download the app, set up your account, and you’re ready to start sending and receiving payments with just a few taps on your phone. Whether you’re a tech-savvy millennial or a seasoned adult, Venmo caters to users of all ages, making it accessible and easy to use for everyone.
In this guide, we will walk you through the process of setting up your Venmo account, linking your bank account or debit card, adding contacts, and using Venmo for various types of transactions. We’ll also discuss Venmo’s limits and fees, as well as offer tips for ensuring the security and privacy of your transactions. So, grab your smartphone and let’s dive into the world of Venmo!
Disclaimer: Please note that Venmo’s availability and terms may vary depending on your country of residence. This guide primarily focuses on the use of Venmo in the United States.
Setting Up Your Venmo Account
Getting started with Venmo is a breeze. Follow these simple steps to set up your Venmo account:
- Download the Venmo app: Visit the App Store (for iPhone users) or the Google Play Store (for Android users) and search for “Venmo.” Tap on the download button and wait for the installation process to complete.
- Create your account: Once the app is installed, open it and click on “Sign Up.” You have the option to sign up with your email address or via your Facebook account. Enter the required information and create a strong password for your Venmo account.
- Verify your account: After creating your account, Venmo may prompt you to verify your email address or phone number. Follow the verification instructions to ensure the security of your account.
- Set up your profile: It’s time to personalize your Venmo profile. Choose a profile picture, add a memorable username, and write a brief bio if desired. Keep in mind that your username will be visible to others when they search for you on Venmo.
- Privacy settings: Venmo allows you to customize your privacy settings to control who can see your transactions and friends list. You can choose to display your transactions and friends publicly, to your friends only, or keep them private. Navigate to the privacy settings in the app and select the options that suit your preferences.
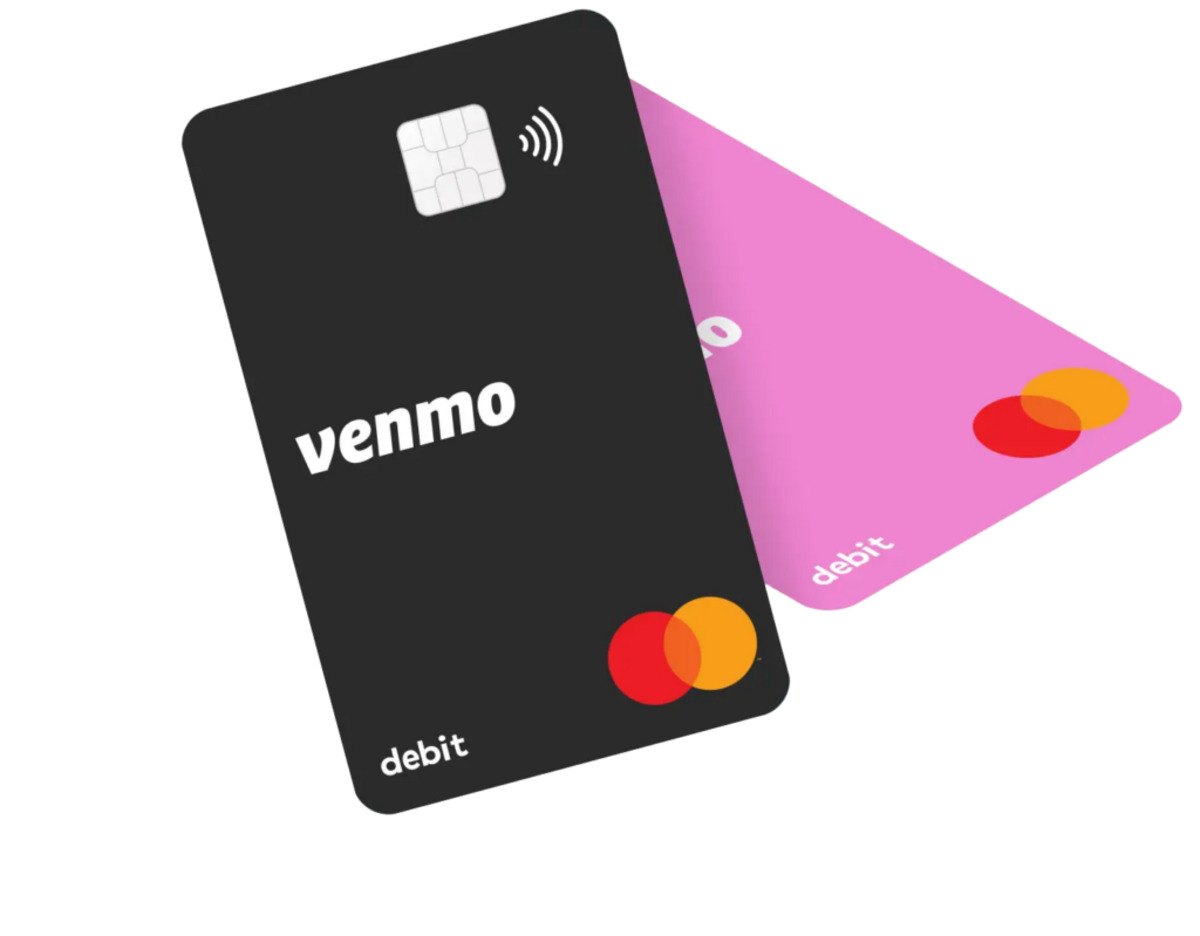
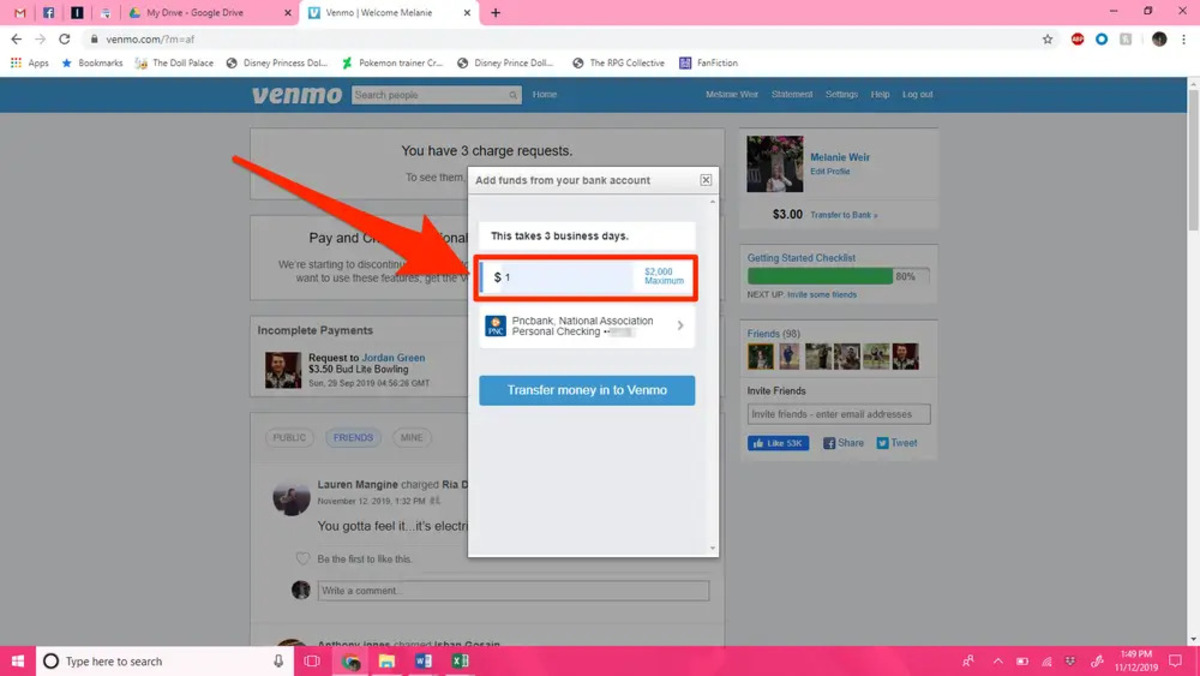
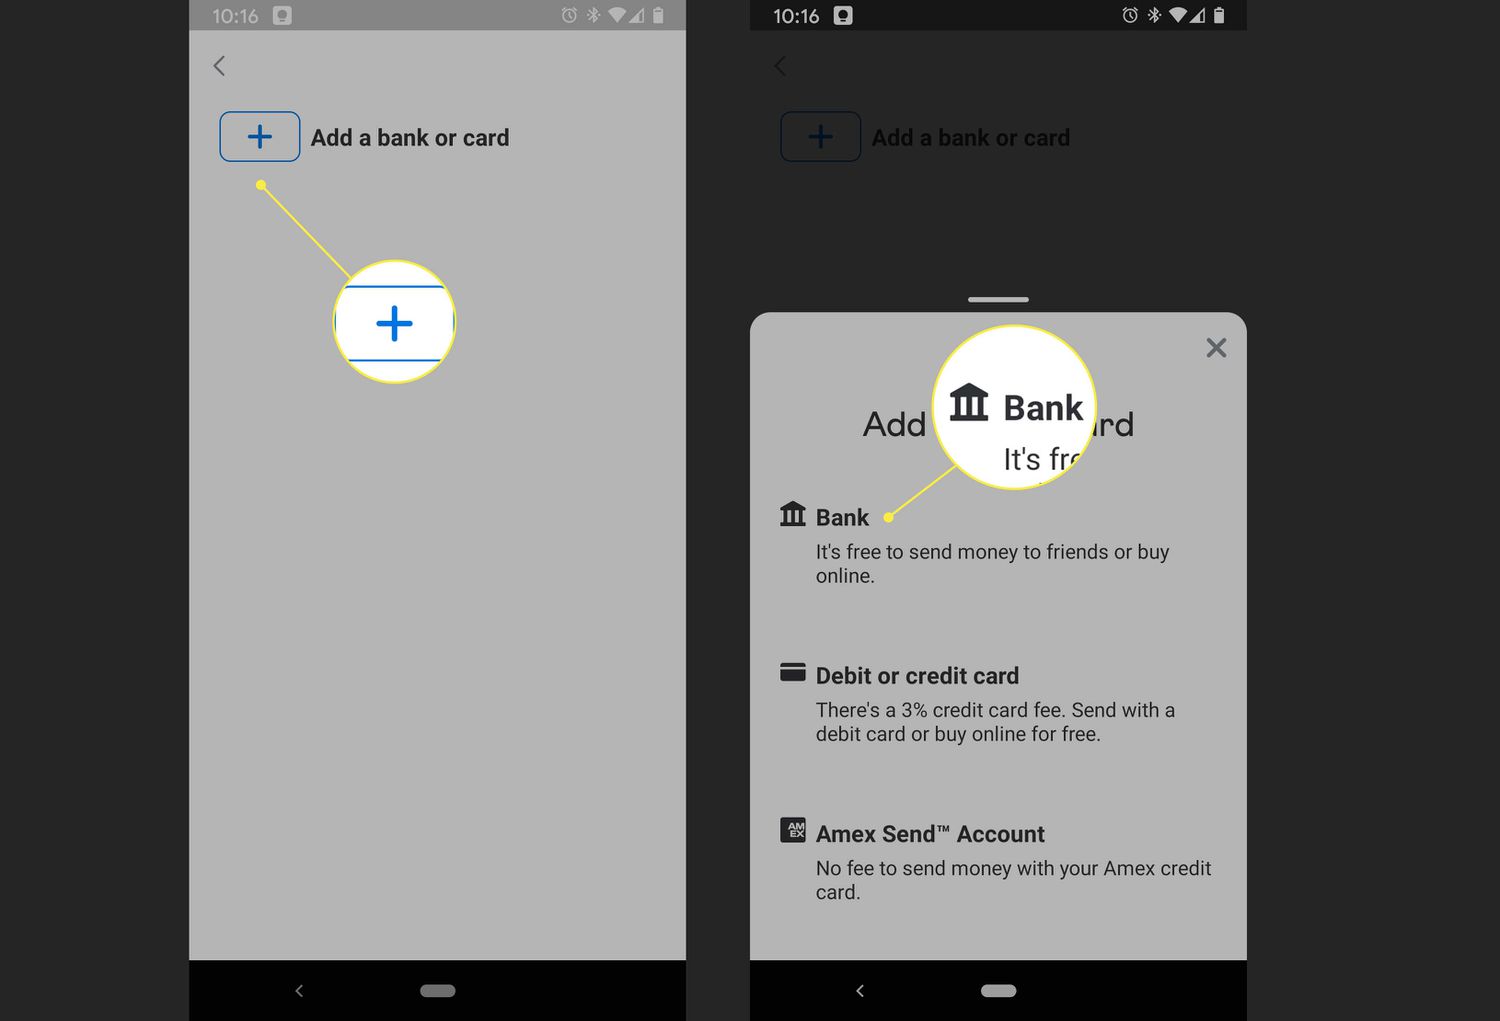
- Link your bank account or debit card: To send and receive money on Venmo, you will need to link either your bank account or debit card. Go to the “Settings” section and tap on “Payment Methods.” Follow the prompts to add your preferred payment method. Venmo uses a secure encryption protocol to keep your financial information safe.
Once you have completed these steps, your Venmo account is ready to go. You can start exploring the various features and functions of the app, including sending and requesting money, splitting bills, and making secure payments to businesses.
Stay tuned for the next section, where we will guide you through the process of linking your bank account or debit card to your Venmo account.
Linking Your Bank Account or Debit Card
In order to fully utilize the features of Venmo, you will need to link your bank account or debit card to your Venmo account. This will allow you to send and receive money conveniently within the app. Follow these steps to link your preferred payment method:
- Open the Venmo app: Launch the Venmo app on your smartphone and log in to your account using your username and password.
- Access the “Settings” menu: Look for the three horizontal lines in the top left corner of the app screen and tap on them to open the main menu. From there, select “Settings.”
- Select “Payment Methods”: Within the settings menu, scroll down until you find the “Payment Methods” option. Tap on it to proceed to the payment methods screen.
- Choose your payment method: Venmo offers two primary options for linking your preferred payment method – a bank account or a debit card. Select the option that best suits your needs.
- Enter your bank account or debit card details: Depending on your selected payment method, you will need to input the relevant information. For linking a bank account, you may be required to provide your bank account number and routing number. When linking a debit card, enter the card number, expiration date, and security code.
- Verify your information: After entering the required details, Venmo may prompt you to verify the ownership of your payment method. This verification process ensures that you have authorized access to the linked bank account or debit card.
It’s important to note that Venmo uses industry-standard encryption and security methods to protect your financial information. This helps to ensure the safety of your transactions and personal data.
Once your bank account or debit card is successfully linked to your Venmo account, you can easily manage your payment methods and choose which one to use for each transaction. You’ll also have the option to add additional payment methods or update your existing ones as needed.
Now that your payment method is linked, you’re ready to start sending and receiving money with Venmo. In the next section, we’ll explore how to add and manage contacts within the app, so you can easily connect with friends, family, and business contacts to facilitate seamless transactions.
Adding and Managing Contacts
One of the key features that sets Venmo apart is the ability to easily connect with your contacts for seamless transactions. Whether you want to split a bill with friends or pay a family member, Venmo makes it simple. Here’s how to add and manage contacts:
- Open Venmo and navigate to the main screen: Launch the Venmo app and ensure you are on the main screen, which typically displays a feed of recent transactions and various options.
- Access your Contacts list: Look for the silhouette icon or the “☰” symbol in the top left corner to access the main menu. From there, select “Contacts” to view your existing contacts or add new ones.
- Add new contacts: To add a new contact, tap on the “+” or “Add” button, usually located in the top right corner of the screen. You will be prompted to enter the person’s name, Venmo username, phone number, or email address. Enter the appropriate information and save the contact.
- Manage and edit contacts: If you need to edit or update the information of an existing contact, simply find the contact in your list and tap on their name. You will then have the option to edit their details, such as their name, username, or even remove them from your contacts if necessary.
- Sync contacts: Venmo also offers the option to sync your phone or email contacts with the app. This allows you to easily find and add your contacts who are already on Venmo. Simply follow the prompts to sync your contacts if you wish to utilize this feature.
Once you have added and organized your contacts in Venmo, you can easily select them when making a payment or requesting money. All your Venmo contacts will be conveniently available within the app, eliminating the need to manually enter usernames or search for recipients each time you initiate a transaction.
Managing your contacts in Venmo ensures that you can quickly and confidently send or receive money from the right individuals. It also helps to keep your transaction history organized and easily traceable within the app.
Now that you have a better understanding of how to add and manage contacts in Venmo, let’s move on to the next section, where we’ll explore how to send money to friends and family effortlessly.
Sending Money to Friends and Family
Once you have set up your Venmo account and added your contacts, you can begin easily sending money to friends and family with just a few taps. Here’s how to send money using Venmo:
- Open Venmo and locate the main screen: Launch the Venmo app and ensure you are on the main screen, which typically displays recent transactions and navigation options.
- Select a recipient: Tap on the icon representing a person or the “☰” symbol in the top left corner to open the main menu. From there, choose the contact to whom you want to send money.
- Enter the payment details: On the recipient’s profile screen, you will see an option to enter the amount you wish to send. Type in the amount and select the appropriate payment method if you have multiple options linked to your Venmo account.
- Add a note or emoji: Optional but highly recommended, you can add a note or an emoji to the payment. This note can help you and the recipient remember the purpose of the transaction or simply add a personal touch.
- Review and confirm: Before finalizing the payment, review the details to ensure accuracy. Double-check the amount, recipient, and any additional notes or emoji you have added. Once you are satisfied, tap the “Pay” button to proceed.
- Verify the payment: For security purposes, Venmo may ask you to confirm the transaction by entering your passcode, fingerprint, or facial recognition, depending on your device settings.
Once the payment is successfully sent, you and the recipient will receive notifications confirming the transaction. The funds will be deducted from your linked payment method, whether it is your bank account or debit card.
It’s important to note that Venmo offers a unique social aspect, allowing you to view and like your friends’ public transactions. However, if you prefer to keep your payments private, you have the option to change your privacy settings within the app.
Additionally, Venmo also offers the option to request money from friends and family, which we will explore in the next section. Sending money with Venmo is not only convenient but also quick and secure, making it a popular choice for peer-to-peer transactions.
Now that you know how to send money with Venmo, let’s move forward and discover how to request money from others in a hassle-free way.
Requesting Money from Others
Need to collect money from friends or family for shared expenses? Venmo makes it easy to request money from others, ensuring a smooth repayment process. Here’s how to request money using Venmo:
- Launch the Venmo app: Open the Venmo app on your smartphone and ensure you are on the main screen, which typically displays recent transactions and various options.
- Navigate to a contact profile: Tap on the person icon or the “☰” symbol in the top left corner to access the main menu. From there, select the contact from whom you wish to request money.
- Tap on the “Request” button: On the contact’s profile screen, look for the “Request” button and tap on it. You will be prompted to enter the amount you need to be paid.
- Add a note or description: To provide context for the payment request, you can add a note or a description. This can help the recipient understand the purpose or details of the transaction.
- Review and send the request: Before sending the request, review the details to ensure accuracy. Double-check the amount and any additional notes you have added. Once everything looks good, tap the “Request” button to send the payment request.
- Verify the request: For security reasons, Venmo may ask you to confirm the transaction by entering your passcode, using your fingerprint, or utilizing facial recognition, depending on your device options.
After the payment request is sent, the recipient will receive a notification notifying them of the request. They can then proceed to review and fulfill the payment directly through the Venmo app. The funds will be automatically transferred from their linked payment method to your Venmo account.
It’s worth mentioning that Venmo allows users to easily track their payment requests and view the status of each outstanding request. This feature ensures transparency and helps you keep tabs on who still needs to pay you back.
Remember, it’s essential to maintain open communication with the person you’ve requested money from to avoid any potential misunderstandings or delays. Venmo simplifies the process of collecting money owed, ensuring that you can expedite the repayment process efficiently.
In the next section, we’ll explore how Venmo can be utilized to split bills and settle expenses among a group of individuals, making it a convenient tool for group payments.
Splitting and Settling Bills
Venmo offers a convenient feature that allows you to easily split bills and settle expenses among a group of individuals. Whether you’re dining out with friends, organizing a group trip, or splitting household expenses, Venmo streamlines the process. Here’s how to split bills using Venmo:
- Open the Venmo app: Launch the Venmo app on your smartphone and ensure you are on the main screen, which typically displays recent transactions and various options.
- Start a new transaction: Tap the “☰” symbol or the person icon in the top left corner to open the main menu. From there, select the contact or group individuals with whom you want to split the bill.
- Enter the total amount: Type in the total bill amount into the appropriate field. Venmo will automatically distribute the amount equally among the selected individuals.
- Add a note or description: Optionally, add a note or description to provide details about the bill. This can include the purpose of the expense, any specific instructions, or any additional information for clarity.
- Review and send the request: Before sending the split bill request, review the details to ensure accuracy. Double-check the split amounts and any additional notes you have added. Once you’re satisfied, tap the “Request” or “Split” button to send the payment request.
- Verify the request: For security reasons, Venmo may ask you to confirm the transaction by entering your passcode, using your fingerprint, or utilizing facial recognition, depending on your device options.
Once the split bill request is sent, each individual will receive a notification with their respective split amount. They can then review and fulfill the payment directly through the Venmo app, ensuring that everyone settles their portion of the bill efficiently.
Venmo also offers the flexibility to customize the split amounts if they are not evenly distributed. If certain individuals owe different amounts or if there are additional expenses to consider, you can adjust the split amounts accordingly before sending the request.
By utilizing Venmo to split and settle bills, you can avoid the hassle of collecting cash or handling complex calculations. It simplifies the process, keeps everyone accountable, and ensures a seamless experience for all involved.
Now that you know how to split bills with Venmo, let’s move forward and discuss how to use Venmo for business payments.
Using Venmo for Business Payments
While Venmo is primarily known for its use among friends and family, it can also be a convenient tool for making business payments. Whether you’re a freelancer, a small business owner, or a customer looking to make a purchase, Venmo offers a simple and efficient way to send and receive payments. Here’s how to use Venmo for business payments:
- Communicate with the other party: Before initiating a business payment through Venmo, it’s important to ensure that both parties are comfortable using the platform for business transactions. Discuss the payment method with the recipient or client beforehand to ensure they are willing to accept payments via Venmo.
- Open the Venmo app: Launch the Venmo app on your smartphone and ensure you are on the main screen.
- Select the recipient: Tap on the person icon or the “☰” symbol to open the main menu. From there, choose the contact or business you want to send the payment to.
- Enter the payment details: Input the amount you need to pay for the goods or services provided. Add a note or description to specify the purpose of the payment, such as an invoice number or product details.
- Review and send the payment: Before finalizing the payment, review the details to ensure accuracy. Double-check the amount and any additional notes you have added. Once you’re ready, tap the “Pay” button to send the payment.
- Verify the payment: For security purposes, Venmo may ask you to confirm the transaction by entering your passcode, using your fingerprint, or utilizing facial recognition, depending on your device settings.
Venmo for business payments can be particularly useful for small businesses, freelancers, or individuals who offer goods or services on a more informal basis. It provides a convenient way to request and receive payment, track transactions, and even generate digital receipts for your records.
However, it’s always important to keep in mind that Venmo’s primary focus is still on person-to-person transactions. If you’re running a more substantial business or handling larger transactions, it may be more appropriate to explore other payment solutions specifically designed for business purposes.
Now that you have a better understanding of how to use Venmo for business payments, let’s move on to the next section, where we’ll discuss Venmo’s limits and fees.
Understanding Venmo Limits and Fees
Venmo offers a range of convenient features, but it’s important to understand the limits and fees associated with using the platform. Here’s a breakdown of Venmo’s limits and fees:
1. Transaction Limits:
Venmo imposes transaction limits to ensure the security of your transactions. As of the time of writing, the standard transaction limit for everyday Venmo users is $4,999.99 per week. If you need to exceed this limit, you can verify your identity by linking your bank account or by submitting additional documentation to Venmo.
2. Bank Transfer Limits:
Venmo allows users to transfer money from their Venmo balance to their bank account. The maximum amount that can be transferred in a single transaction is $19,999.99, while the maximum amount that can be transferred within a week is $19,999.99.
3. Fees:
Venmo offers its standard services for free when you pay with your Venmo balance, bank account, or debit card. However, if you use a credit card to make payments, Venmo charges a 3% fee on the transaction amount.
It’s important to note that Venmo has specific policies regarding prohibited activities, such as using the platform for illegal purposes, harassing or infringing on the rights of others, or engaging in unauthorized transactions. Venmo monitors transactions and may take action if it detects any suspicious or prohibited activities.
For more specific and up-to-date information on Venmo’s limits and fees, it’s recommended to visit Venmo’s website or refer to their terms of service.
Now that you have a better understanding of Venmo’s limits and fees, let’s move on to the next section, where we’ll provide some security and privacy tips to help ensure a safe experience on the platform.
Venmo Security and Privacy Tips
As with any digital platform, it’s important to prioritize security and privacy when using Venmo. By following these tips, you can help ensure a safe and protected experience:
1. Set up strong security features: Enable features such as passcodes, fingerprint recognition, or facial recognition to add an extra layer of security to your Venmo account. This will help prevent unauthorized access to your account and keep your transactions secure.
2. Enable two-factor authentication: Consider enabling two-factor authentication (2FA) for your Venmo account. With this feature, you will be required to provide an additional code or verification step when logging in or initiating certain transactions. This adds an extra level of security to your account and reduces the risk of unauthorized access.
3. Keep your app updated: Regularly update the Venmo app to ensure you have the latest security patches and features. Developers frequently release updates to address any vulnerabilities or improve the overall security of the app.
4. Be cautious with public transactions: Venmo offers the option to make transactions public, allowing others to see your payment activity. If you value privacy, it’s recommended to adjust your settings to keep your transactions private or visible only to your friends. This helps protect your financial privacy and prevents potential prying eyes from gaining access to your payment history.
5. Be wary of scams and phishing attempts: Exercise caution when receiving requests or payment notifications from unfamiliar or suspicious sources. Be vigilant about phishing attempts, where scammers try to trick you into sharing sensitive information or transferring money. Only accept payment requests from trusted sources and verify the authenticity of any requests before proceeding.
6. Regularly review your transactions: Take the time to review your Venmo transactions regularly. If you notice any suspicious activity or unauthorized charges, report them immediately to Venmo’s support team. Promptly reporting any concerns can help protect your account and prevent any potential financial loss.
7. Be mindful of public Wi-Fi networks: Avoid using public or unsecured Wi-Fi networks when accessing your Venmo account, as these networks can be susceptible to data breaches and unauthorized access. Instead, use a secure and private internet connection when performing any financial transactions.
By following these security and privacy tips, you can reduce the risk of unauthorized access, protect your financial information, and ensure a safe experience when using Venmo.
In the next section, we’ll address some common issues and provide troubleshooting tips to help resolve any problems you may encounter while using Venmo.
Troubleshooting Common Venmo Issues
While Venmo is generally a user-friendly platform, you may encounter some common issues along the way. Here are some troubleshooting tips to help you resolve these issues:
1. Payment or transfer delays: If you notice a delay in payment or transfer processing, it may be due to several reasons. First, ensure that you have a stable internet connection. If the issue persists, check if there are any pending verification requirements or any holds on your account. Contact Venmo’s support team for further assistance if needed.
2. Payment declined or incomplete: If a payment or request is declined or incomplete, check if there are sufficient funds in your linked bank account or debit card. Verify that all payment details are correct, including the recipient’s information and the payment amount. Consider trying the transaction again or contacting Venmo support for more information.
3. Unauthorized transactions: If you suspect any unauthorized or fraudulent transactions on your Venmo account, take immediate action. Secure your account by changing your password, enabling two-factor authentication, and contacting Venmo’s support team to report the issue. They will assist you in resolving the matter and ensuring the security of your account.
4. Technical glitches or app errors: In case of technical glitches or app errors, first try closing and reopening the Venmo app. If the issue persists, update the app to the latest version or reinstall it. Clearing the cache or restarting your device can also help resolve minor technical issues. If the problem continues, reach out to Venmo’s support for assistance.
5. Account verification issues: If you encounter issues with account verification, such as a failure to verify your bank account or debit card, double-check the accuracy of the information entered. Ensure that your personal details match those associated with your bank account. If the problem persists, contact your bank or Venmo support for further guidance.
6. Disputed transactions or refunds: If you need to dispute a transaction or request a refund, reach out to Venmo’s support team for assistance. Provide them with the necessary details, such as the transaction ID, date, and amount, as well as any supporting documentation. Venmo will work with you to resolve the dispute or facilitate the refund process.
7. Password or account recovery: If you forget your password or need to recover your Venmo account, utilize the password reset or account recovery options provided by the app. This typically involves receiving a verification code via email or phone to regain access to your account.
If you encounter any other issues or need further assistance, don’t hesitate to reach out to Venmo’s support team. They are available to help address any concerns or problems you may have while using the platform.
Now that you’re armed with troubleshooting knowledge, let’s wrap up this guide by briefly summarizing what we’ve learned about using Venmo effectively and securely.
Conclusion
In this guide, we have explored the ins and outs of using Venmo, the popular digital wallet, for seamless and convenient transactions. We began by setting up a Venmo account, linking a bank account or debit card, and adding and managing contacts. We then learned how to send money to friends and family, request money from others, and efficiently split bills and settle expenses.
Furthermore, we discussed the potential of using Venmo for business payments and highlighted the importance of understanding Venmo’s limits and fees. We also provided key tips for ensuring the security and privacy of your Venmo transactions. Lastly, we covered common troubleshooting tips to help you address any issues that may arise while using Venmo.
Venmo has revolutionized the way we handle transactions, making it easier than ever to send and receive money with just a few taps on our smartphones. Whether you’re a tech-savvy millennial, a small business owner, or someone who values the convenience of digital payments, Venmo offers a user-friendly and secure platform.
Remember to always prioritize security by enabling strong security features, being cautious of public transactions, and staying vigilant against scams or phishing attempts. Regularly reviewing your transactions and keeping your app updated are essential steps in maintaining the security and privacy of your Venmo account.
We hope this guide has given you the knowledge and tools to make the most of Venmo’s features and streamline your payment experience. So go ahead, download the Venmo app, and start enjoying the convenience and simplicity of digital payments through Venmo!