Introduction
Welcome to the world of Venmo, a convenient and popular payment app that allows you to make purchases at various stores with just a few taps on your mobile device. Whether you want to grab a coffee, buy groceries, or splurge on the latest fashion trends, Venmo makes it easy to pay in-store without the need for cash or physical credit cards.
Venmo is a free app that enables you to make payments securely and effortlessly using your smartphone. With its user-friendly interface and seamless integration with popular online platforms, Venmo has become a go-to solution for both peer-to-peer payments and in-store purchases. In this article, we’ll guide you through the process of using Venmo to pay at a store, ensuring a hassle-free and convenient payment experience.
If you haven’t already done so, it’s time to download and set up the Venmo app on your smartphone. Available for both iOS and Android devices, the app can be easily found and downloaded from the App Store or Google Play. Once installed, follow the on-screen prompts to create an account and get started.
Download and Set Up Venmo App
To begin using Venmo for in-store purchases, you’ll need to download and set up the Venmo app on your smartphone. Here’s how to get started:
- Open the App Store (iPhone/iPad) or Google Play Store (Android) on your device.
- Search for “Venmo” in the search bar.
- Select the official Venmo app from the search results.
- Tap on the “Install” or “Get” button to download the app.
- Wait for the app to download and install on your device.
- Once the installation is complete, locate the Venmo app on your home screen and tap on it to open.
- Next, you’ll be prompted to create a new account or sign in if you already have an existing Venmo account. If you’re new to Venmo, select the option to create a new account.
- Follow the on-screen instructions to provide your personal information, such as your name, email address, and phone number. You’ll also be asked to create a unique password for your account.
- After entering your personal information, Venmo will send you a verification code via SMS. Enter the code to verify your phone number.
- Once your phone number is verified, you can choose to link your bank account or credit/debit card to Venmo for making purchases. This step is necessary to fund your Venmo account and facilitate payments.
By completing these steps, you’ll have successfully downloaded and set up the Venmo app on your device, laying the foundation for making in-store purchases using the app.
Link a Bank Account or Credit/Debit Card
Before you can start using Venmo to make in-store purchases, you’ll need to link a bank account or a credit/debit card to your Venmo account. This will enable you to add funds to your Venmo balance and seamlessly make payments. Here’s how to link your account or card:
- Open the Venmo app on your smartphone and log in to your account if you haven’t already done so.
- Tap on the menu icon (usually three horizontal lines) located at the top left or bottom right corner of the screen to access the menu options.
- Select “Settings” from the menu options.
- In the “Settings” menu, look for the “Payment Methods” or “Bank Accounts & Cards” option and tap on it.
- Choose the “Add Bank” or “Add Card” option, depending on whether you wish to link a bank account or a card.
- Follow the on-screen instructions to provide the necessary details such as your bank account number, routing number, or your card information.
- Once you’ve entered the required information, Venmo will verify the account or card by sending a small amount to your bank account or making a temporary authorization charge on your card. This verification process may take a few days.
- Check your bank account or credit/debit card statement for the verification amounts or charges made by Venmo.
- Return to the “Payment Methods” or “Bank Accounts & Cards” section in the Venmo app and enter the verification amounts or confirm the authorization charge to complete the linking process.
Once your bank account or card is successfully linked to your Venmo account, you’ll be able to add money to your Venmo balance and make payments at stores that accept Venmo as a payment method.
Verify Your Identity
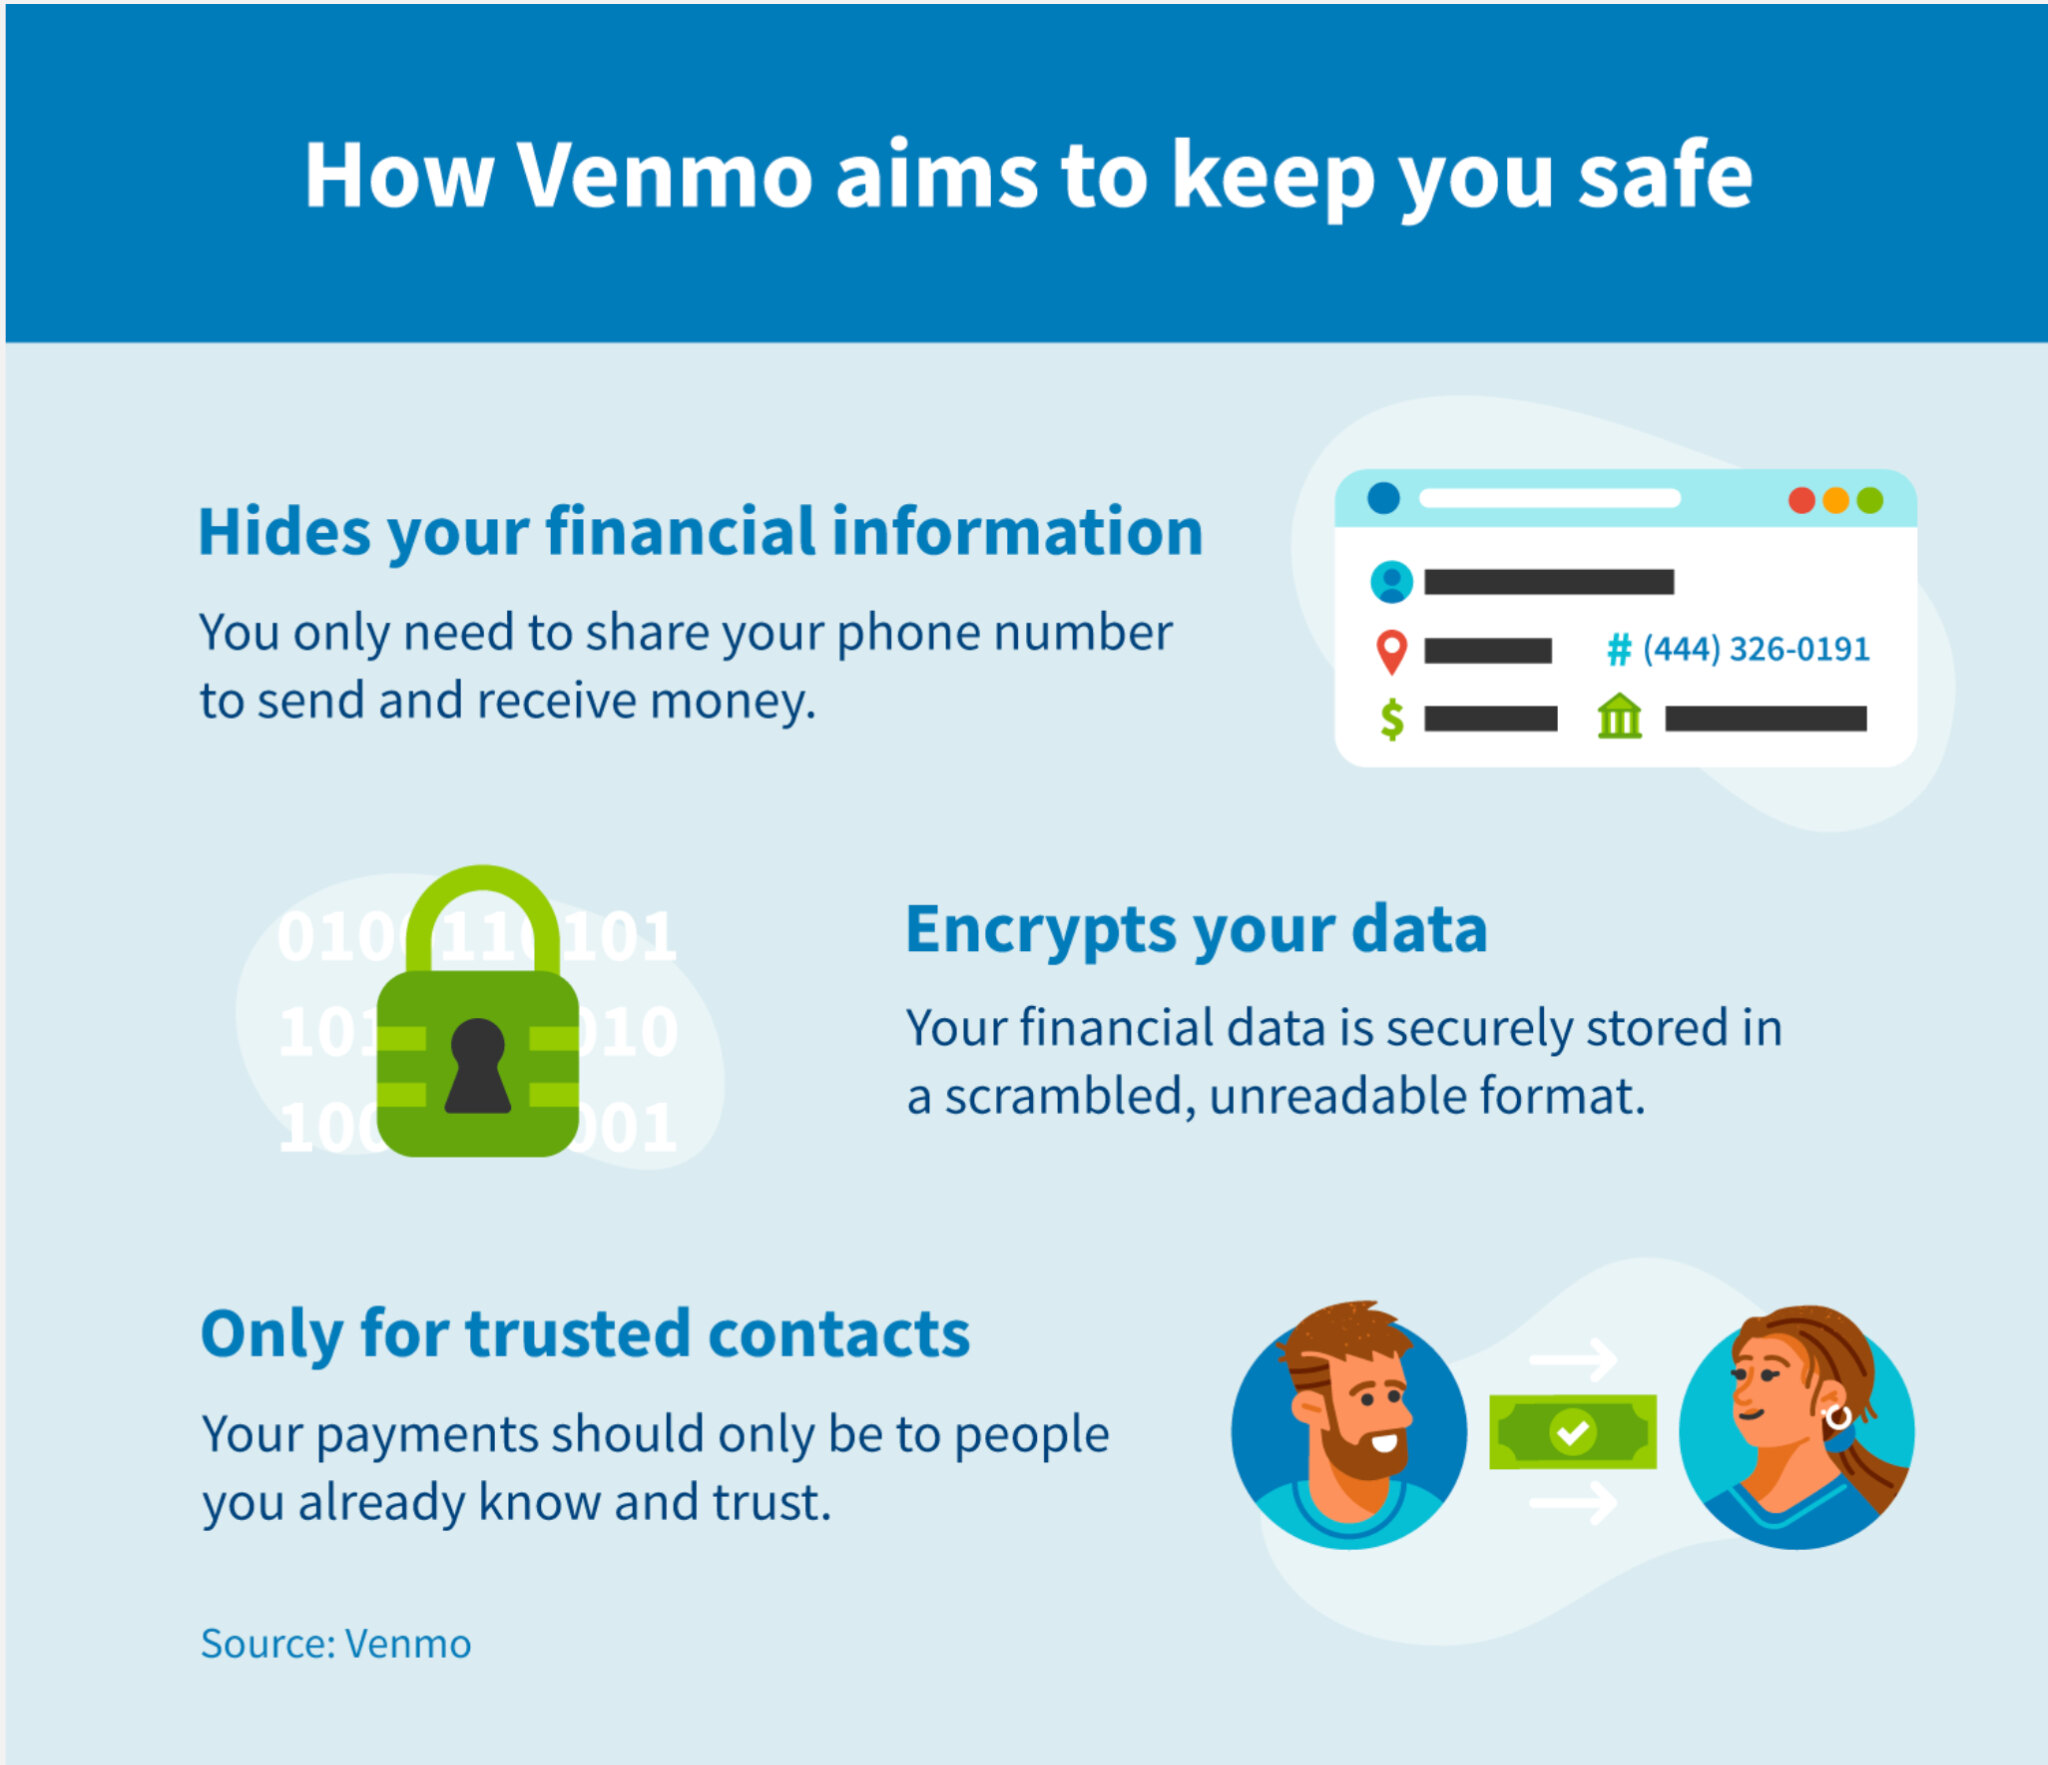
To ensure the security of your Venmo account and comply with regulatory requirements, it is necessary to verify your identity. This helps protect against potential fraud and unauthorized transactions. Here’s how to verify your identity on Venmo:
- Open the Venmo app on your smartphone and log in to your account.
- Tap on the menu icon (usually three horizontal lines) located at the top left or bottom right corner of the screen to access the menu options.
- Select “Settings” from the menu options.
- In the “Settings” menu, look for the “Identity Verification” or “Verification” option and tap on it.
- Follow the on-screen instructions to provide the necessary information, such as your legal name, date of birth, and Social Security number (SSN).
- Depending on your account activity and other factors, Venmo may also require you to upload a photo of a valid government-issued ID, such as a driver’s license or passport.
- Once you have provided all the required information and uploaded the necessary documents, Venmo will review your submission. This verification process may take a few days.
- Once your identity is verified, you will receive a confirmation notification from Venmo.
Verifying your identity on Venmo is an important step in ensuring the security and integrity of your account. It also enables you to enjoy the full range of features and benefits that Venmo offers, including the ability to make in-store purchases with confidence.
Enable Location Services
Enabling location services on your smartphone is crucial for using Venmo to make in-store purchases. This feature allows Venmo to identify nearby stores that accept Venmo payments, making it easier for you to find and pay at these locations. Here’s how to enable location services for Venmo:
- Open the settings on your smartphone.
- Scroll down and look for the “Privacy” option.
- Tap on “Privacy” to access the privacy settings.
- In the privacy settings, locate and select “Location Services.”
- Ensure that the toggle switch for “Location Services” is turned on (green) to enable the feature.
- Scroll through the list of apps that have requested access to your location.
- Find Venmo in the list and ensure that it is set to “Always” or “While Using the App.”
Enabling location services for Venmo allows the app to determine your current location and provide you with a list of nearby stores that accept Venmo payments. This feature enhances the convenience and efficiency of making in-store purchases, as you’ll be able to quickly identify the closest Venmo-friendly retailers.
Note: If you’re having trouble enabling location services or if the feature doesn’t seem to be working properly, make sure that you have the latest version of the Venmo app installed on your device. You can check for updates in your device’s app store and install any available updates for Venmo to ensure optimal functionality.
Add Money to Your Venmo Account
Before you can make in-store purchases using Venmo, you’ll need to have funds in your Venmo account. Here are the steps to add money to your Venmo balance:
- Open the Venmo app on your smartphone and log in to your account.
- Tap on the menu icon (usually three horizontal lines) located at the top left or bottom right corner of the screen to access the menu options.
- Select “Manage Balance” from the menu options. This will take you to the Venmo balance screen.
- On the Venmo balance screen, tap on the “Add Money” button.
- Enter the amount you want to add to your Venmo account. You can either type in the amount manually or choose from the preset options.
- Select the funding source you want to use. You can add money from your linked bank account or choose to use a debit card.
- Follow the prompts to complete the transfer. You may need to provide additional verification information, such as your bank account details or card information.
- Once the transfer is complete, the funds will be added to your Venmo balance, ready to be used for in-store purchases.
It’s important to note that adding money to your Venmo account may take a few days, depending on your bank or card issuer’s processing time. It’s recommended to plan ahead and add funds to your Venmo balance in advance to ensure you have enough to cover your in-store purchases.
Adding money to your Venmo account provides the necessary funds to make quick and easy payments at stores that accept Venmo. It eliminates the need for cash or physical payment cards, bringing convenience and simplicity to your shopping experience.
Find a Store that Accepts Venmo Payments
Once you have your Venmo account set up and funds available, it’s time to find a store where you can use Venmo to make your in-store purchases. Follow these steps to locate stores that accept Venmo payments:
- Open the Venmo app on your smartphone and log in to your account.
- Tap on the menu icon (usually three horizontal lines) located at the top left or bottom right corner of the screen to access the menu options.
- Select “Venmo Card” or “In-Store” from the menu options, depending on the version of the app you are using.
- On the Venmo Card or In-Store screen, you’ll find a list of nearby stores that accept Venmo payments. This list is based on your current location and provided by Venmo’s partner retailers.
- Scroll through the list to find a store that meets your shopping needs.
- Alternatively, you can use the search bar to look for a specific store or type of business.
- Once you select a store, you may have the option to view additional details about the location, such as store hours, address, and customer reviews.
- When you’re ready to make a purchase, head to the store and ensure they accept Venmo as a payment method.
It’s important to note that the availability of Venmo payments may vary from store to store. While many retailers accept Venmo, it’s always a good idea to confirm before making your purchase. You can ask a store associate or look for signs or stickers indicating Venmo acceptance at the register.
In addition to brick-and-mortar stores, Venmo also offers the option to make in-store purchases at some online platforms. This gives you the flexibility to shop at various merchants and enjoy the convenience of using Venmo without swiping physical cards or handling cash.
Using the Venmo app to find Venmo-friendly stores streamlines your shopping experience and makes it effortless to complete your purchases. With just a few taps, you can locate a store that accepts Venmo and be on your way to a smooth and cashless transaction.
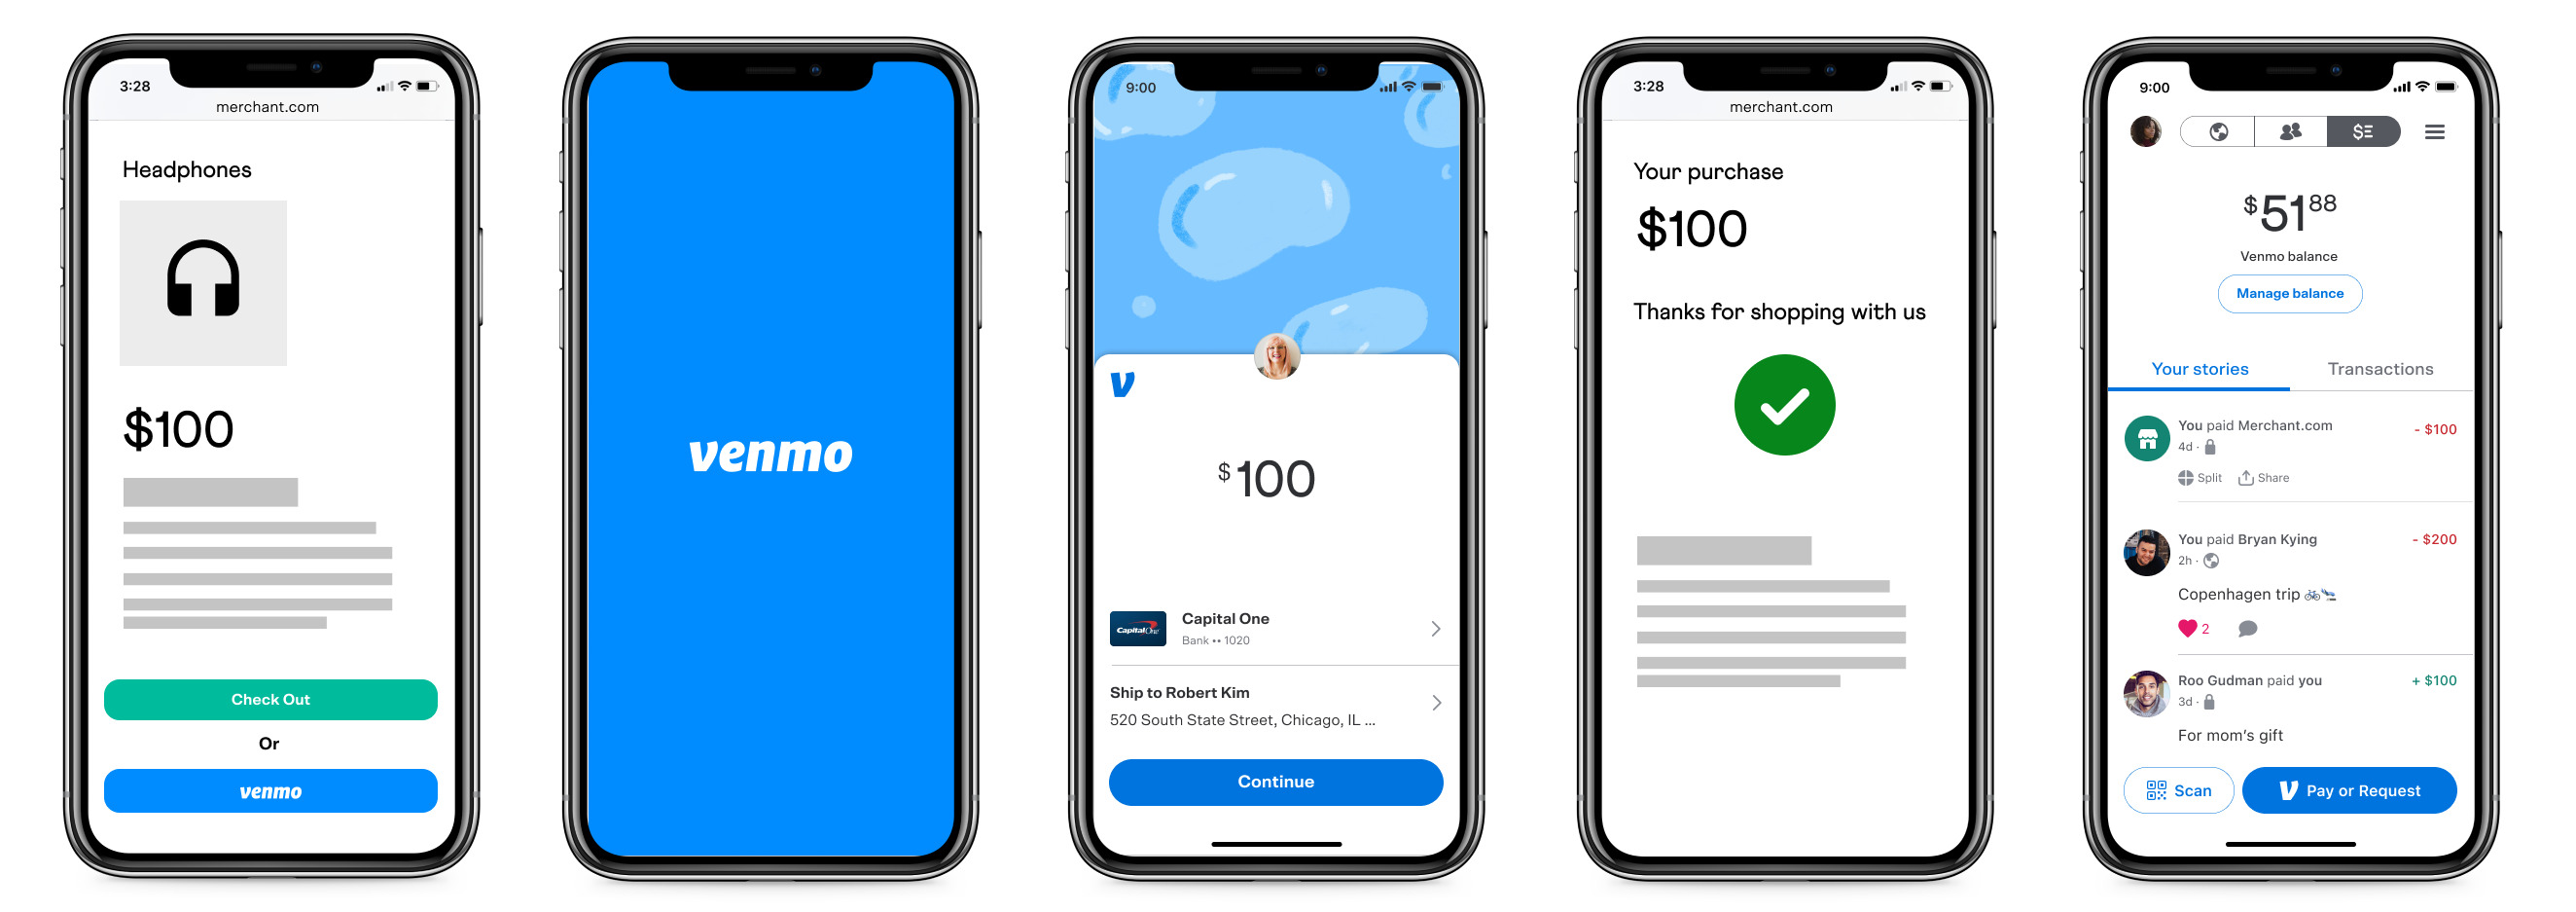
Make a Purchase Using Venmo at the Store
Once you’ve found a store that accepts Venmo payments, it’s time to make your purchase using the app. Follow these steps to pay with Venmo at the store:
- Open the Venmo app on your smartphone.
- Tap on the menu icon (usually three horizontal lines) located at the top left or bottom right corner of the screen to access the menu options.
- Select the “Scan” or “Pay” option from the menu.
- Scan the QR code or barcode provided by the store. You can usually find these codes at the cashier or payment terminal.
- Once the QR code or barcode is scanned, the store and the purchase amount will appear on your screen.
- Review the payment details to ensure accuracy.
- If prompted, select the funding source you want to use, such as your linked bank account or card.
- Tap on the “Pay” button to complete the transaction.
- Wait for the payment confirmation screen to appear.
- Show the payment confirmation screen to the cashier or store associate to verify the payment.
It’s important to ensure that you have sufficient funds in your Venmo balance or that your funding source has enough available credit to cover the purchase amount. Keep in mind that any applicable fees or transaction limits set by Venmo or your funding source will also apply to the transaction.
Remember to keep your smartphone’s screen bright and unobstructed while making the payment to ensure a smooth and successful transaction. In some cases, the cashier may also provide you with a one-time use code to enter manually in the Venmo app instead of scanning a QR code or barcode.
Once the payment is completed, you’ll receive a payment confirmation both in the Venmo app and via email. You can also easily review your transaction history within the Venmo app to keep track of your purchases.
Paying with Venmo at the store simplifies the checkout process, eliminates the need for physical cards or cash, and provides a secure and convenient payment option. Enjoy the ease and convenience of using Venmo to make your in-store purchases.
Confirm the Purchase
After making a payment using Venmo at the store, it’s important to confirm the details of your purchase. Confirming your purchase ensures the accuracy of the transaction and gives you peace of mind. Follow these steps to confirm your purchase:
- Open the Venmo app on your smartphone.
- Tap on the menu icon (usually three horizontal lines) located at the top left or bottom right corner of the screen to access the menu options.
- Select the “Activity” or “Transactions” option from the menu.
- Scroll through the list of recent transactions to find the payment you just made.
- Tap on the transaction to view the details.
- Confirm that the store name, purchase amount, and date/time match your recent in-store purchase.
- If you notice any discrepancies or have concerns about the purchase, you can contact Venmo support for assistance.
Confirming the details of your purchase allows you to keep track of your expenses and verify the accuracy of the transaction. It also provides a record for future reference if needed.
Additionally, confirming your purchase helps to ensure the security of your Venmo account. By regularly reviewing your transactions, you can identify any unauthorized charges or suspicious activity and promptly report them to Venmo’s customer support.
If you have multiple purchases to confirm or frequently use Venmo for in-store payments, consider regularly checking your transaction history to stay on top of your finances.
By taking a moment to confirm your purchase in the Venmo app, you can have peace of mind and ensure that the transaction was accurately recorded and authorized.
View and Track Your Venmo Purchases
Keeping track of your Venmo purchases is important for managing your finances and staying organized. Venmo provides easy ways to view and track your transaction history so that you can have a clear overview of your purchases. Here’s how you can view and track your Venmo purchases:
- Open the Venmo app on your smartphone.
- Tap on the menu icon (usually three horizontal lines) located at the top left or bottom right corner of the screen to access the menu options.
- Select the “Activity” or “Transactions” option from the menu.
- You’ll be presented with a list of your recent transactions, including both incoming and outgoing payments.
- Scroll through the list to find a specific purchase or use the search bar to quickly locate a transaction.
- Tap on a transaction to view more details, such as the date, time, and the recipient or sender’s name.
- If you need to filter your transactions, such as by date, amount, or category, some versions of the Venmo app may have additional filtering options available.
- In addition to the app, you can also access your transaction history on the Venmo website by logging in to your account.
- On the website, click on the “Activity” or “Transactions” tab to view your transaction history and navigate through past payments.
- Using the website version, you can also export your transaction history into a CSV file for further analysis or record-keeping purposes.
Regularly reviewing your transaction history allows you to stay on top of your spending and monitor your financial activity. It helps you identify any discrepancies, unauthorized transactions, or potential issues so you can address them promptly.
By having access to your transaction history, you can also keep track of payments you’ve made to specific individuals or businesses, making it easier to split bills, reimburse friends, or track your expenses for budgeting purposes.
Whether you prefer using the Venmo app or the website, you can conveniently view and track your Venmo purchases to manage your finances effectively and ensure accurate records of your transactions.
Troubleshooting Tips
While Venmo is designed to provide a seamless payment experience, you may encounter occasional issues or challenges. Here are some troubleshooting tips to help you resolve common problems and ensure smooth usage of Venmo:
- Ensure a stable internet connection: Venmo requires a reliable internet connection to function properly. Make sure you have a stable Wi-Fi or cellular data connection when using the app to avoid any transaction errors.
- Verify your funding source: If you’re having trouble adding money to your Venmo account or making a payment, ensure that your funding source, whether it’s a linked bank account or card, is active and has available funds or credit.
- Update the Venmo app: Keep your Venmo app updated with the latest version to access new features and bug fixes. Check your device’s app store regularly for any available updates for Venmo.
- Check for system outages: Occasionally, Venmo may experience system outages or maintenance periods. If you’re unable to make a payment or encounter errors, check Venmo’s official social media accounts or website for any announcements regarding service disruptions.
- Contact Venmo support: If you’re facing persistent issues or need assistance, reach out to Venmo support through the app or their website. They can provide specific troubleshooting steps or guide you through any technical difficulties you may be experiencing.
- Double-check payment details: Before confirming a payment, review the store name, purchase amount, and other transaction details to avoid any mistakes. Pay attention to the recipient’s username or phone number to ensure you’re sending the payment to the correct person.
- Security measures: Maintain good security practices by regularly changing your Venmo account password and enabling two-factor authentication for added protection against unauthorized access.
- Be cautious with suspicious links or requests: Avoid clicking on unfamiliar or suspicious links related to Venmo, as they could lead to phishing attempts or compromise the security of your account. Additionally, be wary of unsolicited requests for money from unknown individuals.
By following these troubleshooting tips, you can address common issues and enjoy a smooth and hassle-free experience when using Venmo for in-store purchases. Remember, it’s always a good practice to double-check information, stay informed about any updates or maintenance, and rely on official channels for support.
Conclusion
Venmo provides a convenient and secure way to make in-store purchases without the hassle of carrying cash or physical payment cards. By following the steps outlined in this guide, you can easily download and set up the Venmo app, link your bank account or credit/debit card, verify your identity, enable location services, add money to your Venmo account, find stores that accept Venmo payments, make a purchase at the store, confirm your purchase details, and view and track your transaction history.
Remember to enable a stable internet connection, keep your funding source up to date, and check for any system outages or maintenance periods that may affect your Venmo experience. If you encounter issues, reach out to Venmo’s customer support for assistance.
Using Venmo for in-store purchases brings convenience, simplicity, and security to your shopping experience. With just a few taps on your smartphone, you can make payments and track your transactions effortlessly.
Enjoy the freedom and flexibility of paying with Venmo at various stores, both online and offline. Embrace the cashless revolution and say goodbye to fumbling for change or carrying multiple cards – Venmo has you covered.
So, start exploring the world of Venmo, and make your next in-store purchase a seamless and enjoyable experience. Happy shopping with Venmo!