Introduction
Welcome to the world of Venmo! In this digital age, money transfer has never been easier. Whether you want to split a bill, pay back a friend, or even accept payments for your small business, Venmo has got you covered. But wait, what exactly is Venmo?
Venmo is a popular peer-to-peer payment service that allows you to send and receive money with just a few taps on your smartphone. It was launched in 2009 and has quickly gained popularity for its convenience and user-friendly interface. With Venmo, you no longer need to carry around cash or worry about writing checks; everything can be done electronically right from the palm of your hand.
In this article, we will guide you through the process of creating a Venmo account, finding your Venmo link, and how to share it with others. We will also provide you with some helpful tips along the way to ensure a smooth and hassle-free experience. So let’s get started and discover the world of Venmo!
What is Venmo?
Venmo is a peer-to-peer payment platform that revolutionizes the way we send and receive money. It allows you to easily transfer funds between friends, family, or anyone else with a Venmo account. With Venmo, you can say goodbye to the hassle of carrying around cash or writing checks, as everything can be done digitally through the Venmo app.
One of the standout features of Venmo is its social aspect. When you make a payment or receive money, Venmo gives you the option to add a note or emoji, allowing you to capture the essence of the transaction. You can even choose to make your transactions public or private, adding a level of transparency to your Venmo activity.
Another great feature of Venmo is the ability to split bills. Whether you’re going out for dinner with friends or sharing expenses for a weekend trip, Venmo makes it easy to divide the costs among everyone involved. Simply enter the total amount, add the names of your friends, and Venmo will automatically calculate how much each person owes.
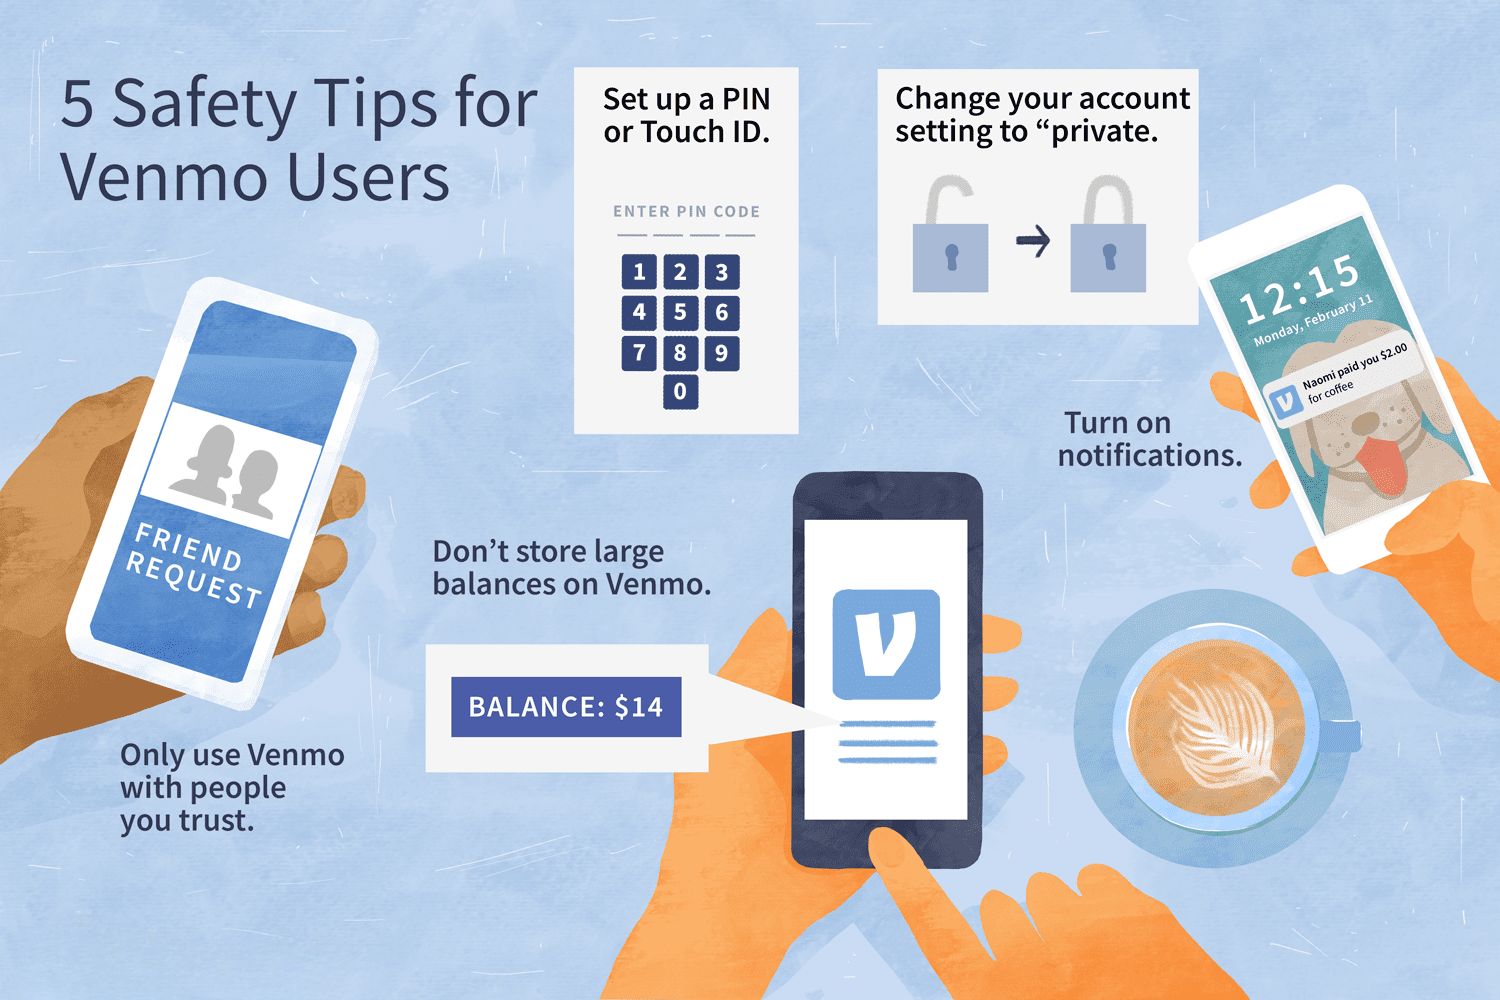
Security is a top priority for Venmo. All transactions are encrypted, and Venmo uses multiple layers of security to protect your personal and financial information. Additionally, Venmo offers the ability to set up a PIN code or biometric authentication (such as fingerprint or facial recognition) to add an extra layer of security to your Venmo account.
It’s important to note that Venmo is not just for personal use; it’s also a powerful tool for small businesses. If you run a small business or offer services on the side, you can create a separate Venmo account to accept payments from your customers. This makes it convenient for both you and your clients, as they can pay you quickly and easily using their own Venmo accounts.
Now that you have a clear understanding of what Venmo is and how it can simplify your financial transactions, let’s dive into the process of creating a Venmo account.
How to Create a Venmo Account
Setting up a Venmo account is quick and easy. Just follow these simple steps:
- Download the Venmo app: Start by downloading the Venmo app from the App Store (for iOS) or Google Play Store (for Android). The app is free to download and install.
- Sign up with your email or phone number: Open the Venmo app and click on “Sign Up”. Enter your email address or phone number, and create a strong password for your account. Alternatively, you can sign up with your Facebook account for a faster registration process.
- Verify your account: Venmo will send a verification code to your email or phone number. Enter the code in the app to verify your account and continue the registration process.
- Link a funding source: To use Venmo, you’ll need to link a funding source, such as a bank account or debit card. This allows you to add money to your Venmo account or withdraw funds when needed. Follow the prompts in the app to link your preferred funding source.
- Set up your profile: Customize your Venmo profile by adding a profile picture and a username. You can also write a short bio if you’d like. Keep in mind that your profile information will be visible to others on Venmo, so choose wisely.
- Enable security features: Venmo offers several security features to protect your account. Set up a PIN code or enable biometric authentication (if supported by your device) to add an extra layer of security to your Venmo account.
- Start sending and receiving money: Congratulations! Your Venmo account is now set up and ready to go. You can start sending and requesting money from your friends, splitting bills, and exploring other features offered by Venmo.
Remember to keep your Venmo account secure by using a strong password, avoiding sharing your login information with others, and regularly monitoring your transactions for any unauthorized activity.
Now that you have successfully created a Venmo account, let’s move on to the next step: finding your Venmo link.
How to Find Your Venmo Link
Once you have a Venmo account, you may want to share your Venmo link with others so they can easily send you money. Your Venmo link acts as a personalized URL that directs people to your Venmo profile. Here’s how you can find your Venmo link:
- Open the Venmo app: Launch the Venmo app on your smartphone and log in to your account using your credentials.
- Go to your profile: Tap on the “☰” icon located at the top-left corner of the screen to open the navigation menu. From there, select “Profile” to access your Venmo profile page.
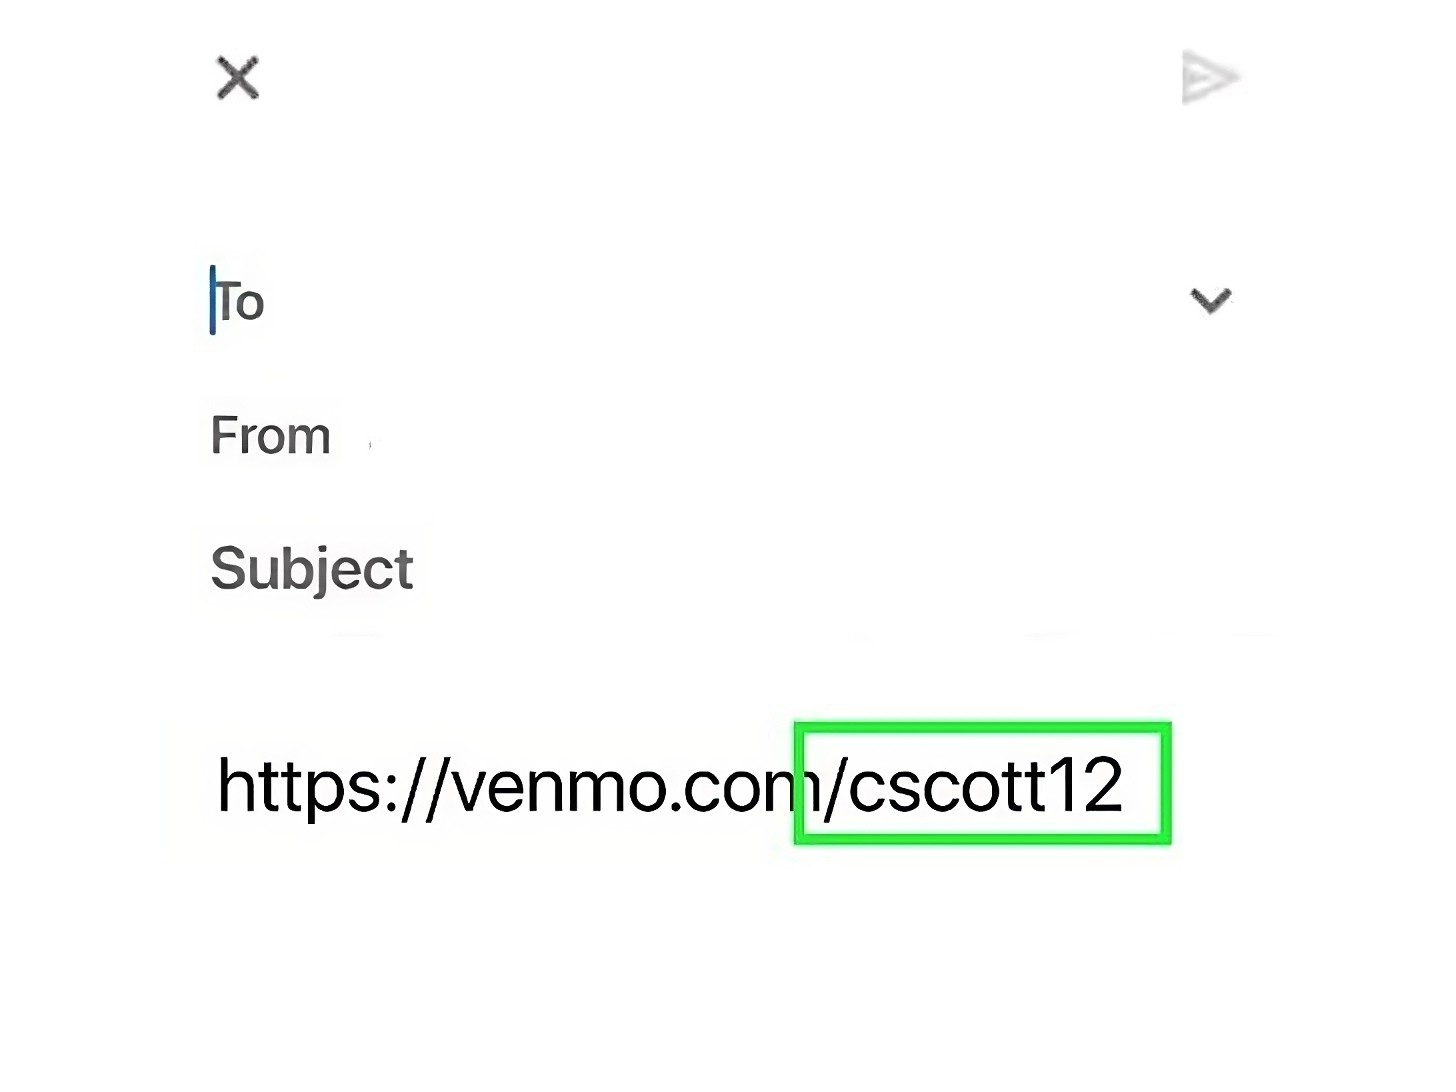
- Find your Venmo link: On your profile page, you will see your Venmo link displayed near the top. It will start with “venmo.com/@” followed by your unique username.
- Copy or share your Venmo link: To copy your Venmo link, simply tap on it. You can then paste it into a text message, email, or wherever you want to share it. Alternatively, you can use the share button provided to send your Venmo link directly through other messaging apps or social media platforms.
Additionally, you can customize your Venmo link to make it more memorable and user-friendly. To do this:
- Open the Venmo app and go to your profile page.
- Tap on the gear icon to access the settings.
- Select “Edit Profile” and then tap on “Username”.
- Enter your preferred username and tap on “Save”.
Your Venmo link will now reflect your newly chosen username, making it easier for others to find and send money to you.
Having your Venmo link readily available allows you to share it with friends, family, or clients, making it effortless for them to send you money. But what if someone prefers to use a Venmo QR code instead? We’ll cover that in the next section.
Using a Venmo QR Code
Venmo also provides the option to use QR codes for easy and convenient transactions. A QR code is a type of barcode that can be scanned by a smartphone camera to quickly access information or perform an action. By using a Venmo QR code, you can initiate a payment or request money without having to manually enter the recipient’s username or Venmo link. Here’s how you can use a Venmo QR code:
- Open the Venmo app on your smartphone and log in to your account.
- Tap on the “☰” icon to open the navigation menu.
- Select “Scan Code” from the menu options.
- Point your smartphone camera at the Venmo QR code to scan it.
- If the QR code belongs to someone you want to send money to, confirm the details displayed on the screen and enter the amount you wish to send. Then tap “Pay”.
- If the QR code belongs to someone who owes you money, confirm the details displayed on the screen, and tap “Charge” to send a payment request.
- The transaction will be processed, and you will receive a notification once the payment or request is completed.
Venmo QR codes can be handy in various situations. For example, if you’re splitting a bill at a restaurant, you can generate a QR code for your portion of the bill and have your friends scan it to send you their share. It eliminates the need to manually enter usernames or Venmo links, saving time and ensuring accuracy.
Now that you know how to use a Venmo QR code, let’s move on to the next section: sharing your Venmo link with others.
Sharing Your Venmo Link
Once you have your Venmo link or QR code, you’ll want to share it with others so they can easily send you money. There are several ways you can share your Venmo link:
1. Directly share your Venmo link: Copy your Venmo link and share it via text message, email, or any other messaging platform. You can simply paste the link into the conversation with the person you want to receive money from.
2. Share on social media: Venmo also allows you to share your Venmo link on social media platforms like Facebook, Instagram, or Twitter. This makes it easy for your friends, followers, or customers to access your Venmo profile and send you money.
3. Add it to your email signature: If you frequently communicate with clients or customers via email, consider adding your Venmo link to your email signature. This allows recipients to easily find and use your Venmo account for payments.
4. Display it on your website: If you have a website, whether it’s for your personal blog, small business, or freelance services, consider adding your Venmo link to your site. You can create a dedicated “Pay with Venmo” section or simply include it on your contact page.
Remember, when sharing your Venmo link, it’s important to be cautious about who you share it with. Only share it with individuals or entities you trust, as anyone with your Venmo link can send you money. If you ever want to stop receiving payments or need to change your link, you can do so in the Venmo app’s settings.
Now that you know multiple ways to share your Venmo link, let’s explore some tips for sending your Venmo link effectively.
Tips for Sending Your Venmo Link
When it comes to sending your Venmo link to others, there are a few tips to keep in mind to ensure a smooth and successful transaction:
1. Clearly communicate the purpose: When sharing your Venmo link, clearly communicate the purpose of the transaction. Whether it’s for splitting a bill, paying back a loan, or making a purchase, make sure the recipient understands why you’re sending the link.
2. Double-check the details: Before sending your Venmo link, double-check the recipient’s information. Make sure you have entered the correct Venmo username or verified their QR code to avoid sending money to the wrong person.
3. Add a short message: Consider adding a short message when sending your Venmo link. It can be a friendly note or a reminder of what the payment is for. This personal touch can help avoid confusion and provide clarity to the recipient.
4. Set privacy settings: Depending on your preferences, you may want to adjust your privacy settings on Venmo. You can choose to make your transactions public or private. If privacy is important to you, make sure to set your transactions to private to keep them visible only to you and the recipient.
5. Be prompt with confirmation: When someone sends you money using your Venmo link, be prompt with confirming the payment. This allows the sender to have peace of mind that the transaction has been successfully completed. It also builds trust and encourages future transactions.
6. Keep an eye on your transactions: Regularly review your Venmo transactions to ensure accuracy and to identify any potential issues. This is especially important if you use Venmo for business purposes. By monitoring your transactions, you can quickly resolve any discrepancies or unauthorized payments.
By following these tips, you can make the process of sending your Venmo link smoother and more efficient. Whether it’s for personal or business use, Venmo provides a convenient and secure platform for sending and receiving money.
Now that you have learned some valuable tips, you are well-equipped to make the most out of your Venmo transactions.
Conclusion
Venmo has transformed the way we handle money transactions in today’s digital world. With its user-friendly interface, social features, and convenient payment options, Venmo has become a go-to platform for sending and receiving money effortlessly.
In this article, we explored what Venmo is and how to create a Venmo account. We also learned how to find our Venmo link and use a Venmo QR code for quick transactions. Additionally, we discussed various methods of sharing our Venmo link and provided useful tips for sending it effectively.
By following the steps outlined and implementing the tips provided, you can make the most out of your Venmo experience. From splitting bills with friends to accepting payments for your small business, Venmo offers a secure and convenient way to handle financial transactions on the go.
Remember to stay vigilant about your Venmo account’s security by using strong passwords, enabling authentication features, and regularly reviewing your transactions. With these precautions in place, you can enjoy the seamless and efficient payment capabilities offered by Venmo.
So what are you waiting for? Why not create your Venmo account today and start enjoying the benefits of easy money transfers?
Happy Venmo-ing!


