Introduction
Bitcoin, the world’s most popular cryptocurrency, has revolutionized the way we think about money and financial transactions. Its decentralized nature, secure encryption, and ability to facilitate peer-to-peer transactions make it a preferred choice for many individuals and businesses alike.
If you’re new to the world of Bitcoin, you may be wondering how to send your Bitcoin from a Coinbase account to a Blockchain wallet. Coinbase, a widely recognized cryptocurrency exchange platform, allows you to buy, sell, and store Bitcoin, while Blockchain is a trusted digital wallet provider.
In this article, we will guide you step-by-step on how to send Bitcoin from your Coinbase account to your Blockchain wallet. Whether you’re looking to make a payment, store your Bitcoin elsewhere, or simply explore different wallets, this tutorial will provide you with the essential knowledge to successfully complete the process.
Before we proceed with the step-by-step instructions, it’s important to note that both Coinbase and Blockchain have intuitive and user-friendly interfaces that make the process relatively straightforward. However, it’s always a good idea to follow a guide when dealing with cryptocurrency transfers to ensure accuracy and security.
Now, let’s dive into the steps involved in sending Bitcoin from Coinbase to Blockchain!
Step 1: Sign in to your Coinbase account
The first step in sending Bitcoin from Coinbase to Blockchain is to sign in to your Coinbase account. If you don’t have an account yet, you’ll need to create one by visiting the official Coinbase website and following the registration process.
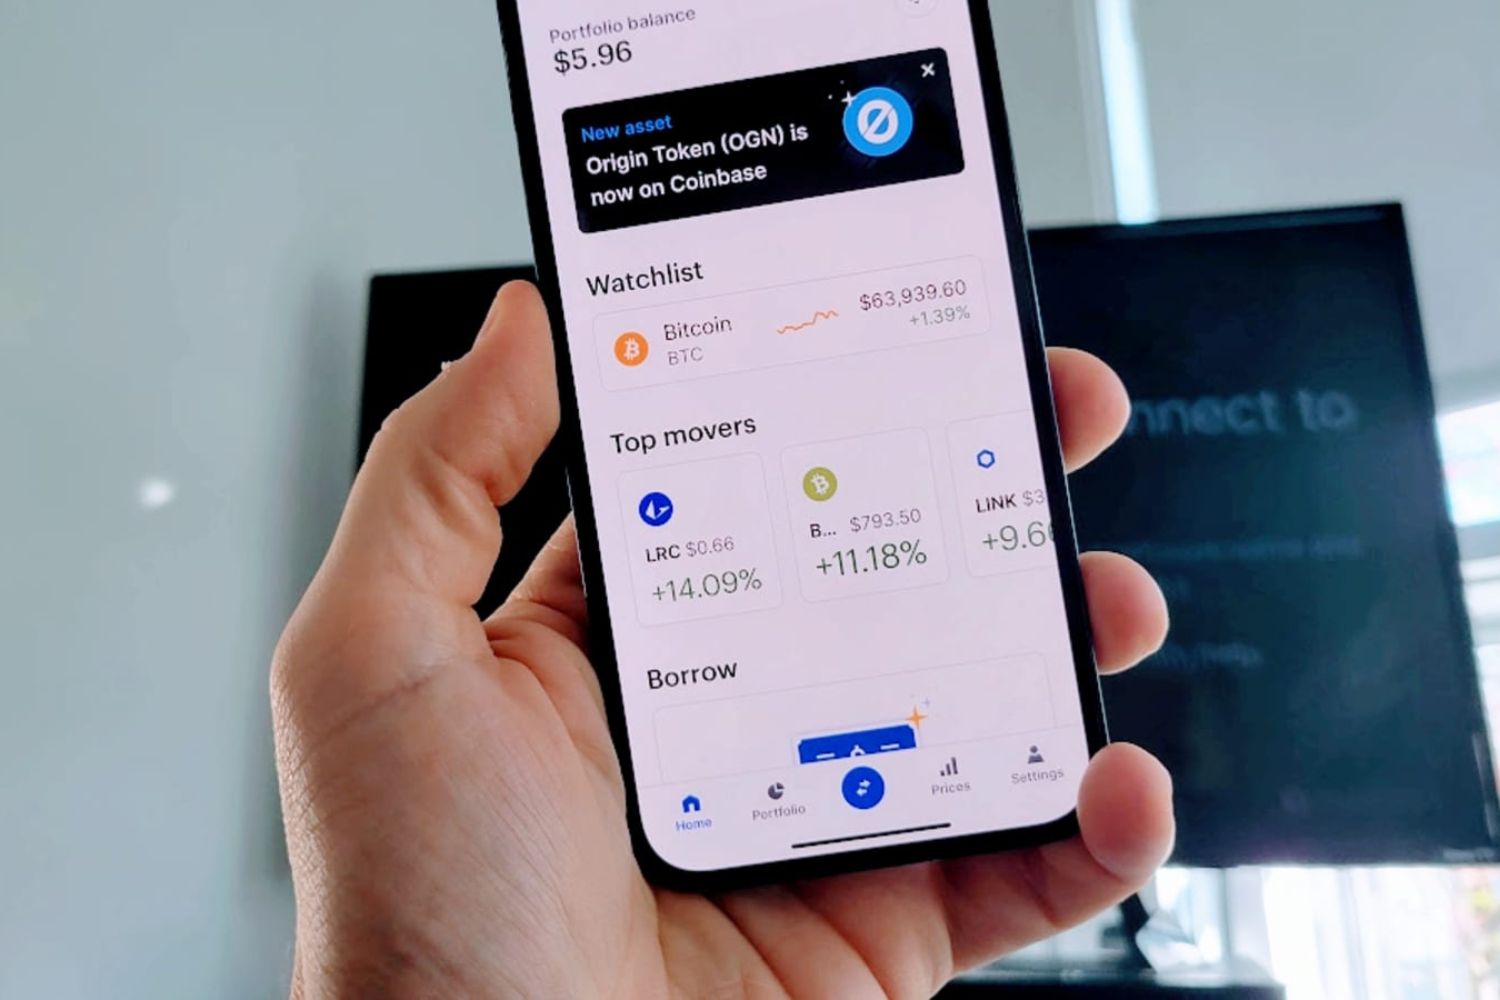
Once you have successfully signed in to your Coinbase account, you will be greeted with a dashboard that displays your cryptocurrency portfolio. Coinbase supports various cryptocurrencies, but for the purpose of this guide, we will focus on Bitcoin.
Take a moment to familiarize yourself with the Coinbase interface. You will find a navigation bar on the left side of the screen, providing access to different sections of your account, such as Dashboard, Portfolio, Accounts, and Settings.
To proceed with sending Bitcoin to your Blockchain wallet, click on the “Accounts” tab in the navigation bar. This will bring up a list of all the supported cryptocurrencies in your Coinbase account.
Locate your Bitcoin wallet in the list and click on it. This will take you to the detailed view of your Bitcoin wallet, where you can view your transaction history, current balance, and other related information.
Now that you’re in your Bitcoin wallet, you’re ready to move on to the next step: generating a receiving address in your Blockchain wallet.
Step 2: Navigate to your Bitcoin wallet
After signing into your Coinbase account, the next step is to navigate to your Bitcoin wallet. This is where you will find the necessary details to send your Bitcoin to your Blockchain wallet.
To access your Bitcoin wallet, locate the navigation bar on the left side of the Coinbase interface. Click on the “Accounts” tab to display a list of your cryptocurrency wallets.
Scroll through the list until you find your Bitcoin wallet. It should be labeled as “Bitcoin” or “BTC.” Click on it to open the detailed view of your Bitcoin wallet.
In this view, you will see various details related to your Bitcoin holdings, including your current balance, transaction history, and any pending transactions. Take a moment to review this information to ensure you have a clear understanding of your Bitcoin wallet’s status.
Additionally, you may find extra features specific to the Coinbase platform, such as the ability to buy, sell, or convert Bitcoin within your wallet. These features can be useful if you ever need to manage your Bitcoin holdings directly on Coinbase.
Now that you have successfully navigated to your Bitcoin wallet on Coinbase, you can proceed to the next step: generating a receiving address in your Blockchain wallet.
Step 3: Generate a receiving address
Once you have accessed your Bitcoin wallet on Coinbase, it’s time to generate a receiving address in your Blockchain wallet.
A receiving address acts as a destination for your Bitcoin funds. It is a unique alphanumeric code that allows others to send Bitcoin to your wallet. Generating a new receiving address for each transaction improves security and provides a clear record of incoming funds.
To generate a receiving address in your Blockchain wallet, open a new tab or window and visit the official Blockchain website. Sign in to your account or create a new one if you don’t have an account already.
Once signed in, you will be redirected to your Blockchain wallet dashboard. Take a moment to familiarize yourself with the interface, which typically displays your transaction history and current account balance.
Locate the “Receive” or “Receive Bitcoin” option within your Blockchain wallet. This option may be found in the navigation bar or within the wallet interface. Click on it to initiate the receiving address generation process.
Blockchain will generate a new receiving address for you. This address will be a long string of characters that starts with a “1” or “3.” This is your unique public address that you can share with others to receive Bitcoin.
It’s important to note that the receiving address is case-sensitive, so ensure that you copy it correctly without any errors or typos.
After generating a new receiving address, make sure to copy it to your clipboard or note it down somewhere safe. You will need this address in the next step to complete the transfer from Coinbase.
Now that you have successfully generated a receiving address in your Blockchain wallet, you’re ready to proceed to the next step: copying the receiving address.
Step 4: Copy the receiving address
With the receiving address generated in your Blockchain wallet, it’s time to copy it so that you can provide it to Coinbase for the Bitcoin transfer.
First, make sure you have the receiving address displayed in your Blockchain wallet. It should be a long string of characters starting with a “1” or “3.”
To copy the receiving address, you have a couple of options. One method is to click on the address itself, which will automatically copy it to your clipboard. Alternatively, you can manually select the address by clicking and dragging your cursor over the entire address. Once selected, right-click and choose the “Copy” option from the context menu.
It is important to double-check that the receiving address has been copied accurately, as even a small mistake can result in a loss of funds or incorrect delivery of Bitcoin.
Once you have successfully copied the receiving address, navigate back to your Coinbase account, where we left off at your Bitcoin wallet.
In the detailed view of your Coinbase Bitcoin wallet, you will see various options and tabs, including “Send,” “Receive,” and “Transactions.” Click on the “Send” tab to initiate the Bitcoin transfer process.
Within the “Send” interface, you will be prompted to enter the recipient’s address. This is where you will paste the receiving address that you just copied from your Blockchain wallet.
Paste the receiving address in the appropriate field provided by Coinbase. Ensure that the address matches exactly, without any extra spaces or characters.
Double-check the accuracy of the receiving address one more time before proceeding. This simple step can save you from potential errors or lost funds.
Now that you have successfully copied the receiving address to your clipboard and entered it into Coinbase, you’re ready for the next step: signing in to your Blockchain account.
Step 5: Sign in to your Blockchain account
After providing the receiving address in your Coinbase account, the next step is to sign in to your Blockchain account.
If you’ve already opened the Blockchain website in a separate tab or window, you should still be signed in. However, if you’ve closed the tab or haven’t signed in yet, visit the official Blockchain website and enter your login credentials to access your account.
Once you’ve successfully signed in, you’ll be directed to your Blockchain wallet dashboard. This dashboard provides an overview of your transaction history, account balance, and other important details related to your wallet.
Take a moment to familiarize yourself with the Blockchain interface if you haven’t done so already. On the dashboard, you may see options like “Send,” “Receive,” “Swap,” “Buy,” or other features, depending on the services provided by Blockchain.
For the purpose of transferring Bitcoin from Coinbase, we will be focusing on the “Receive” option within your Blockchain wallet. This is where you will be able to access the receiving address that you generated earlier.
Now that you’re signed in to your Blockchain account, you’re ready for the next step: navigating to your Bitcoin wallet.
Step 6: Navigate to your Bitcoin wallet
After signing in to your Blockchain account, the next step is to navigate to your Bitcoin wallet. This is where you will be able to receive the Bitcoin transferred from your Coinbase account.
Once you’re on your Blockchain wallet dashboard, take a moment to familiarize yourself with the interface. You may see different options such as “Send,” “Receive,” “Swap,” or “Buy,” depending on the features provided by Blockchain.
To access your Bitcoin wallet, locate and click on the “Receive” option within the wallet interface. This option is typically represented by an icon resembling an arrow pointing upwards.
By clicking on the “Receive” option, you will be directed to a new page or section where you can view your Bitcoin receiving address and related details.
On this page, you should see your Bitcoin receiving address displayed as a unique alphanumeric code. The address typically starts with a “1” or “3” and is a combination of upper and lower case letters as well.
Take a moment to verify that the receiving address displayed on the page matches the one you copied from your Blockchain wallet earlier. It’s crucial to ensure its accuracy as any mistakes could result in the loss of funds or incorrect delivery of Bitcoin.
Now that you’ve successfully navigated to your Bitcoin wallet within your Blockchain account, you’re prepared for the next step: sending Bitcoin from your Coinbase account to your Blockchain wallet.
Step 7: Send Bitcoin from Coinbase to Blockchain
Now that you have generated a receiving address in your Blockchain wallet and navigated to your Bitcoin wallet in both Coinbase and Blockchain, it’s time to initiate the transfer of Bitcoin from Coinbase to your Blockchain wallet.
In your Coinbase account, ensure that you are in the detailed view of your Bitcoin wallet. Locate and click on the “Send” option, which is typically represented by an arrow pointing outward.
Within the “Send” interface, you will be prompted to enter the recipient’s address. This is where you will paste the receiving address that you copied from your Blockchain wallet.
Paste the receiving address into the appropriate field provided by Coinbase. Double-check that the address is accurate, without any additional spaces or characters, to avoid any potential errors or loss of funds.
Next, enter the amount of Bitcoin you wish to send from your Coinbase wallet to your Blockchain wallet. You can either enter the amount manually or use the available options to select a specific amount or the full balance of your Bitcoin holdings.
Take a moment to review the transaction details, including the recipient’s address and the amount of Bitcoin being sent. Double-check these details to ensure their accuracy before proceeding.
If everything looks correct, click on the “Send” or “Confirm” button to initiate the transfer. Coinbase will then process the transaction and deduct the specified amount from your Bitcoin wallet balance.
Once the transaction is initiated, it will be added to the Bitcoin network’s pending transactions. The time it takes for the transfer to be confirmed and reflected in your Blockchain wallet may vary, depending on network congestion and other factors.
After the transfer is confirmed, you can check your Blockchain wallet to verify that the Bitcoin has been successfully received. The balance should be updated, reflecting the transferred amount.
Congratulations! You have successfully sent Bitcoin from your Coinbase account to your Blockchain wallet. You can now use the funds in your Blockchain wallet for various purposes, such as making purchases or holding them as an investment.
Conclusion
Transferring Bitcoin from Coinbase to Blockchain is a straightforward process that allows you to have control over your cryptocurrency funds. By following the steps outlined in this guide, you can confidently send your Bitcoin from your Coinbase account to your Blockchain wallet.
We started by signing into your Coinbase account and navigating to your Bitcoin wallet. From there, we generated a receiving address in your Blockchain wallet and copied it to your clipboard. Afterward, we signed in to your Blockchain account and found your Bitcoin wallet within the interface.
Next, we copied the receiving address from your Blockchain wallet and returned to your Coinbase account to complete the transfer. Finally, we initiated the transaction from Coinbase to send your Bitcoin to your Blockchain wallet.
It is crucial to double-check all the details during the process, paying close attention to the accuracy of the receiving address. Any mistakes in the address can result in the loss of funds or delivery to the wrong wallet.
Remember to keep your wallets secure and regularly review your transactions for added peace of mind. Additionally, it’s worth exploring the additional features and functionalities offered by both Coinbase and Blockchain to maximize your cryptocurrency experience.
Now that you have successfully completed the Bitcoin transfer from Coinbase to Blockchain, you can enjoy the benefits of having your funds stored in your Blockchain wallet. Whether you’re using them for online purchases, trading, or long-term investment, you have taken a significant step in managing your Bitcoin holdings independently.
Stay updated with the latest trends and best practices in cryptocurrency management to make the most of your Bitcoin journey. As the cryptocurrency landscape evolves, it’s important to stay informed and adapt your strategies accordingly.
Remember, with the right knowledge and proper security measures in place, you can confidently manage and control your digital assets. Happy Bitcoin transactions!


