Introduction
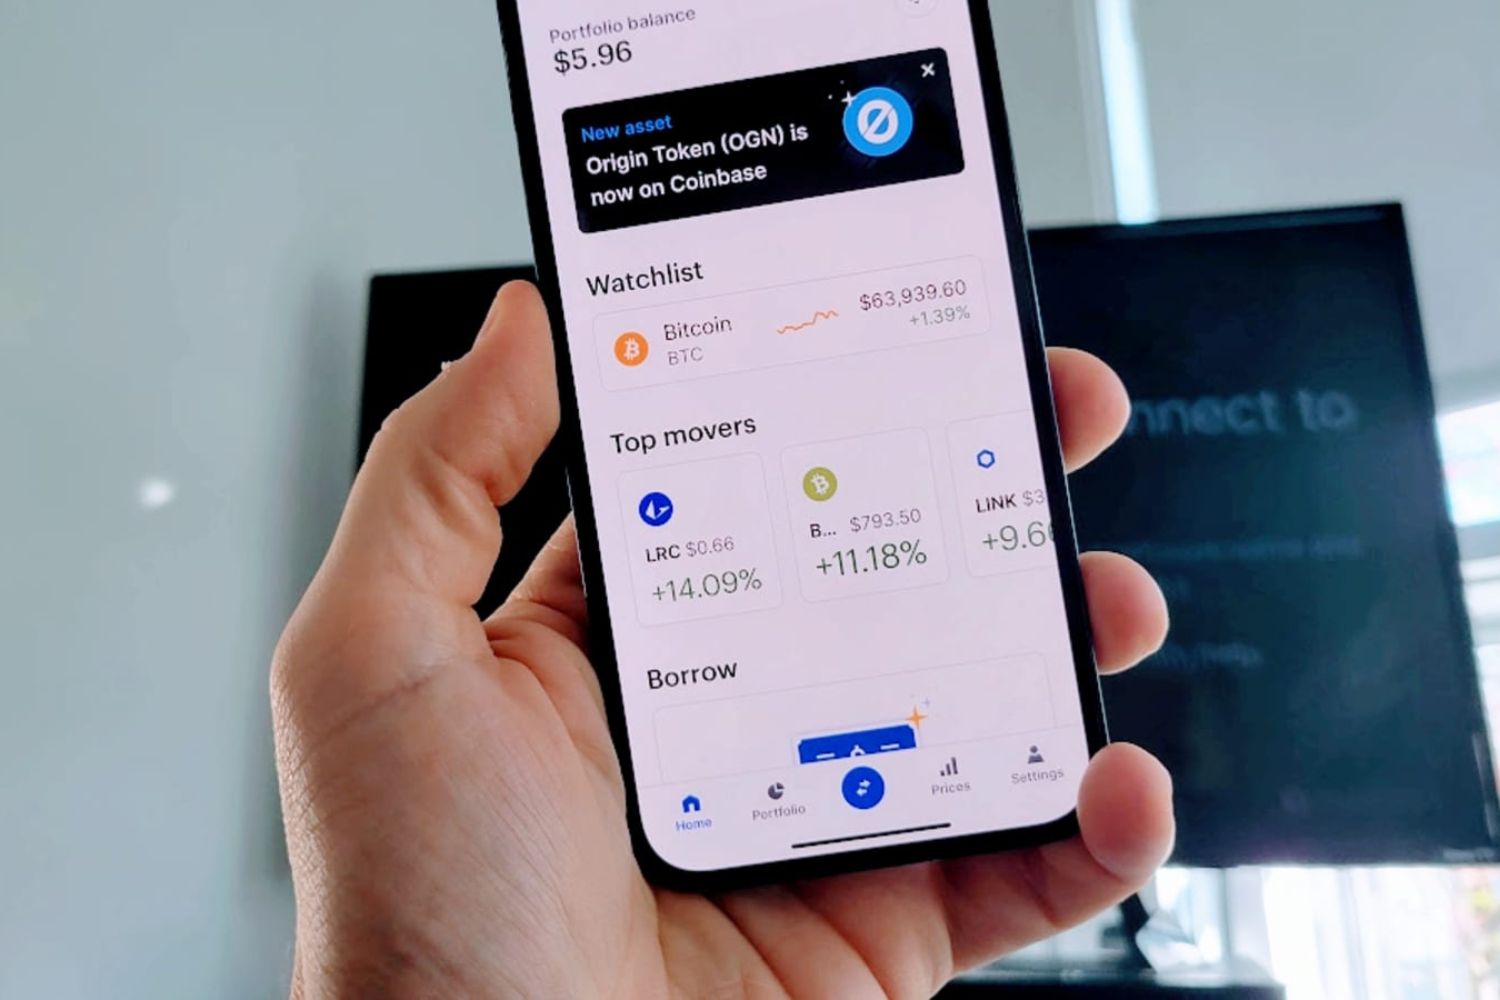
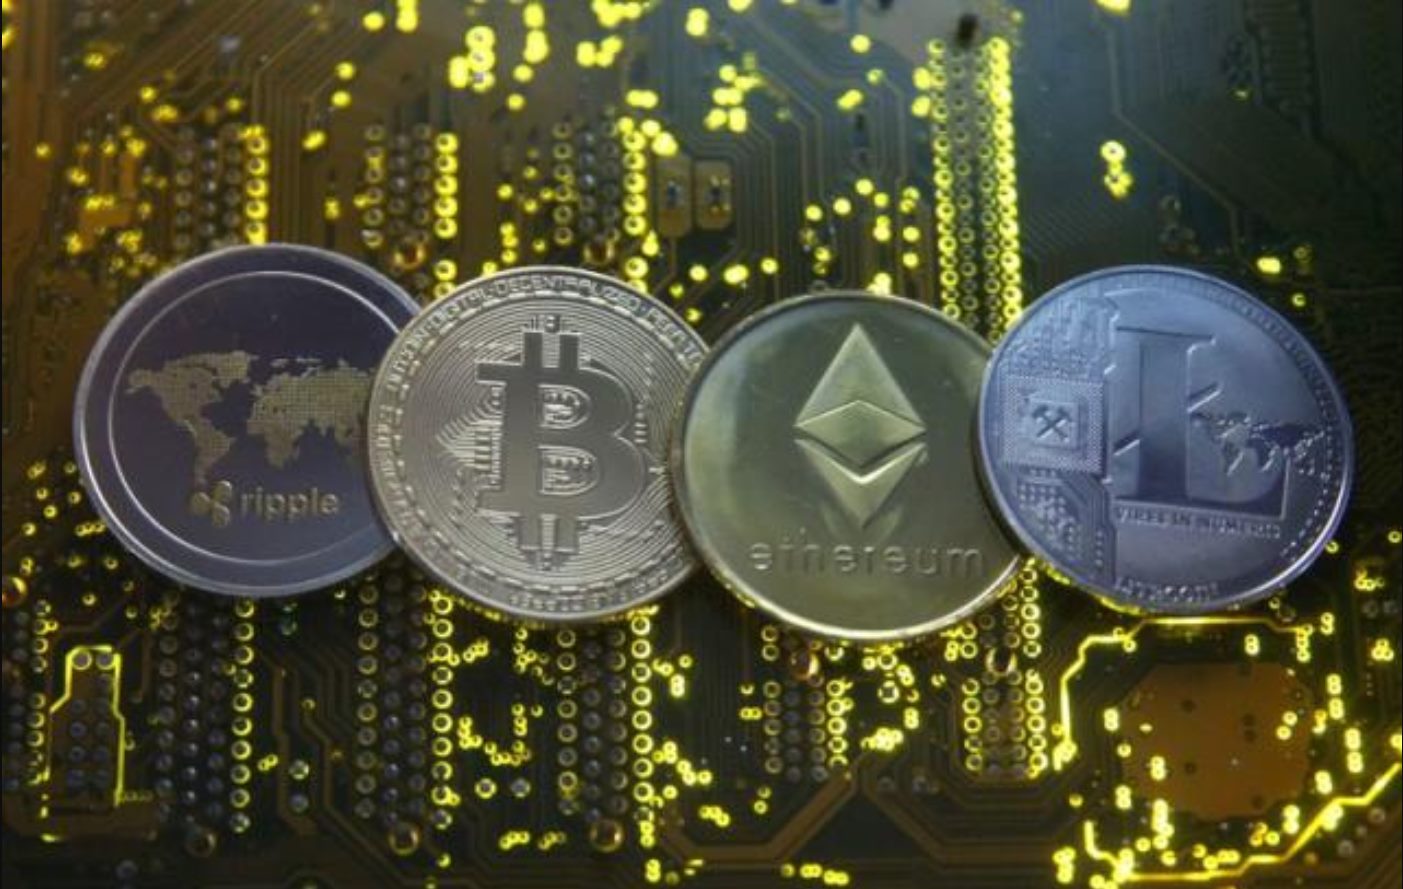
Welcome to our guide on how to send digital currency from Coinbase. Coinbase is one of the most popular and user-friendly cryptocurrency exchange platforms, allowing users to buy, sell, and store various digital currencies, such as Bitcoin, Ethereum, and Litecoin. Whether you’re sending digital currency to a friend or conducting a transaction, Coinbase makes it easy and secure.
With the increasing adoption of digital currencies, it’s essential to understand the process of sending them safely. This guide will walk you through the step-by-step process of sending digital currency from your Coinbase wallet to another cryptocurrency wallet address.
Sending digital currency from Coinbase involves a few key steps, including creating a Coinbase account, adding funds to your wallet, selecting the digital currency to send, choosing the recipient’s wallet, entering the amount to send, reviewing transaction details, confirming, and verifying the transaction on the blockchain.
Before we dive into the details, it’s important to note that sending digital currency comes with risks, such as entering an incorrect wallet address or losing access to your account. Always double-check the recipient’s wallet address and ensure you have proper security measures in place, such as enabling two-factor authentication and keeping your account credentials safe.
Now, let’s get started with step one: creating a Coinbase account.
Step 1: Creating a Coinbase Account
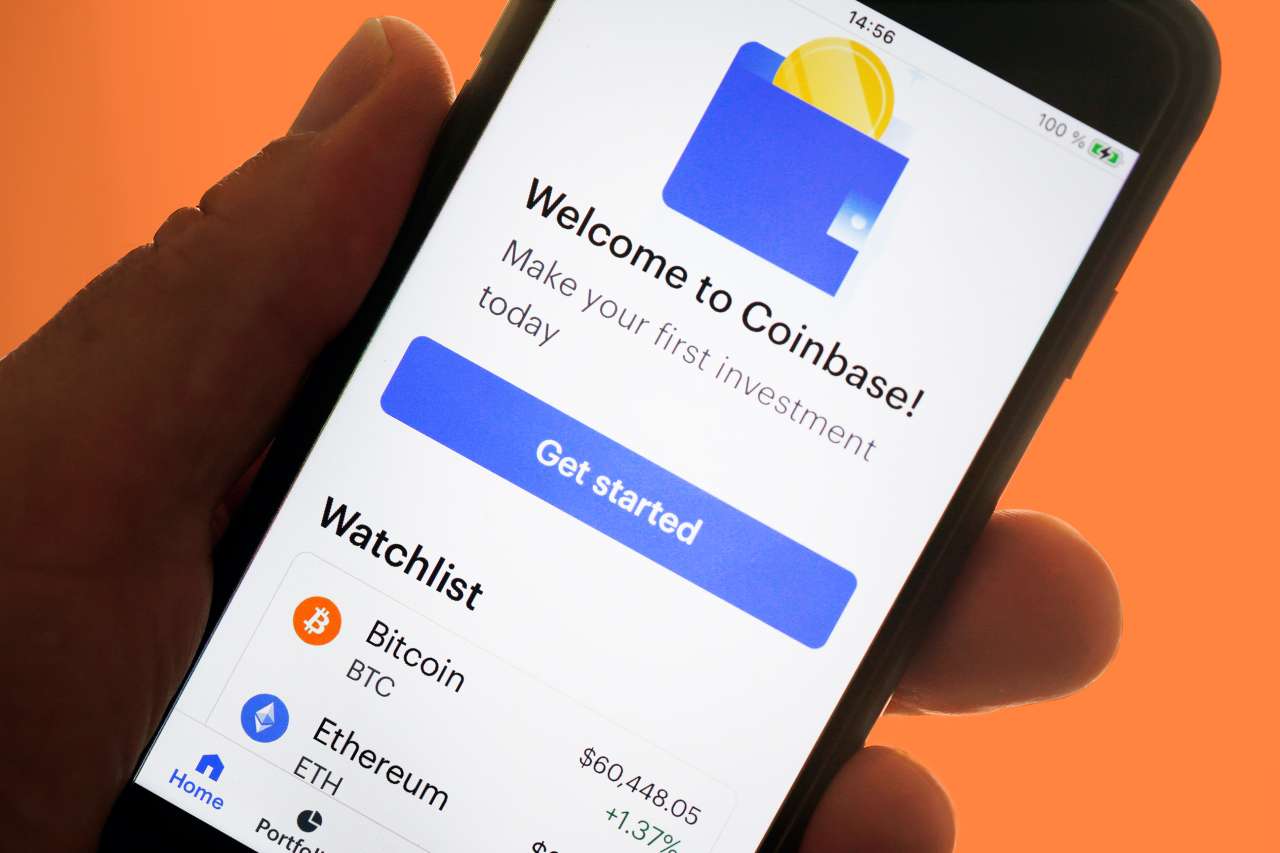
Before you can send digital currency from Coinbase, you’ll need to create an account on the platform. Here’s how you can do it:
- Visit the Coinbase website on your computer or download the Coinbase app on your mobile device.
- Click on the “Get Started” button or the “Sign Up” option to begin the registration process.
- Provide your email address and create a strong password for your Coinbase account. Make sure to choose a unique and secure password to protect your account.
- Read and accept the terms of service and privacy policy of Coinbase.
- Complete the verification process by entering your phone number. Coinbase will send you a verification code to confirm your phone number.
- Enter the verification code you received and proceed to the next step.
- Next, you’ll be prompted to verify your identity. Coinbase is required to comply with Know Your Customer (KYC) and Anti-Money Laundering (AML) regulations. Follow the instructions to upload a valid government-issued ID, such as a passport or driver’s license.
- Once your identity is verified, you can proceed to set up additional security measures for your Coinbase account, such as two-factor authentication (2FA). Enabling 2FA adds an extra layer of security by requiring a unique verification code in addition to your password when logging in.
After completing these steps, your Coinbase account will be created, and you’ll have access to your digital wallet. Remember to keep your account credentials secure and enable any available security features provided by Coinbase.
Now that you have a Coinbase account, you’re ready to move on to the next step: adding funds to your Coinbase wallet.
Step 2: Adding Funds to Your Coinbase Wallet
In order to send digital currency from Coinbase, you’ll need to have funds in your Coinbase wallet. Here’s how you can add funds to your wallet:
- Log in to your Coinbase account using your email address and password.
- Once logged in, click on the “Accounts” tab to view your different cryptocurrency wallets.
- Select the wallet you want to add funds to.
- Click on the “Receive” button to get your wallet address. This address is unique to your account and is what you will use to receive funds.
- Copy the wallet address or use the provided QR code to receive funds from another wallet or exchange.
- Once you have the wallet address, you can send funds from another wallet or exchange to your Coinbase wallet. Follow the instructions provided by the external wallet or exchange to send the desired amount of digital currency to your Coinbase wallet.
- After the transaction is confirmed and the funds are added to your Coinbase wallet, you will see the updated balance in the respective cryptocurrency wallet.
It is important to note that each cryptocurrency has a specific wallet address. For example, if you want to add Bitcoin to your Coinbase wallet, you will need to use the Bitcoin wallet address provided by Coinbase. Sending the wrong digital currency to a wallet address could result in permanent loss of funds.
Additionally, it’s crucial to be aware of any transaction fees associated with adding funds to your Coinbase wallet. Coinbase may charge a small fee for incoming transactions, so make sure to account for this when sending funds.
Once you have successfully added funds to your Coinbase wallet, you’re ready to proceed to the next step: choosing the digital currency to send.
Step 3: Choosing the Digital Currency to Send
Now that you have funds in your Coinbase wallet, it’s time to select the specific digital currency you want to send. Coinbase supports various cryptocurrencies, including Bitcoin, Ethereum, Litecoin, and more. Here’s how you can choose the digital currency to send:
- Log in to your Coinbase account using your credentials.
- Click on the “Accounts” tab to view your different cryptocurrency wallets.
- Select the wallet that contains the digital currency you want to send.
- Once you are in the wallet, you will see the available balance and options for sending or receiving.
- Choose the “Send” option to initiate the process of sending the digital currency.
- From the drop-down menu, select the digital currency you wish to send.
It’s important to review the transaction fees associated with sending each digital currency. Different cryptocurrencies may have varying transaction fees due to factors such as network congestion or blockchain technology requirements.
Before proceeding to the next step, double-check that you have selected the correct digital currency to send. Sending the wrong digital currency to a recipient’s wallet may result in permanent loss of funds.
Now that you have chosen the digital currency to send, it’s time to move on to step four: selecting the recipient’s wallet.
Step 4: Selecting the Recipient’s Wallet
After choosing the digital currency you want to send from your Coinbase wallet, the next step is to select the recipient’s wallet. Here’s how you can do it:
- Log in to your Coinbase account.
- Under the “Send” section, enter the recipient’s wallet address where you want to send the digital currency.
- Double-check the recipient’s wallet address to ensure its accuracy. Entering an incorrect wallet address may result in the irrevocable loss of funds.
- If you’re sending the digital currency to someone in your Coinbase contacts, you can select their name from the list instead of manually entering their wallet address.
When entering a wallet address, it is highly recommended to copy and paste it rather than typing it manually. This will minimize the risk of making any typos or mistakes.
It’s essential to note that each type of digital currency has its own unique wallet address format. For example, a Bitcoin wallet address will differ from an Ethereum wallet address. Make sure to select the correct wallet address format for the digital currency you are sending.
After entering or selecting the recipient’s wallet address, you can proceed to the next step: entering the amount of digital currency to send.
Step 5: Entering the Amount to Send
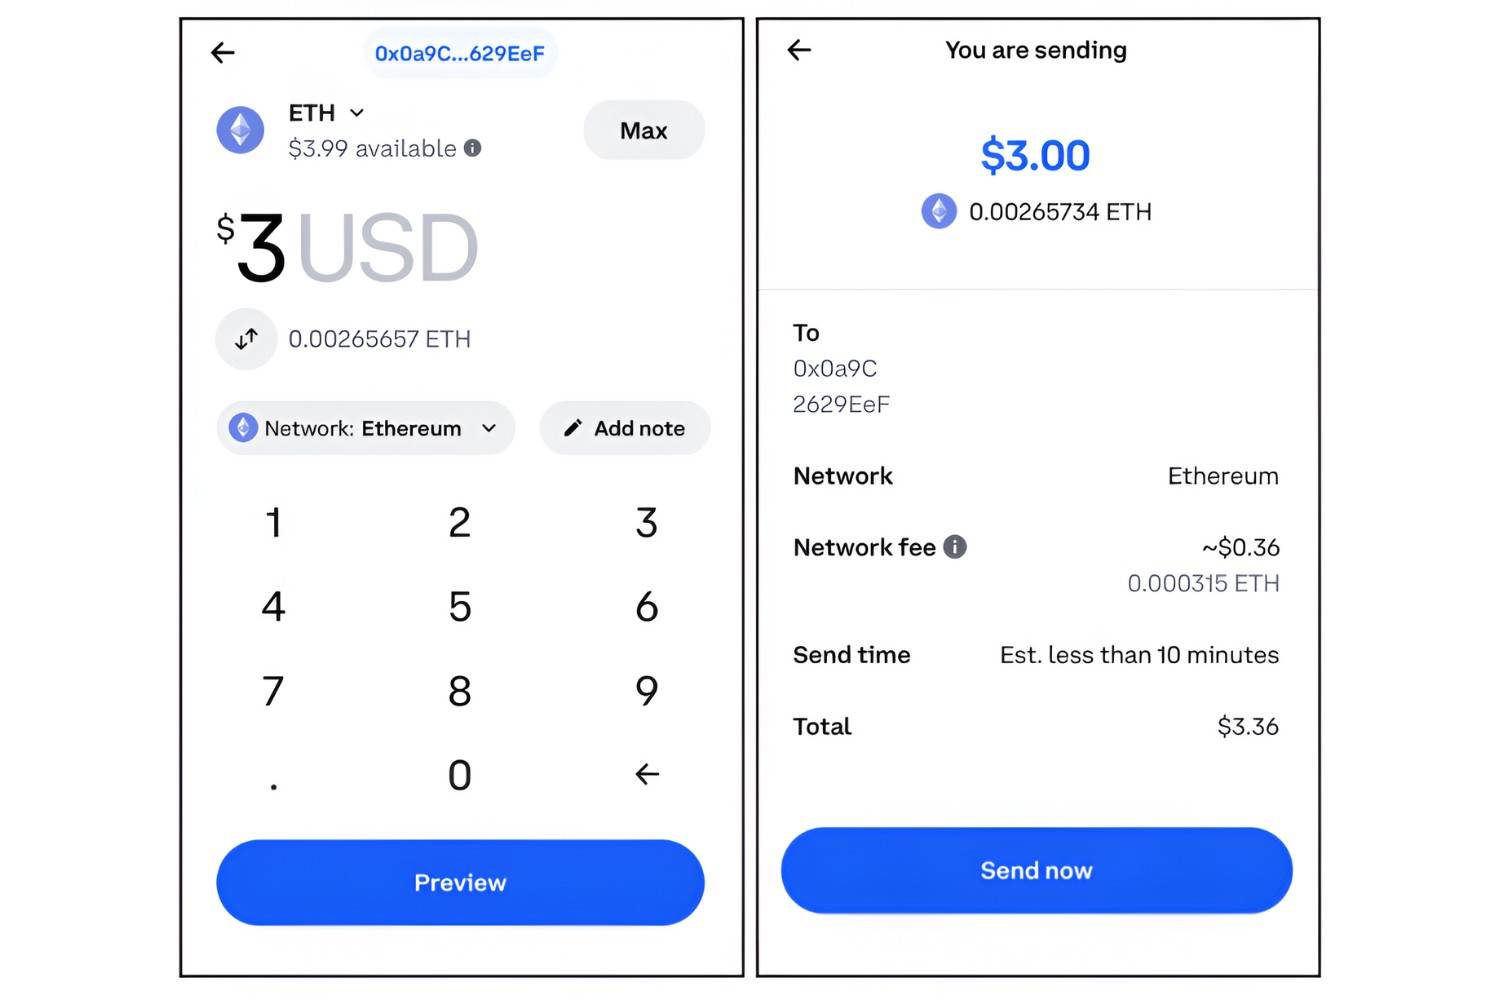
Once you’ve selected the recipient’s wallet, it’s time to enter the amount of digital currency you want to send from your Coinbase wallet. Here’s how you can do it:
- Log in to your Coinbase account.
- In the “Send” section, enter the amount of digital currency you wish to send to the recipient.
- You can enter the amount in the currency’s specific denomination or in your preferred fiat currency, such as USD or EUR.
- Ensure that you have enough funds in your Coinbase wallet to cover the intended amount, including any applicable transaction fees.
- Take note of any transaction fees displayed by Coinbase. These fees may vary depending on the digital currency being sent and the current network conditions.
It’s important to double-check the entered amount before proceeding to the next step. Sending an incorrect amount of digital currency may result in loss or incomplete transactions.
Also, keep in mind that some digital currencies like Bitcoin may have minimum transaction amounts due to network constraints. Ensure that your transaction meets the minimum requirement if applicable.
Now that the amount to send has been entered, it’s time to move on to step six: reviewing the transaction details.
Step 6: Reviewing the Transaction Details
Before finalizing the transaction, it’s crucial to review all the details to ensure accuracy. Here’s how you can review the transaction details when sending digital currency from Coinbase:
- Log in to your Coinbase account.
- In the “Send” section, double-check the recipient’s wallet address to ensure it is correct. Make sure there are no typos or errors.
- Verify the amount of digital currency you are sending. Ensure it matches your intended amount.
- Take note of any transaction fees that will be deducted from your Coinbase wallet.
- Review any additional information provided by Coinbase, such as estimated completion times or any special instructions.
It is crucial to pay attention to the transaction fees, as they can vary depending on network congestion or other factors. These fees are deducted from the digital currency you are sending, so it’s important to take them into account when reviewing the transaction details.
If you notice any discrepancies or errors in the transaction details, click on the “Cancel” or “Edit” options to make the necessary changes.
Once you are confident that all the transaction details are accurate, you can proceed to the next step: confirming and sending the digital currency.
Step 7: Confirming and Sending the Digital Currency
After carefully reviewing the transaction details, it’s time to confirm and send the digital currency from your Coinbase wallet. Here’s how you can do it:
- Log in to your Coinbase account.
- In the “Send” section, click on the “Confirm” or “Send” button to proceed with the transaction.
- Depending on your account settings, Coinbase may prompt you to enter a two-factor authentication (2FA) code or provide other verification methods to ensure the security of your account.
- Once you have successfully confirmed the transaction, Coinbase will initiate the process of sending the digital currency to the recipient’s wallet.
- Be patient, as the time it takes for the transaction to be completed may vary depending on network congestion and the specific digital currency being sent.
It’s important to note that once the transaction is initiated, it cannot be reversed. Ensure that all the transaction details are accurate before confirming the transaction.
After sending the digital currency, Coinbase will provide you with a transaction ID or hash that you can use to track the status of the transaction on the blockchain. This ID can be found in your Coinbase transaction history or by searching for the transaction details on a blockchain explorer.
Now that you have confirmed and sent the digital currency, the recipient will receive the funds in their wallet. The final step is to verify the transaction on the blockchain.
Step 8: Verifying the Transaction on the Blockchain
After sending the digital currency from your Coinbase wallet, it’s important to verify the transaction on the blockchain. The blockchain is a decentralized ledger that records all transactions made with cryptocurrencies. Here’s how you can verify the transaction:
- Take note of the transaction ID or hash provided by Coinbase after you confirmed the transaction.
- Visit a blockchain explorer website, such as blockchain.com or etherscan.io, and enter the transaction ID or hash in the search bar.
- The blockchain explorer will display the transaction details, including the amount sent, the sender’s wallet address, the recipient’s wallet address, and the confirmation status of the transaction.
- You can also monitor the number of confirmations the transaction receives. Each confirmation represents a new block being added to the blockchain, further solidifying the transaction’s immutability.
- Depending on the digital currency and network congestion, it may take some time for the transaction to receive confirmations and be considered fully completed.
Verifying the transaction on the blockchain provides transparent and irrefutable proof that the transfer of digital currency has occurred. It helps ensure the integrity and security of the transaction.
If there are any issues or concerns with the transaction, such as a delay in confirmation or an incorrect transaction status, it’s advisable to reach out to Coinbase support for further assistance.
Congratulations! You have successfully sent digital currency from your Coinbase wallet and verified the transaction on the blockchain. Now, both you and the recipient can have peace of mind knowing that the transaction is complete and recorded on the blockchain.
Conclusion
Congratulations! You have successfully learned how to send digital currency from Coinbase. Following the step-by-step process outlined in this guide, you can securely and confidently send various digital currencies to recipients’ wallets.
Throughout the process, it’s crucial to exercise caution and attention to detail. Double-checking wallet addresses, transaction amounts, and reviewing transaction details can help prevent any mistakes or potential loss of funds.
Remember to keep your Coinbase account secure by enabling two-factor authentication (2FA) and following best practices for account safety. Additionally, stay updated with the latest security measures and be cautious of phishing attempts or suspicious activity.
Sending digital currency offers convenient and efficient ways to transact in the world of cryptocurrencies. However, it’s important to stay informed about the specific requirements, fees, and considerations for each digital currency when performing transactions.
As the world of digital currency continues to evolve, Coinbase remains a reputable and user-friendly platform to navigate the cryptocurrency market. Utilize the resources and support provided by Coinbase when needed to enhance your overall experience.
Now that you have the knowledge and understanding to send digital currency from Coinbase, you can confidently participate in the exciting world of cryptocurrencies, engage in transactions, and explore a wide array of possibilities within the decentralized ecosystem.
Safe travels on your digital currency journey!