Introduction
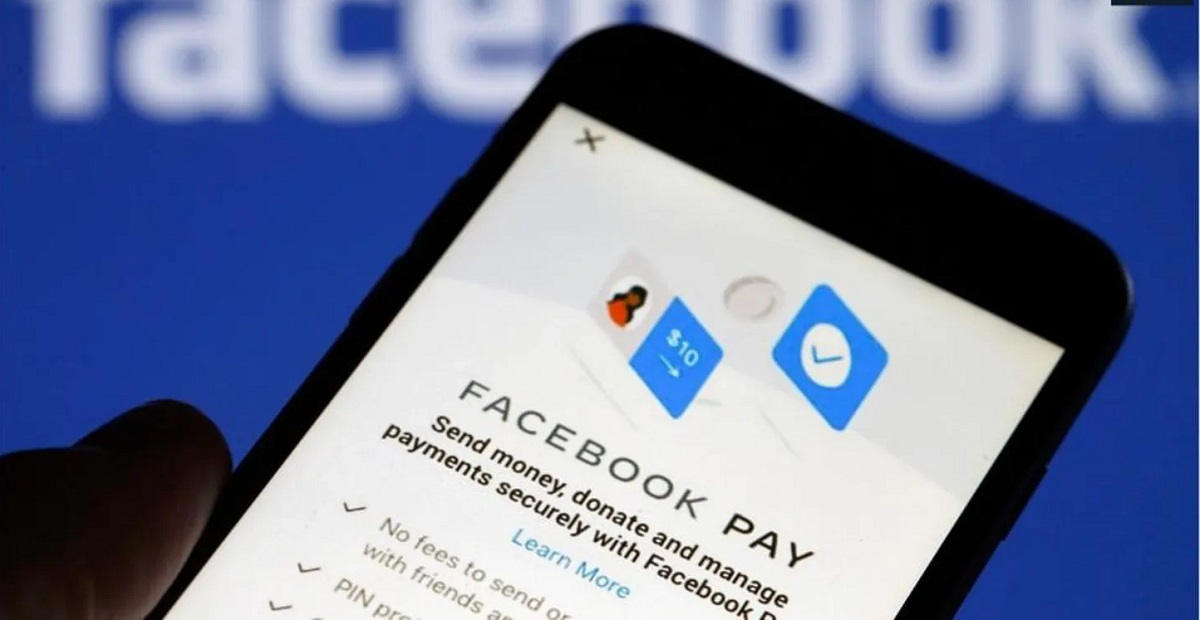
Facebook Pay is a convenient and secure payment feature that allows you to make purchases, send money to friends, and donate to fundraisers right within the Facebook app. However, there may come a time when you want to turn off Facebook Pay for various reasons. Whether you no longer use the feature or you simply prefer to use other payment methods, disabling Facebook Pay is a straightforward process.
In this guide, we will walk you through the steps to turn off Facebook Pay to ensure that your payment information and preferences are no longer associated with your account. We will also show you how to remove any linked payment methods and disable auto-payments. Additionally, we will cover how to delete your Facebook Pay account and associated data, if you decide to take that step.
It is important to note that turning off Facebook Pay will disable all payment-related features, including making purchases, sending money, and receiving payments through the Facebook app. Once you disable Facebook Pay, you might need to rely on alternative payment methods for any transactions within the platform.
Now, let’s dive into the steps you need to follow to turn off Facebook Pay and manage your payment settings.
Step 1: Accessing Facebook Pay settings
To turn off Facebook Pay, you need to access the Facebook Pay settings on your Facebook account. Here’s how:
- Open the Facebook app on your mobile device or visit Facebook.com on your computer and log in to your account.
- On the mobile app, tap on the three horizontal lines in the bottom right corner to open the menu. On the desktop, click on the downward-facing arrow at the top right corner to open the menu.
- In the menu, scroll down and select “Settings & Privacy” then choose “Settings.”
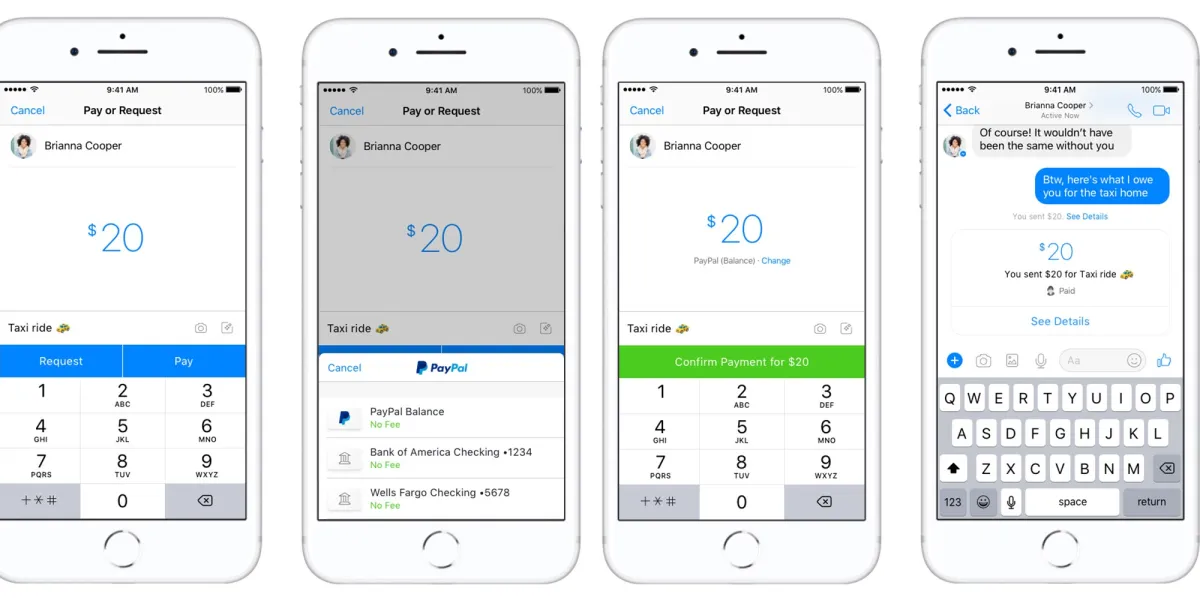
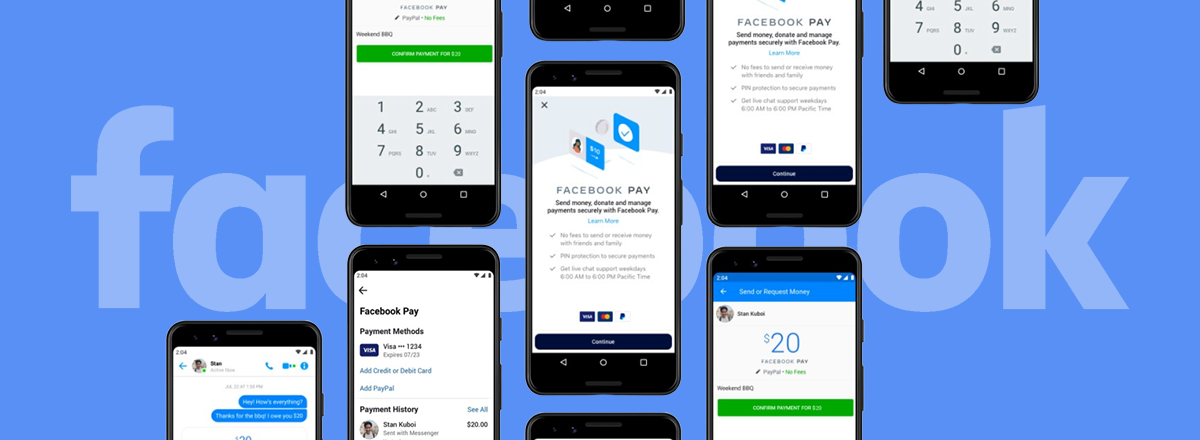
- In the Settings menu, look for “Facebook Pay” either under “Payments” or “Privacy & Settings.” Tap or click on it to open the Facebook Pay settings.
Once you have accessed the Facebook Pay settings, you are ready to proceed to the next step of disabling Facebook Pay.
Note that the steps may vary slightly depending on the version of the Facebook app you are using or any updates that may have been made to the user interface. However, the general process of accessing the settings remains the same.
Step 2: Disabling Facebook Pay
Now that you have accessed the Facebook Pay settings, it’s time to disable the feature. Follow these steps:
- Look for the option to “Manage Facebook Pay” or “Manage Payments” in the Facebook Pay settings menu.
- Select it to open the payment management options.
- Find the toggle switch or checkbox labeled “Facebook Pay” or “Enable Facebook Pay.”
- Toggle the switch to the off position or uncheck the box to disable Facebook Pay.
By following these steps, you have successfully disabled Facebook Pay on your account. This means that you will no longer be able to use Facebook Pay for making purchases, sending money, or receiving payments within the Facebook app.
Disabling Facebook Pay does not delete your payment information from your account. If you have any concerns about your payment security, you can proceed to the next step to remove your payment methods from Facebook Pay.
Note that depending on the version of the Facebook app or the settings interface, the options to disable Facebook Pay may be labeled differently or placed in a slightly different location. However, the general process remains the same.
Step 3: Confirming the deactivation
After disabling Facebook Pay, it is always a good idea to double-check and confirm that the feature has been deactivated on your account. Here’s how you can do this:
- Navigate back to the Facebook Pay settings menu.
- Look for any indicators or messages that confirm the status of Facebook Pay. It should display as “Disabled” or “Turned Off.”
- If available, review any details or additional options related to the deactivation process.
By confirming the deactivation of Facebook Pay, you can have peace of mind knowing that the feature is no longer active on your account. This ensures that your payment information is not associated with Facebook Pay and cannot be used for any transactions within the Facebook app.
If, at any point, you decide to re-enable Facebook Pay, you can revisit the Facebook Pay settings menu and follow the provided instructions to turn it back on. However, keep in mind that any previously linked payment methods will need to be added again.
Remember, disabling Facebook Pay does not delete your payment information from your account. If you want to remove your payment methods from Facebook Pay, proceed to the next step.
Checking the deactivation status is a simple way to verify that your Facebook Pay feature has been successfully turned off.
Step 4: Removing payment methods
Now that you have disabled Facebook Pay, it’s a good idea to remove any payment methods that you have previously linked to your account. Here are the steps to remove payment methods:
- Go back to the Facebook Pay settings menu.
- Look for the section that displays your linked payment methods, such as credit cards or PayPal.
- Click or tap on the payment method you want to remove.
- Select the option to “Remove” or “Delete” the payment method.
Follow these steps for each payment method you wish to remove from your Facebook Pay account.
Removing payment methods ensures that your sensitive financial information is no longer associated with your Facebook account. It adds an extra layer of security and peace of mind, especially if you have decided to turn off Facebook Pay permanently.
Keep in mind that removing payment methods from Facebook Pay does not delete them from your actual accounts or banks. It simply removes the link between Facebook and those payment methods.
By following these steps, you have successfully removed your payment methods from Facebook Pay, further protecting your personal and financial information.
Step 5: Disabling auto-payments
In addition to turning off Facebook Pay and removing payment methods, it is important to disable any auto-payment settings associated with your account. Disabling auto-payments ensures that you have full control over when and how payments are made. Here’s how to do it:
- Return to the Facebook Pay settings menu.
- Look for the section labeled “Auto Payments” or “Recurring Payments.”
- Review the list of services or subscriptions that have auto-payment enabled.
- Toggle the switch or option to disable auto-payment for each service or subscription.
Make sure to carefully review the list and disable auto-payments for each service or subscription that you no longer wish to be automatically charged for within the Facebook app.
Disabling auto-payments gives you the freedom to manually authorize and control any future payments. This way, you can review each transaction and only proceed with payments that you intentionally approve.
Remember, turning off Facebook Pay, removing payment methods, and disabling auto-payments work together to ensure that you have full control over your financial transactions within the Facebook app. Taking these steps can help prevent any unexpected charges or unauthorized payments.
By following these instructions, you have successfully disabled auto-payments associated with your Facebook account.
Step 6: Deleting Facebook Pay account and data
If you have decided to completely remove your Facebook Pay account and all associated data, follow these steps:
- Go back to the Facebook Pay settings menu.
- Look for the option to “Delete Facebook Pay Account” or a similar phrase.
- Click or tap on this option to initiate the account deletion process.
- Follow any additional prompts or instructions provided to confirm the deletion.
Deleting your Facebook Pay account will permanently remove all your payment information, transaction history, and associated data from Facebook’s servers. This action cannot be undone, so be sure to review your decision before proceeding.
By deleting your Facebook Pay account, you are essentially starting fresh with no payment information or history associated with your Facebook account. This can be beneficial if you want to completely sever any ties between Facebook and your financial data.
It is important to note that deleting your Facebook Pay account does not delete your overall Facebook account. Your Facebook profile, posts, friends, and other non-payment-related data will remain unaffected.
Take the time to consider the implications of deleting your Facebook Pay account and ensure that it aligns with your privacy and security preferences. Once you have made your decision, follow the steps outlined above to delete your Facebook Pay account and associated data.
By following these steps, you have successfully deleted your Facebook Pay account and all related data from the platform.
Conclusion
Disabling Facebook Pay is a simple process that allows you to take control of your payment preferences within the Facebook app. By following the steps outlined in this guide, you can turn off Facebook Pay, remove payment methods, disable auto-payments, and even delete your Facebook Pay account and associated data.
Remember, disabling Facebook Pay means that you will no longer be able to use the feature for making purchases, sending money, or receiving payments within the Facebook app. However, it does not delete your payment information from your account, so be sure to remove any linked payment methods if you no longer want them associated with Facebook Pay.
Additionally, disabling auto-payments gives you the freedom to manually authorize and control any future payments, ensuring that you have full control over your financial transactions on the platform.
If you decide to take the ultimate step and delete your Facebook Pay account, make sure to consider the implications and review the provided prompts before proceeding. Deleting your Facebook Pay account permanently removes all payment information and associated data from Facebook’s servers.
By following the steps outlined in this guide, you can confidently navigate the process of turning off Facebook Pay and managing your payment settings on the platform.
Now that you have the knowledge to disable Facebook Pay and take control of your payment preferences, you can make informed decisions about how you engage with payment features within the Facebook app.