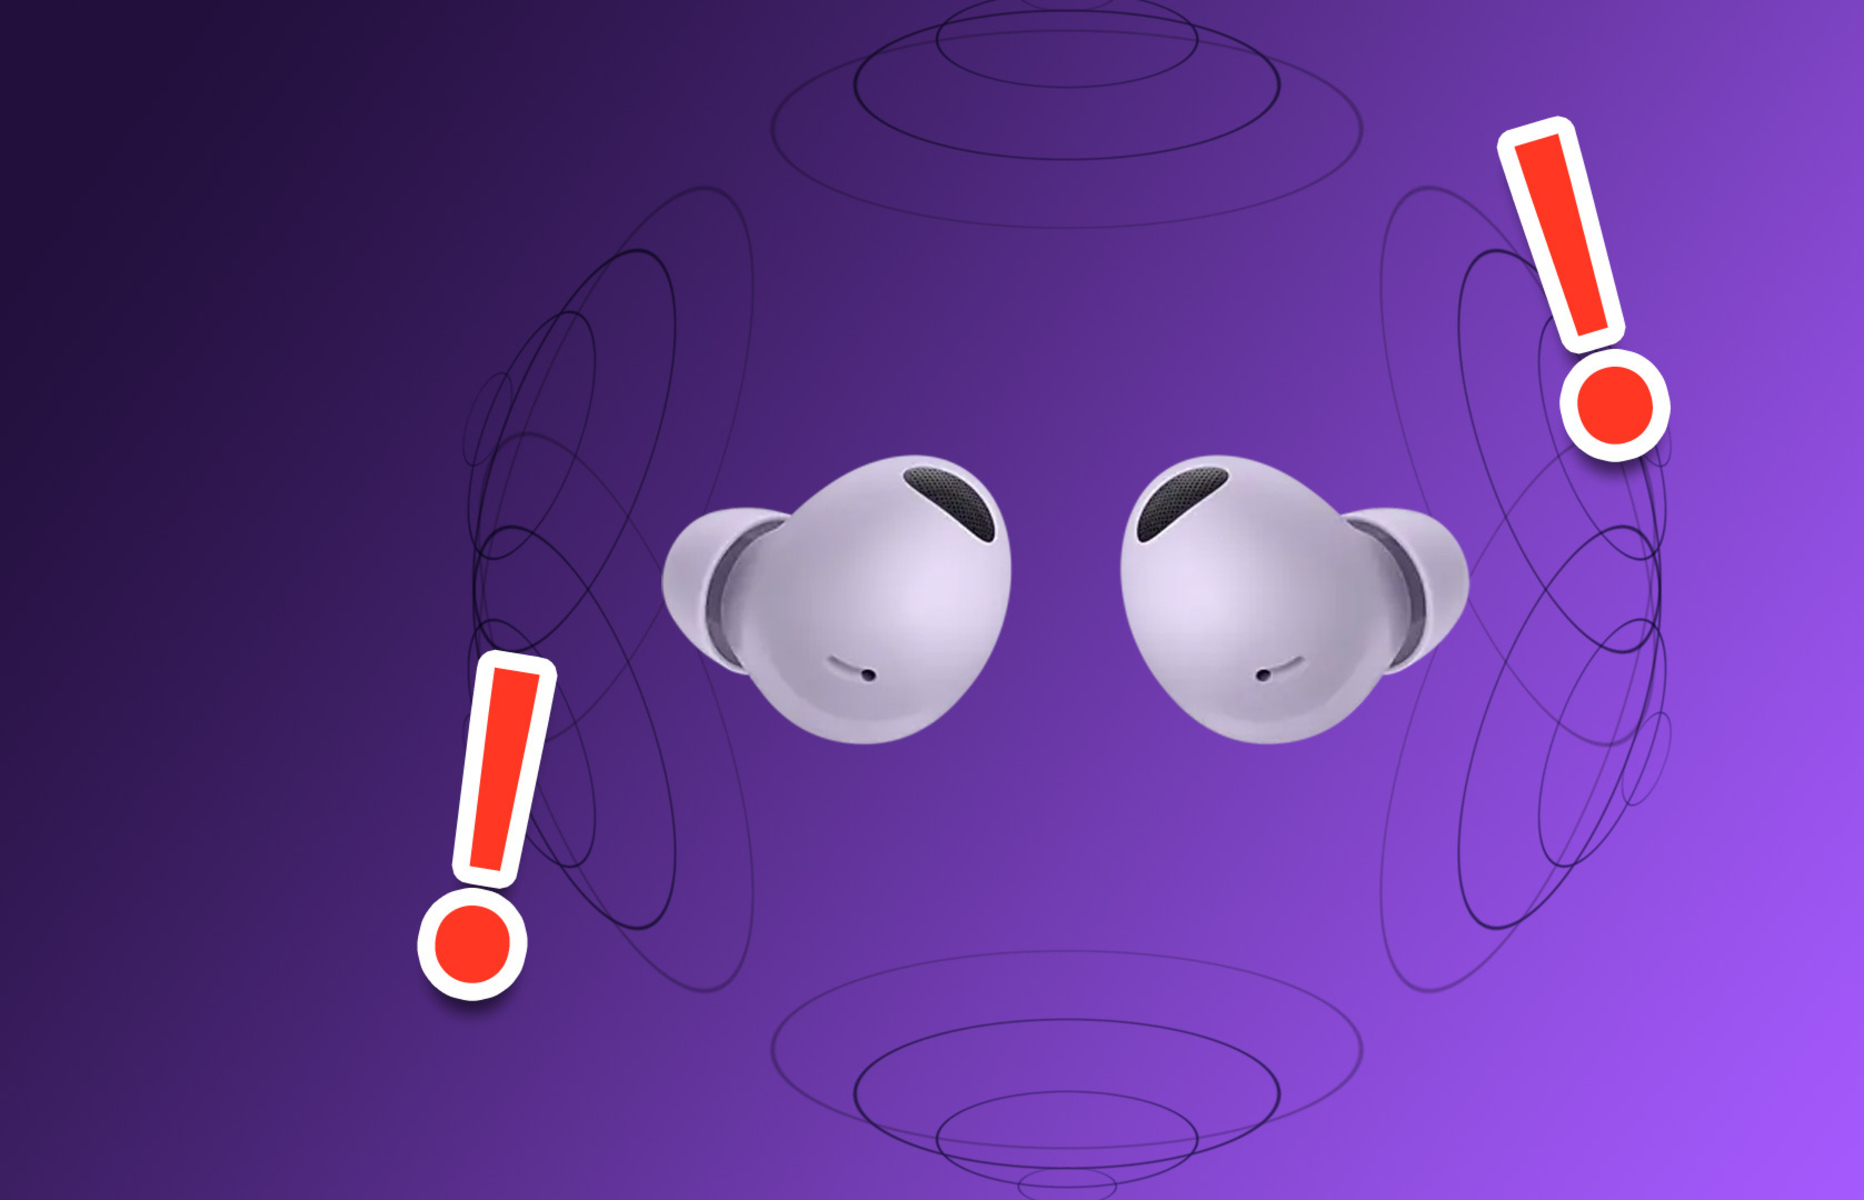
Introduction
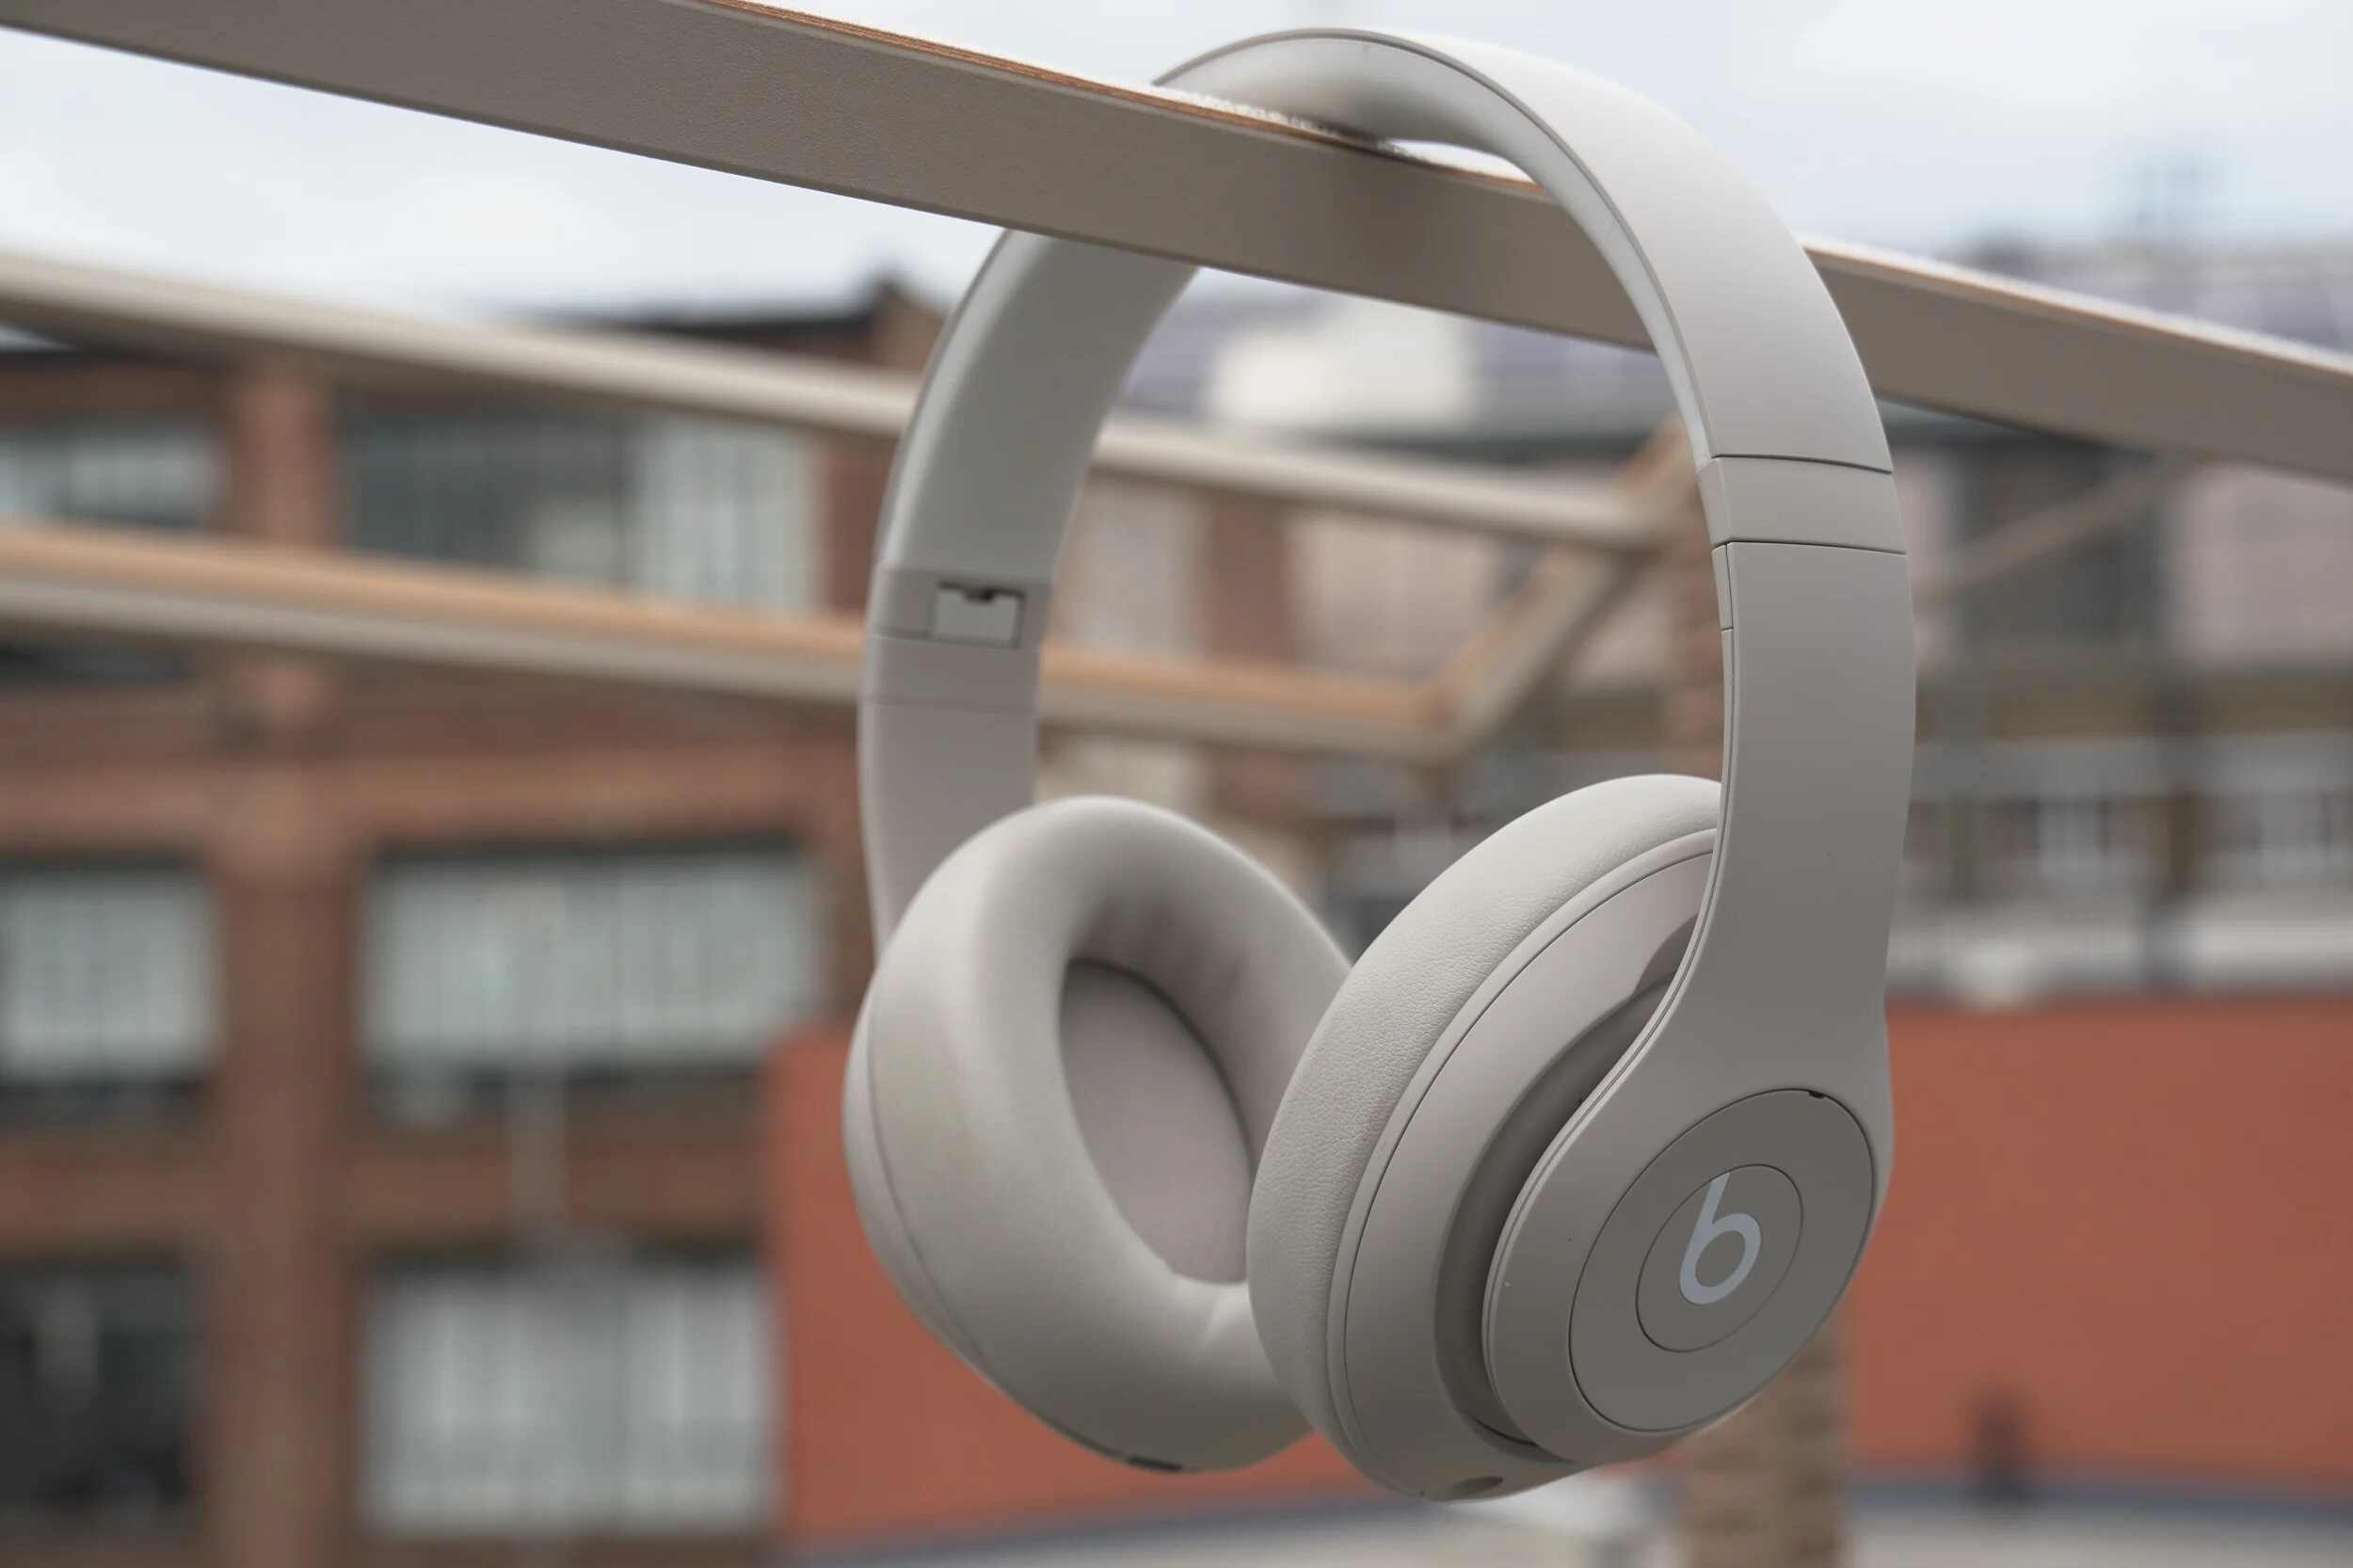
Noise cancelling headphones have become an essential accessory for many individuals, allowing them to block out unwanted sounds and immerse themselves in their favorite music or focus on important tasks. However, there may be instances when your noise cancelling headphones are not working as expected, leaving you frustrated and wondering what could be the issue.
In this article, we will explore common problems that can occur with noise cancelling headphones and provide troubleshooting steps to help you resolve the issue. Whether you have recently purchased a new pair of headphones or have been using the same ones for a while, understanding the possible causes of noise cancelling malfunction can be invaluable in restoring the functionality of your headphones.
We will cover a range of troubleshooting steps that you can try on your own, from checking for software updates to cleaning and maintaining your headphones. By following these steps, you can often resolve the issue and enjoy the full benefits of your noise cancelling headphones once again.
So, if you find yourself asking, “Why is my noise cancelling not working?”, we have got you covered. Read on to learn more about the potential problems and their solutions.
Understanding Noise Cancelling Technology
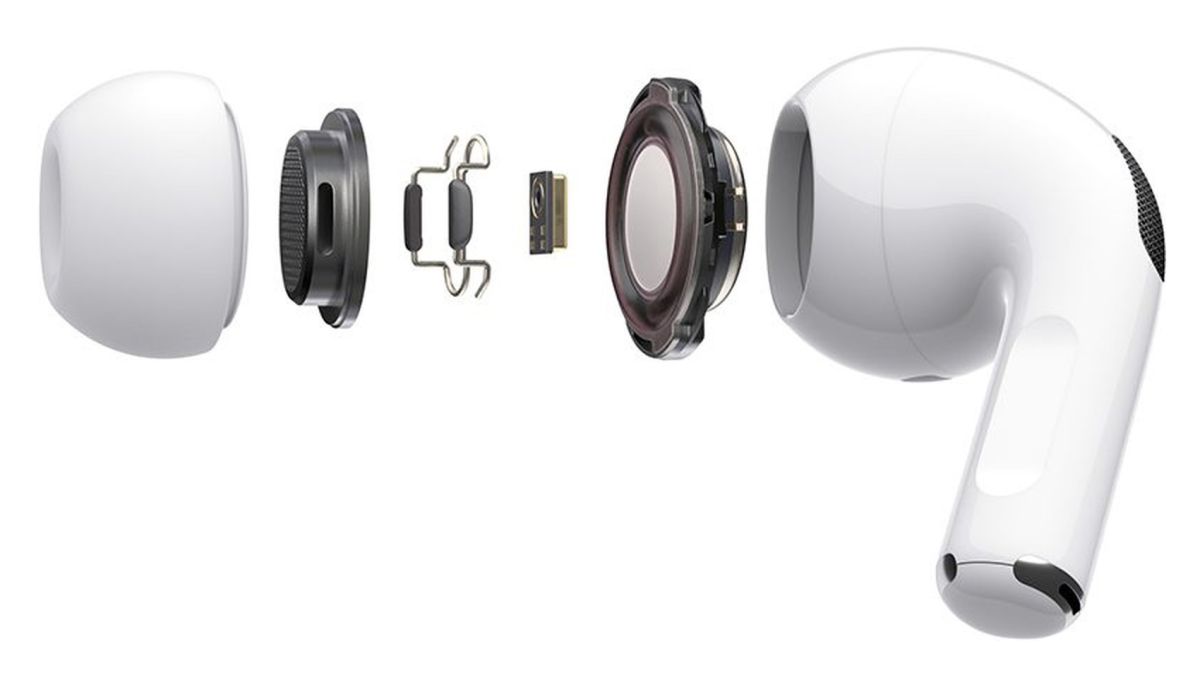
Before diving into the troubleshooting steps, it is crucial to understand how noise cancelling technology works. Noise cancelling headphones utilize built-in microphones to capture external sounds, and then produce an opposing sound wave to cancel out those unwanted noises. This process creates a quieter listening environment, allowing you to enjoy your audio without distractions.
There are two primary types of noise cancelling technology: passive and active. Passive noise cancelling relies on the physical design of the headphones, such as the padding and seal, to block out external sounds. Active noise cancelling, on the other hand, uses advanced electronics to actively counteract the noise.
Active noise cancelling headphones employ a system that analyzes the external sounds and generates sound waves with the opposite frequency. When these opposing sound waves meet, they cancel each other out, effectively reducing or eliminating the unwanted noise. This technology is particularly effective for constant low-frequency sounds, such as the droning of an airplane engine or the hum of an air conditioner.
It is important to note that noise cancelling technology is not designed to completely eliminate all sounds. Rather, it aims to significantly reduce the background noise, allowing you to focus on your audio or experience a quieter environment. Additionally, it is worth mentioning that noise cancelling headphones may not be as effective in blocking out sudden or high-pitched sounds.
Understanding the basics of noise cancelling technology can help you identify any potential issues and determine whether the problem lies with the headphones themselves or with other external factors. With this knowledge in mind, let’s move on to explore some of the common issues that can arise when using noise cancelling headphones.
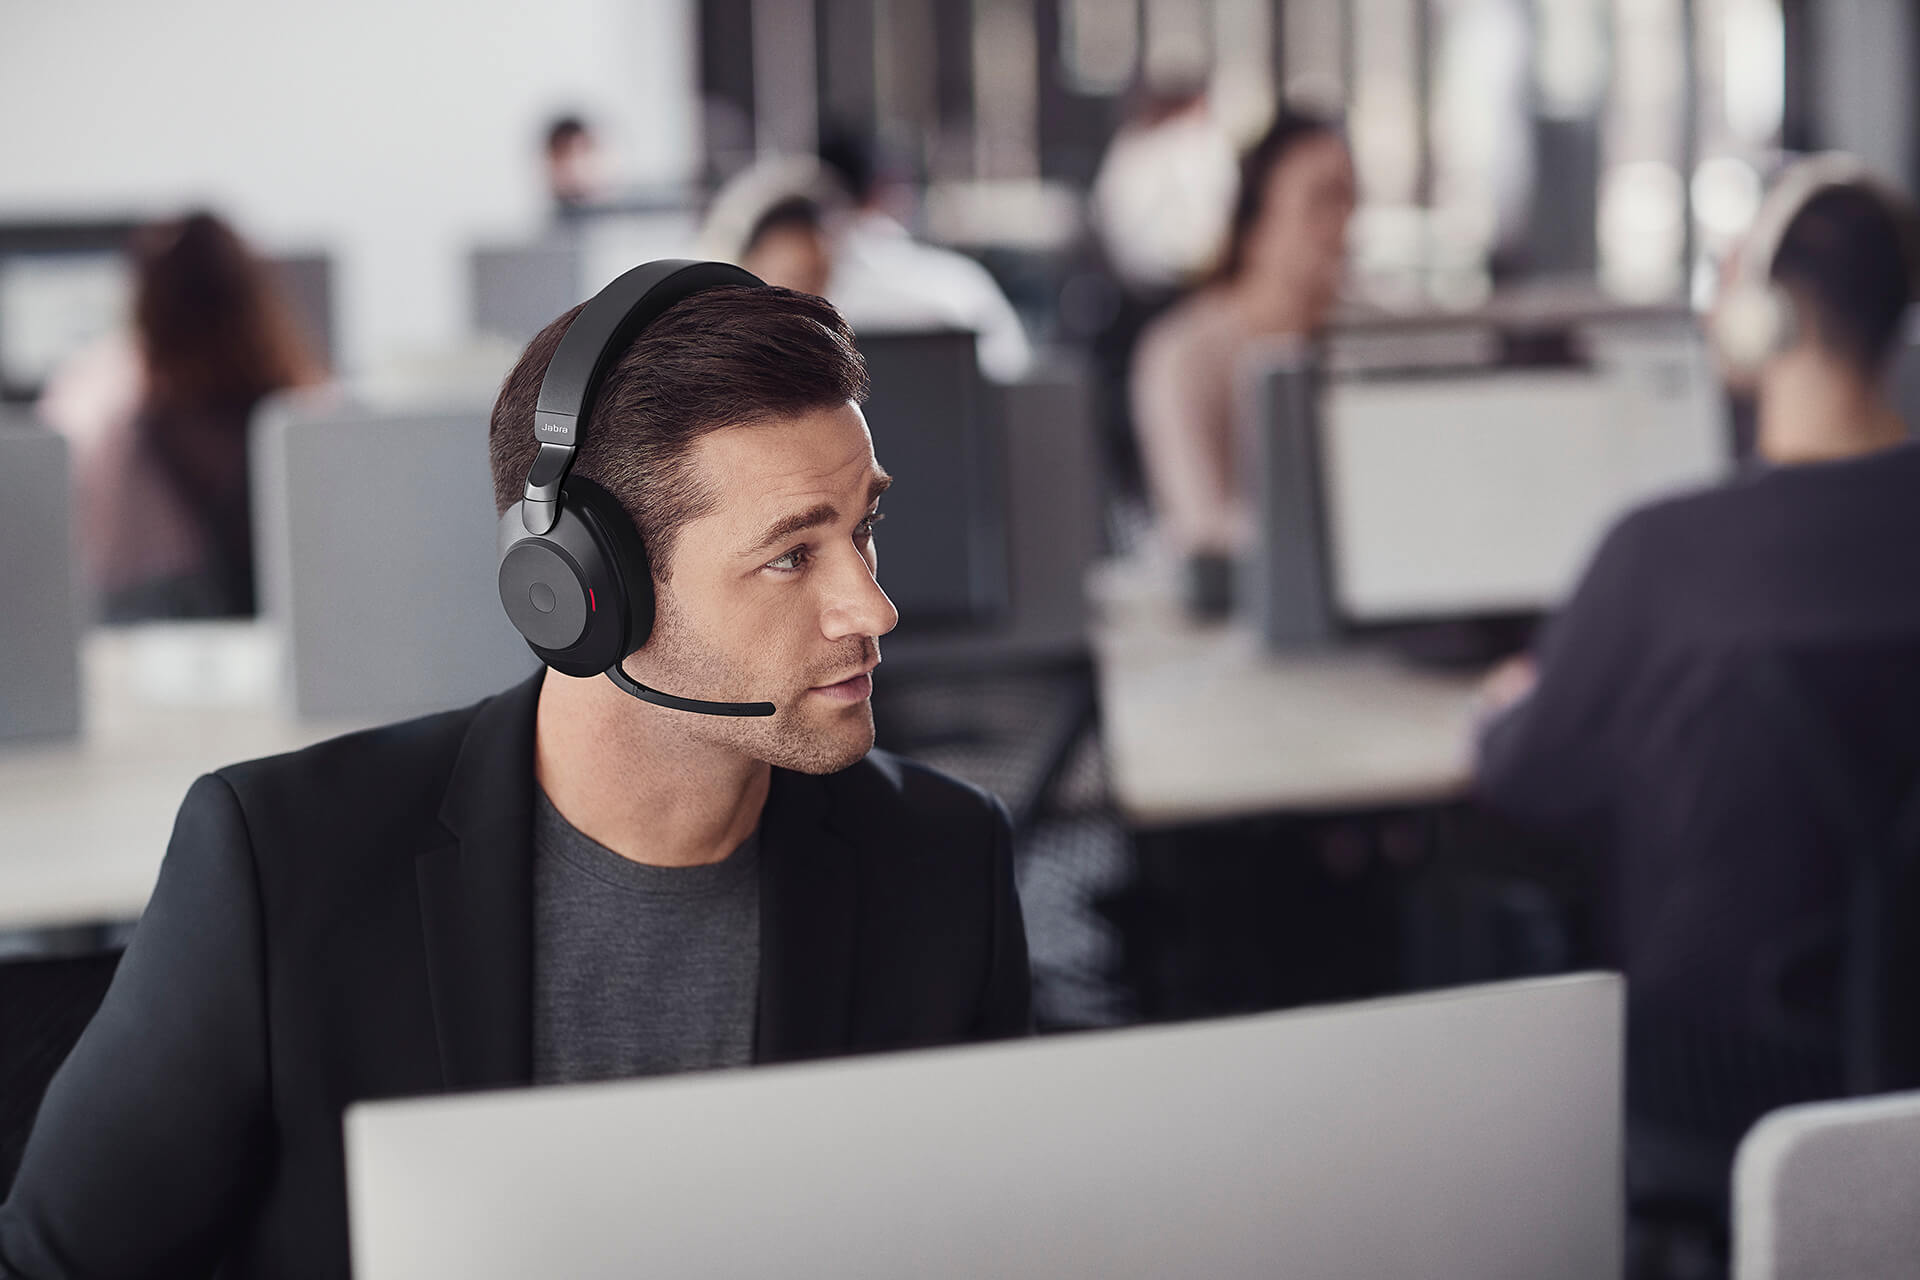
Common Issues with Noise Cancelling
While noise cancelling technology is undoubtedly a remarkable innovation, it is not immune to problems that can arise during its usage. Here are some common issues that individuals may encounter with their noise cancelling headphones:
- Ineffective Noise Reduction: One of the main issues users may face is that the noise cancelling feature does not effectively reduce or block out external sounds. This can be frustrating, especially when trying to enjoy music or concentrate in a noisy environment.
- White Noise or Static: Some users may experience white noise or static when the noise cancelling feature is activated. This unwanted background noise can be distracting and diminish the overall audio experience.
- Poor Battery Life: Noise cancelling headphones often rely on battery power to operate. If the battery life is significantly shorter than expected, it can interrupt your listening sessions and require frequent charging.
- Software Glitches: Occasionally, software glitches or compatibility issues may prevent the noise cancelling feature from working as intended. This can lead to intermittent performance or a complete failure of the noise cancelling function.
- Physical Damage: Accidental drops or mishandling can result in physical damage to the headphones, impacting their noise cancelling capabilities. Cracks, loose connections, or damaged microphones can all contribute to a decrease in noise reduction performance.
By familiarizing yourself with these common issues, you can better diagnose the problem and take the necessary steps to resolve it. In the next section, we will explore troubleshooting steps that can help you address these noise cancelling issues and restore functionality to your headphones.
Troubleshooting Steps for Noise Cancelling Not Working
If you are facing issues with your noise cancelling headphones, there are several troubleshooting steps you can take to resolve the problem. Follow these steps in order to identify and address the root cause:
- Checking for Software Updates: Ensure that your headphones’ firmware and any audio device connected to them are running the latest software updates. Manufacturers often release firmware updates to improve performance and address any bugs or glitches that may affect the noise cancelling feature.
- Ensuring Proper Connections: Double-check that all cables and connections are securely plugged in. Loose connections can result in audio issues and affect the functionality of the noise cancelling feature.
- Adjusting Noise Cancelling Settings: Check the settings on your headphone’s control panel or companion app to ensure that the noise cancelling feature is enabled and set to the desired level. Sometimes, the settings may have been accidentally adjusted or reset to default.
- Testing the Noise Cancelling Feature: Try using your noise cancelling headphones in a different environment to see if the issue persists. If the noise cancelling works fine in a different setting, the problem may lie with the specific environment you are in, rather than the headphones themselves.
- Cleaning and Maintaining the Headphones: Accumulated dust, debris, or earwax can negatively impact the performance of your noise cancelling headphones. Regularly clean the headphones and the ear cups using a soft cloth or a cleaning solution recommended by the manufacturer.
If after following these troubleshooting steps, the issue still persists, it may be worth contacting customer support or your headphones’ manufacturer for further assistance. They will have more specialized knowledge and can provide specific guidance based on your headphones’ make and model.
By systematically working through these troubleshooting steps, you can often identify and resolve the issue causing your noise cancelling headphones to not work as expected. Whether it’s a software glitch, connectivity problem, or maintenance issue, taking these steps can help restore the functionality of your headphones and allow you to enjoy uninterrupted audio experiences.
Checking for Software Updates
When you encounter issues with the noise cancelling functionality of your headphones, one of the first steps you should take is to check for software updates. Software updates can often address bugs, compatibility issues, or optimize the performance of the noise cancelling feature. Here’s how you can check for software updates:
- Headphone Manufacturer’s Website: Visit the official website of the manufacturer and navigate to the support or downloads section. Look for any available firmware or software updates specifically related to your headphone model. Download and install the updates according to the provided instructions.
- Companion App: If your noise cancelling headphones are accompanied by a companion app, check for updates within the app itself. Open the app on your smartphone or tablet, and go to the settings or updates section, where you can check for any available software updates for your headphones. Follow the prompts to update the firmware if necessary.
- Operating System Updates: Ensure that your device’s operating system is up to date. Sometimes, compatibility issues between your headphones and the audio device can affect the noise cancelling performance. Check for system updates on your computer, smartphone, or tablet and install them if available.
It is crucial to follow the manufacturer’s instructions carefully when updating the firmware of your headphones. During the update process, make sure that your headphones are charged adequately to prevent any interruptions or potential damage.
Updating the software of your noise cancelling headphones can often resolve issues that may be hindering the proper functionality of the noise cancelling feature. By keeping your headphones up to date with the latest firmware, you can ensure optimal performance and enjoy an uninterrupted audio experience.
Ensuring Proper Connections
If you are experiencing issues with the noise cancelling feature on your headphones, it is essential to check that all connections are properly established. Loose or faulty connections can disrupt the audio signal and affect the functionality of the noise cancelling technology. Here are some steps you can take to ensure proper connections:
- Check Audio Jacks and Cables: If you are using wired noise cancelling headphones, inspect the audio jack and cable connections. Ensure that the audio jack is fully inserted into the audio device, such as a smartphone, computer, or music player. Check for any visible damage or fraying on the cable that could affect audio transmission.
- Bluetooth Pairing: For wireless noise cancelling headphones, verify that your headphones are correctly paired with the audio source device. Make sure the Bluetooth on both the headphones and audio device is enabled. If you are experiencing connection issues, try unpairing and then re-pairing the devices following the headphones’ manufacturer instructions.
- Try Different Devices: Connect your noise cancelling headphones to a different audio device, such as a smartphone, tablet, or computer. This will help determine if the issue is with the headphones or the original audio source. If the noise cancelling works fine with another device, the problem may lie with the original audio device.
- USB Charging Connection: If your noise cancelling headphones have a rechargeable battery, ensure that the USB charging cable is properly connected to both the headphones and a power source. Make sure the cable is securely plugged into the USB port and that the charging indicator on the headphones activates when connected.
By carefully examining and securing connections between your headphones and audio devices, you can eliminate any potential issues stemming from loose or faulty connections. This can significantly improve the performance of the noise cancelling feature and provide you with uninterrupted audio enjoyment.
Adjusting Noise Cancelling Settings
If you are facing issues with the noise cancelling feature on your headphones, it’s worth checking and adjusting the noise cancelling settings. Sometimes, the settings may have been inadvertently changed or reset, impacting the performance of the noise cancelling technology. Follow these steps to adjust the noise cancelling settings:
- On-Board Controls: If your headphones have physical controls, locate the noise cancelling button or switch. Ensure that it is enabled or set to the desired level. Some headphones offer multiple noise cancelling modes, such as high, low, or ambient, depending on your preference and environment.
- Companion App: Many noise cancelling headphones come with a companion app that allows you to customize various settings. Install the app on your smartphone or tablet and connect your headphones to access the settings. Explore the different options available, such as noise cancelling intensity or equalizer settings, and adjust them accordingly.
- Environment Optimization: Some advanced noise cancelling headphones have environmental optimization features. These features use built-in microphones to analyze the surrounding noise and adapt the noise cancelling settings accordingly. Ensure that this feature is enabled and functioning correctly, as it can significantly enhance the noise cancelling performance.
- Experiment and Fine-Tune: Every individual has unique preferences when it comes to noise cancelling. Spend some time experimenting with different settings and levels to find the sweet spot that effectively cancels out the unwanted noise while providing an immersive audio experience.
By adjusting the noise cancelling settings on your headphones, you can tailor the experience to your specific needs and environment. It’s worth noting that different settings may work better in various situations, such as airplane travel, office work, or outdoor activities. Take the time to find the optimal settings for your headphones to ensure the best noise cancelling performance.
Testing the Noise Cancelling Feature
If you are experiencing issues with the noise cancelling feature on your headphones, it is essential to test it in different environments to pinpoint any specific problems. By doing so, you can determine whether the issue lies with the headphones themselves or with external factors. Here are some steps you can take to test the noise cancelling feature:
- Quiet Room: Start by testing the noise cancelling feature in a quiet room or a noise-controlled environment. Activate the noise cancelling and observe if there is a noticeable reduction in ambient background noise. This will help you determine if the headphones are capable of effectively blocking out minimal or low-level noise.
- Noisy Environment: Test your noise cancelling headphones in a noisy setting, such as a crowded coffee shop or a busy street. Turn on the noise cancelling feature and pay attention to the reduction of external sounds. Ideally, you should experience a significant decrease in background noise, allowing you to focus on your audio or have a more peaceful listening experience.
- Specific Noises: Some noise cancelling headphones excel at cancelling certain types of noise more effectively. If you frequently encounter specific noises, like the drone of an airplane or the hum of a fan, test your headphones in situations that mimic those sounds. This will help you assess the performance of the noise cancelling feature for those particular noises.
- Audio Quality: While testing the noise cancelling feature, pay attention to the overall audio quality. Ensure that the noise cancelling function does not compromise the sound clarity or introduce unwanted artifacts. The audio should remain crisp and immersive, even with the noise cancelling activated.
- Long Duration: Finally, consider testing the noise cancelling feature for an extended period. Wear your headphones with the noise cancelling turned on for a while, and observe if you experience any discomfort or changes in audio quality over time. Some headphones may cause discomfort or fatigue with prolonged use due to the pressure exerted by the noise cancelling function.
By testing the noise cancelling feature in various environments and scenarios, you can better understand its effectiveness and whether it is functioning as expected. This will help you identify any specific issues that may arise and determine if further troubleshooting or assistance is required.
Cleaning and Maintaining the Headphones
Regular cleaning and maintenance are crucial for ensuring optimal performance and longevity of your noise cancelling headphones. Over time, dirt, debris, and earwax can accumulate on the ear cups, affecting the noise cancelling functionality. Follow these steps to clean and maintain your headphones:
- Wipe Down the Ear Cups: Gently wipe the ear cups and headband of your headphones using a soft cloth or a cleaning solution recommended by the manufacturer. Be cautious not to get any liquid inside the headphones, as it may damage the internal components. Regular wiping helps remove surface dirt and sweat, keeping the headphones clean.
- Remove Ear Pads (If Applicable): Some headphones may have removable ear pads that can be detached for cleaning. Check the manufacturer’s instructions on how to safely remove the ear pads. Once removed, clean them using a mild soap solution or a designated cleaning agent. Allow them to air dry completely before reattaching them to the headphones.
- Clear Microphone Openings: If your noise cancelling headphones have built-in microphones for capturing external sound, ensure that the microphone openings are clear of any dirt or debris. Use a soft brush or a can of compressed air to gently remove any obstructions that may hinder the microphones’ functionality.
- Inspect Cables and Connections: Regularly check the cables and connections of your noise cancelling headphones for any visible damage. Cracks, frayed wires, or loose connections can affect the overall performance. If you notice any issues, consider replacing the cables or seeking assistance from the manufacturer’s customer support.
- Store Properly: When not in use, store your noise cancelling headphones in a protective case or pouch to prevent dust accumulation and physical damage. Avoid tossing them in a bag or leaving them exposed to moisture or extreme temperatures, as these conditions can impact their performance.
Practicing regular cleaning and maintenance routines will help ensure that your noise cancelling headphones continue to deliver optimal performance. By keeping them clean and well-maintained, you can extend their lifespan and enjoy the benefits of active noise cancellation for an extended period.
Contacting Customer Support for Further Assistance
If you have tried the troubleshooting steps mentioned earlier and are still experiencing issues with the noise cancelling feature on your headphones, it may indicate a more complex problem that requires professional assistance. In such cases, reaching out to customer support can provide you with the necessary guidance and solutions. Here’s how you can go about contacting customer support:
- Manufacturer’s Website: Visit the official website of your headphones’ manufacturer and look for a dedicated support or contact section. Most manufacturers provide contact information, including phone numbers, email addresses, or live chat options, to assist customers with technical issues.
- Product Documentation: Check the product documentation that came with your headphones. There may be specific instructions on how to contact customer support for troubleshooting or warranty-related matters. Look for any phone numbers or email addresses provided in the documentation.
- Social Media: Many companies have a presence on social media platforms. Consider reaching out to the manufacturer’s support team via their official social media accounts. Direct messages or comments can help initiate contact and receive prompt assistance.
- Online Forums and Communities: Participate in online forums and communities related to headphones or the specific brand/model you own. Other users or enthusiasts may have experienced similar issues and could provide guidance or share their solutions. However, keep in mind that official customer support is usually the best channel for accurate and reliable information.
When reaching out to customer support, be prepared to provide detailed information about the issue you are facing, including the model of your headphones, any error messages received, and the troubleshooting steps you have already attempted. This will help the support team diagnose the problem more effectively and provide you with suitable solutions.
Remember that customer support is there to assist you and resolve any technical difficulties you may be experiencing. They have the expertise and resources to guide you through the process and determine if repairs, replacements, or further troubleshooting is necessary.
Conclusion
Noise cancelling headphones offer a valuable way to block out unwanted sounds and enjoy audio in a more immersive and focused manner. However, when the noise cancelling feature is not working as expected, it can be frustrating. By understanding common issues, troubleshooting steps, and proper maintenance, you can often restore the functionality of your noise cancelling headphones.
Throughout this article, we have discussed various aspects related to noise cancelling headphones. We explored the basics of noise cancelling technology and identified common issues that users may encounter. We provided troubleshooting steps, including checking for software updates, ensuring proper connections, adjusting noise cancelling settings, testing the feature in different environments, and performing regular cleaning and maintenance.
In some cases, despite your best efforts, the problem may persist. When this happens, don’t hesitate to contact the manufacturer’s customer support for effective guidance and assistance. They will be able to offer specialized solutions based on your specific headphones and resolve any complex issues you may be facing.
Remember, maintaining your noise cancelling headphones regularly is crucial for optimal performance. By keeping them clean and properly stored, you can prolong their lifespan and continue enjoying the benefits of active noise cancellation.
With the troubleshooting steps and maintenance tips shared in this article, you can take control of noise cancelling issues, increase the efficiency of your headphones, and immerse yourself in a world of distraction-free audio experiences.