Introduction
Choosing the right placement for your webcam is crucial for a seamless video conferencing or live streaming experience. The position of your webcam can greatly affect the quality of your video, the visibility of your surroundings, and even your level of comfort during long sessions. Whether you are using a built-in webcam on your laptop or an external one, finding the perfect spot can make a significant difference in how you are perceived by others and how well you can engage with your audience.
In this article, we will explore various factors to consider when choosing the placement for your webcam. From the angle and distance to lighting conditions and background, each aspect plays a role in optimizing your video quality. Additionally, we will discuss the best places to position your webcam, offering practical tips to help you find the ideal spot for your specific needs and setup.
By understanding the importance of webcam placement and following the guidelines outlined in this article, you can enhance your online communication, whether it’s for work, meetings, online classes, or streaming your content to a wider audience. Let’s dive into the factors you should consider when choosing the placement for your webcam.
Factors to Consider When Choosing the Placement
When determining the optimal placement for your webcam, it’s important to take several factors into consideration. These factors will help you ensure that your video is clear, professional, and visually appealing to anyone who sees it. Here are some key considerations to keep in mind:
- Angle: The angle at which your webcam is positioned can have a significant impact on how you appear on camera. Avoid low angles that can make you look unflattering or unprofessional. Aim for eye-level or slightly above eye-level placement for a more natural and engaging look.
- Distance: The distance between yourself and the webcam also matters. Make sure you are positioned at an appropriate distance so that your entire face is visible on the screen without being too close or too far away.
- Lighting: Good lighting is essential for a clear and well-lit video. Avoid backlighting or harsh overhead lighting that can cast unflattering shadows. Experiment with different lighting setups to find what works best for you.
- Background: Consider the background that will be visible in your video. Choose a tidy and professional-looking setting that is free from distractions. A plain wall or a background with minimal clutter is ideal.
- Stability: Ensure that your webcam is securely positioned to avoid any shaking or movement during your video calls or live streams. A stable camera will provide a more professional look and prevent distractions caused by camera movement.
- Privacy: If privacy is a concern, position your webcam in a way that does not capture any confidential or sensitive information in the background. Be mindful of what can be seen behind you and adjust accordingly.
By taking these factors into account, you can ensure an optimal webcam placement that enhances the quality and professionalism of your video. Now, let’s explore the best places to position your webcam for different setups and scenarios.
Best Places to Position Your Webcam
Now that you are aware of the important factors to consider, let’s explore some of the best places to position your webcam for optimal video quality and engagement. Keep in mind that the best placement will vary depending on your specific setup and preferences.
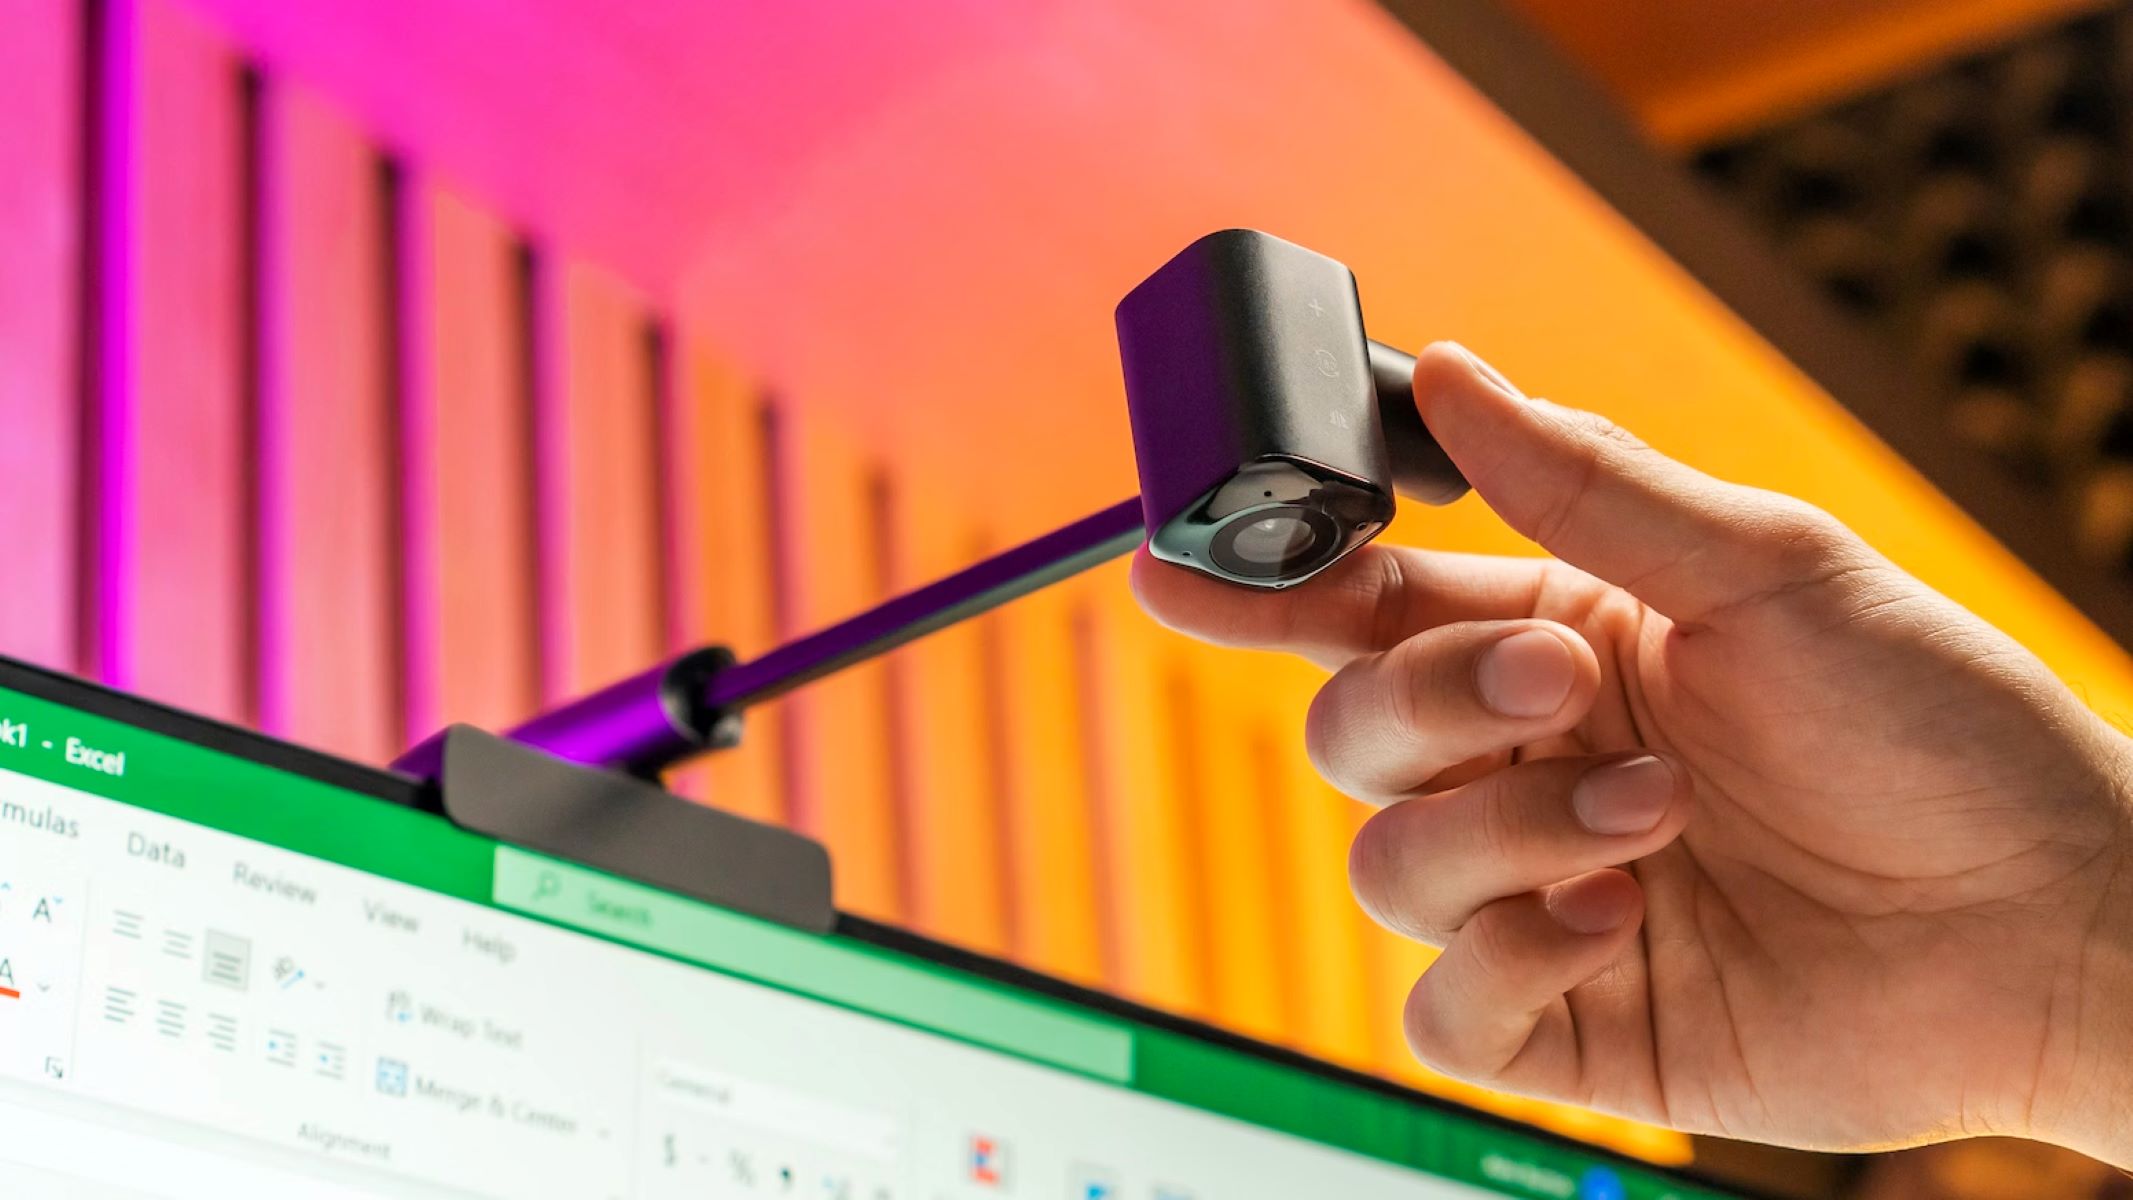
- On Top of Your Computer Monitor: Placing your webcam on top of your computer monitor is a popular choice as it provides a direct view of your face. This position is convenient and allows for easy adjustment of the webcam angle. However, make sure the webcam doesn’t cover any important information on your screen.
- Mounting the Webcam on a Tripod: If you prefer more flexibility in positioning your webcam, consider using a tripod. A tripod allows you to adjust the height, angle, and distance of the webcam according to your preferences. It is especially useful if you need to move your webcam frequently.
- Positioning the Webcam on a Shelf or Desk: Placing your webcam on a shelf or desk can provide stability and a well-framed shot. Ensure that the surface is sturdy and at a suitable height to achieve an eye-level position. It’s also important to consider any potential clutter in the background.
- Wall Mounting the Webcam: Wall mounting your webcam can help save desk space and provide a clean look. Use a mounting kit or adhesive hooks to securely attach the webcam to the wall at an optimum height and angle. Confirm that the wall mount does not obstruct your view or create any shadows.
- Attaching the Webcam to Your Laptop Screen: If you are using a laptop with a built-in webcam, this option is convenient. Most laptops have webcams located at the top center of the screen. Ensure that the webcam is not obstructed by the lid or any other objects. You can also use a clip-on webcam for improved video quality.
- Using a Webcam Stand or Clip: A webcam stand or clip can be attached to various surfaces, such as the side of a monitor or the edge of a table. This allows for flexibility in positioning your webcam at the desired height and angle. Make sure the stand or clip provides a secure grip to prevent any accidental movement or slippage.
- Placing the Webcam on a Bookshelf or Cabinet: This option is suitable for those who prefer a more elevated view. Position your webcam on a bookshelf or cabinet at a height that provides a flattering angle without obstructing your view. Ensure that the shelf or cabinet is stable and can support the weight of the webcam.
Remember to experiment with different placements to find what works best for you and your specific setup. Consider the factors discussed earlier and make adjustments as necessary. Finding the perfect spot for your webcam can greatly enhance your video quality, professionalism, and engagement with others.
On Top of Your Computer Monitor
Placing your webcam on top of your computer monitor is a popular choice for many users. This position offers a direct view of your face and ensures that you are centered on the screen during video calls or streaming sessions. Here are some key considerations when positioning your webcam on top of your computer monitor:
- Convenience: Placing your webcam on your monitor provides a convenient and easily accessible position. This placement allows you to adjust the angle and positioning of the webcam quickly and efficiently.
- Direct Eye Contact: Positioning the webcam on top of your monitor allows you to maintain direct eye contact with your audience. This helps establish a connection and enhances your communication during video calls or presentations.
- Screen Visibility: Ensure that the webcam does not obstruct any important information on your screen. Adjust the placement to prevent covering up any critical content, such as text or images, while still maintaining an optimal viewing angle for your webcam.
When placing your webcam on top of your computer monitor, pay attention to the stability of the webcam. Ensure that it is securely mounted or positioned to prevent any accidental movement or shaking during your video sessions. Such instability can be distracting and compromise the overall viewing experience.
Overall, positioning your webcam on top of your computer monitor offers a convenient and easily adjustable placement for your video calls or streaming sessions. It allows you to maintain direct eye contact with your audience and ensures that you are centered on the screen. Take the necessary precautions to ensure stability and avoid obstructing any important information on your screen. Experiment with the angle and positioning to find the most comfortable and visually appealing setup for your specific needs.
Mounting the Webcam on a Tripod
If you prefer more flexibility in positioning your webcam or need to move it frequently, mounting it on a tripod is an excellent option. Here’s why using a tripod can be beneficial and some key considerations when setting up your webcam on a tripod:
- Flexibility: Tripods offer a wide range of adjustability, allowing you to control the height, angle, and distance of your webcam. This flexibility enables you to find the perfect positioning for your video calls or streaming sessions.
- Stability: Tripods provide a stable platform for your webcam, preventing any unintentional movement or shaking during your video sessions. This stability ensures a more professional and distraction-free viewing experience for your audience.
- Portability: Tripods are portable and easy to set up, making them ideal for those who need to use their webcam in different locations. Whether you’re moving from room to room or taking your webcam on the go, a tripod allows you to quickly and conveniently set up your camera wherever you need it.
When mounting your webcam on a tripod, ensure that the tripod is sturdy and capable of supporting the weight of your camera. Most tripods come with adjustable legs, allowing you to customize the height and stability based on your preferences. Experiment with different tripod heights to find the most comfortable viewing angle and ensure that your face is well centered in the frame.
Another helpful tip when using a tripod is to position the webcam slightly above eye level. This angle can create a more flattering perspective and mimic a natural eye-to-eye connection with your audience. However, be cautious not to position the webcam too high, as it may cause you to strain your neck or create an unbalanced composition.
In summary, mounting your webcam on a tripod provides flexibility, stability, and portability for your video calls or streaming sessions. Take advantage of the adjustable features of the tripod to find an optimal height and angle for your webcam. Keep in mind the importance of stability, and ensure that the tripod is capable of securely holding your camera. By utilizing a tripod, you can achieve a professional and customized setup that enhances the quality and engagement of your video content.
Positioning the Webcam on a Shelf or Desk
Positioning your webcam on a shelf or desk can be a practical and convenient option for many users. It offers stability and allows for a well-framed shot. Here are some important considerations when placing your webcam on a shelf or desk:
- Stability: Ensure that the surface of the shelf or desk is stable and can support the weight of your webcam. Avoid any wobbling or potential movement that could disrupt your video sessions. A stable position will help maintain a professional and distraction-free appearance.
- Height and Angle: Position your webcam at a height that allows for an eye-level perspective. This creates a more natural and engaging visual connection with your audience. Experiment with different angles to find the most flattering and comfortable position for your face in the frame.
- Background: Take a moment to consider the background behind you when positioning your webcam on a shelf or desk. Choose a clutter-free and visually appealing backdrop to maintain a professional appearance. Remove any distracting objects or ensure they are out of view to draw attention to your content and not the surroundings.
When placing your webcam on a shelf or desk, be mindful of any potential obstacles. Ensure that the webcam is not obstructed by any items or cables that may interfere with the video quality or positioning. Additionally, make adjustments to the lighting in the room to minimize shadows and achieve optimal visibility during your video sessions.
Positioning your webcam on a shelf or desk provides a stable and well-framed shot for your video calls or streaming sessions. It allows for customization in terms of height and angle, ensuring a comfortable and engaging perspective for your audience. Take the time to create a clean and clutter-free background that enhances your professional appearance. By following these guidelines, you can optimize the quality and visual appeal of your webcam footage.
Wall Mounting the Webcam
Wall mounting your webcam can be an excellent option for creating a clean and professional look, especially if you want to save desk space. Here are some key considerations when wall mounting your webcam:
- Secure Mounting: Use a suitable mounting kit or adhesive hooks to securely attach your webcam to the wall. Ensure that the mounting is stable and can hold the weight of the camera without any risk of falling or shaking during your video sessions.
- Optimal Height and Angle: Find the ideal height for wall mounting your webcam. Aim for an eye-level or slightly above eye-level perspective to create a natural and engaging visual connection with your audience. Adjust the angle to frame your face and upper body comfortably in the shot.
- Backdrop and Lighting: Choose a wall with a clean and visually appealing backdrop for your video calls or streaming sessions. Avoid any distracting elements or clutter that may divert attention from your content. Additionally, ensure that the lighting conditions in the room are adequate to brightly illuminate your face without casting harsh shadows.
Before wall mounting your webcam, take some time to plan the cable management. Conceal any visible cables to maintain a neat and organized appearance. This can be done using cable clips or by routing the cables behind furniture or along the wall. A tidy setup will add to the professional look of your video.
Wall mounting your webcam provides a space-saving solution and creates a clean aesthetic for your video setup. It ensures a stable position and allows for customization in terms of height and angle. Remember to choose an appropriate wall, ensure secure mounting, and create an appealing backdrop. By following these guidelines, you can achieve a professional and visually pleasing video presentation.
Attaching the Webcam to Your Laptop Screen
If you are using a laptop with a built-in webcam or an external webcam, attaching it to your laptop screen is a convenient and popular option. Here’s what you need to know when attaching your webcam to your laptop screen:
- Compatibility: Ensure that the webcam you are using is designed to be attached to a laptop screen. Most webcams come with a built-in clip specifically made for this purpose. Check the size and design of the clip to ensure a secure fit on your laptop screen.
- Positioning: Find the optimal position for your webcam on your laptop screen. Most laptops have a built-in webcam located at the top center of the screen. Make sure the webcam is not obstructed by the lid or any other objects when opening and closing your laptop. Adjust the angle of the webcam to frame your face comfortably in the shot.
- Stability and Adjustability: Ensure that the webcam is securely attached to your laptop screen. The clip should hold the camera in place without any risk of falling or shaking during your video calls. Some webcams come with adjustable hinges, allowing you to fine-tune the angle and position.
When attaching the webcam to your laptop screen, be aware of the lighting conditions in the room. Adjust the lighting or use additional lighting equipment to ensure that your face is well-illuminated without any harsh shadows. Consider the background behind you and aim for a clutter-free and professional look.
If you are using an external webcam and not the built-in one, make sure to install the necessary drivers or software provided by the manufacturer. This will allow you to make any additional settings or adjustments to enhance the video quality and performance of the camera.
Attaching your webcam to your laptop screen offers a convenient and straightforward setup for your video calls or streaming sessions. It utilizes the built-in webcam location and ensures that your camera is securely in place. Pay attention to the positioning, stability, and adjustability of the webcam, as well as the lighting and background considerations. By following these guidelines, you can achieve a professional and hassle-free video experience on your laptop.
Using a Webcam Stand or Clip
Using a webcam stand or clip provides flexibility in positioning your webcam and is a great option for those who want more customization. Here are some key considerations when using a webcam stand or clip:
- Flexibility: A webcam stand or clip allows you to position your camera at various heights, angles, and distances. This flexibility enables you to find the perfect setup for your video calls or streaming sessions.
- Stability: Ensure that the stand or clip provides a secure grip on your webcam. The last thing you want is the camera shifting or falling during your video sessions. Choose a stand or clip made from durable materials that can support the weight of your camera.
- Adjustability: Look for a webcam stand or clip that offers adjustable features. This allows you to fine-tune the height, angle, and position of your webcam to achieve a comfortable and flattering perspective. Experiment with different setups to find the one that works best for you.
When using a webcam stand or clip, pay attention to the placement and the background. Ensure that the stand or clip is not obstructing any important elements in the frame and that the webcam is securely attached. Choose a clean and uncluttered background to maintain a professional appearance.
If you opt for a clip, make sure it is compatible with your webcam and the surface you plan to attach it to. Clips can be attached to various surfaces, such as the side of a monitor or the edge of a table. Ensure that the clip provides a secure grip and does not cause any damage to the surface it is attached to.
Using a webcam stand or clip offers versatility and customization for your video setup. Take advantage of the flexibility and adjustability to find the optimal position for your webcam. Ensure stability and compatibility when choosing a stand or clip. Consider the background and aim for a professional look. By following these guidelines, you can achieve a personalized and high-quality video experience.
Placing the Webcam on a Bookshelf or Cabinet
Placing your webcam on a bookshelf or cabinet can provide an elevated view and add a touch of sophistication to your video setup. Here’s what you need to know when positioning your webcam on a bookshelf or cabinet:
- Elevated Perspective: Placing your webcam on a bookshelf or cabinet provides a higher vantage point, which can be visually appealing and offer a unique perspective for your video calls or streaming sessions.
- Stability: Ensure that the bookshelf or cabinet is stable and can support the weight of your webcam. Avoid any wobbling or potential movement that could disrupt your video sessions. A stable position will contribute to a professional and distraction-free appearance.
- Height and Angle: Find the optimal height to position your webcam on the bookshelf or cabinet. Aim for an angle that allows your face to be comfortably framed in the shot. Experiment with different placements to achieve the most pleasing and engaging perspective.
- Background: Consider the background behind you and choose a tidy and visually appealing setting. Arrange the items on the bookshelf or cabinet in an organized manner to avoid distractions and create a professional backdrop for your video presentations.
When placing your webcam on a bookshelf or cabinet, be mindful of any potential clutter or objects that may obstruct your view or distract from the main focus. Ensure that the background is visually appealing and minimalistic to maintain a professional appearance.
Additionally, pay attention to the lighting conditions in the room. Proper lighting will enhance the visibility of your face and ensure that you are clearly seen in your video. Experiment with different lighting setups to find the one that works best for you in conjunction with the placement of your webcam on the bookshelf or cabinet.
Placing your webcam on a bookshelf or cabinet offers a unique and elevated positioning that can add an aesthetically pleasing element to your video setup. Consider the stability and height of the surface, ensure a clutter-free and organized background, and pay attention to the lighting conditions. By following these guidelines, you can create a professional and visually appealing video presentation.
Conclusion
Choosing the right placement for your webcam is crucial to ensure a seamless and professional video conferencing or streaming experience. By considering factors such as angle, distance, lighting, background, stability, and privacy, you can optimize the quality and visual appeal of your webcam footage.
We have explored various placement options, including placing the webcam on top of your computer monitor, mounting it on a tripod, positioning it on a shelf or desk, wall mounting it, attaching it to your laptop screen, using a webcam stand or clip, and placing it on a bookshelf or cabinet. Each option offers its own advantages and considerations, allowing you to find the placement that best suits your needs and setup.
Remember to experiment with different placements to find the most comfortable and visually appealing result. Consider the specific requirements of your video calls or streaming sessions, such as eye contact, framing, and stability. Pay attention to the background, lighting, and overall aesthetic to enhance the professionalism of your video presentation.
Ultimately, finding the ideal placement for your webcam will help you establish a stronger connection with your audience, deliver a more engaging video experience, and ensure that you are presenting yourself in the best possible way. Take the time to explore the options available and make adjustments as necessary to achieve the desired results.
By following the guidelines and tips provided in this article, you can optimize your webcam placement and elevate your video presence in various online settings. Enhancing the quality of your video communication will ultimately contribute to more effective and impactful interactions with colleagues, clients, students, or viewers.


