Introduction:
QuickBooks is a widely-used accounting software that offers a range of tools and features to streamline financial management for businesses of all sizes. One of the key components of QuickBooks is the Gear icon, which serves as a gateway to various settings, preferences, and customization options. However, locating the Gear icon within the QuickBooks interface can sometimes be a challenge, especially for new users or those navigating through different versions of the software.
In this article, we will explore various methods to help you find the Gear icon in QuickBooks. Whether you are accessing QuickBooks Online or using the desktop version, we will walk you through step-by-step instructions to ensure a smooth and efficient experience. From accessing the Gear icon from the home page to customizing its position in the navigation bar, we will cover all the essentials. Additionally, we will provide a troubleshooting guide in case you encounter any issues with the presence or visibility of the Gear icon.
By the end of this article, you will have a clear understanding of how to locate and utilize the Gear icon in QuickBooks, empowering you with the ability to customize your accounting software according to your business’s specific needs. So, let’s dive in and discover the numerous ways to access the Gear icon in QuickBooks!
Access the Gear Icon from the Home Page:
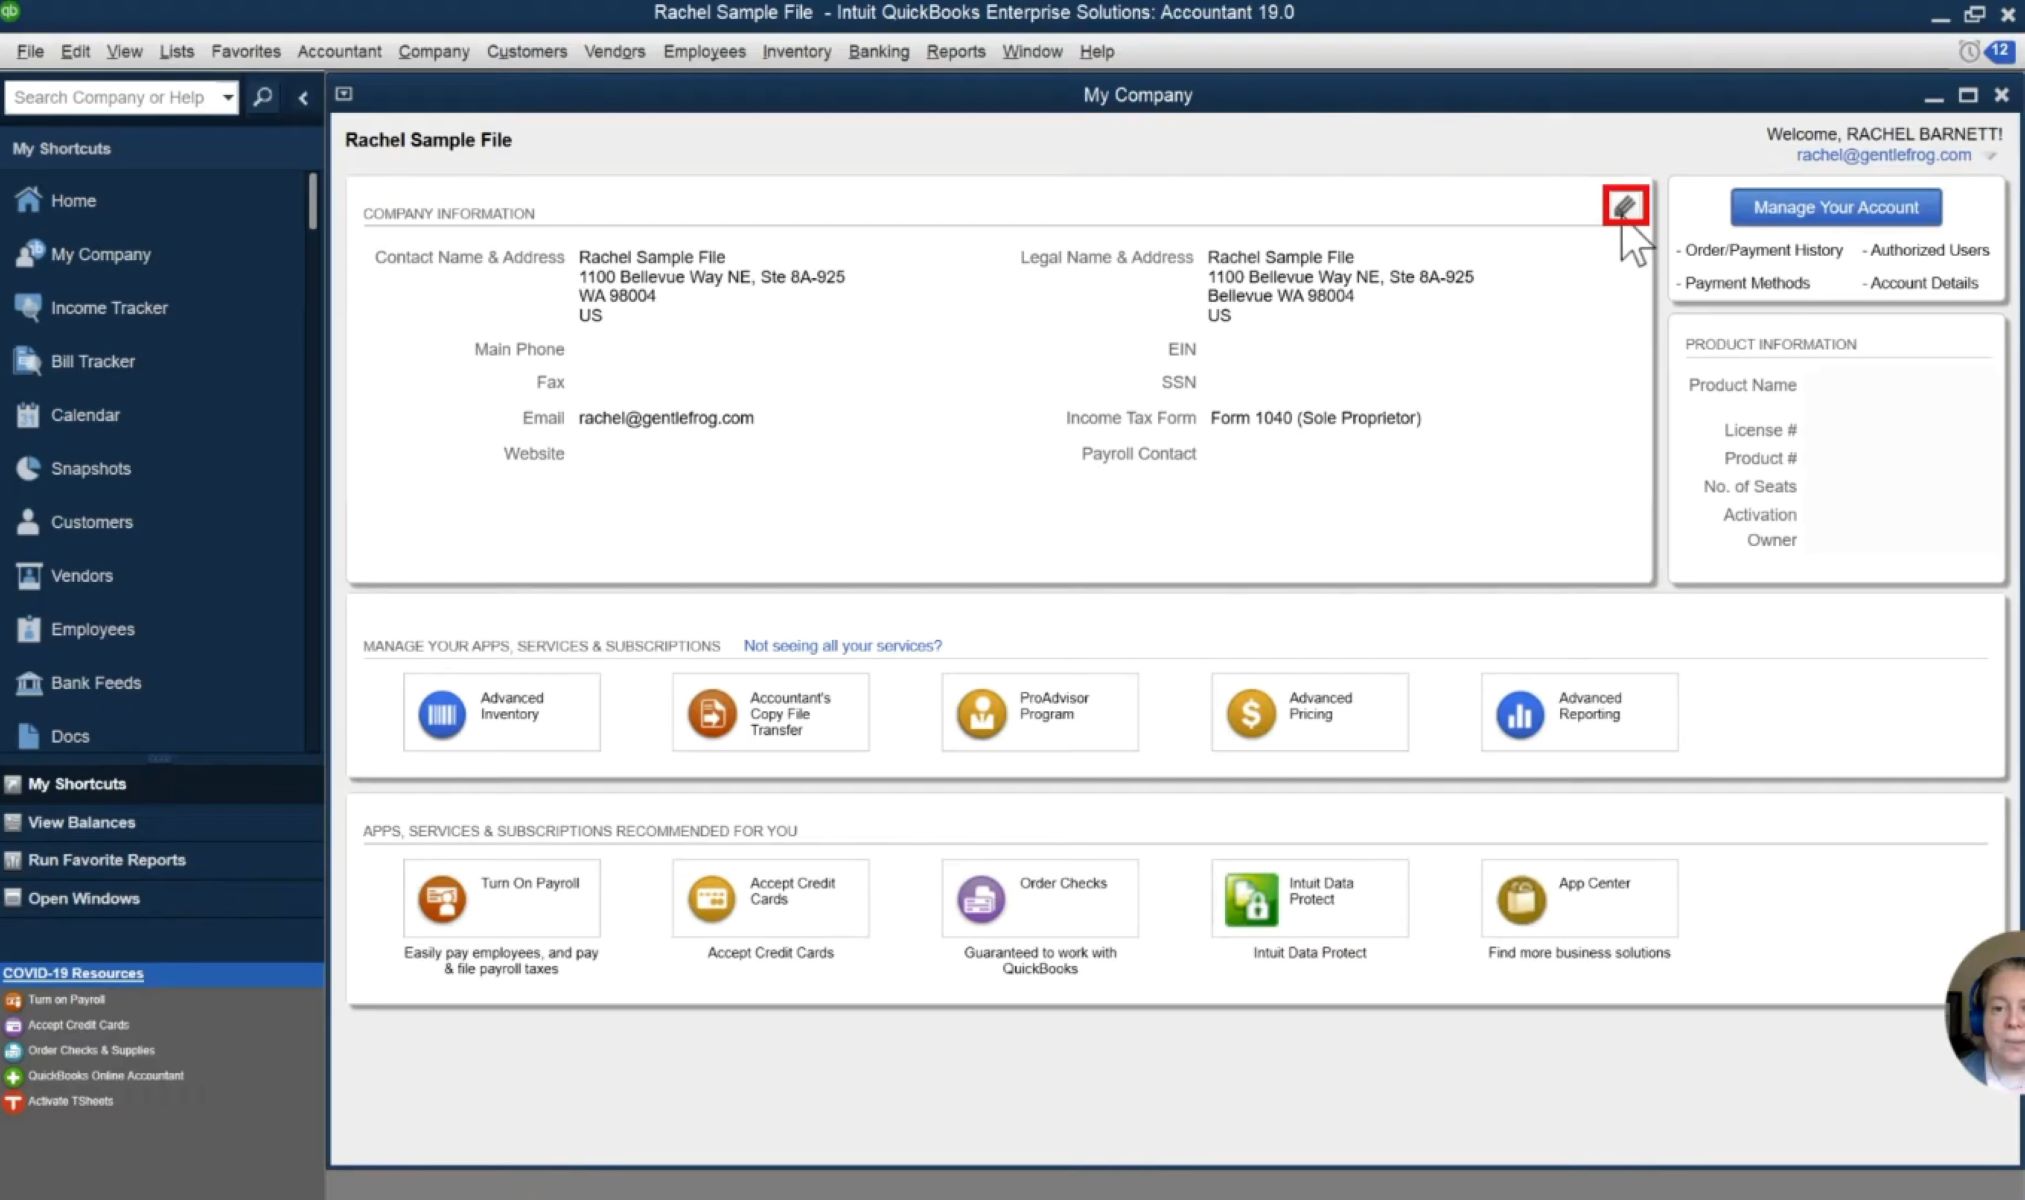
One of the easiest ways to find the Gear icon in QuickBooks is by locating it on the home page. After logging in to your QuickBooks account, you will typically land on the home page, where you can access various features and functions. Here’s how you can find the Gear icon:
– Look for the top right corner of the home page. You will see a small gear-shaped icon, which represents the Gear icon in QuickBooks.
– Click on the Gear icon to open a drop-down menu that contains a range of options and settings.
– From the drop-down menu, you can choose the specific option you want to access, such as Company Settings, Chart of Accounts, or Sales.
The Gear icon on the home page is a convenient way to quickly access essential functions in QuickBooks. Whether you need to modify your company settings, manage your accounts, or navigate through various sales-related features, the Gear icon will provide you with easy access to the necessary tools.
It’s important to note that the options available in the Gear icon’s drop-down menu may vary depending on the version of QuickBooks you are using. QuickBooks Online and QuickBooks Desktop have slightly different configurations, so make sure to refer to the appropriate version’s documentation for specific functionalities.
Overall, accessing the Gear icon from the home page is a straightforward process that allows you to navigate through essential settings and functions in QuickBooks. Whether you are a business owner, accountant, or bookkeeper, this method ensures that you can easily customize and manage your financial information with just a few clicks. Now that you know how to access the Gear icon from the home page, let’s move on to the next method: finding the Gear icon in the navigation bar.
Find the Gear Icon in the Navigation Bar:
If you are unable to find the Gear icon on the home page or prefer to access it directly from the navigation bar, QuickBooks offers this alternative method. Follow these steps to locate the Gear icon in the navigation bar:
– Look for the left-hand side of the QuickBooks interface, where you will find the navigation bar.
– Scan through the options listed in the navigation bar until you come across the icon that resembles a gear.
– Click on the Gear icon to reveal a drop-down menu with various settings and preferences.
The navigation bar is a central location within QuickBooks where you can quickly access different areas of the software, such as banking, sales, expenses, and reports. The Gear icon, being a crucial component of QuickBooks, is conveniently placed in the navigation bar to provide easy access to important features and customization options.
It is worth noting that the placement of the Gear icon in the navigation bar may vary slightly depending on the version of QuickBooks you are using. However, it is typically located near the left side of the navigation bar, ensuring that it is easily visible and accessible. If you are finding it difficult to spot the Gear icon, try scanning the navigation bar more carefully or referring to QuickBooks documentation specific to your version.
By locating the Gear icon in the navigation bar, you can efficiently manage various aspects of your accounting and financial tasks in QuickBooks. Whether you need to modify your preferences, customize reports, or set up additional integrations, the Gear icon serves as your gateway to these essential functions.
With the Gear icon readily available in the navigation bar, you can streamline your workflow and access important tools with just a few clicks. However, if you still cannot find the Gear icon in the navigation bar or prefer an alternative method, don’t worry! In the next section, we will explore another way to locate the Gear icon within QuickBooks.
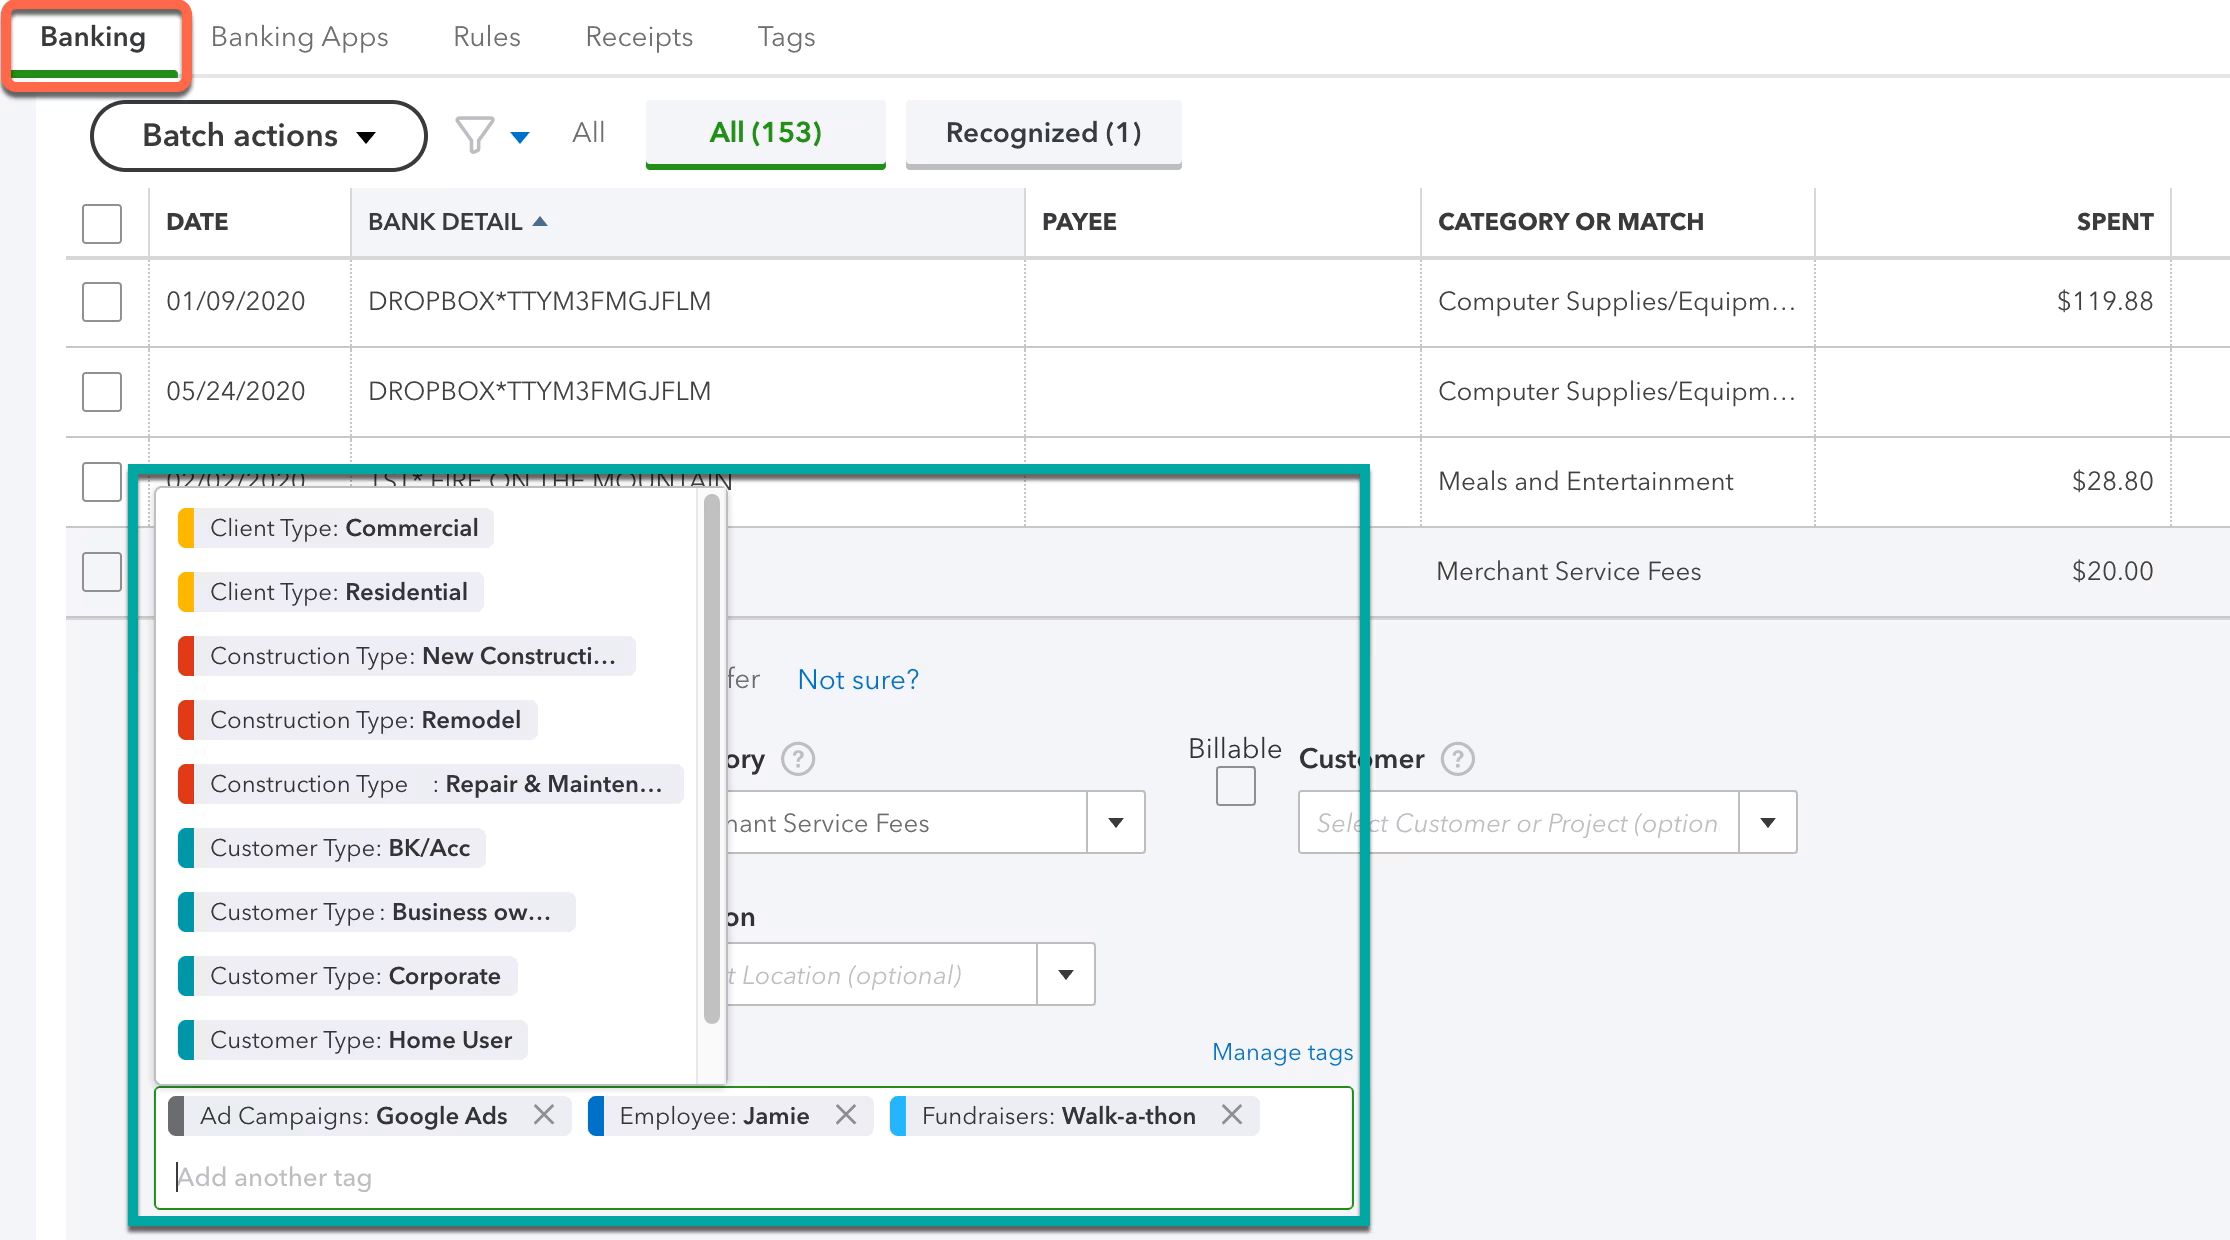
Locate the Gear Icon in Lists and Transactions:
In addition to the home page and navigation bar, QuickBooks also provides the option to access the Gear icon within specific lists and transaction screens. This method can be particularly useful when you are working with specific items or need to customize settings related to individual lists or transactions. Here’s how you can locate the Gear icon in lists and transactions within QuickBooks:
– Navigate to the list or transaction screen where you want to find the Gear icon. This could be a list of customers, vendors, products, or any transaction screen like invoices or sales receipts.
– Look for a small gear-shaped icon either on the right side or at the top of the list or transaction details.
– Click on the Gear icon to open a drop-down menu with list or transaction-specific options, customization settings, and additional functions.
Finding the Gear icon within lists and transactions allows you to access targeted settings and options for specific items or transactions. This can be useful when you need to apply customizations or make changes to the properties of a particular list item, such as a customer or product. Additionally, it provides the flexibility to manage transaction-specific settings or preferences.
It’s important to note that the availability and functionality of the Gear icon within lists and transactions may vary depending on the specific screen you are working with and the version of QuickBooks you are using. Some screens may offer more customization options, while others might have limited functionalities accessible through the Gear icon.
By locating the Gear icon within lists and transactions, you can streamline your workflow and customize specific elements to align with your business requirements. Whether you need to modify customer details, adjust inventory settings, or customize transaction preferences, the Gear icon within these screens will provide you with the necessary tools and options.
Now that you know how to locate the Gear icon in lists and transactions, you have yet another method to access important settings and customization options within QuickBooks. In the following section, we will explore a time-saving tip that enables you to access the Gear icon effortlessly using a keyboard shortcut.
Use the Keyboard Shortcut to Access the Gear Icon:
QuickBooks offers a time-saving keyboard shortcut that allows you to access the Gear icon quickly and conveniently. By utilizing this shortcut, you can bypass the need to click and navigate through the interface. Here’s how you can use the keyboard shortcut to access the Gear icon in QuickBooks:
– While on any page within QuickBooks, simply press the “Ctrl+Alt+G” keys simultaneously (on a Windows computer) or “Control+Option+G” (on a Mac) to trigger the Gear icon to appear.
– Once the Gear icon appears, you can navigate through the drop-down menu using the arrow keys on your keyboard.
– Press the “Enter” key to access any option or setting within the drop-down menu.
By using the keyboard shortcut, you can speed up your workflow and access the Gear icon in a fraction of a second. This method is particularly useful when you need to access the Gear icon frequently or if you prefer using keyboard shortcuts for efficient navigation.
It’s important to note that the keyboard shortcut to access the Gear icon is applicable to both QuickBooks Online and QuickBooks Desktop versions. However, it’s always a good idea to refer to the specific documentation for your version to ensure compatibility and any possible variations.
Utilizing the keyboard shortcut to access the Gear icon can significantly enhance your productivity within QuickBooks. Whether you need to modify settings, customize preferences, or navigate through various options, the keyboard shortcut provides you with a quick and seamless method to access the Gear icon and its corresponding features.
Now that you know how to use the keyboard shortcut to access the Gear icon, you have an alternative method to quickly and efficiently navigate through QuickBooks. In the next section, we will explore how you can customize the position of the Gear icon in the navigation bar to suit your preferences.
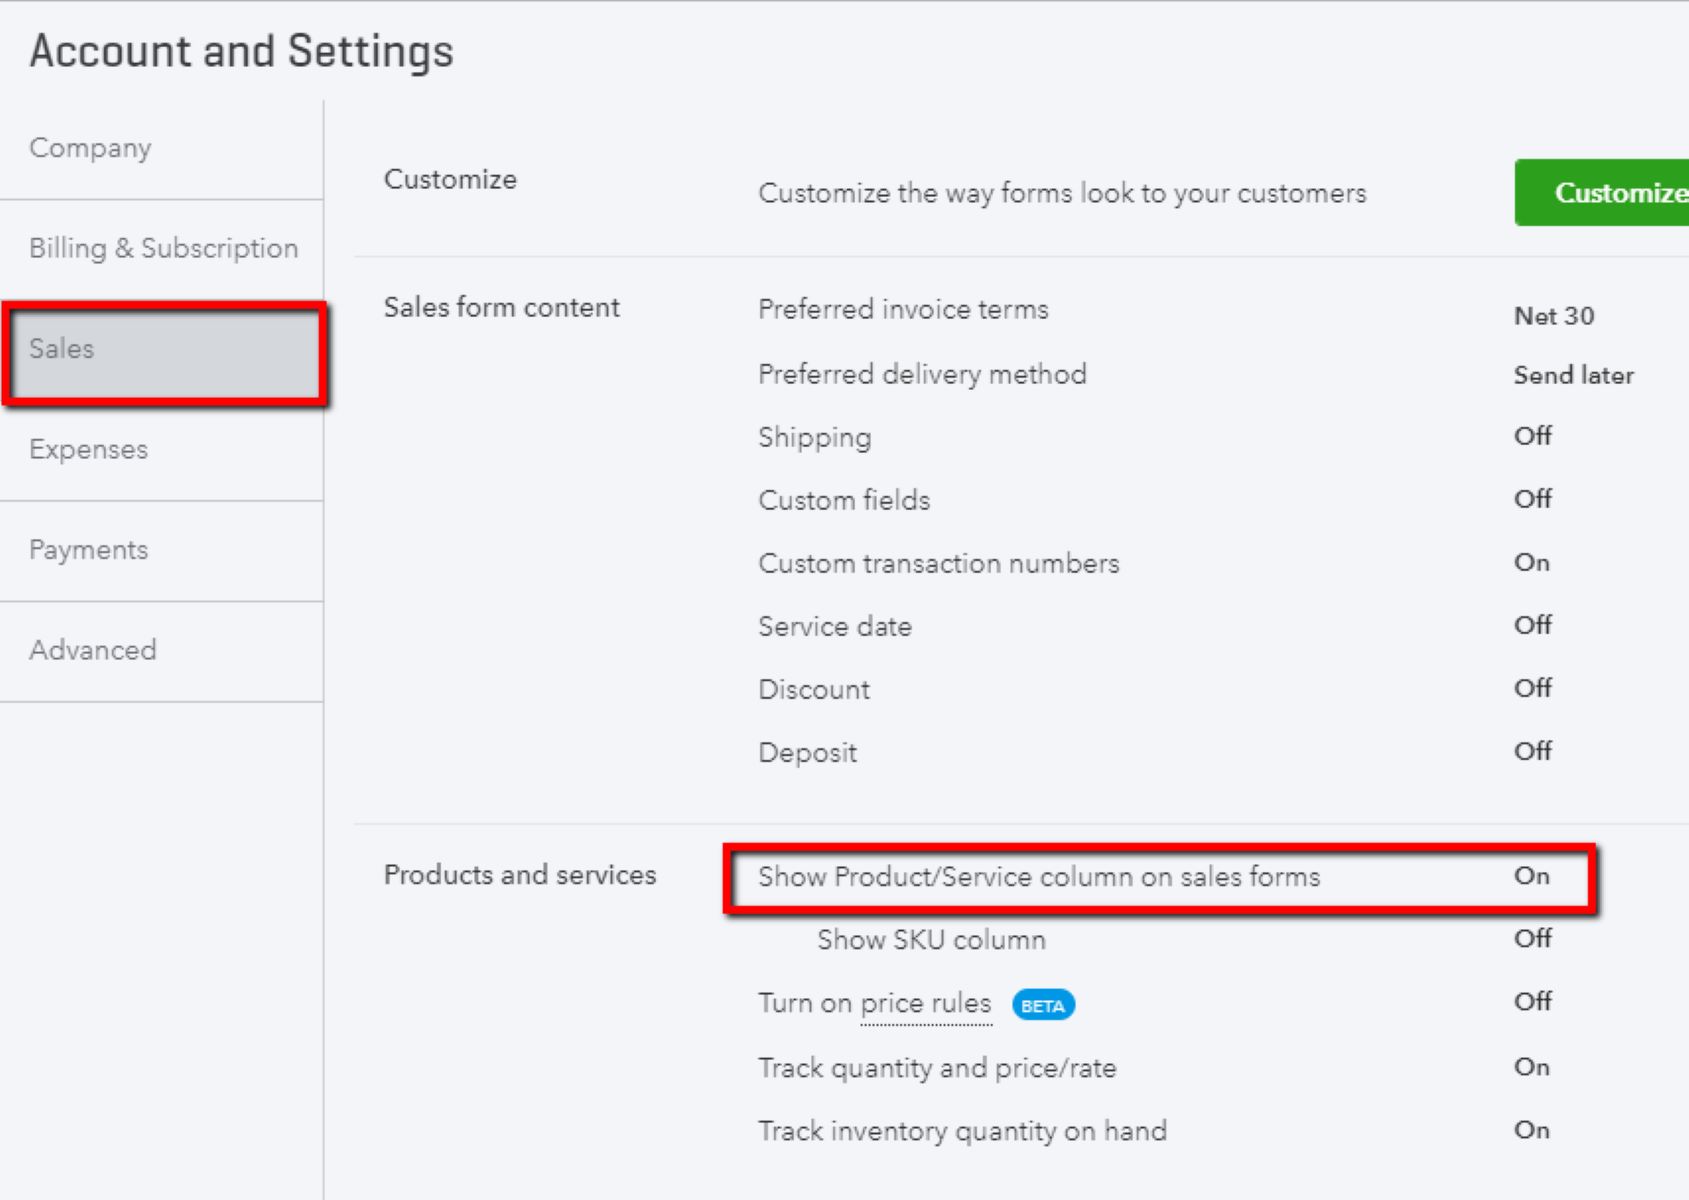
Customize the Gear Icon’s Position in the Navigation Bar:
By default, the Gear icon in QuickBooks is positioned in the navigation bar, providing easy access to various settings and preferences. However, QuickBooks also offers the flexibility to customize the position of the Gear icon within the navigation bar. This allows you to rearrange the icons in a way that aligns with your workflow and preferences. Here’s how you can customize the Gear icon’s position in the navigation bar:
– Hover your cursor over the Gear icon in the navigation bar.
– Click and hold the Gear icon with your mouse button.
– Drag the Gear icon to your desired position within the navigation bar.
– Release the mouse button to lock the Gear icon in its new position.
By customizing the Gear icon’s position, you can prioritize its accessibility and ensure that it is conveniently located within your primary field of view. This customization feature enables you to personalize your QuickBooks layout and enhance your overall user experience.
It’s important to note that the ability to customize the position of the Gear icon may vary depending on the version of QuickBooks you are using. Some versions may offer more flexibility in terms of rearranging icons, while others may have specific limitations or restrictions. Refer to the documentation for your specific QuickBooks version to understand the customization options available to you.
Customizing the Gear icon’s position in the navigation bar empowers you to tailor your QuickBooks interface to your specific needs and preferences. By rearranging the icons, you can optimize your workflow and ensure that the most frequently used features are easily accessible.
Now that you know how to customize the position of the Gear icon in the navigation bar, you have the freedom to arrange your QuickBooks interface according to your liking. In the following section, we will address a common concern: what to do if the Gear icon is missing from your QuickBooks interface.
Troubleshooting: What to Do if the Gear Icon is Missing:
If you cannot locate the Gear icon in your QuickBooks interface, it can be frustrating and limit your access to important settings and customization options. However, there are a few troubleshooting steps you can follow to address this issue. Here’s what you can do if the Gear icon is missing from your QuickBooks interface:
1. Check your user role and permissions: Ensure that your user role has the necessary permissions to access the Gear icon and its associated features. In some cases, restricted user roles may not have access to certain settings, including the Gear icon. Contact your QuickBooks administrator or check your user settings to verify your access level.
2. Clear your browser cache and cookies: If you are using QuickBooks Online, clearing your browser’s cache and cookies can resolve issues related to missing icons. Try clearing your browser history and restarting your browser to see if the Gear icon reappears.
3. Switch to a different browser: Sometimes, browser-related issues can affect the visibility of the Gear icon. Switch to a different browser and check if the icon appears. It’s recommended to use supported browsers for the best QuickBooks experience.
4. Update your QuickBooks software: Keeping your QuickBooks software up to date is essential to ensure you have access to the latest features and enhancements. Update your software to the latest version and check if the Gear icon appears in your interface.
5. Contact QuickBooks support: If none of the above steps resolve the issue of a missing Gear icon, reaching out to QuickBooks support can provide further assistance. The support team can help diagnose the issue specific to your account and provide tailored solutions.
It’s worth mentioning that the troubleshooting steps may vary depending on the version of QuickBooks you are using and the specific circumstances surrounding the missing Gear icon. Refer to QuickBooks documentation or reach out to the support team for version-specific troubleshooting instructions.
By following these troubleshooting steps, you can address the issue of a missing Gear icon and regain access to the important settings and features it provides. QuickBooks support is there to assist you if the issue persists or if you require additional guidance for your specific situation.
Conclusion:
Finding and accessing the Gear icon in QuickBooks is essential for managing your accounting tasks efficiently. Whether you access the Gear icon from the home page, navigation bar, lists and transactions, or use the keyboard shortcut, it serves as a gateway to important settings, customization options, and preferences within QuickBooks.
By following the methods outlined in this article, you can easily locate and utilize the Gear icon, regardless of your QuickBooks version or interface setup. From modifying company settings to customizing reports, managing transactions, and rearranging the icon in the navigation bar, you now have the knowledge and tools to navigate and streamline your QuickBooks experience.
In the event that the Gear icon is missing, troubleshooting steps such as checking user permissions, clearing browser cache, updating software, or contacting QuickBooks support can help resolve the issue and restore access to the Gear icon.
Remember, the Gear icon is your portal to an array of powerful features offered by QuickBooks, allowing you to tailor the software to meet your unique business needs. Explore its functionalities, experiment with customization options, and make the most of its capabilities to maximize your productivity and success.
We hope this guide has helped you locate and utilize the Gear icon in QuickBooks effectively. By mastering this fundamental feature, you are well on your way to efficiently managing your financial tasks and achieving greater efficiency and accuracy in your accounting processes.
Happy accounting with QuickBooks and the Gear icon!