Introduction
Welcome to the world of QuickBooks Payments! If you’re a business owner or an accountant, you know how important it is to have a seamless and efficient payment processing system. QuickBooks Payments is a feature-rich solution that allows you to accept credit card payments, manage invoices, and handle all your financial transactions right within the QuickBooks ecosystem.
In this article, we will guide you through the process of setting up QuickBooks Payments. Whether you’re using QuickBooks Desktop or QuickBooks Online, we’ve got you covered. We’ll also provide information on how to initiate the setup process from a web browser. Additionally, we’ll touch upon some common issues that you may encounter during the setup and offer troubleshooting tips to resolve them.
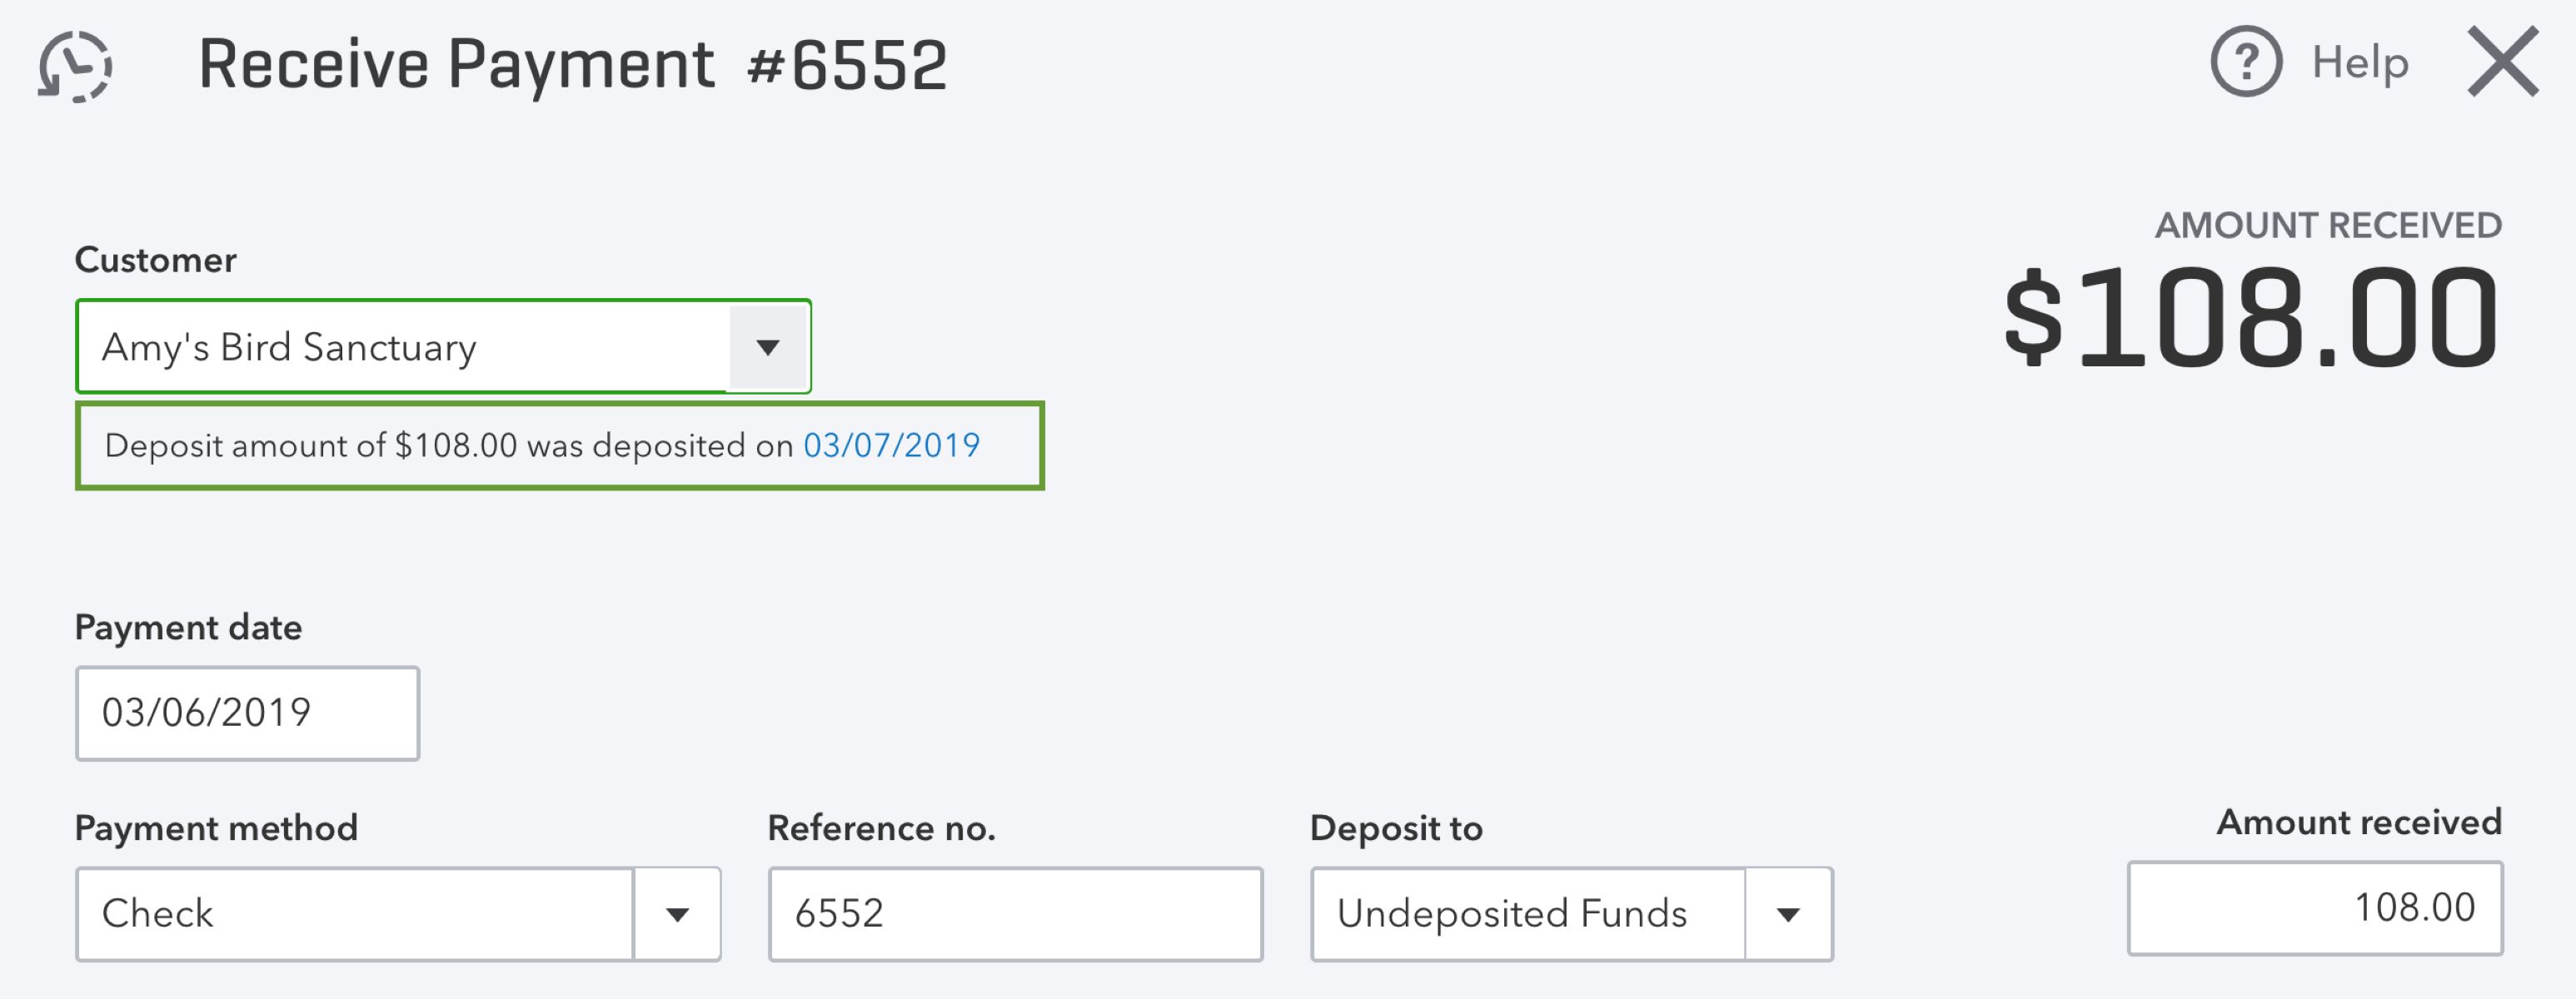
Setting up QuickBooks Payments is a crucial step towards streamlining your payment processes and ensuring a seamless experience for your clients. With this powerful payment solution, you’ll be able to accept payments anywhere, anytime, and provide your customers with a variety of payment options to choose from, including credit cards, debit cards, and eChecks.
So, whether you’re a small business owner looking to expand your payment capabilities or an accountant assisting clients with their financial needs, read on to discover how to initiate the setup of QuickBooks Payments and take your payment processing to the next level.
Setting Up QuickBooks Payments
Before you can start accepting payments through QuickBooks, you’ll need to set up QuickBooks Payments. This involves creating an account, providing necessary business and banking information, and verifying your identity and eligibility.
The first step is to navigate to the QuickBooks Payments setup page. Depending on whether you’re using QuickBooks Desktop or QuickBooks Online, the process may vary slightly.
Once you’re on the setup page, you’ll be prompted to sign in with your Intuit account or create a new one if you don’t already have one. After logging in, follow the on-screen instructions to provide your business details, such as your legal business name, address, and tax identification number.
Next, you’ll need to provide your bank account information. This is necessary for processing your payments and depositing the funds into your account. QuickBooks Payments supports most U.S. banks, and you’ll need to enter your account and routing numbers.
After providing the necessary information, you’ll be asked to verify your identity and eligibility. This typically involves answering security questions or providing additional information to confirm your identity as the account owner.
Once you’ve completed these steps, you’ll need to review and accept the terms and conditions of QuickBooks Payments. It’s essential to read through these carefully to understand the fees, processing times, and any other relevant information.
Finally, you’ll receive a confirmation once your QuickBooks Payments account has been successfully set up. Congratulations! You’re now ready to start accepting payments using QuickBooks.
Benefits of Setting Up QuickBooks Payments
- Improved Cash Flow: With QuickBooks Payments, your customers can make payments to you directly, resulting in faster access to your funds and improved cash flow for your business.
- Convenient Payment Options: QuickBooks Payments offers various payment methods, including credit cards, debit cards, and eChecks, giving your customers flexibility in how they pay you.
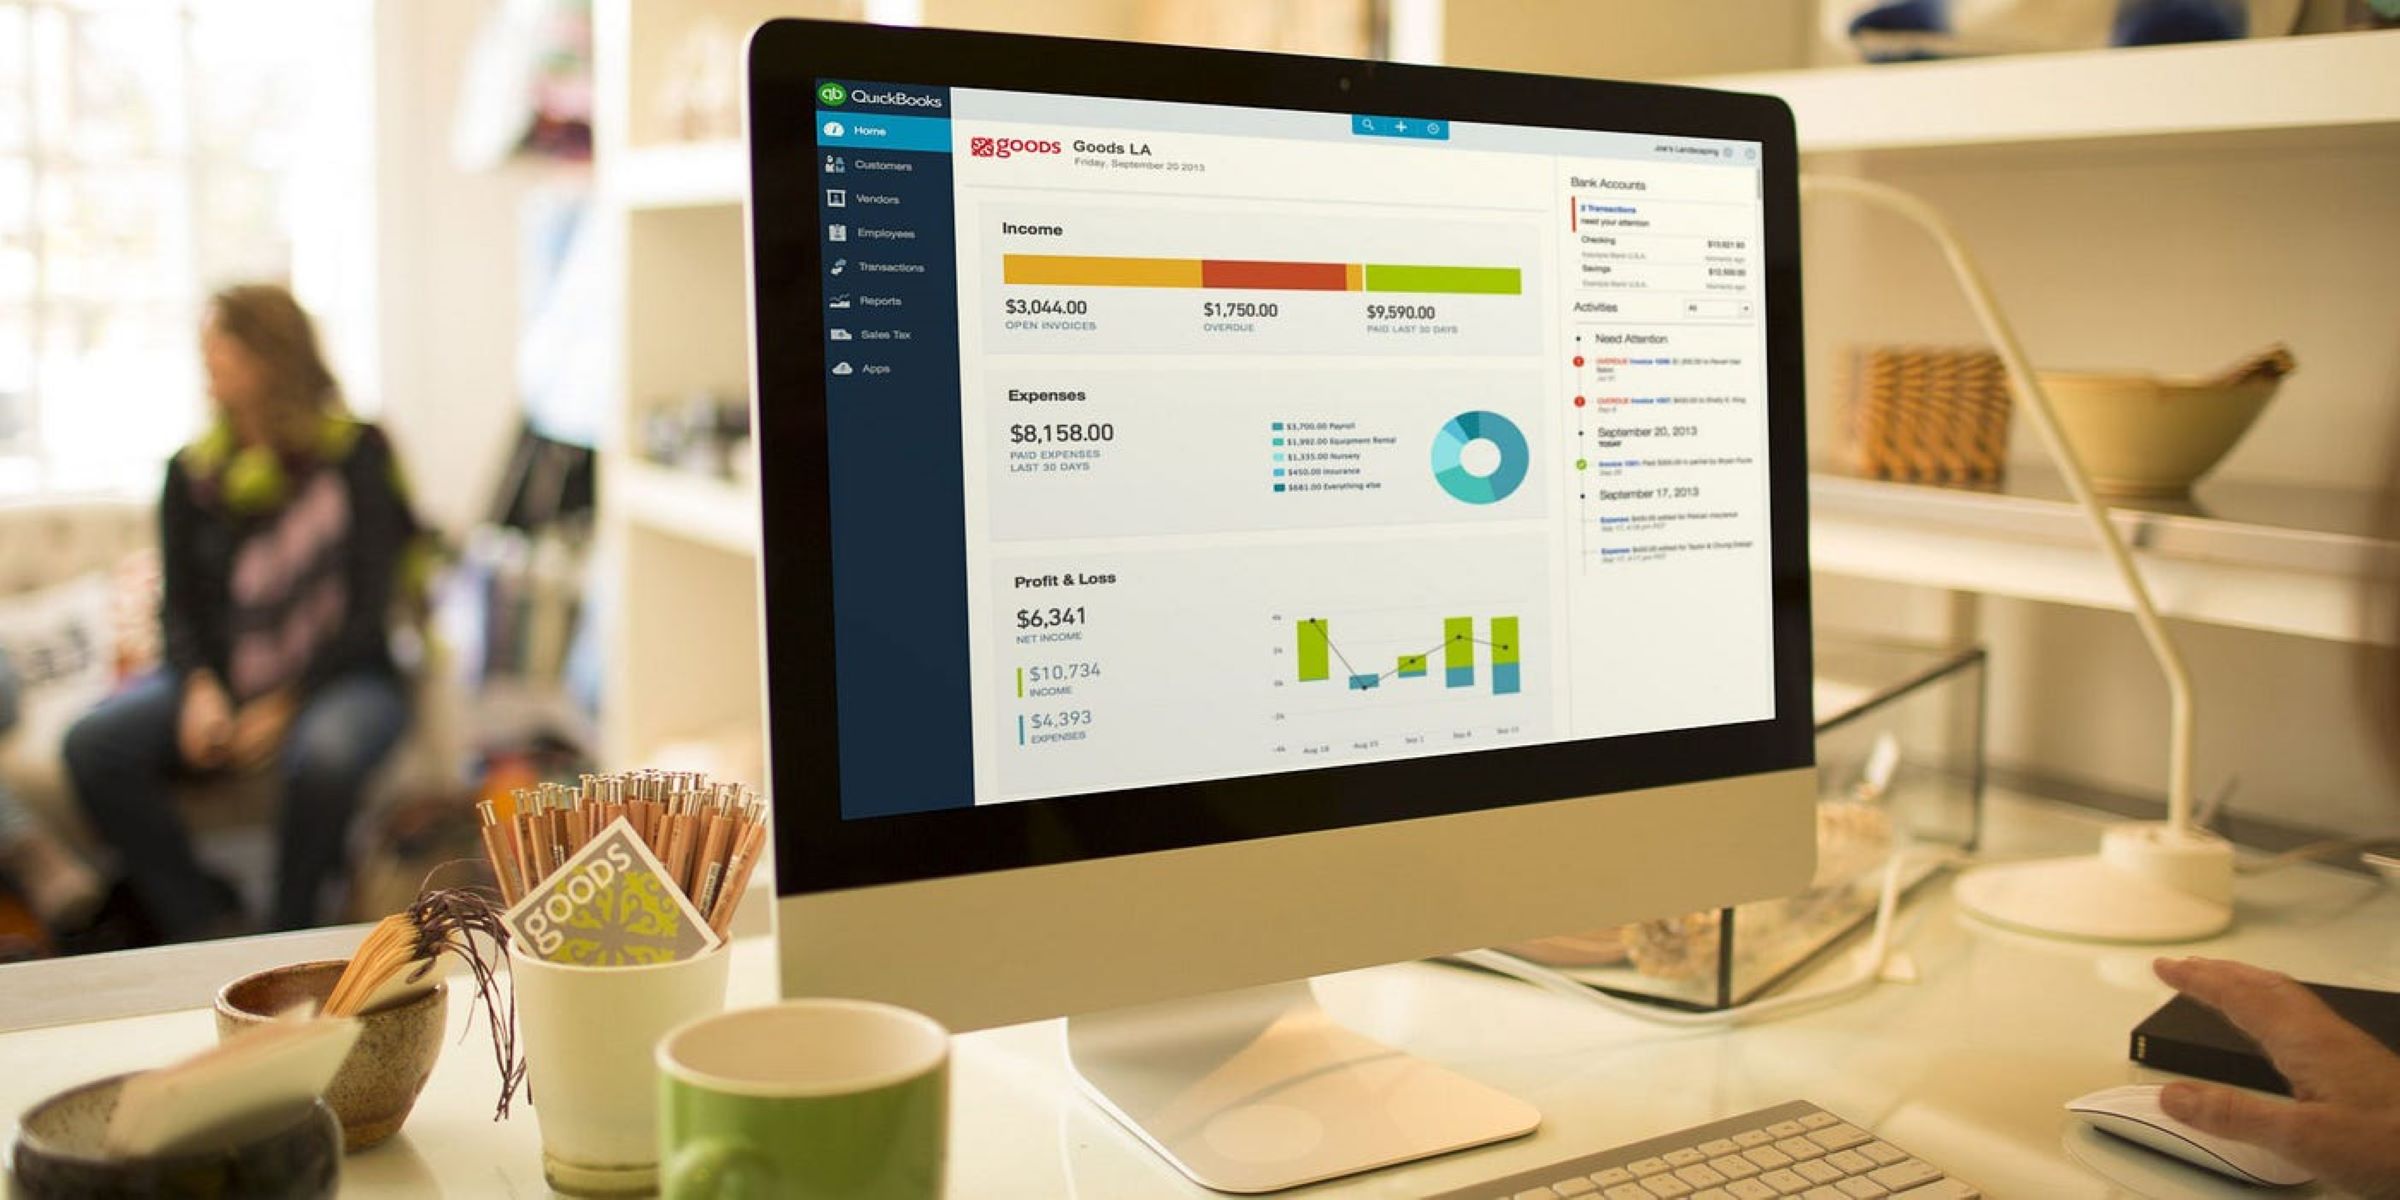
- Integration with QuickBooks: By setting up QuickBooks Payments, you’ll enjoy seamless integration with your QuickBooks accounting software, making it easier to manage and reconcile your financials.
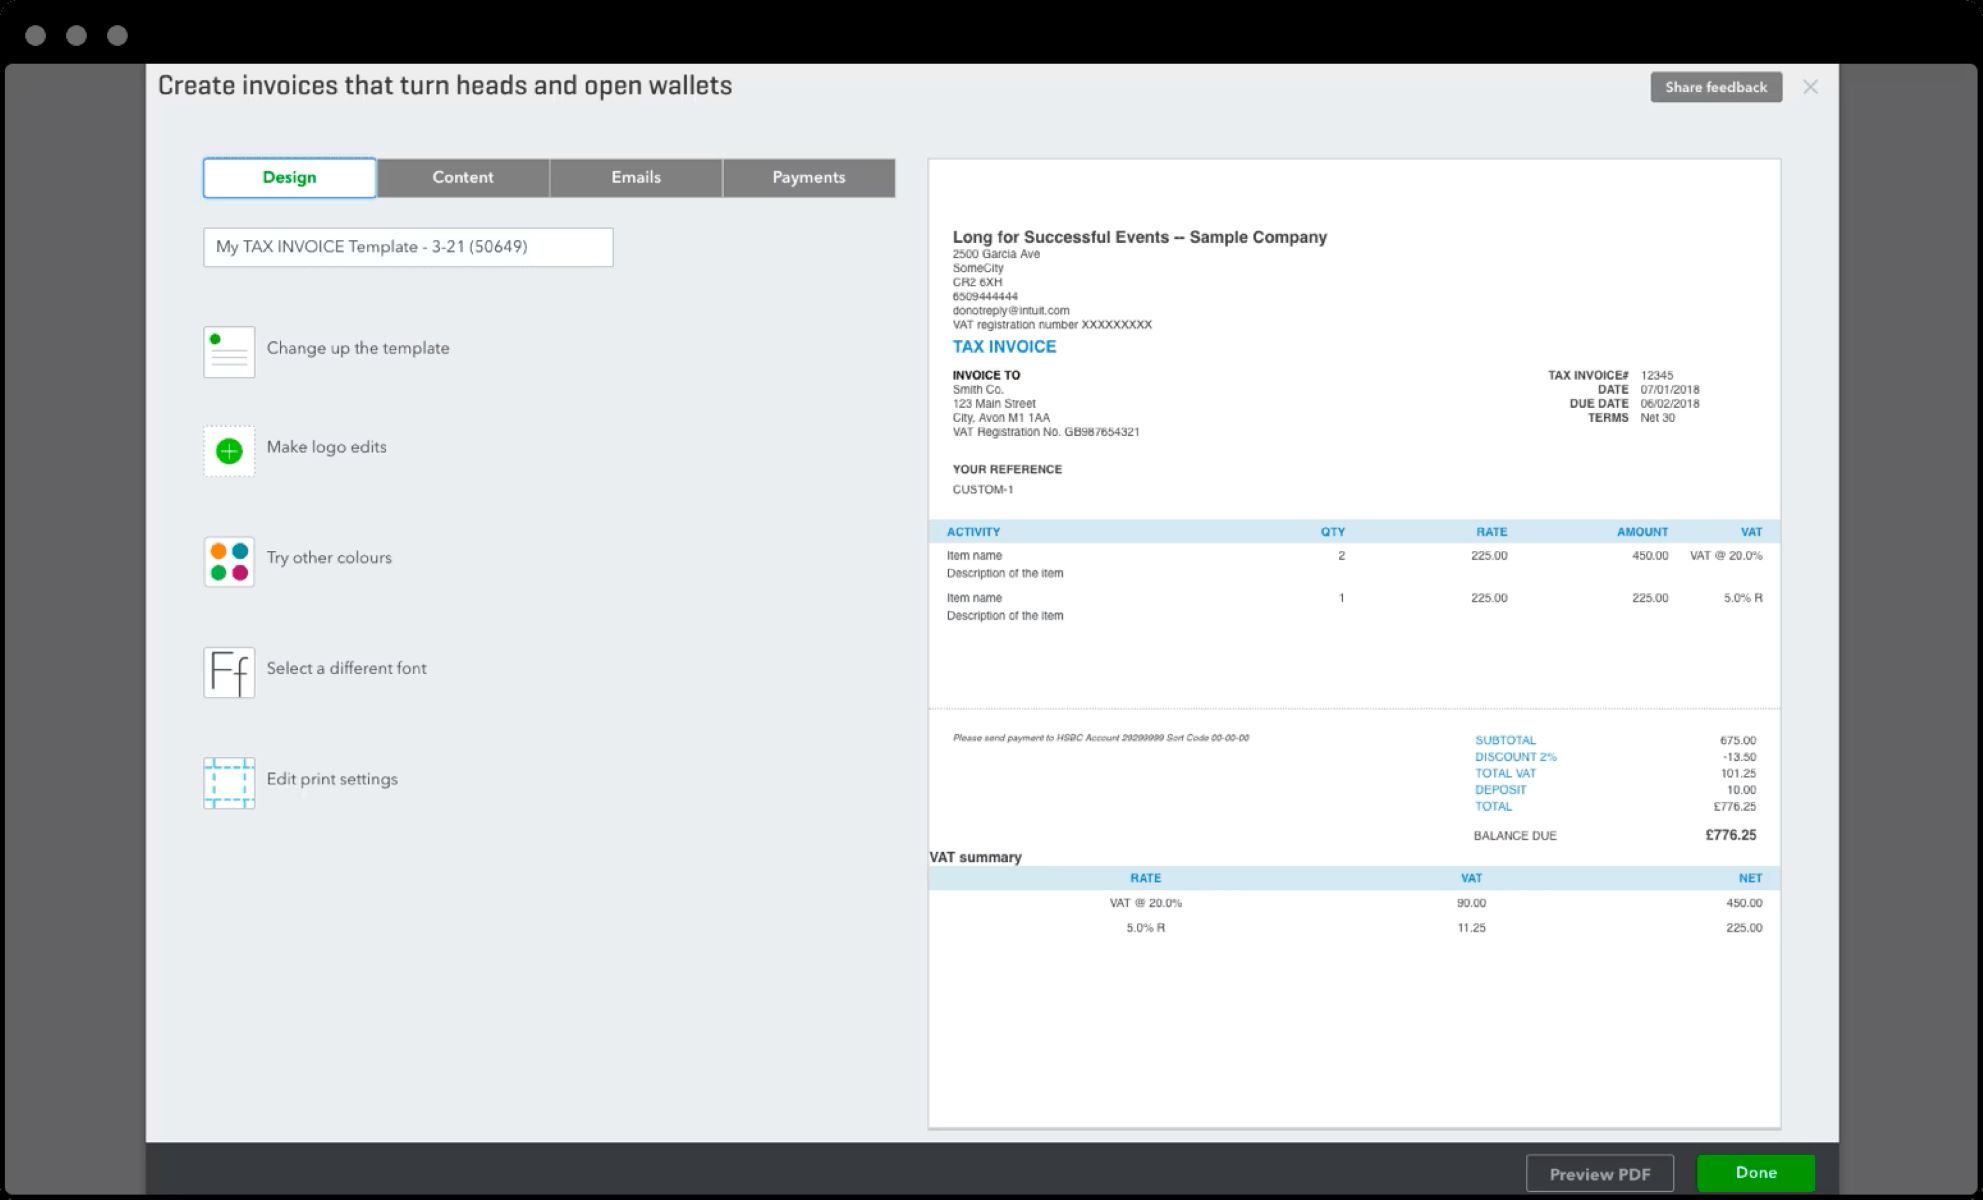
- Professional Invoices: With QuickBooks Payments, you can create professional-looking invoices and send them directly to your customers, making it convenient for them to pay you.
- Payment Tracking: QuickBooks Payments allows you to track and manage all your transactions in one place, providing you with a clear overview of your payment history.
Setting up QuickBooks Payments is a key step in optimizing your business’s payment processes. It not only enhances your customers’ experience but also simplifies your financial management, saving you time and effort.
The Client Setup Process
As a business owner or accountant, you may be responsible for assisting your clients in setting up QuickBooks Payments. The client setup process involves a few additional steps to ensure that their account is properly linked to your business or accounting firm.
Here’s how you can guide your clients through the setup process:
- Understand the Client’s Needs: Before initiating the setup, have a conversation with your client to understand their specific requirements. This will help you determine the appropriate payment options to enable and tailor the setup accordingly.
- Access the Client’s QuickBooks Account: Ask your client to grant you access to their QuickBooks account. This can be done by adding you as an accountant or user with the necessary permissions.
- Navigate to the QuickBooks Payments Setup: Once you have access to the client’s QuickBooks account, navigate to the QuickBooks Payments setup page within the client’s account. This can typically be found in the Payments or Company Preferences section.
- Follow the Setup Instructions: Guide your client through the setup instructions, ensuring they enter accurate business and banking information. Emphasize the importance of reviewing the terms and conditions to avoid any future discrepancies or misunderstandings.
- Verify Identity and Eligibility: Assist your client in completing the identity and eligibility verification process. This may involve providing additional documentation or answering security questions to authenticate their account.
- Review and Confirm: Before finalizing the setup, carefully review all the entered information with your client to ensure accuracy. Once you’re both satisfied, confirm the setup to complete the process.
By guiding your clients through the QuickBooks Payments setup process, you can ensure that their payment processing is seamlessly integrated with your business or accounting firm. This allows for smoother financial management and collaboration, making it easier to handle invoicing, payments, and reconciliations.
Initiating the Setup from QuickBooks Desktop
If you’re using QuickBooks Desktop, initiating the setup of QuickBooks Payments is a straightforward process. Here’s how you can get started:
- Open QuickBooks Desktop: Launch the QuickBooks Desktop software on your computer and sign in using your administrator credentials.
- Access the Payments Setup: From the top menu, navigate to the “Customers” tab and select “Link Payment Service to Company File.” This will open the Payments Account Setup window.
- Select QuickBooks Payments: In the Payments Account Setup window, choose the option for QuickBooks Payments. This will redirect you to the QuickBooks Payments setup page.
- Enter Business and Banking Details: Follow the on-screen instructions to enter your business and banking details accurately. Double-check the information to ensure its correctness.
- Verify Identity and Eligibility: Complete the identity and eligibility verification process as prompted by QuickBooks. This may involve additional documentation or security questions to confirm your account ownership.
- Review and Accept Terms and Conditions: Carefully read through the terms and conditions of QuickBooks Payments. If you agree to the terms, accept them to proceed with the setup.
- Confirmation and Integration: Once you’ve completed the setup, QuickBooks will confirm the successful linkage of QuickBooks Payments to your QuickBooks Desktop software. Your payment processing capabilities are now integrated into QuickBooks.
Initiating the setup of QuickBooks Payments from QuickBooks Desktop allows for a seamless connection between your payment processing and accounting functions. You can now conveniently manage transaction records, invoices, and payments within a single software, streamlining your business operations and enhancing efficiency.
Initiating the Setup from QuickBooks Online
If you’re using QuickBooks Online, you can easily initiate the setup of QuickBooks Payments directly from your account. Follow these steps to get started:
- Sign in to QuickBooks Online: Visit the QuickBooks Online website and sign in to your account using your administrator credentials.
- Access the Payments Setup: From the left navigation menu, click on the “Sales” tab and then select “Get Paid.” Choose the “Set up payments” option to begin the setup process.
- Select QuickBooks Payments: Click on the “Sign up for Payments” button. This will redirect you to the QuickBooks Payments setup page.
- Enter Business and Banking Details: Follow the on-screen prompts to enter accurate business and banking information. Ensure that the information you provide is correct and up to date.
- Verify Identity and Eligibility: Complete the identity and eligibility verification process as instructed by QuickBooks Online. This may involve providing additional documentation or answering security questions to verify your account.
- Review and Accept Terms and Conditions: Take the time to review the terms and conditions of QuickBooks Payments. Once you have read and understood them, accept the terms to proceed with the setup.
- Confirmation and Integration: Once you’ve completed the setup, QuickBooks will confirm the successful linkage of QuickBooks Payments to your QuickBooks Online account. Your payment processing features are now seamlessly integrated into the QuickBooks Online platform.
By initiating the setup of QuickBooks Payments from QuickBooks Online, you can leverage the power of cloud-based accounting software to streamline your payment processing. The integration between QuickBooks Online and QuickBooks Payments provides a unified platform for managing your financials, making it easier to track payments, create professional invoices, and reconcile transactions.
Setting Up QuickBooks Payments from a Web Browser
In addition to setting up QuickBooks Payments directly from QuickBooks Desktop or QuickBooks Online, you can also initiate the setup process by accessing QuickBooks Payments through a web browser. This method allows for flexibility and convenience, especially for users who prefer to work on different devices or operating systems. Follow the steps below to set up QuickBooks Payments from a web browser:
- Open a Web Browser: Launch your preferred web browser (such as Google Chrome, Mozilla Firefox, or Safari) on your computer or mobile device.
- Access the QuickBooks Payments Website: In the address bar, enter the URL for QuickBooks Payments: https://payments.intuit.com. Press Enter to load the website.
- Sign in to QuickBooks: Click on the “Sign In” button located in the top-right corner of the QuickBooks Payments website. Enter your Intuit account login credentials to access your QuickBooks account.
- Navigate to the Payments Setup: Once you’re signed in, look for the “Payments” or “Accept Payments” section on the website. Click on the option to “Set Up Payments” or “Get Started” to begin the setup process.
- Provide Business and Banking Details: Follow the prompts and enter your business and banking information accurately. Make sure to double-check the details for accuracy.
- Verify Identity and Eligibility: Complete the necessary steps to verify your identity and eligibility for QuickBooks Payments. This may involve providing additional documentation, answering security questions, or going through a verification process.
- Review and Agree to the Terms and Conditions: Carefully read through the terms and conditions of QuickBooks Payments before accepting them. Ensure that you understand the fees, processing times, and any other relevant information outlined in the terms and conditions.
- Confirmation and Integration: Once you’ve completed the setup process, you’ll receive a confirmation that QuickBooks Payments has been successfully set up from the web browser. Your payment processing features are now integrated into your QuickBooks account.
Setting up QuickBooks Payments from a web browser provides flexibility for users who prefer to access their payment processing features from various devices. Whether you’re working on a computer, laptop, or mobile device, you can easily initiate the setup process and integrate your payment processing capabilities into your QuickBooks account.
Common Issues and Troubleshooting
During the setup process of QuickBooks Payments, you may come across some common issues or encounter difficulties that need troubleshooting. Here are a few examples of common issues and their possible solutions:
- Payment Account Activation: In some cases, the activation of your QuickBooks Payments account may take longer than expected. If you experience delays, it’s recommended to reach out to the QuickBooks support team for assistance. They can help troubleshoot the activation process and provide guidance on the next steps.
- Bank Connection Issues: If you’re experiencing issues with linking your bank account to QuickBooks Payments, verify that you’ve entered your account and routing numbers correctly. Additionally, double-check with your bank to ensure that there are no restrictions or limitations on connecting your account to third-party payment processors.
- Identity Verification: If you encounter difficulties during the identity verification process, make sure you’ve provided accurate information and documentation as requested. If you’re still facing issues, contact the QuickBooks support team for guidance and assistance in resolving the verification problem.
- Compatibility Issues: Ensure that you’re using a supported browser and that your system meets the minimum requirements for operating QuickBooks Payments. If you’re using an outdated browser or an incompatible operating system, it may cause issues during the setup process. Consider updating your browser or using a supported alternative.
- Error Messages: If you receive error messages during the setup process, make note of the specific error details and codes. Often, these messages provide valuable information that can help identify the issue and find a resolution. Use the error message as a reference when contacting QuickBooks support for further assistance.
It’s essential to remember that if you encounter any issues or challenges during the setup process of QuickBooks Payments, don’t hesitate to reach out to the QuickBooks support team. They have the expertise to help troubleshoot problems, provide guidance, and ensure that you can successfully set up and utilize QuickBooks Payments to its fullest potential.
Conclusion
Setting up QuickBooks Payments is a crucial step in optimizing your payment processing and streamlining your financial management. Whether you’re using QuickBooks Desktop or QuickBooks Online, initiating the setup process is relatively straightforward. By following the instructions provided, you can integrate the power of QuickBooks Payments into your accounting workflow, allowing for seamless transaction management, professional invoicing, and improved cash flow.
During the setup process, it’s important to pay attention to the accuracy of the information you provide, review and accept the terms and conditions, and complete any necessary identity verification. By doing so, you’ll ensure a smooth and successful setup experience.
If you encounter any issues or face challenges during the setup process, don’t hesitate to reach out to the dedicated support team at QuickBooks. They are there to assist you with troubleshooting, provide guidance, and ensure that you can leverage the full potential of QuickBooks Payments.
In conclusion, by setting up QuickBooks Payments, you’re investing in a robust payment processing solution that will simplify your financial operations, enhance your customer experience, and improve the overall efficiency of your business. Take the necessary steps to initiate the setup today and unlock the benefits of seamless payment processing within the QuickBooks ecosystem.


