Introduction
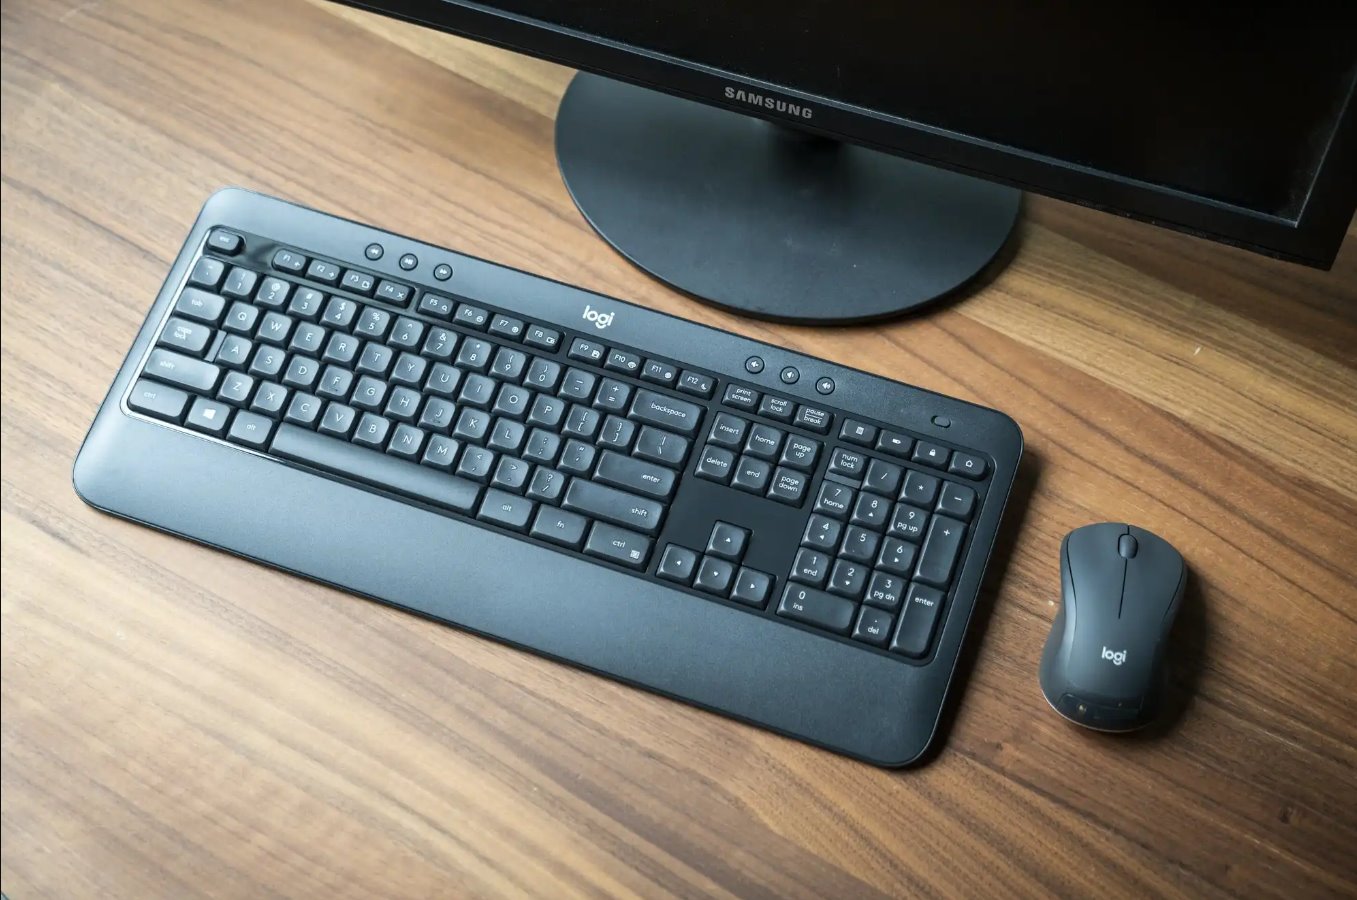
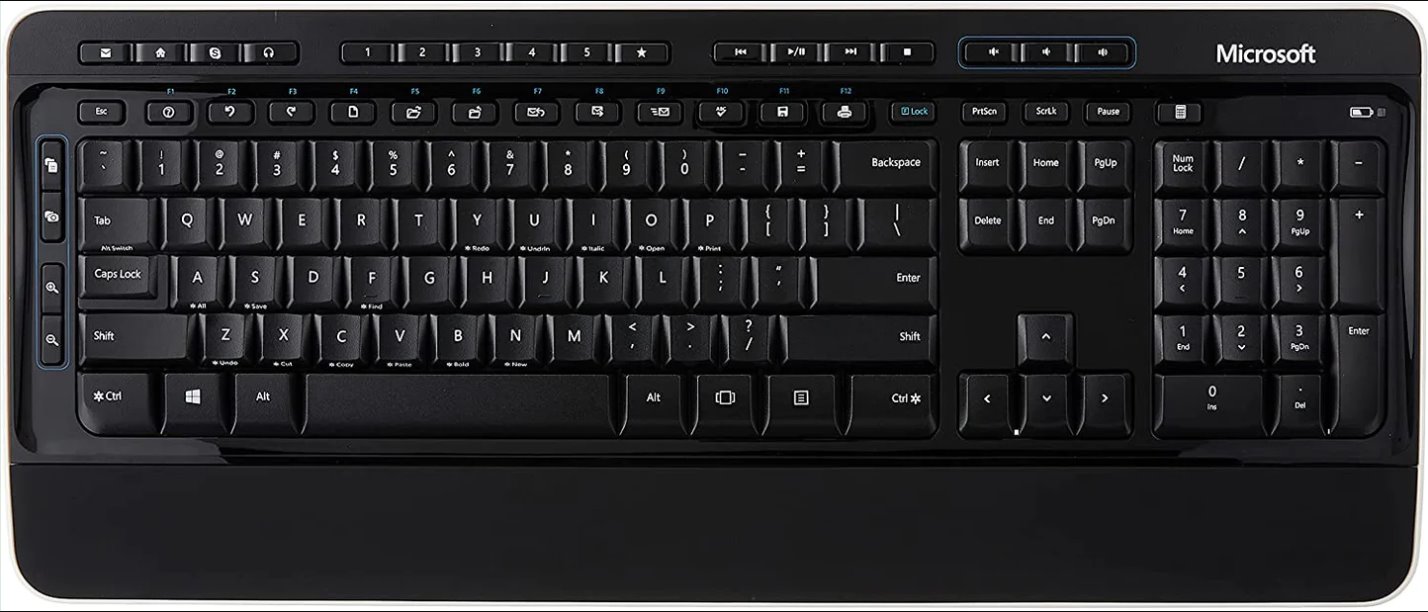
Having a wireless keyboard can greatly enhance your typing experience, providing convenience and freedom of movement. However, like any technology, wireless keyboards can sometimes encounter issues and stop working properly. This can be frustrating, especially when you’re in the middle of an important task or project.
Fortunately, there are several troubleshooting steps you can take to resolve the issue and get your wireless keyboard working again. In this article, we will explore some of the common problems that may arise with wireless keyboards and provide practical solutions to help you troubleshoot the issue.
Before diving into the specific troubleshooting steps, it’s important to understand that various factors can contribute to a wireless keyboard not working. It could be due to a simple battery drain, interference with other devices, outdated drivers, connectivity issues, or other hardware-related problems. By following the steps outlined in this article, you can systematically identify and address the root cause of the issue.
Remember, each wireless keyboard may have its own unique features and specifications, so it’s essential to consult the manufacturer’s documentation for specific troubleshooting instructions if available. Now, let’s explore the various steps you can take to resolve the issue and get your wireless keyboard back up and running.
Check the Batteries
One of the most common reasons why a wireless keyboard stops working is due to low or dead batteries. It’s always a good idea to start troubleshooting by checking the batteries. Here’s what you can do:
1. Remove the battery cover on the back of the keyboard. Depending on the model, you may need to use a screwdriver to open it.
2. Check the batteries for any signs of corrosion or leakage. If you notice any damage, replace the batteries with fresh ones.
3. If the batteries appear fine, remove them and reinsert them after a few seconds. This can help reset the connection between the keyboard and the receiver.
4. Make sure the batteries are inserted correctly, following the polarity markings inside the battery compartment.
5. If you have spare batteries available, try replacing the existing ones to see if that solves the issue.
6. Some wireless keyboards come with a power switch. Ensure that the keyboard is turned on.
7. Finally, reconnect the keyboard to the computer and test if it’s working properly.
Checking and replacing the batteries should be the first step in troubleshooting a wireless keyboard issue. It’s a simple and often overlooked solution that can resolve the problem in many cases.
Remember, if your wireless keyboard uses rechargeable batteries, ensure that they are properly charged before assuming that the batteries are the issue. Rechargeable batteries can lose their capacity over time, so replacing them with new ones might be necessary.
Verify Wireless Connection
If your wireless keyboard is not working, the next step is to verify the wireless connection between the keyboard and the receiver. Here’s what you can do to ensure a stable connection:
1. Check the location of the receiver: Ensure that the receiver is within the specified distance of the keyboard. Electronic devices like cordless phones, routers, and Wi-Fi devices can interfere with the wireless signal, so keep the receiver away from these devices.
2. Remove any obstructions: Make sure there are no objects blocking the path between the keyboard and the receiver. Large metal objects or other electronic devices can weaken the wireless signal.
3. Change the USB port: If your wireless keyboard uses a USB receiver, try plugging it into a different USB port on your computer. Sometimes, the USB port might be faulty or not providing enough power.
4. Restart the receiver: Unplug the USB receiver from the computer, wait for a few seconds, and then plug it back in. This can help reset the wireless connection.
5. Re-pair the keyboard and receiver: Some wireless keyboards require pairing or synchronization with the receiver. Consult the manufacturer’s instructions on how to complete the pairing process.
6. Test the connection on another device: If possible, try connecting the keyboard to another computer or device to check if the issue is specific to your current setup. This will help determine if the problem lies with the keyboard or with the computer itself.
Verifying the wireless connection is crucial to ensure that the keyboard and receiver are communicating effectively. By following these steps, you can eliminate any potential connectivity issues that may be causing the keyboard to malfunction.
Restart the Keyboard and Computer
Sometimes, a simple restart can resolve many technical issues, including problems with a wireless keyboard. Restarting both the keyboard and the computer can help refresh the system and establish a new connection. Here’s what you need to do:
1. Turn off the keyboard: If your wireless keyboard has an on/off switch, turn it off. Alternatively, remove the batteries from the keyboard to cut off the power supply.
2. Shut down the computer: Save any unsaved work and shut down your computer completely.
3. Disconnect the keyboard receiver: If your wireless keyboard uses a USB receiver, unplug it from the USB port on your computer.
4. Wait for a few seconds: Give the devices a brief pause to ensure that any residual power is discharged.
5. Reconnect the receiver: Plug the USB receiver back into the USB port on your computer.
6. Turn on the keyboard: If you turned off your keyboard earlier, turn it back on or insert fresh batteries.
7. Start the computer: Power on your computer and wait for it to boot up completely.
Once the computer has restarted, it should detect the wireless keyboard and establish a new connection. Test the keyboard to see if it’s functioning properly.
Restarting both the keyboard and the computer can help refresh the system and fix any temporary glitches or conflicts that may have been causing the keyboard to malfunction. It’s a simple and effective troubleshooting step that you should always try before proceeding to more advanced solutions.
Update the Keyboard Drivers
Outdated or incompatible keyboard drivers can often be the culprit behind a malfunctioning wireless keyboard. Updating the keyboard drivers can help resolve any compatibility issues and ensure that the keyboard functions properly. Here’s how you can update the keyboard drivers:
1. Identify your keyboard model: Locate the model number of your wireless keyboard. You can typically find this information on the back of the keyboard or in the user manual.
2. Visit the manufacturer’s website: Go to the website of the keyboard manufacturer and navigate to the support or downloads section.
3. Find the drivers for your keyboard: Search for the latest drivers specific to your keyboard model. Download the appropriate drivers for your operating system.
4. Install the updated drivers: Once the drivers are downloaded, run the installer and follow the on-screen instructions to install them on your computer.
5. Restart the computer: After the driver installation is complete, restart your computer to apply the changes.
In some cases, your computer may automatically update the keyboard drivers through Windows Update. It’s recommended to check for available updates through the Device Manager or Windows Update settings as well.
Updating the keyboard drivers ensures that your computer recognizes the keyboard properly and enables all its features. It can also fix any compatibility issues that may have been causing the keyboard to malfunction. By keeping the keyboard drivers up to date, you can enhance the overall performance and functionality of your wireless keyboard.
Reset the Keyboard
If your wireless keyboard is still not working after checking the batteries, verifying the wireless connection, and updating the drivers, you may need to reset the keyboard. Resetting the keyboard can help resolve any software or firmware-related issues that may be causing the problem. Here’s how you can reset your wireless keyboard:
1. Turn off the keyboard: If your wireless keyboard has an on/off switch, turn it off. Alternatively, remove the batteries to completely cut off the power supply.
2. Locate the reset button: Look for a small reset button on the bottom or back of the keyboard. The location of the reset button may vary depending on the model. You may need to use a small tool, such as a paperclip, to press the button.
3. Press and hold the reset button: Press and hold the reset button for a few seconds until the keyboard’s lights start blinking or the LED indicator turns off and on.
4. Release the reset button: After holding the reset button, release it and wait for a few seconds to allow the keyboard to reset.
5. Turn on the keyboard: If you previously turned off the keyboard, turn it back on or reinsert the batteries.
6. Reconnect the keyboard to the computer: Follow the manufacturer’s instructions to reconnect the keyboard to your computer. This step may involve pairing or syncing the keyboard with the receiver again.
7. Test the keyboard: Once the keyboard is reset and connected, test it by typing or performing other functions to ensure that it’s working properly.
Resetting the keyboard can often resolve software-related issues, such as connectivity problems or unresponsive keys. It essentially restores the keyboard to its default settings and clears any temporary glitches that may have been affecting its performance. If the issue persists even after resetting the keyboard, you may need to consider contacting the manufacturer’s support for additional assistance.
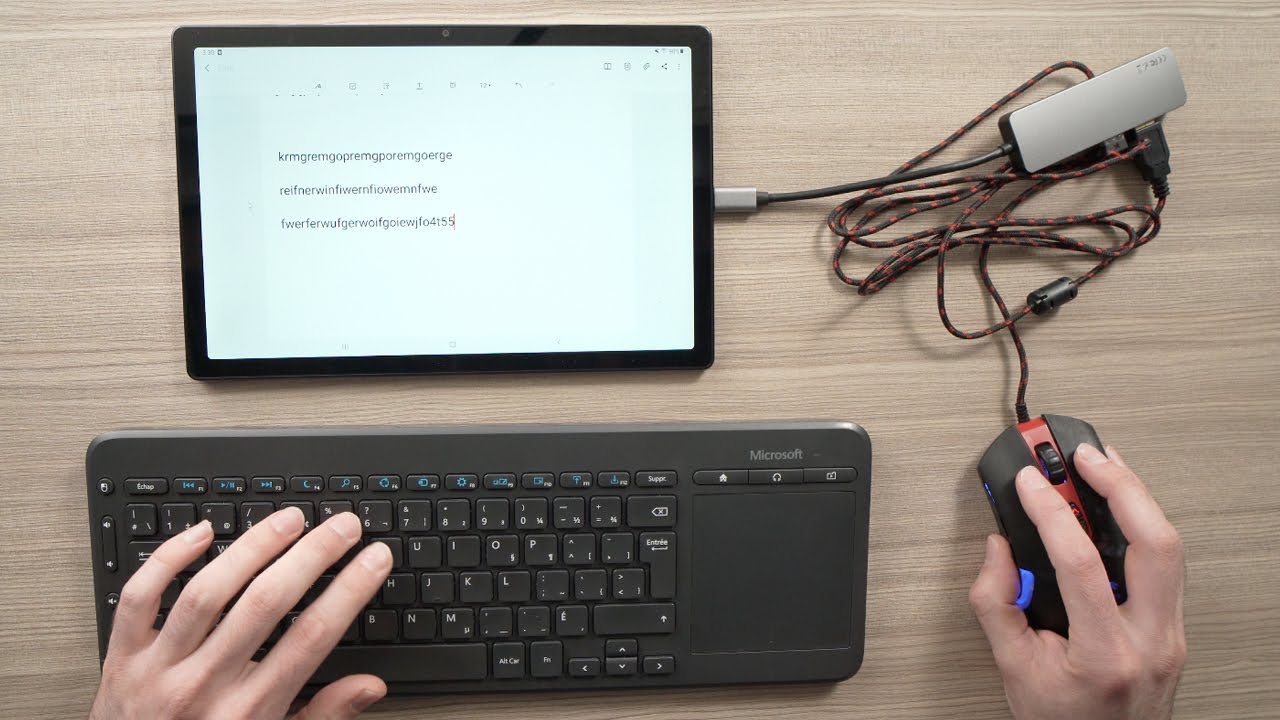
Connect the Keyboard to Another Device
If your wireless keyboard is still not working despite trying the previous troubleshooting steps, it’s worth connecting the keyboard to another device to determine if the issue lies with the keyboard or the computer. By connecting the keyboard to a different device, you can isolate the problem and take appropriate action. Here’s how you can connect the keyboard to another device:
1. Find another compatible device: Locate another computer or device that supports the same type of wireless connection as your keyboard. It could be a laptop, desktop, or even a tablet.
2. Place the receiver in a USB port: Insert the USB receiver of the keyboard into an available USB port on the new device. Make sure it fits securely.
3. Turn on the keyboard: If you turned off the keyboard earlier, turn it back on or insert fresh batteries.
4. Wait for the device to detect the keyboard: Give the new device a few moments to recognize the keyboard and establish a connection. It may prompt you to install any necessary drivers or software.
5. Test the keyboard: Once the keyboard is connected to the new device, test its functionality by typing or performing other actions. Check if all the keys are working properly.
If the keyboard works fine on the new device, it suggests that the problem may be with your original computer. You should try reconnecting the keyboard to your computer following the previous troubleshooting steps or seek further assistance from the computer manufacturer’s support team.
On the other hand, if the keyboard still doesn’t work on the new device, it indicates that the issue might be with the keyboard itself. You can try the troubleshooting steps mentioned earlier once again or consider contacting the keyboard manufacturer’s support for further guidance or a possible replacement.
Connecting the keyboard to another device helps you identify whether the problem lies with the keyboard or the computer. This step can narrow down the cause of the issue and point you in the right direction for a resolution.
Clean the Keyboard
If your wireless keyboard is still not working, it’s possible that dirt, dust, or debris may be interfering with the keys or the internal components. Cleaning the keyboard can help remove any particles that may be causing connectivity or responsiveness issues. Here’s how you can clean your wireless keyboard:
1. Turn off the keyboard: If your wireless keyboard has an on/off switch, turn it off. Alternatively, remove the batteries to prevent any accidental input during the cleaning process.
2. Shake and tap the keyboard: Gently turn the keyboard upside down and shake it to dislodge any loose debris. You can also lightly tap the keyboard on a soft surface to encourage any trapped particles to fall out.
3. Use compressed air: If there are still particles stuck in between the keys, use a can of compressed air to blow them away. Hold the can upright and direct short bursts of air between the keys. Be careful not to tilt the can or use excessive force, as it may damage the keyboard.
4. Wipe the keys: Dampen a microfiber cloth or a cotton swab with a small amount of isopropyl alcohol or mild cleaning solution. Gently wipe the surface of each key to remove fingerprints, grime, or sticky residue. Avoid getting any liquid inside the keyboard.
5. Clean the keyboard base: Use the same cloth or cotton swab to wipe the base or bottom of the keyboard. Pay attention to any areas where dust or dirt may have accumulated.
6. Let it dry: Allow the keyboard to air dry for a few minutes before turning it back on or reinserting the batteries.
Cleaning the keyboard at regular intervals helps maintain its performance and prolong its lifespan. It can remove any debris or buildup that may be causing the keys to stick or affecting the wireless connection. By keeping your wireless keyboard clean, you can enjoy a smoother and more reliable typing experience.
Contact Manufacturer Support
If you have tried all the previous troubleshooting steps and your wireless keyboard is still not working, it may be time to reach out to the manufacturer’s support team for further assistance. The manufacturer’s support team can provide expert guidance and help resolve the issue. Here’s what you can do to contact them:
1. Gather product details: Collect all the necessary information about your wireless keyboard, such as the model number, serial number, and any relevant purchase information. Having these details ready will help the support team identify your specific device.
2. Visit the manufacturer’s website: Go to the website of the wireless keyboard manufacturer and navigate to the support or contact us section. Look for information on how to reach their customer support team.
3. Contact customer support: Depending on the manufacturer, you may have options to contact them through phone, email, or live chat. Choose the method that is most convenient for you and initiate contact with their support team.
4. Describe the issue: Clearly explain the problem you are facing with your wireless keyboard and provide any relevant details. Mention the troubleshooting steps you have already attempted, so the support team can get a better understanding of the situation.
5. Follow their instructions: The support team may guide you through additional troubleshooting steps or offer specific solutions based on your situation. It’s important to carefully follow their instructions and provide any requested information or feedback.
6. Ask about warranty or repair options: If your wireless keyboard is still under warranty, inquire about the warranty coverage and any possible repair or replacement options. The support team can guide you through the warranty process and provide further assistance.
Remember to be patient and polite when interacting with the support team. They are there to help you, and approaching them in a respectful manner will facilitate a smoother resolution to your issue.
Contacting the manufacturer’s support team is advisable when all other troubleshooting steps have failed. They have the expertise and resources to assist you further and ensure that your wireless keyboard is functioning as intended.