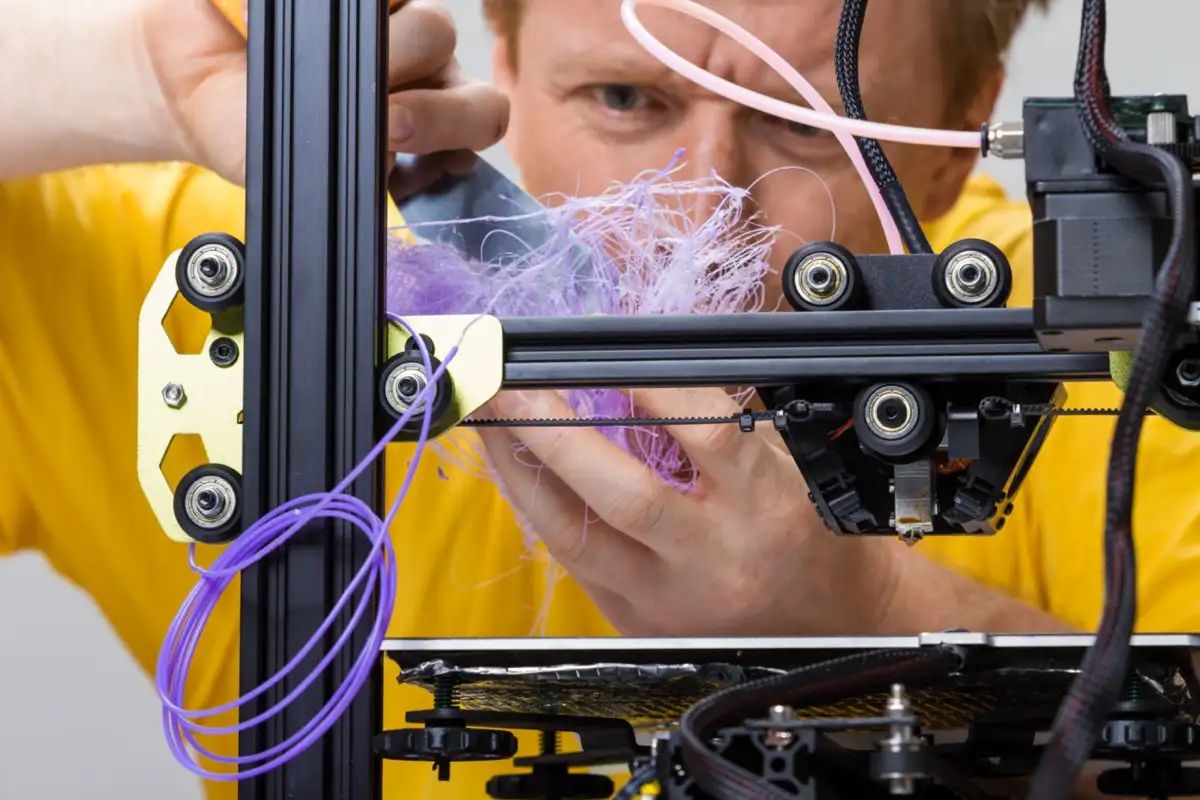
What Is Z Hop In 3D Printing
In the world of 3D printing, achieving high-quality prints while minimizing the risk of errors is always a top priority. One technique that can help in this endeavor is called Z Hop. Z Hop is a feature in 3D printing software that allows the printer’s nozzle to move vertically, or “hop,” above the printed part during certain movements.
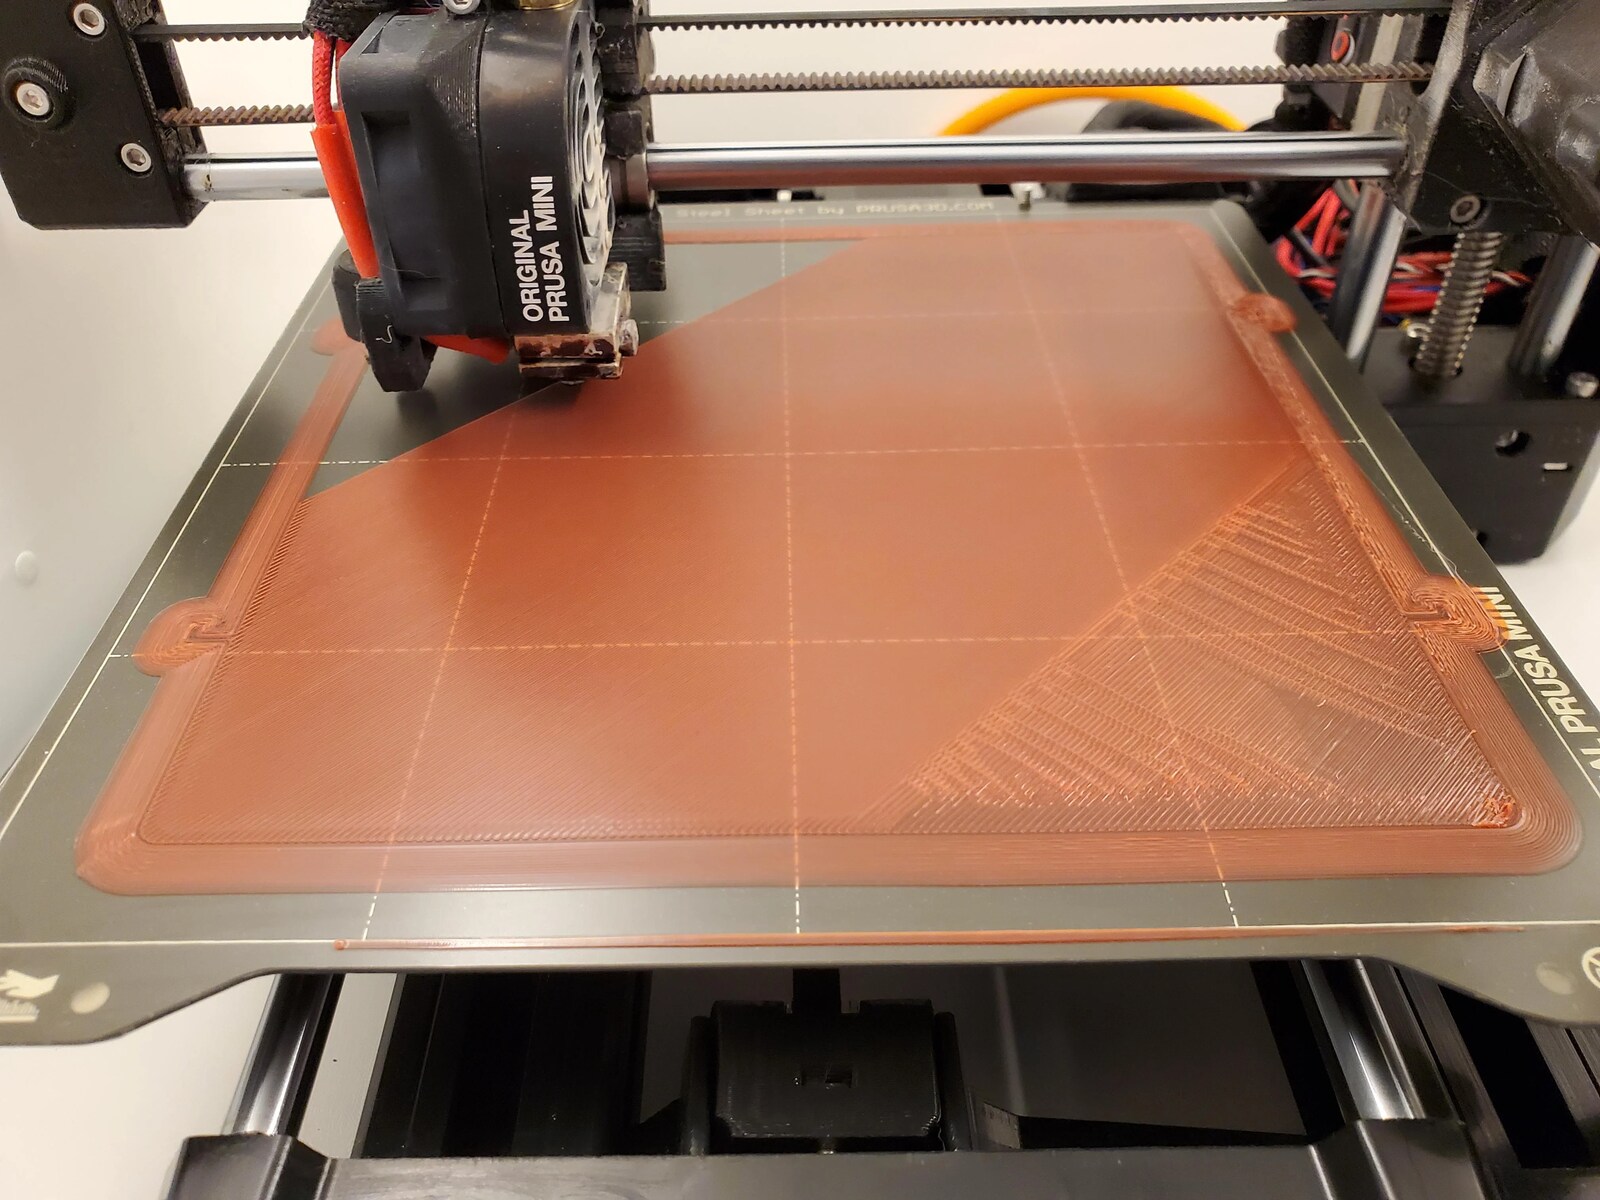
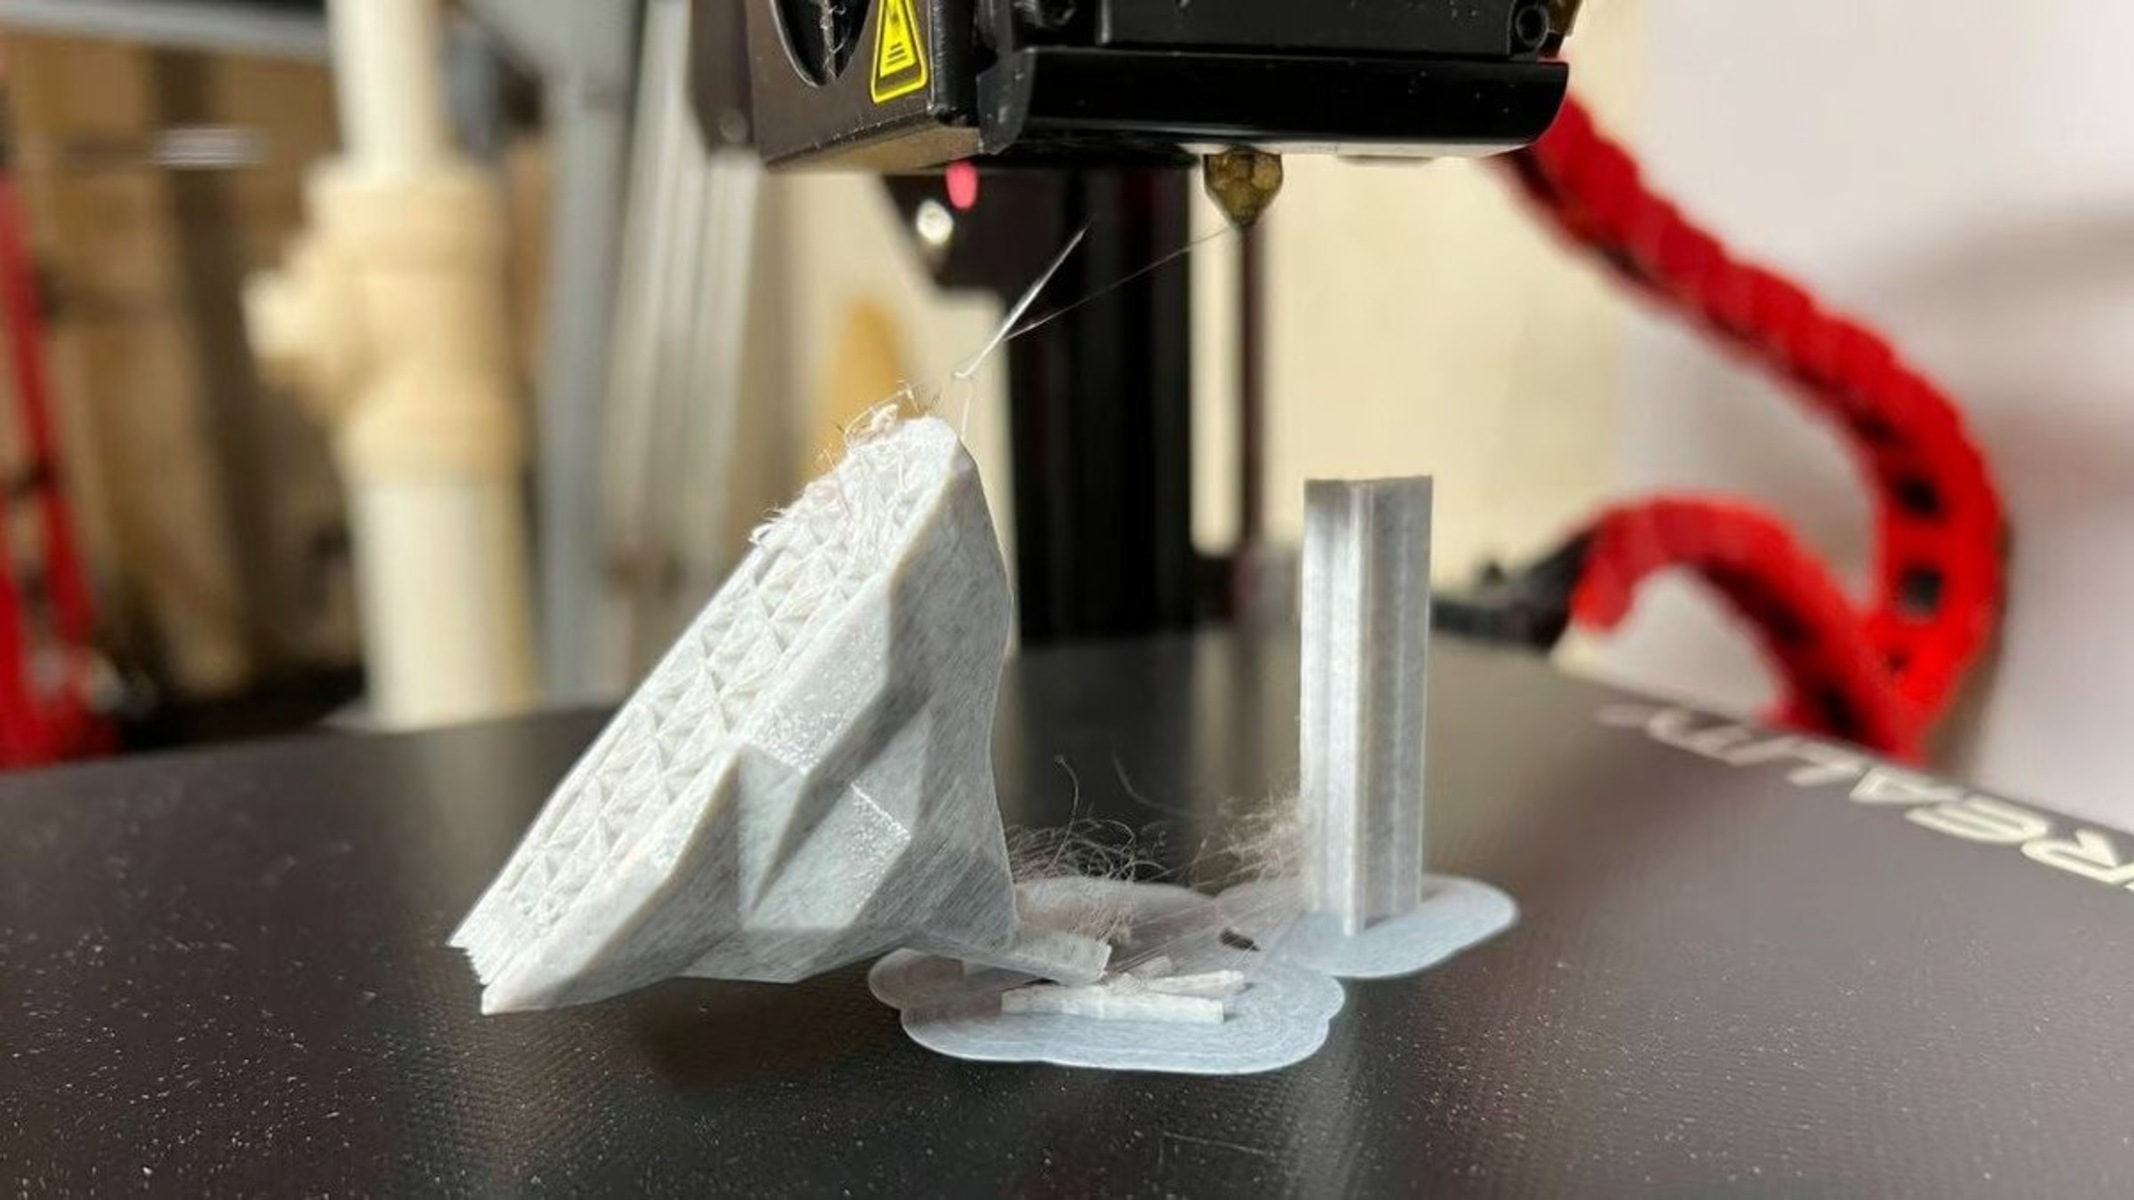
When the printer’s nozzle moves across or between different parts of the print, particularly when there are gaps or overhangs, it may sometimes collide with the printed part. This collision can cause imperfections, such as unwanted marks or damage to the print. Z Hop aims to prevent these collisions by lifting the nozzle slightly during these movements.
Essentially, Z Hop adds a small vertical movement to the Z-axis whenever the printer moves from one part of the print to another without extruding any filament. By lifting the nozzle, it helps to avoid potential collisions with the printed part, reducing the chances of any damage or imperfections on the final print.
Enabling Z Hop during certain movements can greatly improve the overall print quality. It ensures a smoother and more precise printing process by minimizing the risk of the nozzle dragging or scraping against the already printed layers. This technique is especially beneficial when printing models with intricate details, overhangs, or delicate structures.
By allowing the nozzle to hop above the printed part, Z Hop also helps to prevent any unnecessary oozing or stringing of filament. When the nozzle moves across open spaces, there is a possibility for filament to continue oozing out, resulting in unwanted blobs or strings on the print. Z Hop mitigates this issue by lifting the nozzle above the gaps and preventing any additional filament deposition.
However, it is important to note that Z Hop is not always necessary or beneficial for every print. In some cases, enabling it may actually introduce other issues, such as increased print time and potential layer misalignment. Therefore, it is essential to evaluate the specific requirements of each print and consider whether Z Hop is necessary.
In the next section, we will explore when Z Hop is most useful and the potential limitations that should be kept in mind when utilizing this feature.
Introduction
3D printing has revolutionized the manufacturing industry, offering a wide range of possibilities for creating complex and intricate objects. However, achieving optimal print quality can still be a challenge, as various factors can affect the final result. To address this, 3D printing software often includes advanced features and settings that can enhance the printing process.
One such feature is Z Hop, which aims to improve the overall print quality by reducing the risk of collisions between the print nozzle and the printed part. Z Hop is particularly useful when printing models with overhangs, intricate details, or delicate structures. By allowing the nozzle to lift slightly above the printed part during specific movements, it helps to mitigate imperfections and ensure a smoother printing process.
The concept behind Z Hop is fairly simple. When the printer’s nozzle moves across or between different parts of the print, there is a possibility that it may collide with the already printed layers, leading to blemishes or damage. Z Hop counteracts this issue by lifting the nozzle during these movements, creating a small vertical hop above the print without extruding any filament.
This vertical movement on the Z-axis helps to avoid collision with the printed part, reducing the risk of imperfections and maintaining the integrity of the print. It also prevents unnecessary oozing or stringing of filament when moving across open spaces, ensuring cleaner and more precise prints.
While Z Hop can significantly improve print quality, it is important to note that it may not be necessary or advantageous for every print. Enabling Z Hop can increase print time and potentially result in layer misalignment, which may be undesirable in certain cases. Therefore, it is essential to consider the specific requirements of each print and evaluate whether Z Hop should be utilized.
In this article, we will dive deeper into the concept of Z Hop, exploring how it works, its benefits, limitations, and how to enable it in different slicing software. Understanding the ins and outs of Z Hop will empower you to make informed decisions when optimizing your 3D prints and achieving excellent results.
What is Z Hop
Z Hop is a feature in 3D printing software that allows the printer’s nozzle to move vertically, or “hop,” above the printed part during certain movements. It is designed to prevent collisions between the nozzle and the printed object, reducing the risk of imperfections and damage.
When the printer’s nozzle moves across or between different parts of the print, there may be areas where the nozzle could collide with the already printed layers. This can result in blemishes, such as marks or scratches, which can adversely affect the overall print quality. Z Hop addresses this issue by lifting the nozzle slightly above the printed part when needed.
By implementing Z Hop, the nozzle performs a small vertical movement on the Z-axis without extruding any filament. This lifting action allows the nozzle to safely navigate over gaps, overhangs, or intricate details without causing any damage. It ensures that the nozzle maintains clearance from the print, reducing the chances of unwanted collisions.
The Z Hop feature is particularly useful when printing models with complex geometries or fine details. It helps to eliminate issues such as the nozzle dragging or scraping against the already printed layers. This can result in a smoother printing process and produce clean, high-quality prints.
It is worth noting that not all movements require Z Hop. When the nozzle moves within the same layer or performs a movement that does not pose any risk of collision, Z Hop may not be necessary. Enabling Z Hop selectively during specific movements can help strike a balance between preventing collisions and minimizing unnecessary vertical movements that can impact print time.
Ultimately, the purpose of Z Hop is to improve print quality by reducing the risk of imperfections caused by collisions. It offers greater control over the printing process and enhances the overall precision of the final print. However, it is essential to consider the specific requirements of each print and assess whether utilizing Z Hop will be beneficial in achieving the desired results.
How does Z Hop work
Z Hop is a feature in 3D printing software that operates by implementing a small vertical movement on the Z-axis of the printer. This movement is introduced during specific nozzle movements where there is a higher risk of collision with the printed part.
When the printer’s software detects a movement that may pose a collision risk, such as crossing over a gap or navigating around an overhang, it triggers the Z Hop feature. The software lifts the nozzle slightly above the printed part, maintaining a safe distance to prevent any contact or damage.
The actual height of the Z Hop movement can usually be adjusted in the 3D printing software’s settings. It is crucial to find the right balance – a Z Hop that is too high can result in unnecessary delays and potential layer misalignment, while a Z Hop that is too low may not effectively prevent collisions.
During the Z Hop movement, the printer does not extrude any filament, ensuring that no additional material is deposited on the print. This helps prevent any undesired blobs or strings that could result from filament oozing during non-extrusion movements.
Z Hop is typically implemented by temporarily pausing the extruder motor while the vertical movement is executed. This pause allows the nozzle to lift without any filament being pushed out. Once the Z Hop movement is completed, the extruder motor resumes its normal operation, and the printing process continues as usual.
By incorporating Z Hop into the printing process, the risk of collisions between the nozzle and the printed part is significantly reduced. This results in cleaner, more precise prints, particularly when dealing with intricate details, overhangs, or delicate structures.
It is important to note that not all printing software or printers support the Z Hop feature. Before expecting to use Z Hop, it is essential to ensure that your specific software and printer combination can accommodate this functionality.
In the next section, we will explore the benefits of Z Hop and discover when it is most advantageous to utilize this feature in 3D printing.
Benefits of Z Hop
Z Hop, a feature in 3D printing software, offers several benefits that contribute to improved print quality and a smoother printing process. Let’s explore some of the key advantages of incorporating Z Hop into your 3D printing workflow:
1. Collision Prevention: The primary benefit of Z Hop is its ability to prevent collisions between the printer’s nozzle and the printed object. By lifting the nozzle vertically above the print during specific movements, Z Hop reduces the risk of imperfections, such as marks or damage, that can occur when the nozzle comes into contact with the printed layers. This ensures cleaner, smoother prints.
2. Reduced Stringing and Oozing: Z Hop also helps in minimizing the occurrence of filament stringing and oozing. When the nozzle moves across open spaces, there is a possibility for filament to continue extruding, resulting in unwanted blobs or strings. By lifting the nozzle above these areas during non-extrusion movements, Z Hop prevents any additional filament from being deposited, leading to cleaner, more precise prints.
3. Improved Print Quality on Complex Geometries: Z Hop is particularly beneficial when printing models with intricate details, overhangs, or delicate structures. It ensures that the nozzle doesn’t drag against the already printed layers, maintaining the integrity of the print and minimizing the risk of imperfections. This feature allows for the successful printing of complex geometries with high accuracy and fidelity.
4. Reduction in Surface Imperfections: By implementing Z Hop, the occurrence of surface imperfections, such as zits or blemishes caused by nozzle collisions, is significantly reduced. The vertical movement of the nozzle above the print surface helps to eliminate any potential scratching or dragging, resulting in a smoother surface finish and improved visual appearance of the printed object.
5. Compatibility with Overhangs and Bridges: Z Hop is also highly compatible with printing overhangs and bridging sections. In these situations, where the nozzle is required to traverse unsupported areas, the risk of collisions and print defects is higher. By employing Z Hop, the nozzle can safely move above the gaps without compromising the structural integrity of the print, enabling successful printing of complex geometries.
6. Customizability: Most 3D printing software allows for the adjustment of Z Hop settings, such as the height of the vertical movement. This level of customizability gives users the flexibility to fine-tune the Z Hop feature according to their specific printing requirements, striking a balance between preventing collisions and minimizing the impact on print time.
Incorporating Z Hop into your 3D printing workflow can significantly enhance print quality, reduce the occurrence of imperfections, and enable successful printing of complex models. However, it is important to consider the limitations and appropriate use cases of Z Hop, as we will explore in the next section.
When to Use Z Hop
While Z Hop can offer numerous benefits in improving print quality, it is not always necessary or advantageous to use it in every printing scenario. Understanding when to utilize Z Hop can help you optimize your 3D printing process and achieve the desired results. Here are some situations where Z Hop can be particularly useful:
1. Printing Models with Overhangs: When printing models with overhangs, where the nozzle needs to traverse unsupported areas, the risk of collisions and print defects is higher. Enabling Z Hop during these movements helps to ensure that the nozzle safely clears the overhangs without dragging or damaging the already printed layers. This is especially beneficial for achieving clean and well-defined overhangs.
2. Intricate and Detailed Prints: Z Hop is highly advantageous when printing models with intricate details. Fine details such as small holes, delicate structures, or complex geometries are prone to imperfections caused by nozzle collision. By employing Z Hop, you can prevent these collisions and maintain the integrity of the fine details, resulting in a more precise and accurate finished print.
3. Minimizing Stringing and Oozing: When dealing with filament stringing or oozing, Z Hop can effectively minimize these issues. By lifting the nozzle above open spaces where filament tends to continue extruding, Z Hop prevents any additional material from being deposited, resulting in cleaner and more visually appealing prints.
4. Enhancing Surface Finish: Z Hop can help improve the surface finish of your prints. By avoiding nozzle dragging or scratching against the already printed layers, you can achieve a smoother surface and reduce the occurrence of imperfections like zits or blemishes. This is particularly beneficial when printing objects that require a high level of aesthetic appeal.
5. Preventing Collisions: Anytime you anticipate potential collisions between the nozzle and the printed part, Z Hop can be a valuable tool. It offers an extra layer of protection by lifting the nozzle during specific movements, reducing the risk of marks, scratches, or other damage that can compromise the quality of the print.
It is worth noting that Z Hop may not be necessary or beneficial in all printing scenarios. Enabling Z Hop can introduce additional vertical movements, potentially increasing print time. Moreover, excessive Z Hop height can result in layer misalignment or disengagement from the print bed. Therefore, it is important to consider the specific requirements of each print and evaluate whether Z Hop is appropriate for optimal results.
In the next section, we will discuss the limitations of Z Hop and potential considerations to keep in mind when using this feature.
Limitations of Z Hop
While Z Hop can be a useful feature in 3D printing, it is important to be aware of its limitations and potential considerations. Understanding these limitations will help you make informed decisions when utilizing Z Hop. Here are some factors to keep in mind:
1. Increased Print Time: Enabling Z Hop adds extra vertical movements to the printing process, which can increase the overall print time. While these movements are necessary to prevent collisions, it is essential to evaluate the trade-off between print quality and time efficiency. For prints with minimal risk of collisions, or when a quick turnaround is essential, it may be more advantageous to disable Z Hop.
2. Layer Misalignment: Using excessive Z Hop height or improperly calibrated settings can potentially lead to layer misalignment. If the printer performs significant vertical movements during Z Hop, there is a risk of layers disengaging from the print bed or shifting slightly. This can result in an uneven object or a print that no longer adheres properly. Careful calibration and testing are crucial to mitigate this issue.
3. Incompatibility with Flexible Filaments: Z Hop may not be suitable for printing with flexible filaments, as the vertical movements can cause the filament to bend or stretch excessively. This can result in inconsistent extrusion or even filament jams. If you frequently work with flexible materials, it is advisable to test Z Hop with caution or consider disabling it altogether for those specific prints.
4. Impact on Print Surface: The vertical movements during Z Hop can put additional stress on the print bed or the print surface. If the print bed is not adequately secured or if the surface is delicate, excessive Z Hop movements may cause movement or damage. Ensuring a stable printing environment and using a suitable print surface can help minimize any potential negative effects.
5. Limitation of Z Axis Stability: Some printers may have limitations in terms of the stability and precision of their Z-axis movements. This can affect the effectiveness of Z Hop, as small variations in height may not be accurately executed. Depending on the printer’s capabilities, it may be necessary to adjust Z Hop settings accordingly or consider alternative methods to mitigate collisions.
While these limitations and considerations should be kept in mind, Z Hop remains a valuable tool in optimizing print quality and reducing the risk of imperfections. It is important to experiment, test, and adjust Z Hop settings based on the specific requirements of each print and the capabilities of your printer.
In the following section, we will explore how to enable Z Hop in various slicing software to take advantage of this feature.
How to Enable Z Hop in Different Slicing Software
Enabling Z Hop in your slicing software can vary depending on the specific software you are using. Here, we will provide a general guide on how to enable Z Hop in some popular slicing software.
1. Ultimaker Cura: In Ultimaker Cura, you can enable Z Hop by following these steps:
- Open Ultimaker Cura and load your model.
- Go to the “Print Setup” tab.
- Under the “Material” section, click on the “Material Settings” button.
- In the sidebar that appears, click on “Travel” and toggle on “Enable Z Hop”.
- Adjust the Z Hop height to your desired value.
- Click “Close” to apply the settings.
2. PrusaSlicer: To enable Z Hop in PrusaSlicer, follow these steps:
- Open PrusaSlicer and load your model.
- Go to the “Print Settings” tab.
- Click on the “Advanced” section on the left-hand side.
- Expand the “Layer Editing” section.
- Check the box next to “Avoid crossing outline for travel movements” to enable Z Hop.
- Adjust the Z Hop distance according to your preference.
- Save the changes and slice your model.
3. Simplify3D: To enable Z Hop in Simplify3D, follow these steps:
- Open Simplify3D and import your model.
- Go to the “Edit Process Settings” on the top toolbar.
- In the “Advanced” tab, click on the “Layer” sub-tab.
- Enable “Allow Gap Fill While Retracting”.
- Adjust the “Minimum Travel for Retraction” and the “Z Hop Height” according to your requirements.
- Click “OK” to save the changes.
Keep in mind that the steps and terminology may vary slightly between different versions and updates of the software. It is always recommended to consult the software’s documentation or support resources for specific instructions tailored to your software version.
By enabling Z Hop in your slicing software, you can take advantage of this feature to improve print quality, reduce collisions, and minimize potential defects during the printing process.
As a final note, remember to double-check your Z Hop settings when preparing your prints to ensure that it aligns with the specific requirements of each print job.
Conclusion
Z Hop is a valuable feature in 3D printing software that can greatly enhance print quality and minimize imperfections. By allowing the printer’s nozzle to hop above the printed part during specific movements, Z Hop reduces the risk of collisions, improves surface finish, and prevents filament stringing or oozing.
When used appropriately, Z Hop is particularly beneficial when printing models with overhangs, intricate details, or delicate structures. It offers better control over the printing process, resulting in cleaner, more precise prints. However, it’s important to consider the limitations and potential drawbacks of Z Hop, such as increased print time and the need for proper calibration.
Enabling Z Hop can vary depending on the slicing software you use, but the general steps involve adjusting the Z Hop height and toggling on the feature in the software’s settings. Examples of popular slicing software include Ultimaker Cura, PrusaSlicer, and Simplify3D.
Ultimately, implementing Z Hop requires careful consideration of the specific requirements of each print. By weighing the benefits and limitations, you can optimize the printing process and achieve exceptional results.
By utilizing Z Hop effectively, you can elevate the quality of your 3D prints, produce cleaner and more precise models, and overcome challenges posed by overhangs, intricate details, and other complex geometries. Experiment with Z Hop settings, conduct test prints, and adjust as necessary to find the optimal balance for your specific printing needs.
With a deeper understanding of Z Hop and its applications, you can unleash the true potential of your 3D printer and create stunning, high-quality prints that meet your exact specifications.