Introduction
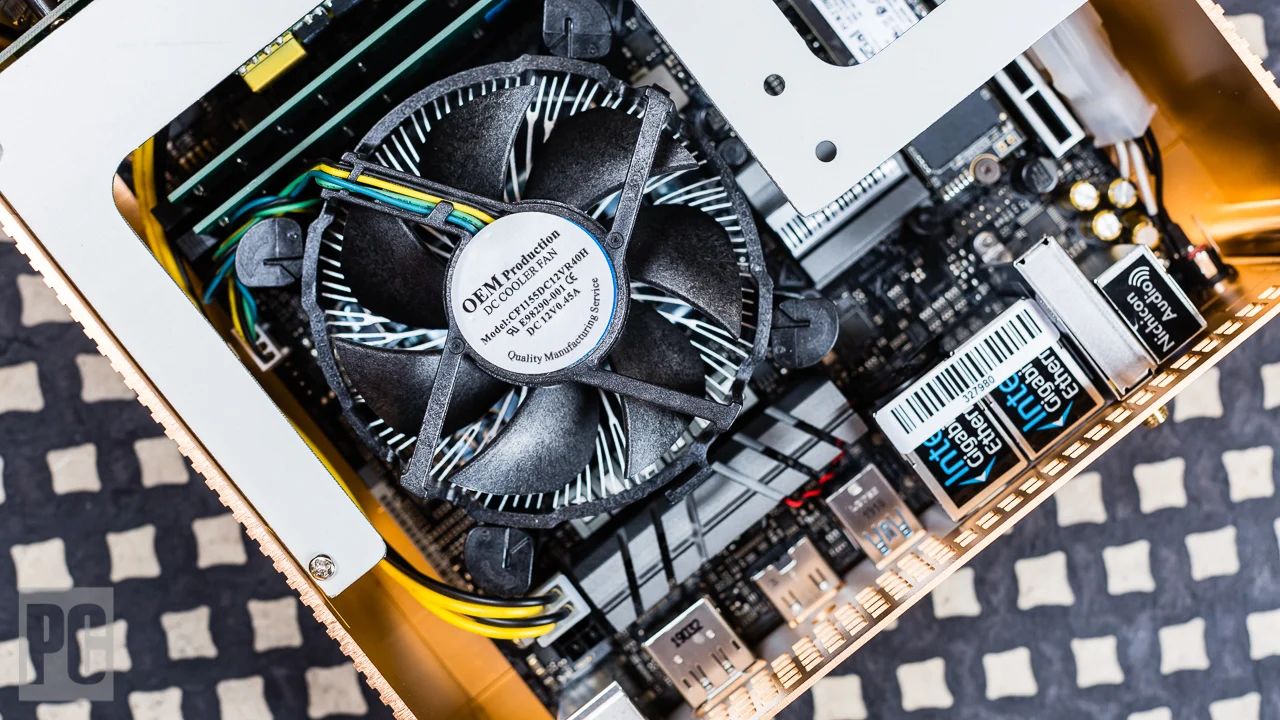
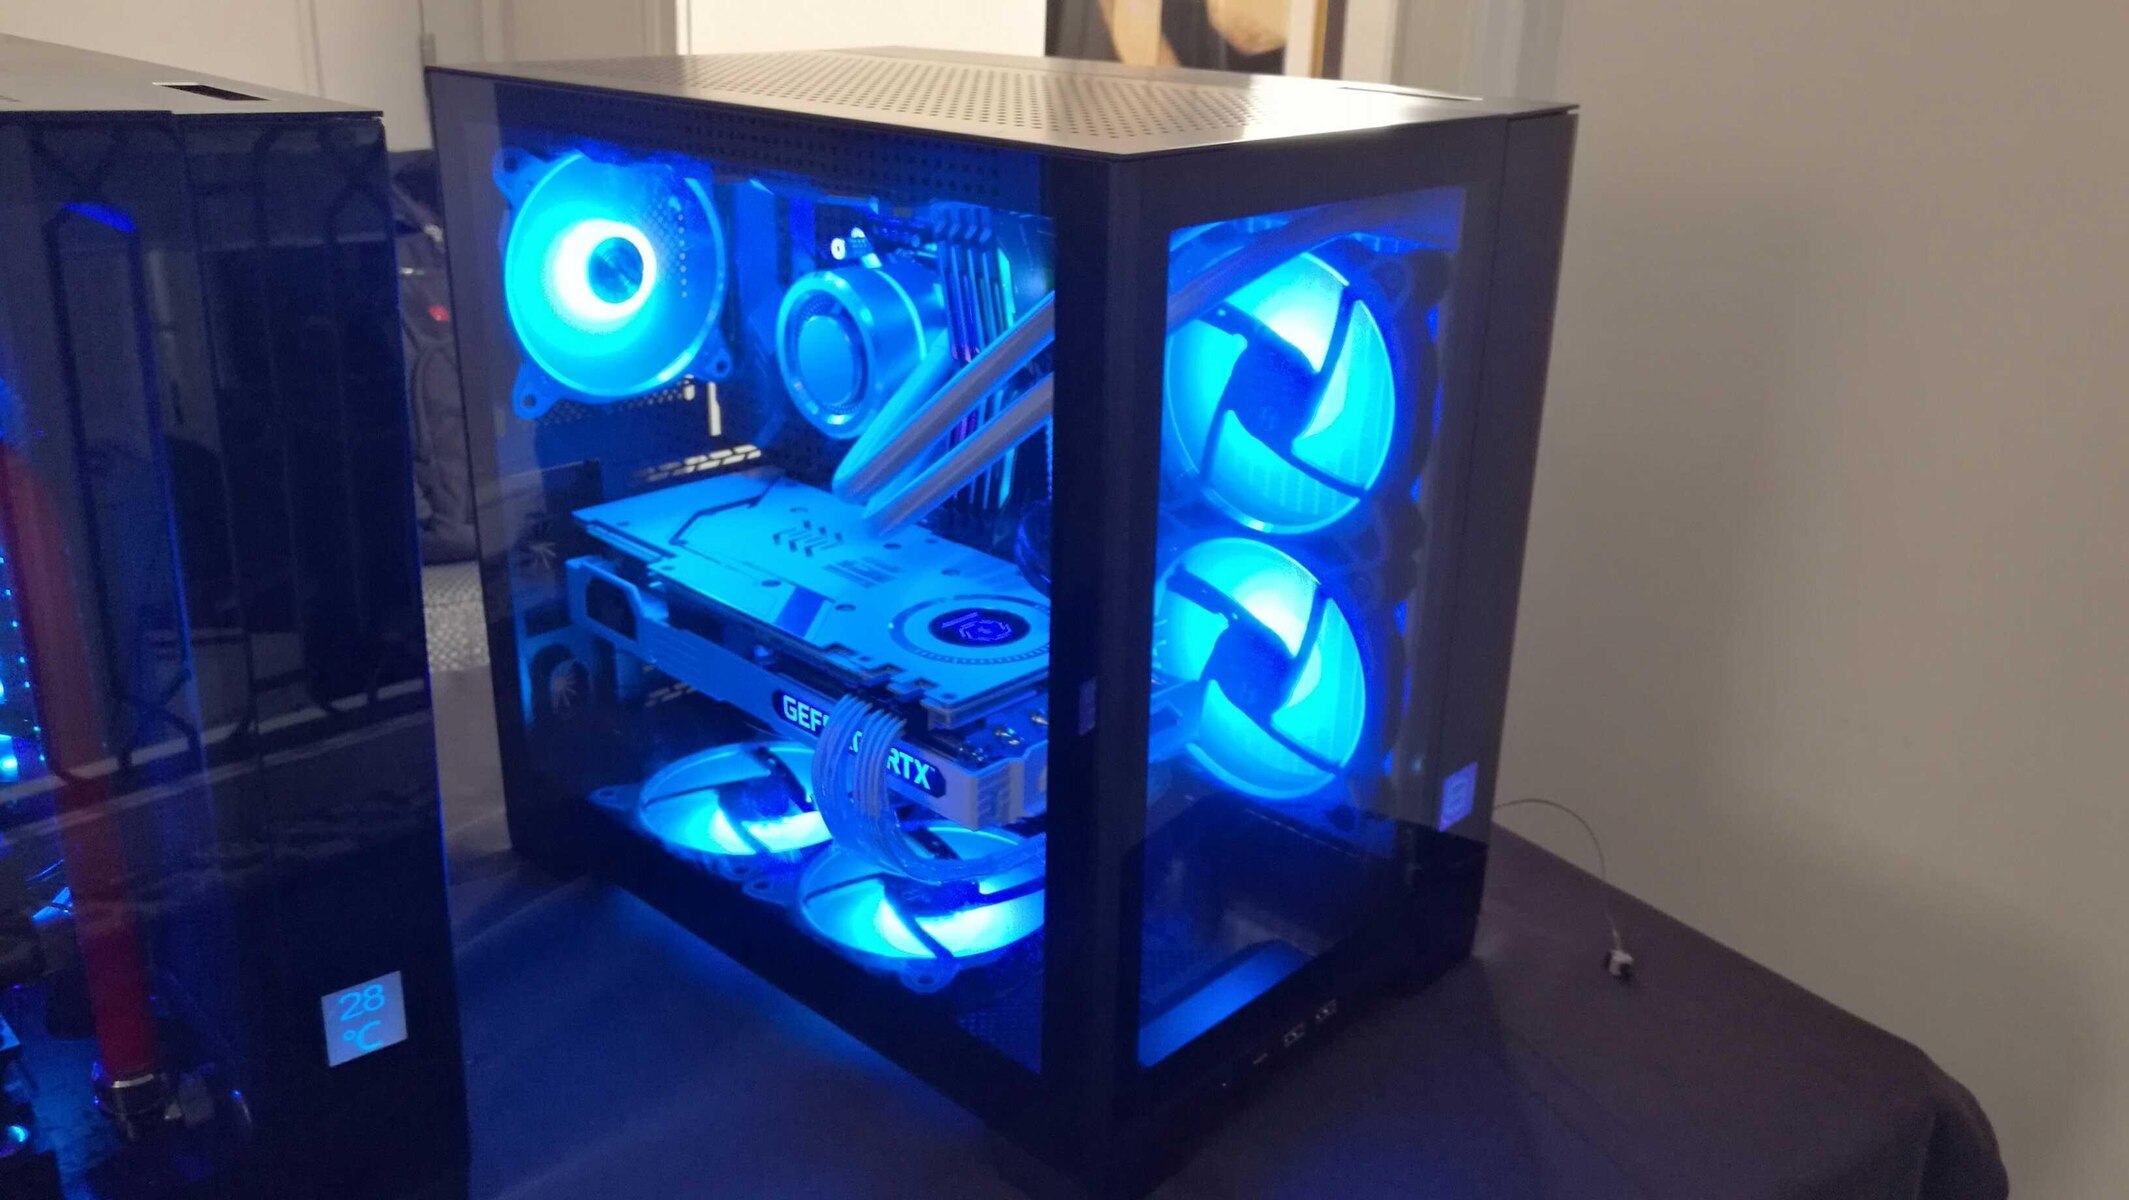
If you’re a computer enthusiast, you know how crucial proper cooling is for your system’s performance and longevity. One essential component of cooling is the case fan, which helps to regulate the temperature inside your computer case by expelling hot air and bringing in fresh air. While many pre-built computers come with case fans already installed, there may be instances where you need to wire an additional case fan to ensure optimal airflow.
Wiring a case fan to 12V power is a relatively simple process that can be done by anyone with basic knowledge of computer hardware. By connecting the case fan directly to the 12V power supply, you can provide it with the necessary power to function efficiently.
In this guide, we will walk you through the step-by-step process of wiring a case fan to 12V power. We will also provide you with some safety precautions to follow during the process, as well as tips for testing and troubleshooting. So, whether you’re looking to upgrade your cooling system or simply replace a faulty fan, this guide will equip you with the necessary knowledge to get the job done.
Tools and Materials Required
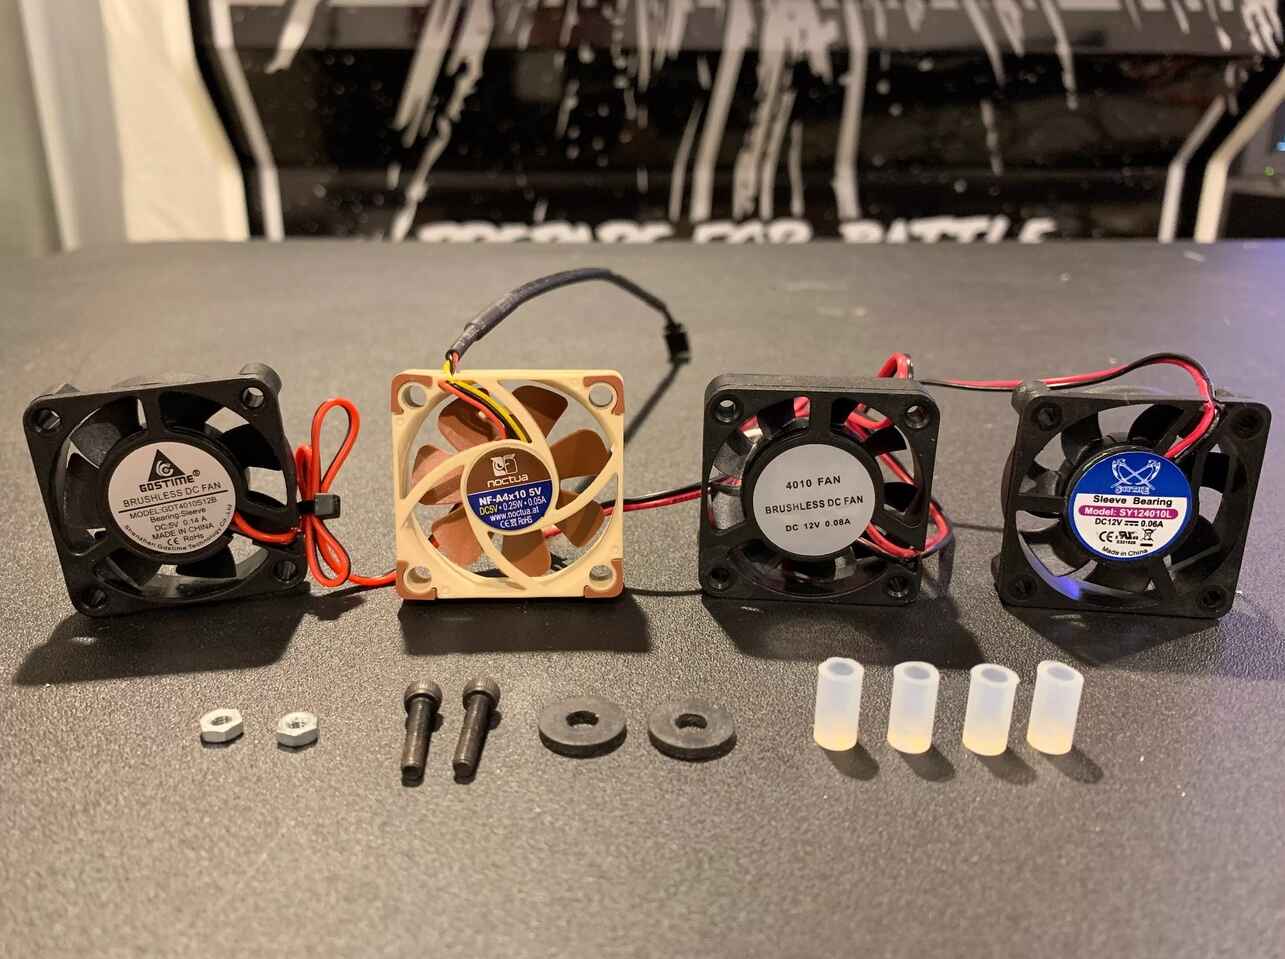
Before you begin wiring your case fan to 12V power, it’s important to gather the necessary tools and materials to ensure a smooth and successful installation. Here’s a list of what you’ll need:
- Screwdriver (may vary depending on the case fan mounting method)
- Wire cutters/strippers
- Electrical tape or heat shrink tubing
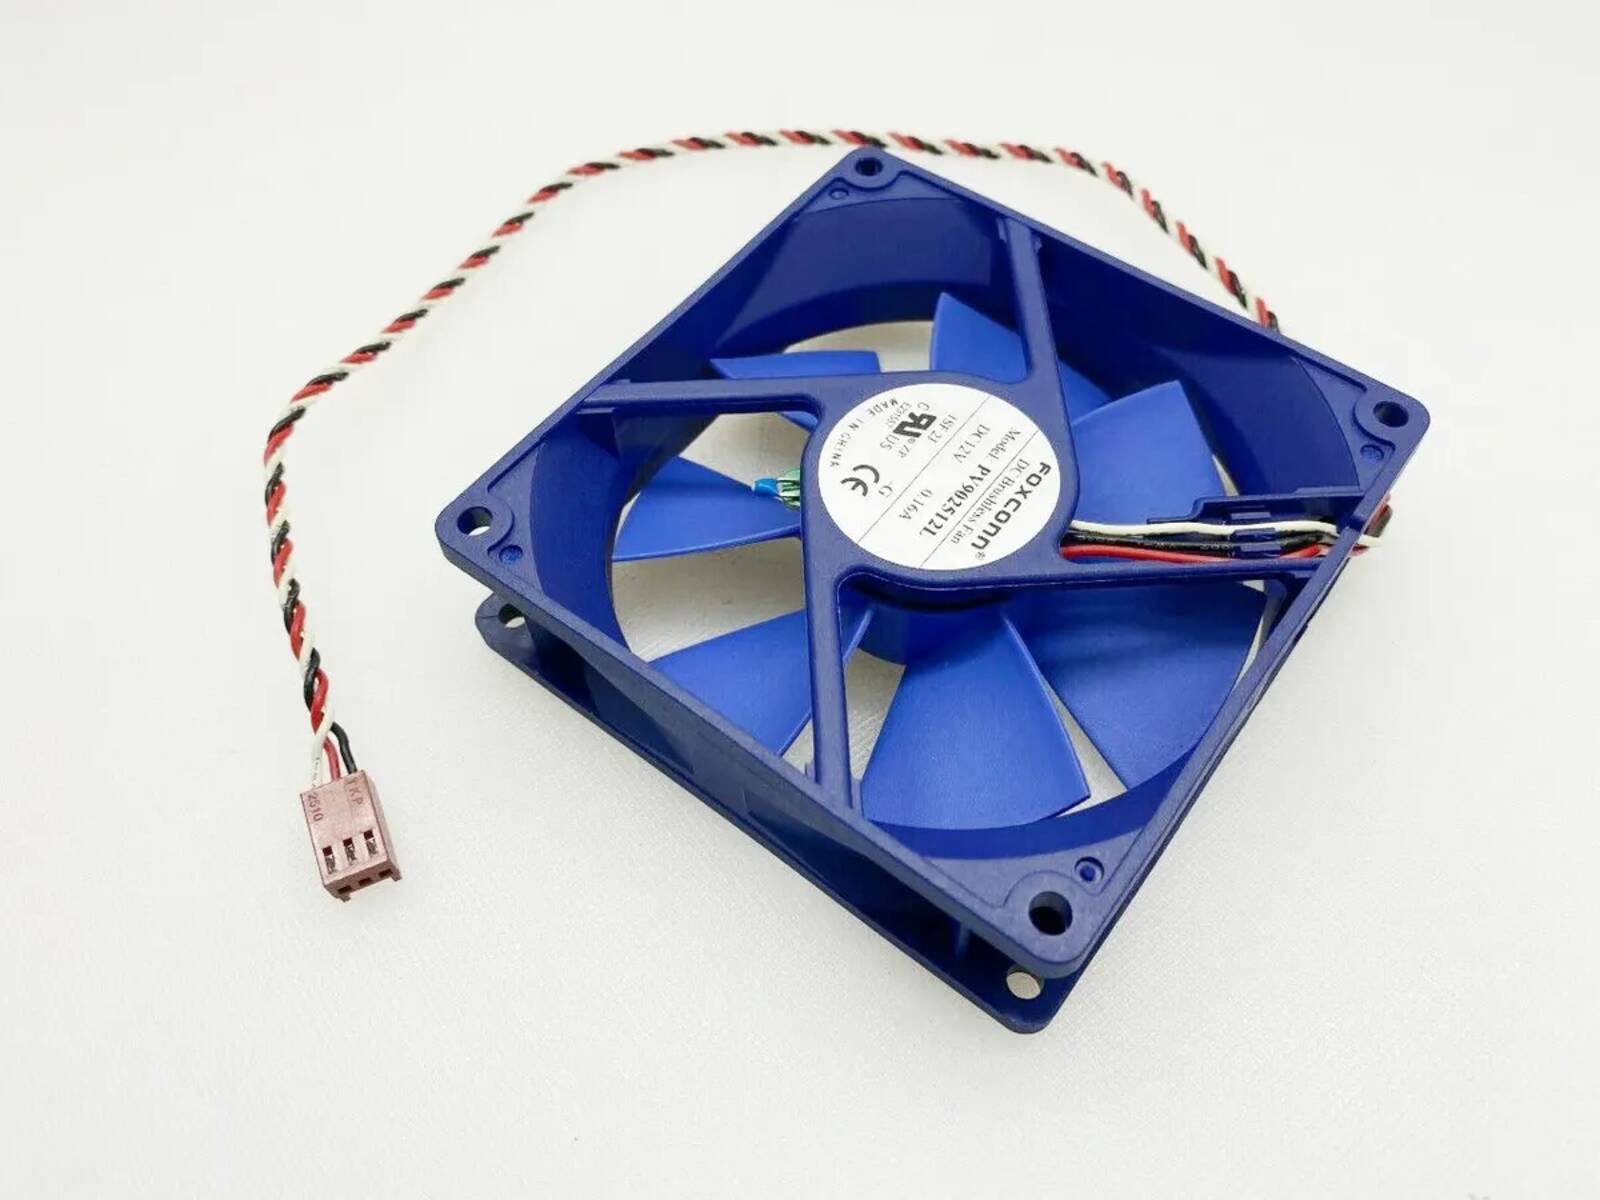
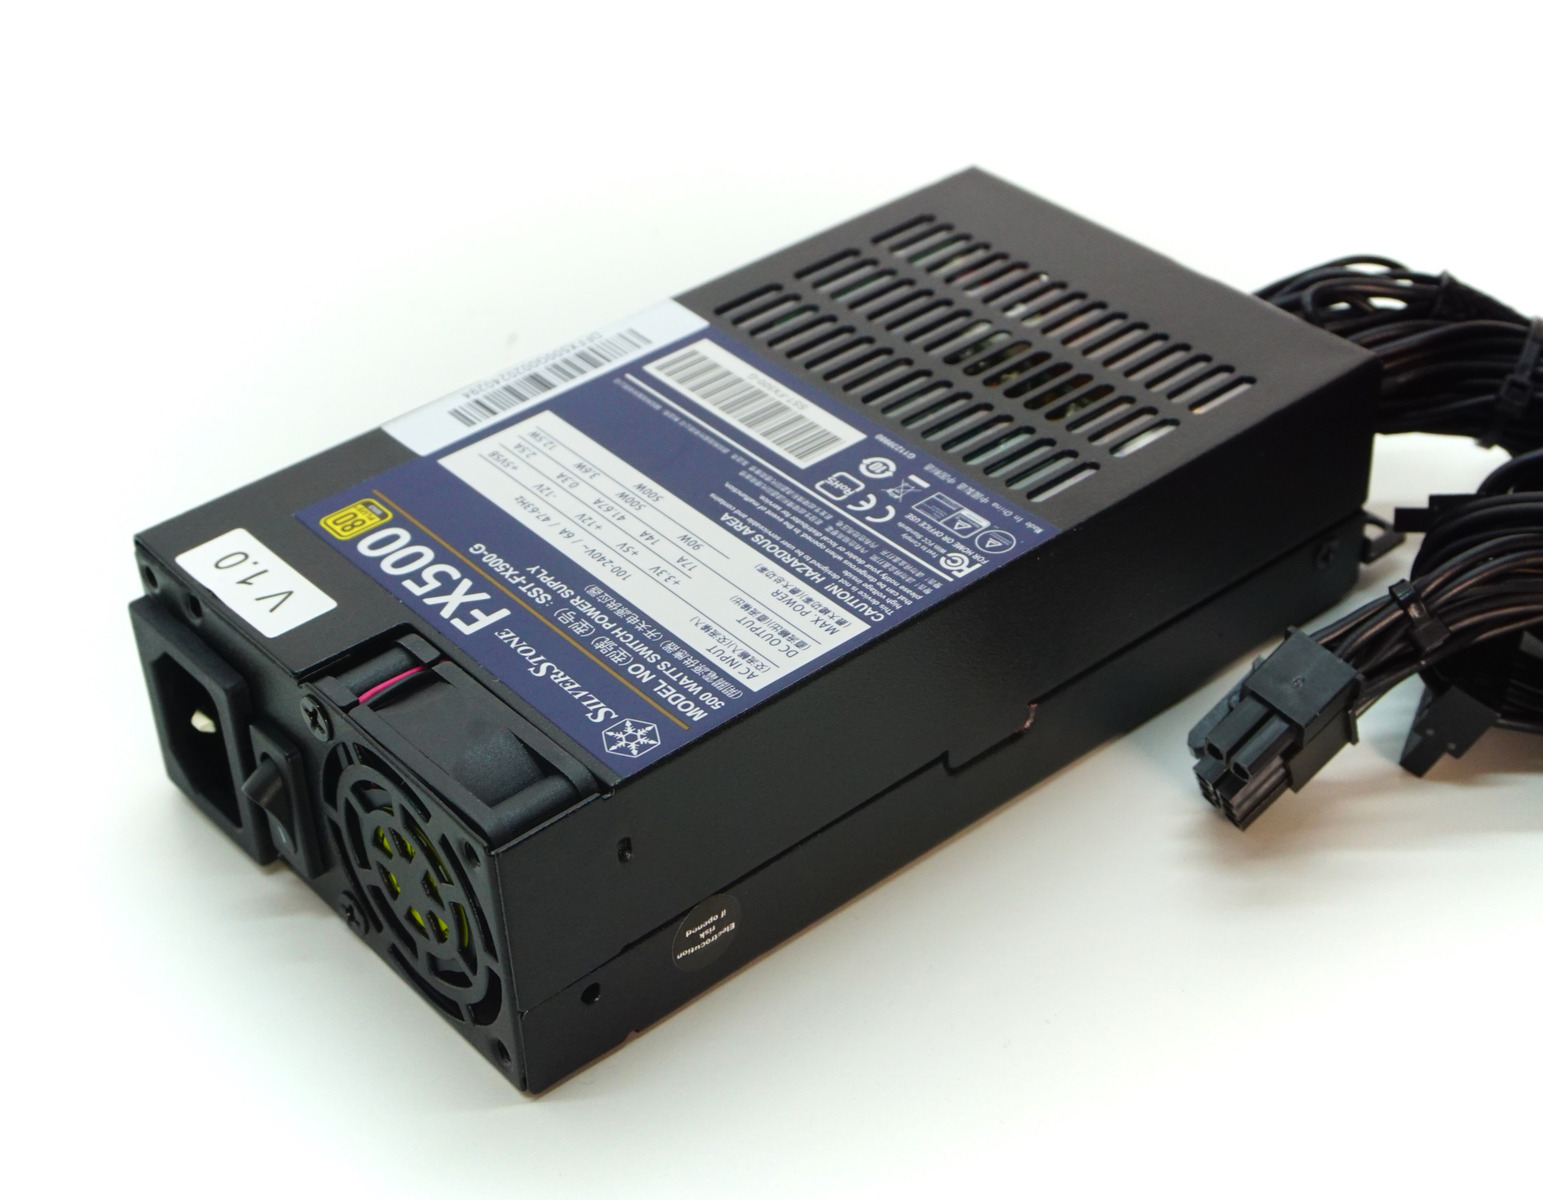
- 12V power supply (such as a spare molex connector from your power supply unit)
- Case fan splitter or Y-cable (optional, for connecting multiple fans)
When selecting the tools and materials, make sure the screwdriver is compatible with the screws on your case fan and that the wire cutters/strippers are suitable for cutting and stripping small-gauge wires. Additionally, ensure you have enough electrical tape or heat shrink tubing to secure the wire connections.
If you plan to connect multiple case fans, a case fan splitter or Y-cable may be necessary to connect them to a single power source. This will help simplify the wiring process and reduce cable clutter inside your computer case.
Once you have gathered all the required tools and materials, you’ll be ready to proceed with the case fan wiring process.
Step-by-step guide to wiring a case fan to 12V power
Now that you have all the necessary tools and materials, let’s dive into the step-by-step process of wiring a case fan to 12V power:
- Power down your computer: Start by shutting down your computer and disconnecting the power cable from the wall outlet. This is a crucial step to ensure your safety and prevent any accidental electrical mishaps.
- Locate the power supply: Identify the 12V power supply source in your computer. This is typically a spare molex connector, which you can find coming directly from your power supply unit.
- Prepare the case fan: If the case fan is not already mounted, carefully attach it to a suitable location inside your computer case using the appropriate screws. Make sure the fan is facing the right direction to ensure optimal airflow.
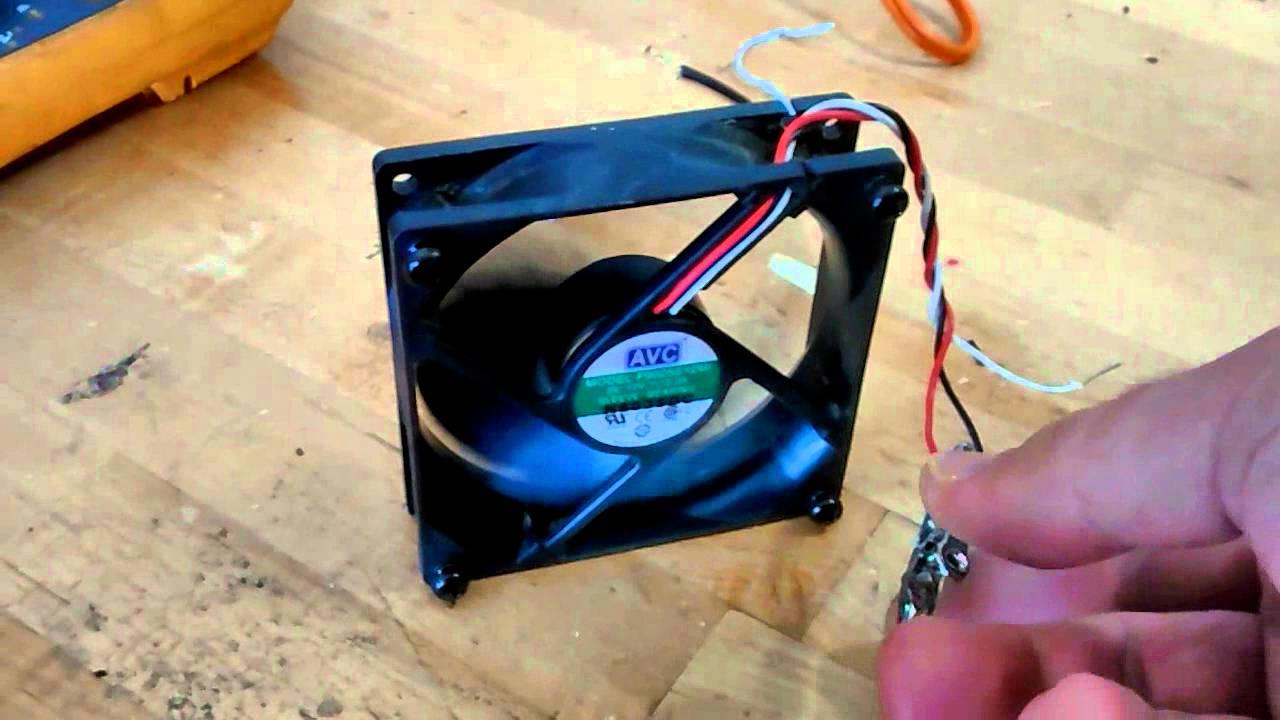
- Cut and strip the wires: Using the wire cutters/strippers, carefully cut the wires connecting the fan to its original power source. Strip about 1/4 inch of insulation off the ends of the wires.
- Connect the wires: Take the stripped ends of the fan wires and connect them to the 12V power supply. The positive wire (usually red or white) should be connected to the yellow 12V wire on the power supply, while the negative wire (usually black or blue) should be connected to the black ground wire on the power supply. Ensure a secure connection by twisting the wires together and covering them with electrical tape or heat shrink tubing.
- Secure the connections: Once the wires are connected, use electrical tape or heat shrink tubing to insulate and secure the wire connections. This will protect them from accidental touching, preventing any electrical short circuits.
- Test the case fan: After securing the connections, reattach the power cable to the wall outlet and turn on your computer. Verify that the case fan is functioning properly by checking if it spins when the computer is powered on.
That’s it! You have successfully wired your case fan to 12V power. Remember to ensure all connections are properly insulated and secure to avoid any electrical hazards.
Safety Precautions
When working with computer hardware and electrical connections, it’s important to prioritize safety to prevent any accidents or damage. Here are some essential safety precautions to keep in mind when wiring a case fan to 12V power:
- Power down and disconnect: Before starting any work, make sure to power down your computer and disconnect it from the wall outlet. This will eliminate the risk of electric shock and ensure your safety throughout the process.
- Handle with care: Case fans are delicate components, so handle them with care to avoid any damage. Avoid applying excessive pressure or bending the fan blades, as this can affect their performance and potentially result in malfunctioning.
- Proper grounding: To avoid static electricity discharge, it is recommended to use an anti-static wrist strap or periodically touch a grounded metal object. This will help prevent any potential damage to your computer components.
- Check voltage and polarity: Ensure that you are connecting the case fan to the correct voltage source (12V) and that the polarity of the wires is correct. Connecting the fan to the wrong voltage or reversing the polarity can damage the fan or other components in your system.
- Insulate connections: After making the wire connections, it’s crucial to insulate and secure them properly. Use electrical tape or heat shrink tubing to cover the exposed wires to prevent them from coming into contact with other components and causing short circuits.
- Adequate airflow: When installing the case fan, ensure that it is positioned in a way that allows for proper airflow within your computer case. Obstructed or poorly placed fans can lead to insufficient cooling and potential overheating.
- Regular maintenance: Once the case fan is wired and operational, it’s important to perform regular maintenance. Clean the fan blades and remove any accumulated dust to maintain optimal airflow and prevent overheating.
By following these safety precautions, you can minimize the risk of accidents and ensure a successful and safe case fan wiring process.
Testing and Troubleshooting Your Case Fan Wiring
After completing the case fan wiring, it’s essential to test its functionality and address any potential issues that may arise. Here are some steps you can take to test and troubleshoot your case fan wiring:
- Power on your computer: Reconnect the power cable to the wall outlet and power on your computer. Ensure that all the components, including the case fan, are receiving power.
- Listen for fan operation: Listen closely to determine if the case fan is spinning properly. You should hear a gentle humming sound, indicating that the fan is receiving power and functioning correctly.
- Check for physical obstructions: Inspect the case fan to ensure there are no physical obstructions, such as cables or other components, obstructing its movement. Obstructed fan blades can cause noise or result in insufficient airflow.
- Monitor fan speed: Use software monitoring tools or access the BIOS settings to monitor the fan speed. Ensure that the RPM (rotations per minute) of the case fan is within the expected range. If the fan is not spinning or running at low speeds, there may be an issue with the wiring or power supply.
- Recheck connections: If the fan is not functioning or running at lower speeds than expected, carefully double-check the wire connections. Ensure that the positive and negative wires are securely connected to the correct terminals on the 12V power supply.
- Inspect for damaged wires: Examine the wires for any signs of damage, such as fraying or exposed copper. Damaged wires can disrupt the flow of power and cause the fan to malfunction. In such cases, consider replacing the wires or seeking professional assistance.
- Test with a different power source: If the fan is still not working properly, you may try connecting it to a different 12V power source, such as a different molex connector. This can help determine if the issue lies with the original power source or the fan itself.
- Seek professional help: If you have followed all the above steps and are still encountering problems with your case fan, it may be necessary to seek professional assistance. Technicians with expertise in computer hardware can diagnose and resolve any complex issues that may be affecting the fan’s performance.
By following these testing and troubleshooting steps, you can ensure the proper functioning of your case fan and address any issues that may arise during the wiring process.
Conclusion
Wiring a case fan to 12V power is a straightforward process that can greatly enhance the cooling performance of your computer system. By following the step-by-step guide and implementing the necessary safety precautions, you can successfully wire the case fan and ensure optimal airflow within your computer case.
Throughout this guide, we discussed the tools and materials required for the wiring process, outlined the step-by-step procedure, highlighted the importance of safety precautions, and provided methods for testing and troubleshooting. By carefully following these guidelines, you can enjoy the benefits of improved cooling efficiency and a well-ventilated computer system.
Remember, maintaining a cool and properly ventilated system is crucial for maintaining the longevity and performance of your computer components. Regularly monitor the functionality of your case fan and perform routine maintenance to keep it clean and free from obstructions.
By taking the time to wire your case fan to 12V power, you are ensuring that your computer operates at its best and remains cool under heavy usage. So go ahead, gather your tools, follow the steps outlined in this guide, and enjoy a cooler and more efficient computer system.