Introduction
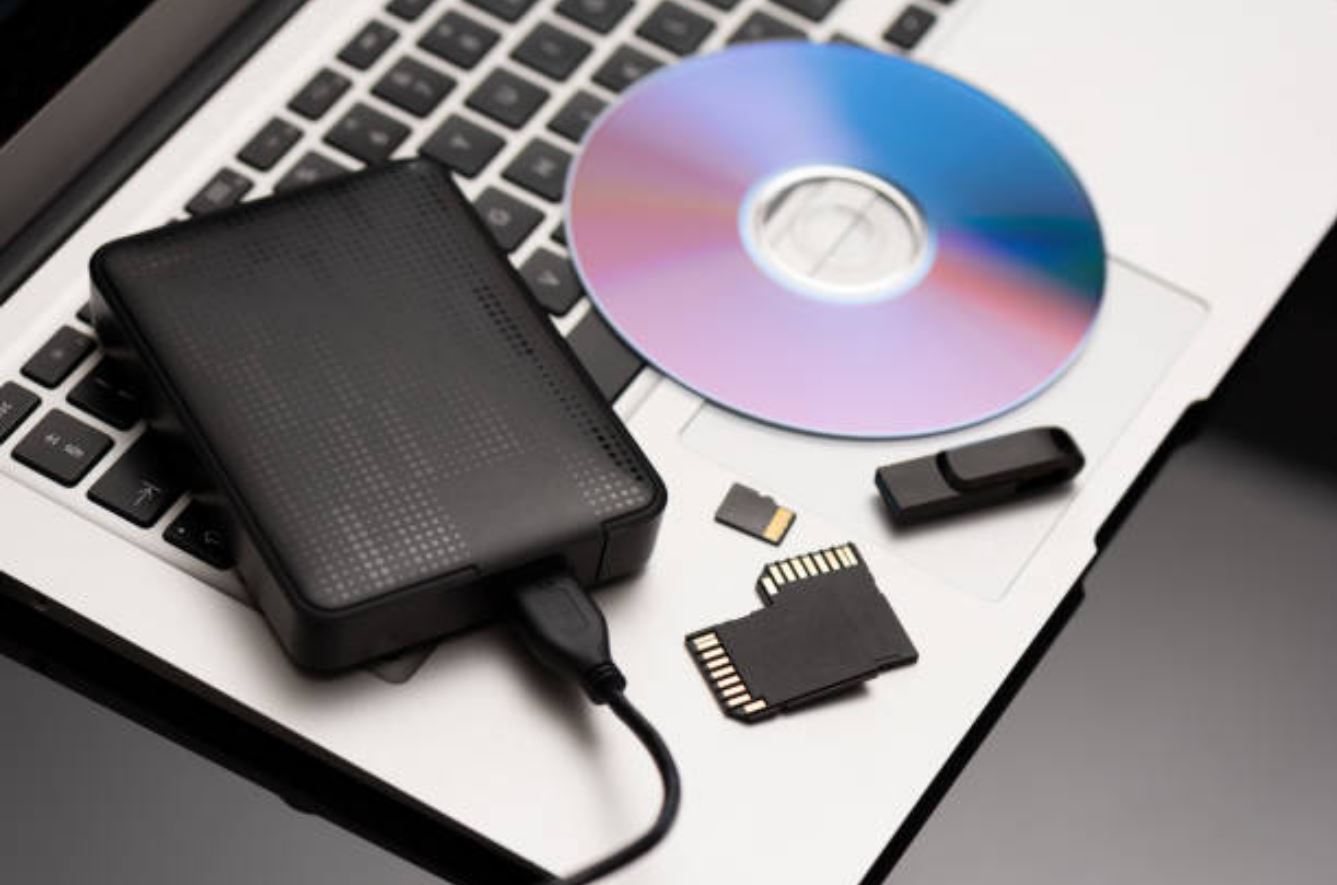
Welcome to the world of external hard drives! These handy devices provide a convenient way to store and backup large amounts of data, whether it’s for personal or professional use. Whether you are a casual user or a tech-savvy enthusiast, accessing and viewing the data on your external hard drive is an essential skill to master.
In this article, we will guide you through the process of viewing data on an external hard drive step by step. Whether you’re looking to access documents, photos, videos, or any other type of files, we’ve got you covered. So, let’s get started!
Please note that the steps provided in this article are applicable to Windows operating systems. If you’re using a different operating system, the process may vary slightly. However, the basic principles remain the same.
Before we dive into the steps, make sure you have your external hard drive and a compatible USB cable or connection method ready. Once you have everything prepared, let’s move on to the first step of accessing data on your external hard drive.
Step 1: Connect the external hard drive
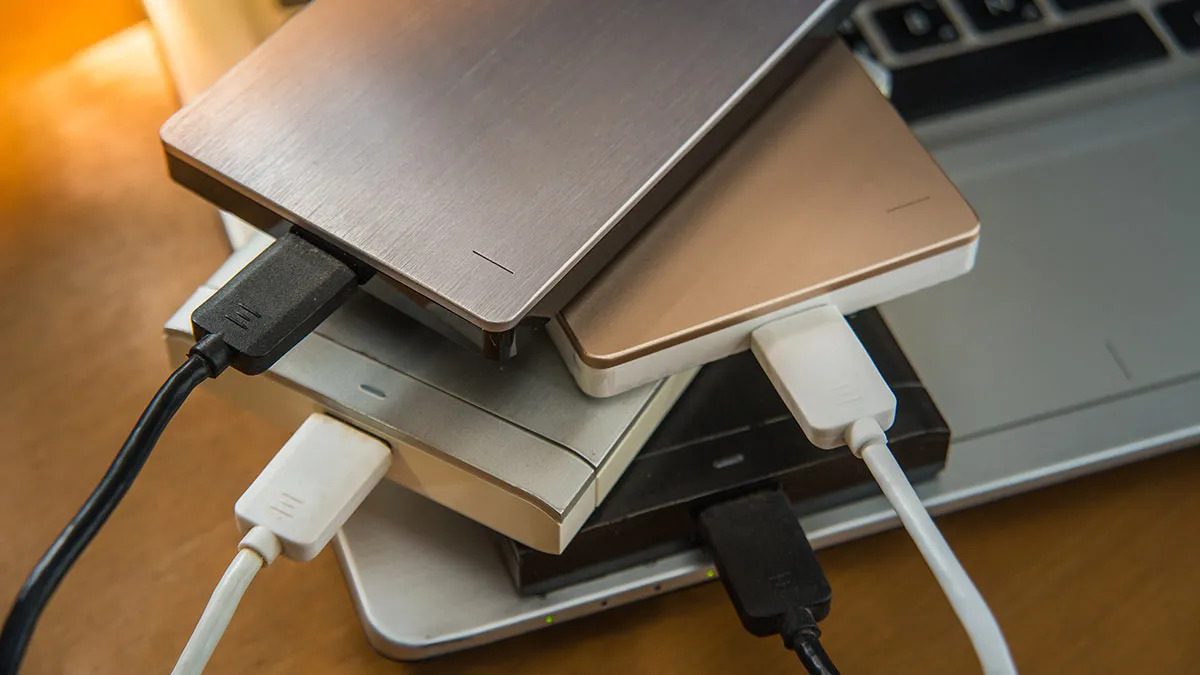
The first step to accessing the data on your external hard drive is to establish a physical connection between your computer and the device. Start by locating an available USB port on your computer. Most external hard drives use a USB connection, but there are also other types of connections such as Thunderbolt or eSATA, depending on the device.
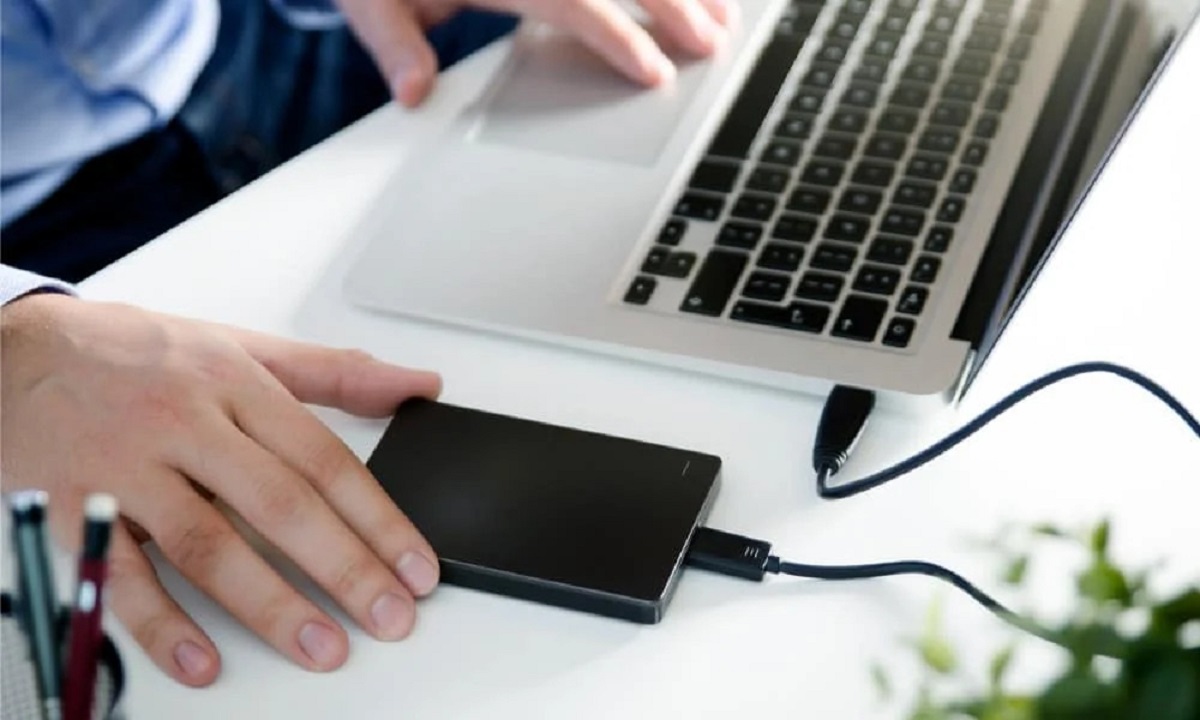
Once you have identified the appropriate port, carefully plug in one end of the USB cable into the corresponding port on your computer. Then, connect the other end of the cable to the external hard drive. Make sure the connections are secure and snug.
If your external hard drive requires a separate power source, make sure it is properly connected to a power outlet. Some external hard drives draw power from the computer itself through the USB connection, while others require an additional power source.
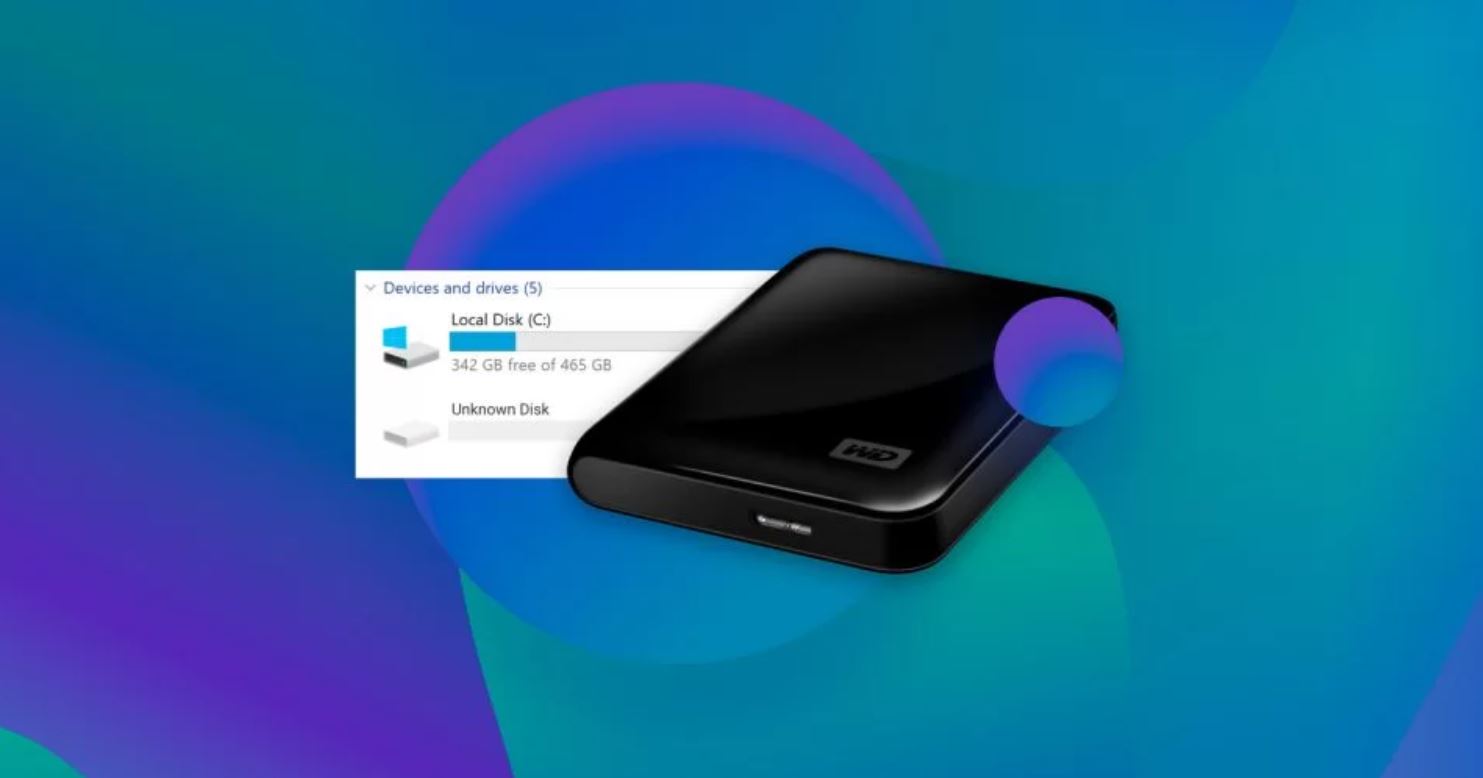
After connecting the external hard drive, your computer should recognize the device and initiate the necessary drivers installation. Depending on your operating system, you may receive a notification or see the device listed in the File Explorer or Finder window.
Keep in mind that if your computer doesn’t recognize the external hard drive, it could be due to a faulty cable, connection port, or a compatibility issue. In such cases, try using a different USB cable or connecting the device to another computer to troubleshoot the issue.
Once the connection is established and your computer recognizes the external hard drive, you are ready to move on to the next step of the process. Now, let’s open the File Explorer (Windows) or Finder (Mac) to access the data on the external hard drive.
Step 2: Open File Explorer
After connecting the external hard drive to your computer, the next step is to open the File Explorer (Windows) or Finder (Mac). These file management tools allow you to navigate through your computer’s files and folders, including the external devices connected to it.
In Windows, you can open the File Explorer by clicking on the folder icon located on the taskbar or by pressing the Windows key + E on your keyboard. Alternatively, you can also search for “File Explorer” in the Start menu or the search bar.
On a Mac computer, you can open the Finder by clicking on the smiling face icon located on the dock or by pressing Command + Spacebar to open Spotlight search. Then, type “Finder” and hit Enter.
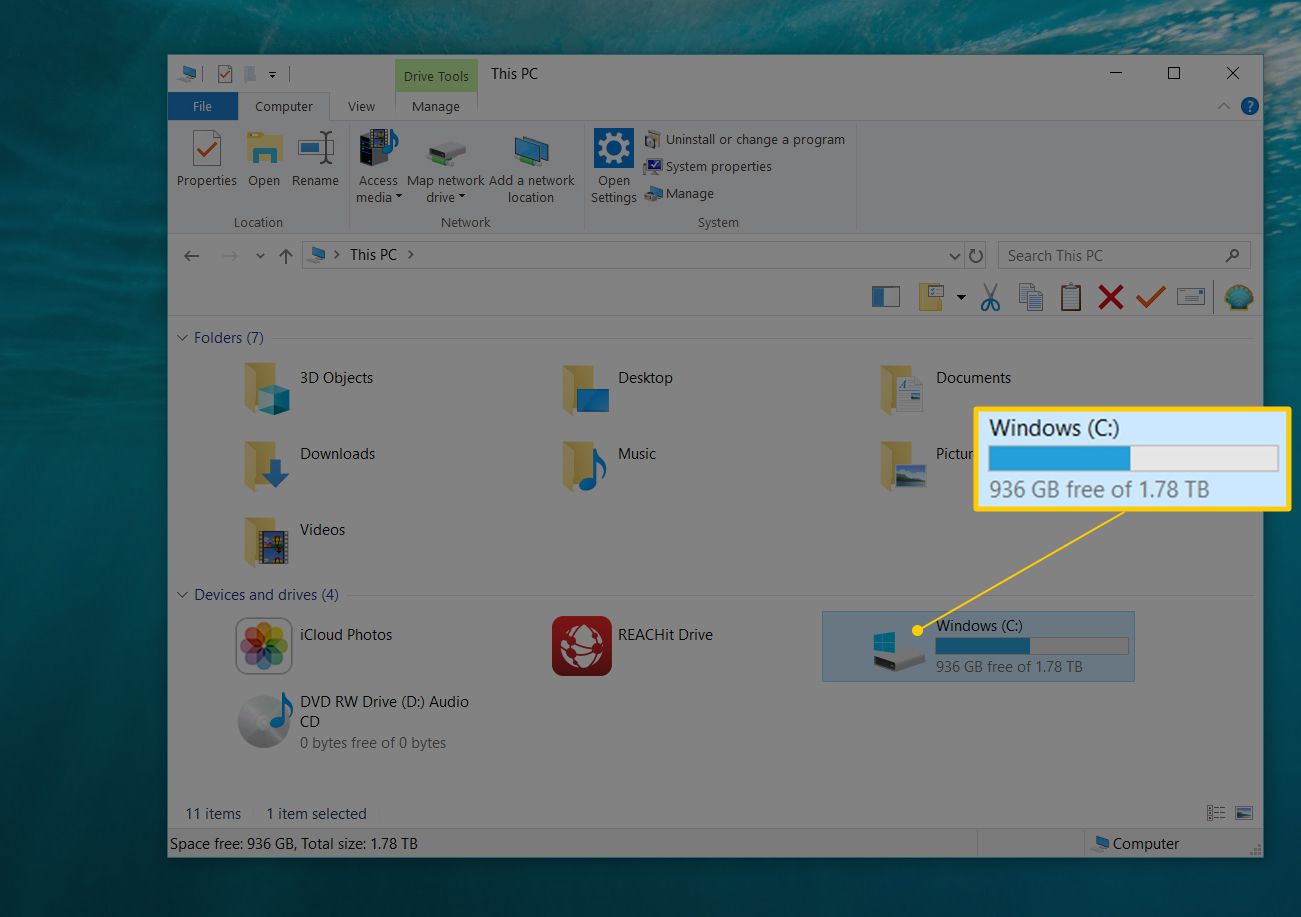
Once you have opened the File Explorer or Finder, you will see a navigation pane on the left-hand side, displaying a list of drives and locations. Look for the external hard drive in the list of devices. It is usually listed under the “This PC” or “My Computer” section in Windows and under the “Devices” or “External Drives” section on a Mac.
Click on the external hard drive’s name or icon to select it. This will display the contents of the drive in the main window of the File Explorer or Finder.
Now that you have accessed the external hard drive through the File Explorer or Finder, you can proceed to the next step to locate and access the specific data you are looking for.
Step 3: Locate the external hard drive
Now that you have opened the File Explorer or Finder and selected the external hard drive, it’s time to locate the specific data you want to access. On both Windows and Mac systems, the process is quite similar.
In the main window of the File Explorer or Finder, you will see a list of files and folders that are stored on the external hard drive. These files and folders may be organized based on your previous arrangement or the default file structure of the drive.
Take a moment to navigate through the folders and subfolders to find the data you’re looking for. You can click on a folder to open it and view its contents. To move back to the previous location, simply click on the back button in the top-left corner of the File Explorer or Finder.
If you have organized your data into specific folders on the external hard drive, it will help to remember the names or categories you have assigned to them. This will make it easier to locate and access the desired files quickly.
If you’re unsure where a specific file or folder is located, you can use the search function in the File Explorer or Finder. Simply type the name or part of the name of the file you’re searching for in the search bar at the top-right corner of the window. The search results will display the files matching your search query.
In addition, you can organize the files and folders on the external hard drive by date modified, size, or other criteria. This can help you find the most recent files or the largest files on the drive. To sort the files, click on the corresponding column header in the File Explorer or Finder.
By following these steps, you will be able to locate the external hard drive and find the data you need. Once you have located the desired files or folders, you can move on to the next step to access and view the data on the external hard drive.
Step 4: Access the data on the external hard drive
Now that you have located the desired files or folders on your external hard drive, it’s time to access and view the data. Both Windows and Mac systems provide various methods to access and open files on external devices.
If you want to open a file, simply double-click on it in the File Explorer or Finder. This will launch the default program associated with that file type, allowing you to view, edit, or play the file.
For example, if you double-click on a document file, it will open in a word processing program such as Microsoft Word or Pages. Similarly, double-clicking on an image file will open it in a photo viewer or editor, while a video file will open in a media player.
If you want to access multiple files or folders at once, you can select them by holding down the Ctrl key (Windows) or the Command key (Mac) and clicking on the desired items. This will allow you to perform actions such as copying, moving, or deleting multiple files simultaneously.
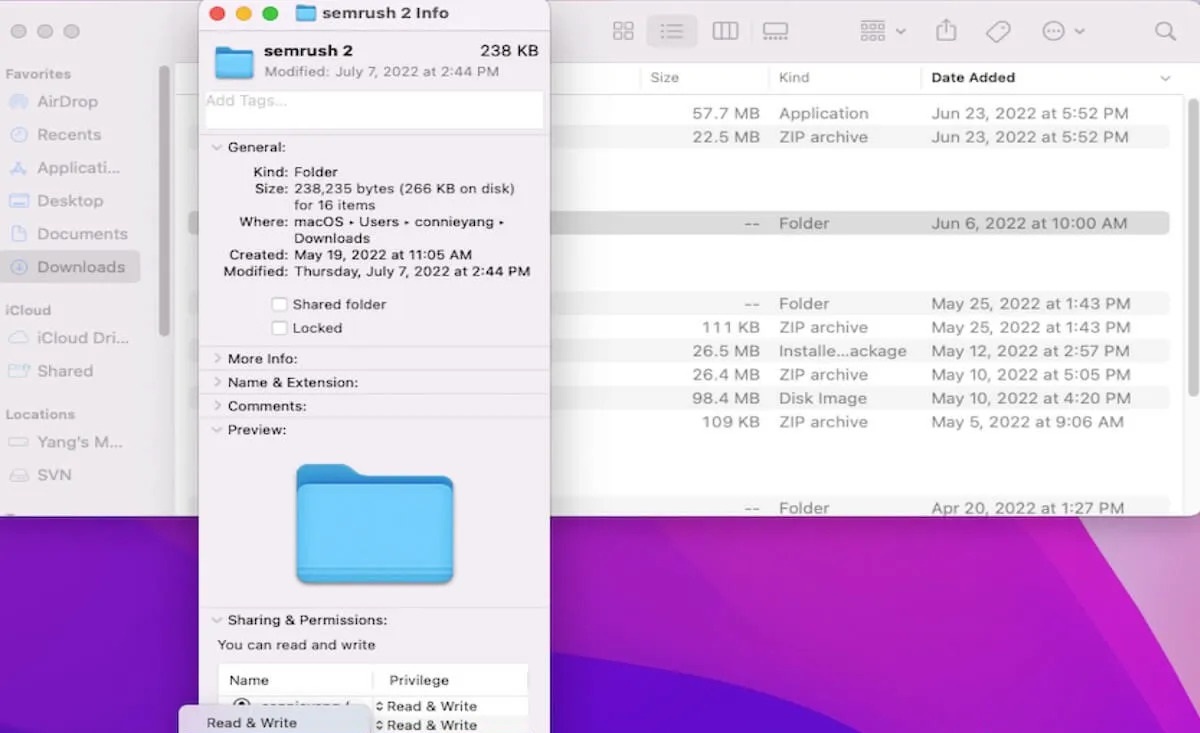
Furthermore, you can use right-click (Windows) or Control-click (Mac) to bring up a context menu with various options for the selected file or folder. This menu allows you to perform actions like renaming, copying, moving, deleting, or even creating a shortcut to the file or folder.
In addition to accessing individual files, you can also access and open entire folders on your external hard drive. This allows you to view the contents of the folder and access its subfolders and files. Double-click on a folder to open it, or use the context menu options to perform actions on the entire folder or its contents.
By following these steps, you can easily access and view the data on your external hard drive. Whether it’s documents, photos, videos, or any other type of files, you now have the tools to access them in a user-friendly manner.
Once you have explored and viewed the data on your external hard drive, it’s important to safely eject the device to avoid data loss or corruption. Let’s move on to the next step to learn how to safely eject your external hard drive.
Step 5: Browse and view files
Now that you have accessed the data on your external hard drive, it’s time to browse through the files and view them. Whether you’re looking to review documents, reminisce with old photos, or enjoy videos, here’s how you can easily browse and view files on your external hard drive.
1. Documents: Double-click on a document file, such as a Word document or PDF file, to open it in the corresponding program. You can scroll through the document and make any necessary changes or annotations. Remember to save the file once you’re done editing.
2. Photos: Double-click on an image file, such as a JPEG or PNG file, to open it in the default photo viewer or editor. You can zoom in or out, rotate the image, or even apply basic edits if needed. Enjoy browsing through your photo collection and relive the memories.
3. Videos: Double-click on a video file, such as an MP4 or AVI file, to open it in a media player. The video will start playing, and you can control playback options like pause, play, rewind, or fast forward. Sit back and immerse yourself in your favorite videos.
4. Audio: Double-click on an audio file, such as an MP3 or WAV file, to open it in a media player. You can listen to your favorite songs, podcasts, or audio recordings. Adjust the volume, skip tracks, or create a playlist to enhance your audio experience.
5. Other file types: Depending on the applications installed on your computer, there might be other file formats that can be viewed or opened. For example, spreadsheets, presentations, or specialized file types pertaining to your work or hobbies. Double-click on the file to open it in the corresponding program.
Browsing and viewing files on your external hard drive is a straightforward process. Take your time to explore the various folders and files, and enjoy the convenience of having all your data in one place. Once you’re done browsing, it’s important to safely eject the external hard drive to prevent any data loss or damage.
Let’s move on to the final step to learn how to safely disconnect your external hard drive from your computer.
Step 6: Safely eject the external hard drive
After you have finished browsing and viewing the files on your external hard drive, it is important to properly eject the device from your computer. This step ensures that all data has been written and saved correctly, avoiding any potential data corruption or loss. Here’s how you can safely eject your external hard drive:
Windows:
- Click on the “Safely Remove Hardware and Eject Media” icon in the system tray. It looks like a small USB plug with a green checkmark.
- A list of connected devices will appear. Locate your external hard drive in the list.
- Click on the name of your external hard drive to select it.
- Once selected, a notification will appear indicating that it is safe to remove the device. You can now unplug the USB cable from your computer.
Mac:
- Locate the external hard drive on your desktop or in the Finder window.
- Click on the eject button (an upward-pointing arrow) next to the name of your external hard drive.
- The external hard drive icon will disappear from the desktop or Finder window.
- You can now safely unplug the USB cable from your Mac.
It is important to wait for the system confirmation before disconnecting the external hard drive. This ensures that all read and write operations have been completed, and the device is ready to be safely removed.
By safely ejecting your external hard drive, you minimize the risk of data loss or damaging the files stored on the device. Taking this extra step can help extend the lifespan of your external hard drive and ensure its data integrity for future use.
Congratulations! You have successfully learned how to view data on an external hard drive. With these steps, you can now effortlessly access and browse through your files, photos, videos, and documents stored on your external hard drive.
Remember to always properly unplug and store your external hard drive when it’s not in use to protect it from physical damage. Enjoy the convenience and flexibility that external hard drives provide for your data storage needs!
Conclusion
Accessing and viewing data on an external hard drive is a crucial skill that allows you to conveniently manage and enjoy your files. With the step-by-step guide we’ve provided, you now have the knowledge to connect your external hard drive to your computer, open the File Explorer or Finder, locate your external hard drive, access the data, browse through files, and safely eject the device.
By following these steps, you can effortlessly access documents, photos, videos, and other files stored on your external hard drive. Whether you’re a student, professional, or simply someone who wants to keep their digital collection organized, these skills will prove to be invaluable.
Remember to always handle your external hard drive with care, ensuring proper connections and safely ejecting the device to avoid any data loss or corruption. Regularly backup your important files to multiple locations, including cloud storage or another external hard drive, to ensure the security of your data.
External hard drives offer a convenient and reliable way to store and access your files, providing an additional layer of backup and freeing up space on your computer’s internal storage. Take advantage of the portability and versatility that external hard drives offer, allowing you to access your data on-the-go or across different devices.
With these skills and a broader understanding of how to view data on an external hard drive, you are now equipped to make the most out of your storage device. So go ahead, connect that external hard drive, open the File Explorer or Finder, and start exploring and enjoying your files with ease.


