Introduction
Welcome to the world of online security and privacy! In today’s modern digital landscape, protecting our personal information and ensuring our online activities remain private has become increasingly important. One effective tool that helps us achieve this is a Virtual Private Network, or VPN for short. In this article, we will explore the concept of VPN and learn how to utilize it in conjunction with the Incognito mode in Google Chrome.
But first, what exactly is a VPN? A VPN is a technology that establishes a secure and encrypted connection between your device and the internet. It creates a private tunnel through which your online traffic is routed, making it difficult for anyone to intercept or monitor your activities. By using a VPN, you can keep your data protected from hackers, government surveillance, and other potential threats.
Now, you might be wondering why you should use a VPN in Incognito mode specifically. Incognito mode, also known as private browsing, is a feature commonly found in web browsers that allows you to browse the web without leaving traces of your activity on the device you’re using. While Incognito mode provides some level of privacy by not storing your browsing history, cookies, or search history, it does not provide complete anonymity.
By combining a VPN with Incognito mode, you can enhance your online security and privacy even further. The VPN adds an additional layer of protection by encrypting your internet traffic and masking your IP address, making it virtually impossible for anyone to track your online activities. This combination is particularly beneficial when accessing the internet on public Wi-Fi networks, as it prevents malicious actors from intercepting your data.
Now that we understand the value of using a VPN in Incognito mode, let’s dive into the steps required to enable a VPN in Incognito mode in Google Chrome. By following these steps, you can enjoy a secure and anonymous browsing experience.
What is VPN?
A Virtual Private Network (VPN) is a technology that allows you to create a secure connection over the internet. It acts as a tunnel between your device and the websites or services you access online, encrypting your data and protecting your privacy. When you connect to a VPN server, your internet traffic is routed through an encrypted pathway, preventing anyone from intercepting or accessing your information.
The main purpose of a VPN is to enhance your online security and privacy. By encrypting your online traffic, a VPN ensures that your sensitive data, such as passwords, credit card information, and personal details, remain protected from hackers and cybercriminals. It also shields your real IP address, making it difficult for third parties, including advertisers and government agencies, to track your online activities.
Furthermore, a VPN allows you to bypass geographical restrictions and access content that may be blocked or censored in your location. By connecting to a server in a different country, you can appear as if you are browsing from that location, granting you access to region-specific content and services.
VPN technology is based on a combination of encryption protocols and secure tunneling. Encryption algorithms scramble your data, making it unreadable to anyone who does not possess the decryption key. Tunneling protocols, on the other hand, establish the secure connection between your device and the VPN server, ensuring that your data remains protected throughout the transmission.
It’s important to note that not all VPN services are the same. The quality and features provided can vary depending on the provider. Some VPNs offer additional features such as ad-blocking, malware protection, and the ability to bypass VPN blocks implemented by certain websites or services.
In summary, a VPN is a powerful tool that provides a secure and private browsing experience. It protects your data, allows you to access blocked content, and ensures that your online activities remain anonymous. By using a VPN, you can enjoy the internet with peace of mind, knowing that your information is safe from prying eyes.
Why Use a VPN in Incognito Mode?
While using the Incognito mode or private browsing feature in your web browser can provide some level of privacy, it has limitations. By combining a VPN with Incognito mode, you can greatly enhance your online security and privacy. Here are some reasons why using a VPN in Incognito mode is beneficial:
1. Enhanced Privacy: Incognito mode prevents your browser from saving your browsing history, cookies, and search history on your local device. However, it does not hide your IP address or encrypt your internet traffic. By using a VPN in Incognito mode, your data is encrypted and your IP address is masked, allowing you to browse the web more securely and anonymously.
2. Secure Connection on Public Wi-Fi: When you connect to public Wi-Fi networks, such as those found in cafes, airports, or hotels, your internet traffic is vulnerable to interception by hackers. By using a VPN in Incognito mode, your data is encrypted end-to-end, making it nearly impossible for anyone to eavesdrop on your online activities, even on unsecured networks.
3. Bypass Geo-Restrictions: Some websites and online services may restrict access based on your geographical location. By using a VPN in Incognito mode, you can connect to a server in a different country and appear as if you are browsing from that location. This allows you to bypass geo-restrictions and access content that may be blocked in your region.
4. Protection Against Online Tracking: Online advertisers and other third parties often track your online activities to collect data for targeted advertisements or other purposes. By using a VPN in Incognito mode, your real IP address is hidden, making it difficult for trackers to monitor your online behavior and target you with personalized ads.
5. Secure File Sharing: If you need to share sensitive files or documents while in Incognito mode, using a VPN adds an extra layer of security. With end-to-end encryption, your files are protected during transit and remain private from unauthorized access.
By utilizing a VPN in Incognito mode, you can enjoy a more private, secure, and anonymous browsing experience. It provides an additional layer of protection for your online activities, ensuring that your data and privacy are safeguarded from various threats. Now let’s explore how to enable a VPN in Incognito mode in Google Chrome.
How to Enable VPN in Incognito Mode in Chrome?
To enable a VPN in Incognito mode in Google Chrome, you can follow these simple steps:
Step 1: Install a VPN Extension
The first step is to install a VPN extension in your Google Chrome browser. There are various VPN extensions available in the Chrome Web Store, so choose one that suits your needs. Popular VPN extensions include NordVPN, ExpressVPN, and CyberGhost. Install the extension by clicking on the “Add to Chrome” button and following the prompts.
Step 2: Open Chrome’s Incognito Mode
Once you have installed the VPN extension, open a new Chrome window and navigate to the top-right corner. Click on the “More” button (three vertical dots), and from the dropdown menu, select “New Incognito Window.” This will launch a new Chrome window in Incognito mode.
Step 3: Enable VPN in Incognito Mode
In the Incognito mode window, you will see the VPN extension’s icon displayed among the other extensions installed in Chrome. Click on the VPN extension’s icon to open its interface. Here, you can choose a server location and connect to the VPN network.
Step 4: Test the VPN Connection
Once you have connected to the VPN server, it’s a good idea to test the connection to ensure that your internet traffic is secure and anonymized. You can visit websites like whatismyip.com or ipleak.net to check your IP address and confirm that it matches the location of the VPN server you selected.
That’s it! You have successfully enabled a VPN in Incognito mode in Google Chrome. Now you can browse the web with enhanced security and privacy while enjoying the benefits of the Incognito mode.
Keep in mind that the exact steps may vary slightly depending on the VPN extension you choose, so make sure to refer to the extension’s documentation or support resources for any specific instructions.
Step 1: Install a VPN Extension
The first step to enabling a VPN in Incognito mode in Google Chrome is to install a VPN extension. These extensions enhance the functionality of Chrome by adding VPN capabilities directly to your browser. Here’s a detailed guide on how to install a VPN extension:
1. Open the Chrome Web Store: Launch Google Chrome on your computer and navigate to the Chrome Web Store. You can do this by typing “chrome://extensions” in the address bar or by clicking on the three vertical dots in the top-right corner of the browser window and selecting “Extensions.”
2. Search for a VPN Extension: In the Chrome Web Store, use the search bar located at the top-left corner to search for the VPN extension of your choice. You can enter keywords like “VPN,” “Virtual Private Network,” or the name of a specific VPN provider. Press Enter or click on the magnifying glass icon to initiate the search.
3. Choose a VPN Extension: Browse through the search results to find a VPN extension that suits your needs. Take into consideration factors such as user ratings, reviews, features, and compatibility with Chrome. Popular VPN extensions include NordVPN, ExpressVPN, and CyberGhost. Click on the extension that you want to install.
4. Install the VPN Extension: On the extension’s details page, click on the “Add to Chrome” button. A confirmation window may appear, explaining the permissions required by the extension. Review the permissions and, if you’re comfortable with them, click on “Add extension” to proceed with the installation.
5. Wait for the Installation to Complete: Chrome will begin installing the VPN extension, and you will see a progress bar indicating the installation status. Once the installation is complete, you will see the extension’s icon appear in the top-right corner of the Chrome window, next to the address bar.
6. Configure the VPN Extension: Before you can use the VPN extension, you may need to configure it. Some VPN extensions require you to sign in with your VPN account credentials. Follow the on-screen instructions provided by the extension to set up and configure the VPN to your preferences.
By completing these steps, you have successfully installed a VPN extension in Google Chrome. The extension will add a new feature to your browser, allowing you to connect to VPN servers and enable the VPN functionality while browsing in Incognito mode.
It’s important to note that the exact steps may vary slightly depending on the VPN extension you choose. If you encounter any issues during the installation process or need additional guidance, refer to the extension’s documentation or support resources for further assistance.
Step 2: Open Chrome’s Incognito Mode
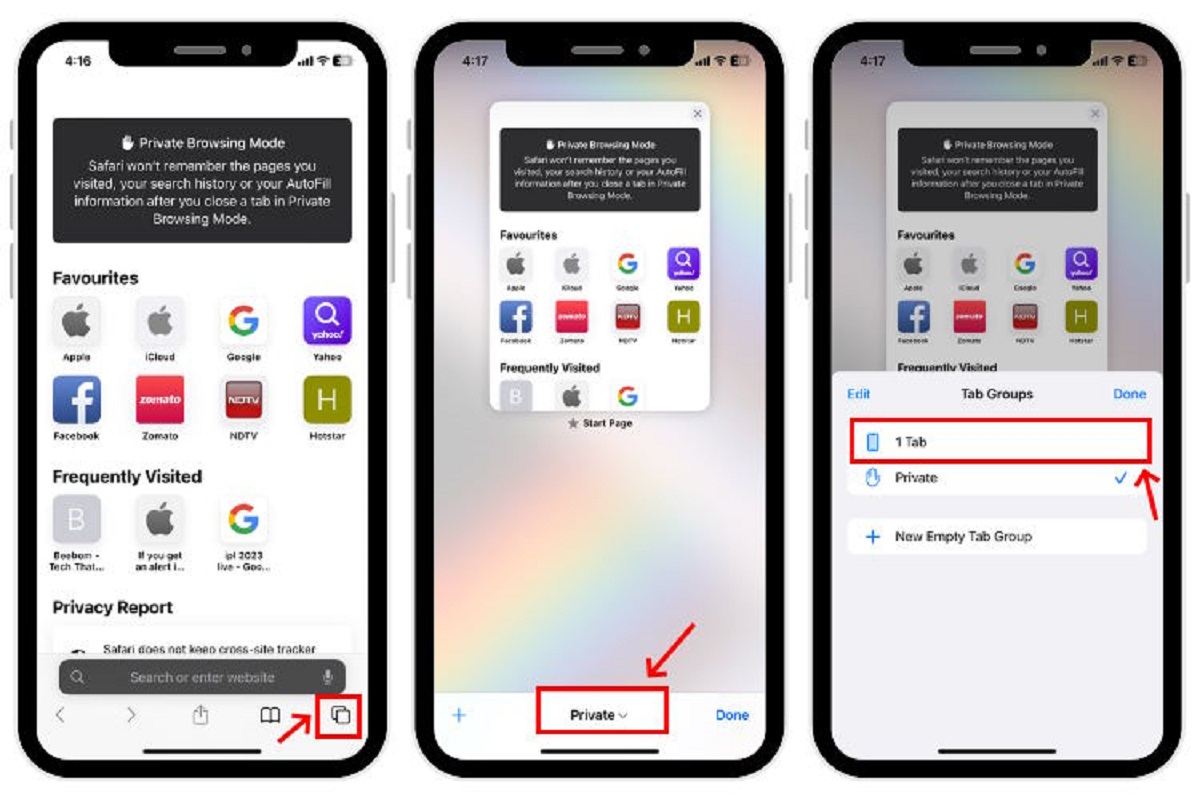
Now that you have installed a VPN extension in Google Chrome, the next step is to open Chrome’s Incognito mode. The Incognito mode, also known as private browsing, allows you to browse the internet without the browser saving your browsing history, cookies, or search history on your device. Here’s how to open Chrome’s Incognito mode:
1. Launch Google Chrome: Open Google Chrome on your computer by clicking on its icon in the taskbar or by searching for it in the Start menu.
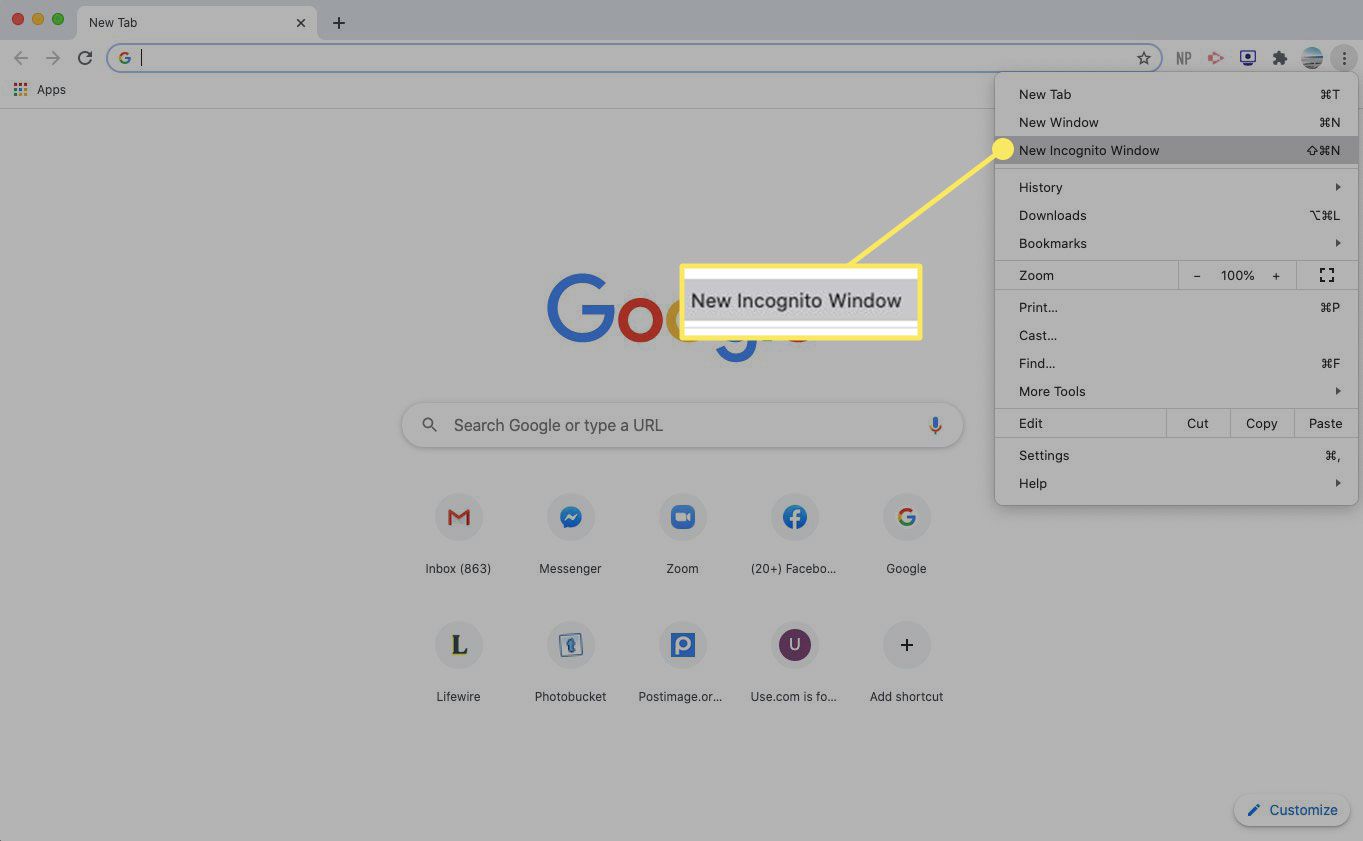
2. Access the Chrome Menu: In the top-right corner of the Chrome window, you will see three vertical dots. Click on these dots to access the Chrome menu.
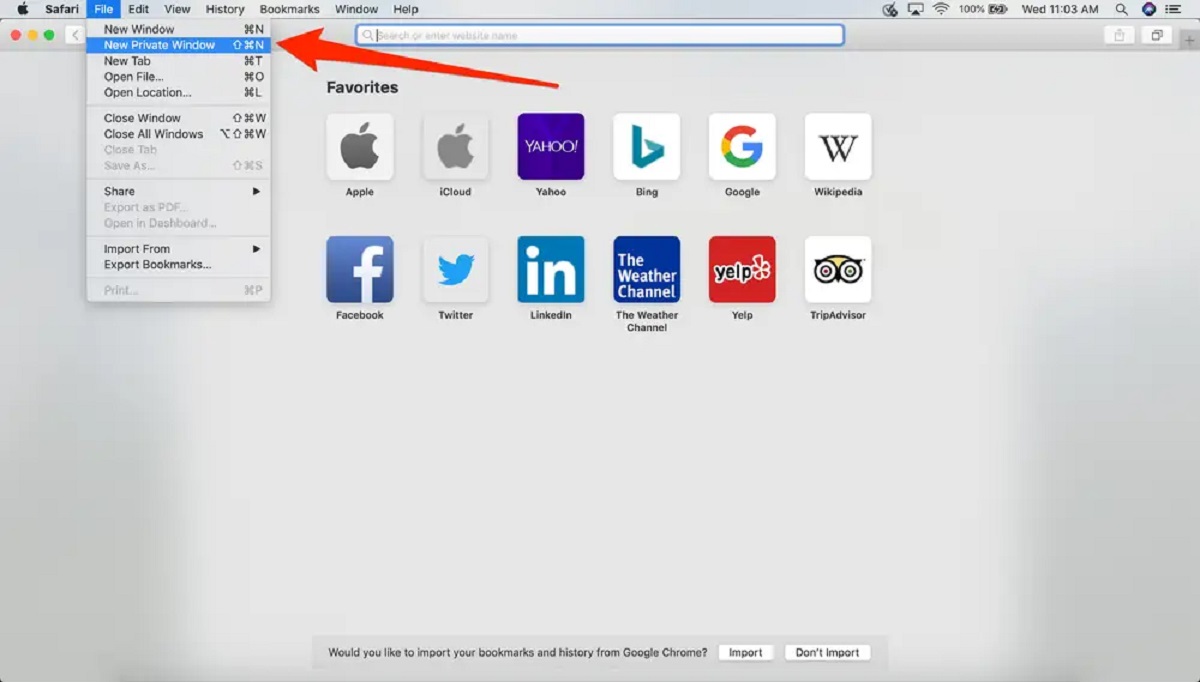
3. Select “New Incognito Window”: From the dropdown menu, locate and click on the option that says “New Incognito Window.” Alternatively, you can use the keyboard shortcut by pressing “Ctrl+Shift+N” (Windows/Linux) or “Command+Shift+N” (Mac).
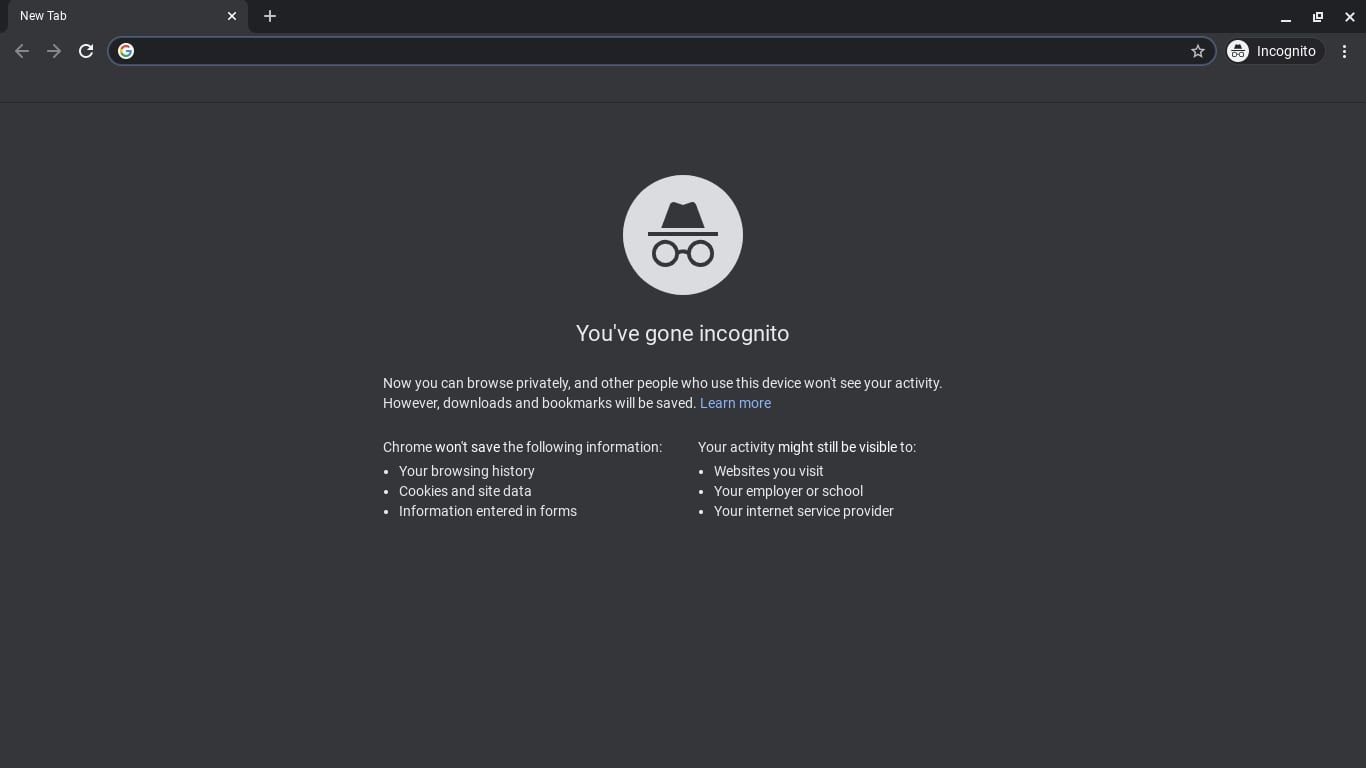
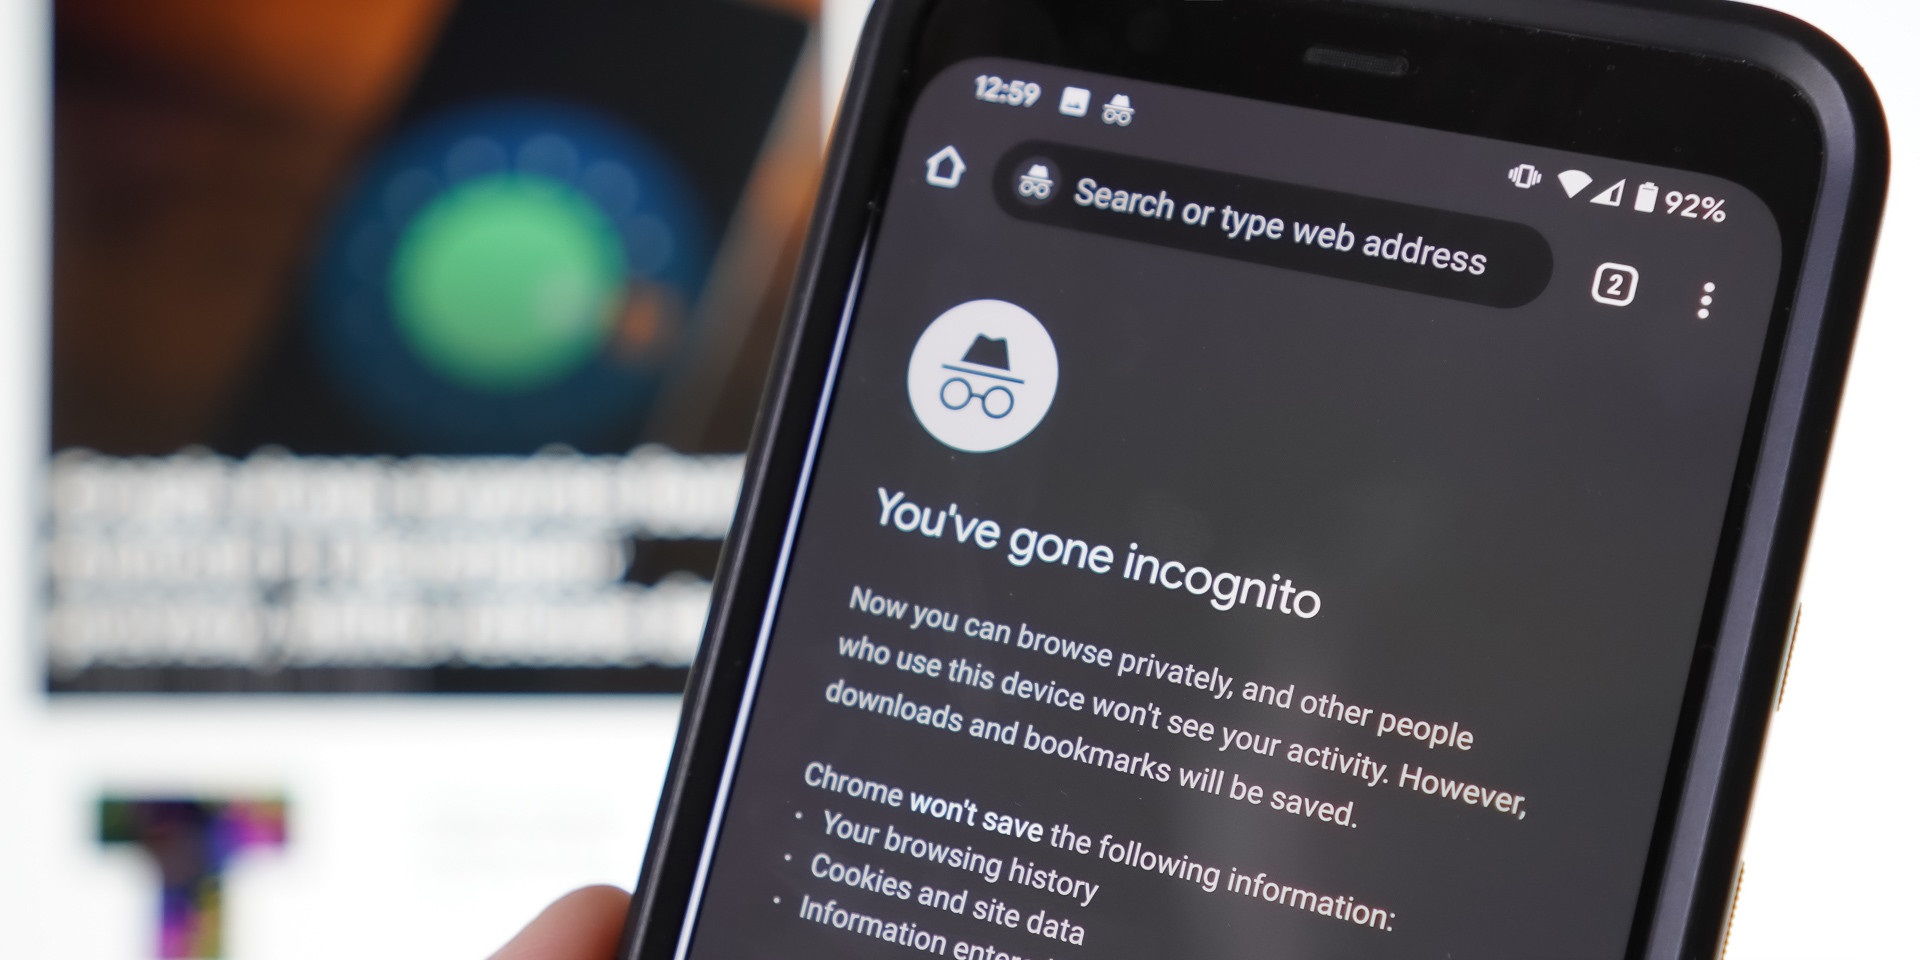
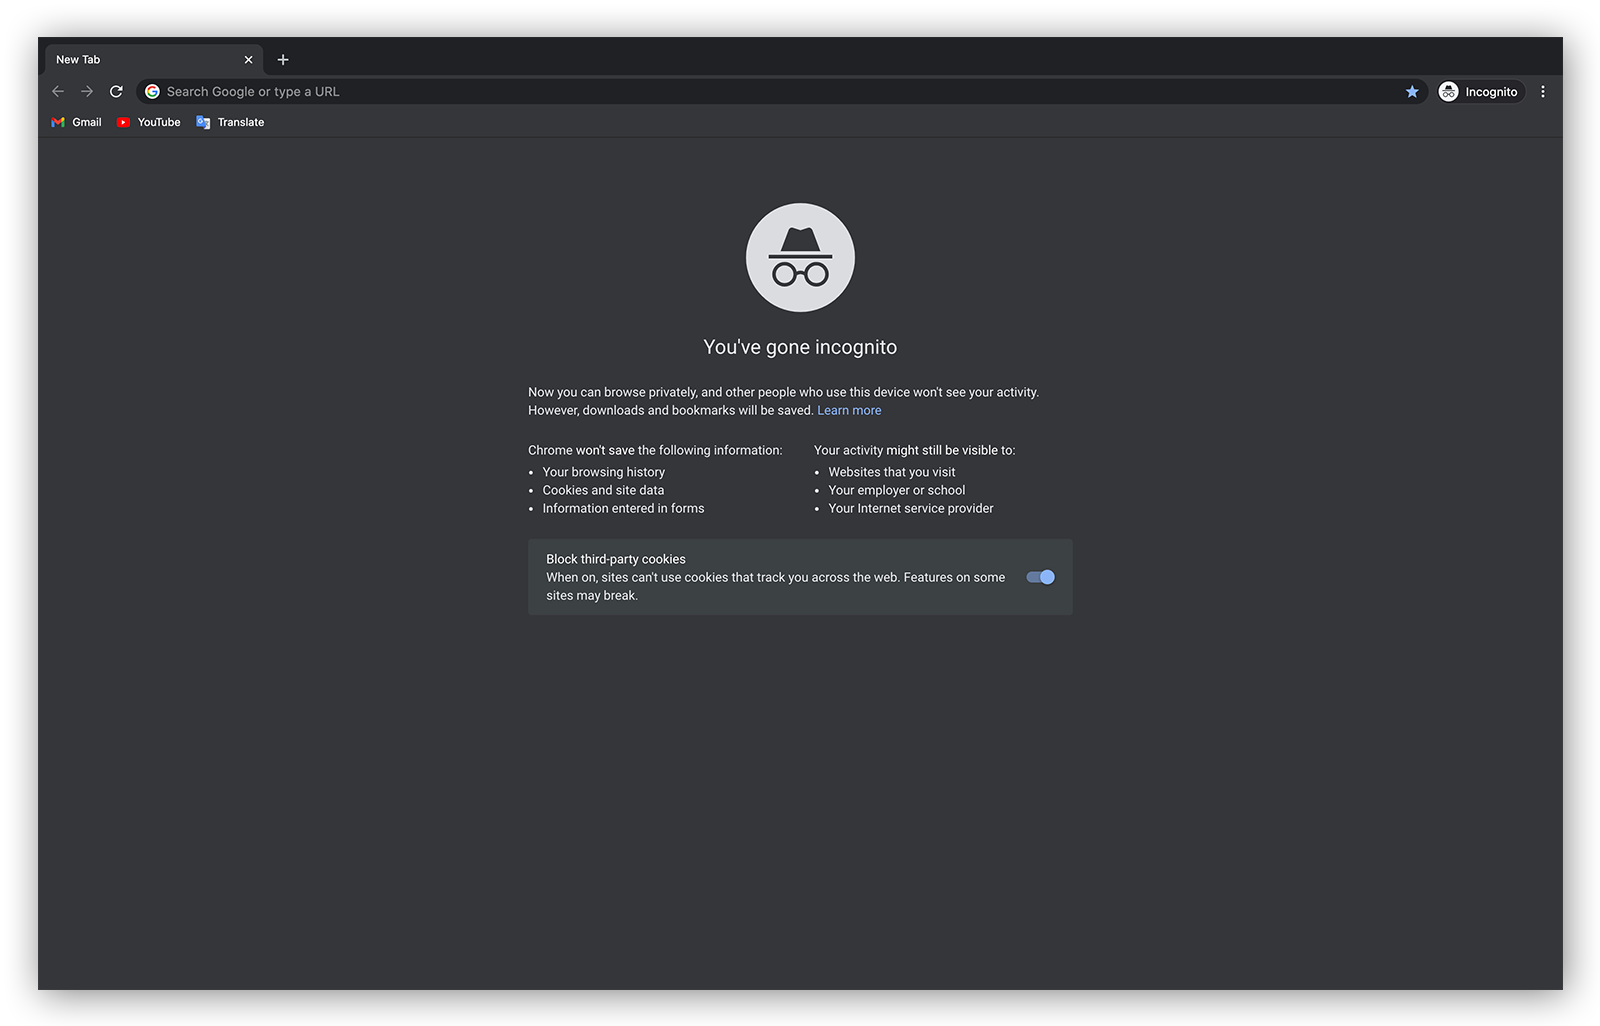
4. Incognito Mode Window: After selecting “New Incognito Window,” a new Chrome window will open, indicating that you are now in Incognito mode. You can recognize the Incognito mode window by the dark gray background and the icon of a person in sunglasses located at the top-left corner of the window.
5. Customize Incognito Settings (Optional): By default, Chrome’s Incognito mode blocks websites from saving cookies and website data, but you can further customize these settings. To do this, click on the three vertical dots in the top-right corner of the Incognito mode window, select “Settings,” and then navigate to the “Privacy and security” section. Here, you can adjust various options related to your privacy while in Incognito mode.
6. Start Browsing in Incognito: With Chrome’s Incognito mode open, you can now start browsing the web without leaving traces of your activity on your device. Keep in mind that while Incognito mode prevents Chrome from storing your browsing history, cookies, and search history, it does not provide complete anonymity or confidentiality.
Now that you have successfully opened Chrome’s Incognito mode, you’re ready to proceed to the next step, which is enabling the VPN in Incognito mode using the VPN extension you installed.
Note: The steps to open Incognito mode may vary slightly depending on the version of Chrome you are using. If you encounter any difficulties, refer to Chrome’s support documentation or consult the Help menu within the browser.
Step 3: Enable VPN in Incognito Mode
Now that you have Chrome’s Incognito mode open, the next step is to enable the VPN in Incognito mode using the VPN extension you installed. Here’s a step-by-step guide on how to do it:
1. Look for the VPN Extension Icon: In the top-right corner of the Incognito mode window, next to the address bar, you will see the icon of the VPN extension you installed. The icon may vary depending on the specific VPN extension you chose.
2. Open the VPN Extension: Click on the VPN extension icon to open its interface. This will typically bring up a small window or a dropdown menu where you can control and configure the VPN settings.
3. Connect to a VPN Server: Within the VPN extension’s interface, look for an option such as “Connect” or “On/Off” to activate the VPN connection. Click on it to connect to a VPN server. The options and interface may differ depending on the specific VPN extension you are using.
4. Select a Server Location: Depending on the VPN extension, you may have the option to choose a specific server location before connecting. This allows you to select a server from various regions around the world. Consider choosing a server location that aligns with your needs, such as accessing geo-restricted content or optimizing for speed.
5. Wait for the VPN Connection: After clicking the connect button, the VPN extension will establish a secure connection with the selected server. This may take a few seconds. Once the connection is established, the VPN extension icon may change or display a different color to indicate the active VPN connection.
6. Verify the VPN Connection: To ensure that the VPN is working properly in Incognito mode, you can perform a quick verification. Open a new tab and visit a website that shows your IP address, such as whatismyip.com or ipleak.net. Check if the displayed IP address matches the server location you connected to through the VPN. This indicates that the VPN is successfully enabled in Incognito mode.
Congratulations! You have successfully enabled the VPN in Incognito mode using the VPN extension in Google Chrome. Your internet traffic is now encrypted and routed through a secure VPN connection, providing you with enhanced security and privacy while browsing in Incognito mode.
Remember that the exact steps and options within the VPN extension may vary depending on the specific extension you chose. If you encounter any difficulties or need further assistance, refer to the documentation or support resources provided by the VPN extension.
Step 4: Test the VPN Connection
After enabling the VPN in Incognito mode using the VPN extension, it’s crucial to test the VPN connection to ensure that your internet traffic is securely routed through the VPN server. Here’s a step-by-step guide on how to test the VPN connection:
1. Visit an IP Lookup Website: Open a new tab in Chrome’s Incognito mode and visit a website that displays your IP address. Examples of such websites include whatismyip.com, iplocation.net, or ipleak.net.
2. Take Note of Your Original IP Address: Before connecting to the VPN, observe and make a note of the IP address displayed on the IP lookup website. This will act as a reference to compare with the IP address after connecting to the VPN.
3. Connect to the VPN: Ensure that the VPN extension is connected to the VPN server by checking the VPN extension’s interface. It should indicate that the connection is active or show the server location you selected.
4. Check the New IP Address: Refresh the IP lookup website or visit a different IP lookup service and verify that the IP address displayed now matches the server location you selected in the VPN extension. This confirms that your internet traffic is being routed through the VPN server.
5. Additional Checks (Optional): If you want to perform further checks to ensure that your VPN connection is secure, you can use other online tools and websites. These tools can test for DNS leaks, WebRTC leaks, or other potential vulnerabilities that may compromise your privacy. VPN-specific leak testing websites, such as dnsleaktest.com or browserleaks.com, can provide you with detailed information on any leaks.
6. Repeat the Test Periodically: It’s a good practice to periodically test your VPN connection to ensure its ongoing effectiveness. VPN servers and configurations can change over time, so occasional testing will help ensure that you are still receiving the intended privacy and protection.
By following these steps, you have successfully tested your VPN connection while browsing in Incognito mode. If the IP address displayed on the IP lookup website matches the server location you selected in the VPN extension, it confirms that your VPN connection is working as expected and your internet traffic is being securely routed through the VPN server.
If you encounter any issues during the testing process or suspect there may be a leak or other privacy concerns, consider reaching out to the VPN extension’s support team for further assistance. They can provide guidance and troubleshoot any potential issues you may encounter.
Tips for Using VPN in Incognito Mode
When using a VPN in Incognito mode, there are several tips and best practices that can further enhance your online security and privacy. Consider the following tips when utilizing a VPN in Incognito mode:
1. Choose a Reliable VPN Provider: Select a reputable and trustworthy VPN provider that prioritizes security, encryption, and privacy. Research different providers, read reviews, and compare their features and policies to ensure you choose a VPN service that fits your needs.
2. Enable Automatic VPN Connection: Many VPN extensions offer the option to automatically connect to the VPN whenever you open an Incognito mode window. Enabling this setting ensures that you’re always protected by the VPN when browsing privately.
3. Keep the VPN Extension Updated: Regularly update the VPN extension to the latest version as it may include important security patches and improvements. Check for updates within the Chrome Web Store or configure the extension to update automatically.
4. Use Strong and Unique Credentials: When creating an account or logging into your VPN service, use strong, unique passwords. This adds an extra layer of security to your VPN connection and helps protect your personal information.
5. Opt for Kill Switch Feature: Some VPN extensions offer a kill switch feature, which automatically cuts off your internet connection if the VPN connection drops unexpectedly. This prevents your data from being exposed during any connection disruptions.
6. Regularly Clear Browser Cookies and Cache: While browsing in Incognito mode, clearing your browser cookies and cache can further enhance your privacy. This ensures that any traces of your online activity are removed from your device once you close the Incognito window.
7. Be Mindful of Websites with Geolocation: Keep in mind that some websites may request access to your geolocation. While a VPN can mask your IP address, granting access to geolocation to specific websites may reveal your approximate location. Exercise caution and only grant access if necessary.
8. Avoid Sharing Personal Information: Even when using a VPN in Incognito mode, it’s advisable to avoid sharing sensitive personal information online. Be cautious when entering personal details, such as passwords, credit card information, or social security numbers.
9. Disconnect from the VPN When Not in Use: If you’re not actively using the internet or require privacy, consider disconnecting from the VPN to conserve resources and optimize your browsing experience.
10. Test for IP, DNS, and WebRTC Leaks: Periodically test your VPN connection to ensure there are no IP, DNS, or WebRTC leaks. Use online testing tools or websites specifically designed for VPN leak testing to identify and address any potential vulnerabilities.
By following these tips, you can maximize the effectiveness of using a VPN in Incognito mode. Remember that while a VPN enhances privacy and security, it’s important to remain vigilant and mindful of your online activities.
Conclusion
Utilizing a VPN in Incognito mode in Google Chrome offers an effective way to enhance your online security and privacy. By combining the features of Incognito mode with the added encryption and anonymity provided by a VPN, you can enjoy a safer and more private browsing experience.
A VPN adds an additional layer of protection by encrypting your internet traffic and masking your IP address. This makes it difficult for hackers, government surveillance agencies, and other potential threats to monitor your online activities.
When enabling a VPN in Incognito mode, it’s important to choose a reliable VPN provider and install a trustworthy VPN extension. Follow the steps outlined in this article to install the extension, open the Incognito mode, and enable the VPN connection. Testing the VPN connection is essential to confirm that your internet traffic is securely routed through the VPN server.
Furthermore, implementing a few additional tips, such as enabling automatic VPN connection, keeping the VPN extension updated, and regularly clearing cookies and cache, can further enhance your privacy and security.
Remember to be mindful of the websites you visit, avoid sharing sensitive personal information whenever possible, and use strong and unique credentials when logging into your VPN account.
By following these best practices and utilizing a VPN in Incognito mode, you can protect your personal information, stay safe on public Wi-Fi networks, bypass geo-restrictions, and enjoy greater online anonymity.
Be sure to stay informed about the latest developments in online security, privacy, and VPN technologies. Regularly review and update your VPN extension, and always practice good browsing habits to ensure a secure and private online experience.
So, go ahead, enable your VPN in Incognito mode, and enjoy the benefits of enhanced security and privacy as you browse the internet with peace of mind.