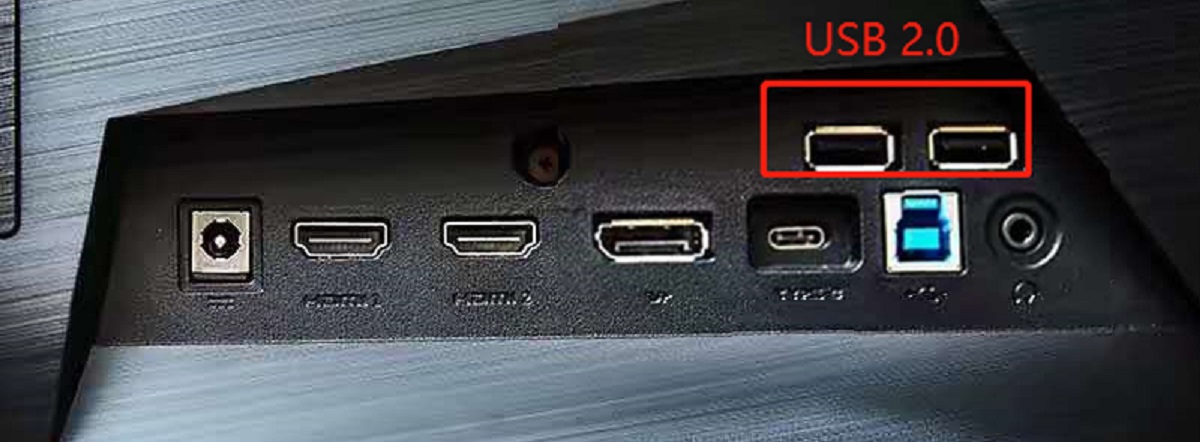
To use USB ports on a monitor, you must connect an upstream USB cable from the monitor to your computer, this single step activates the built-in hub, letting you plug keyboards, mice, and other peripherals directly into the display. Without that upstream link, the monitor's USB ports remain inert, no matter what you plug into them. This guide covers identifying the right ports, making the connection, and avoiding common pitfalls so you can declutter your desk and keep all your devices within easy reach.
What you need to know about how to use USB ports on monitor
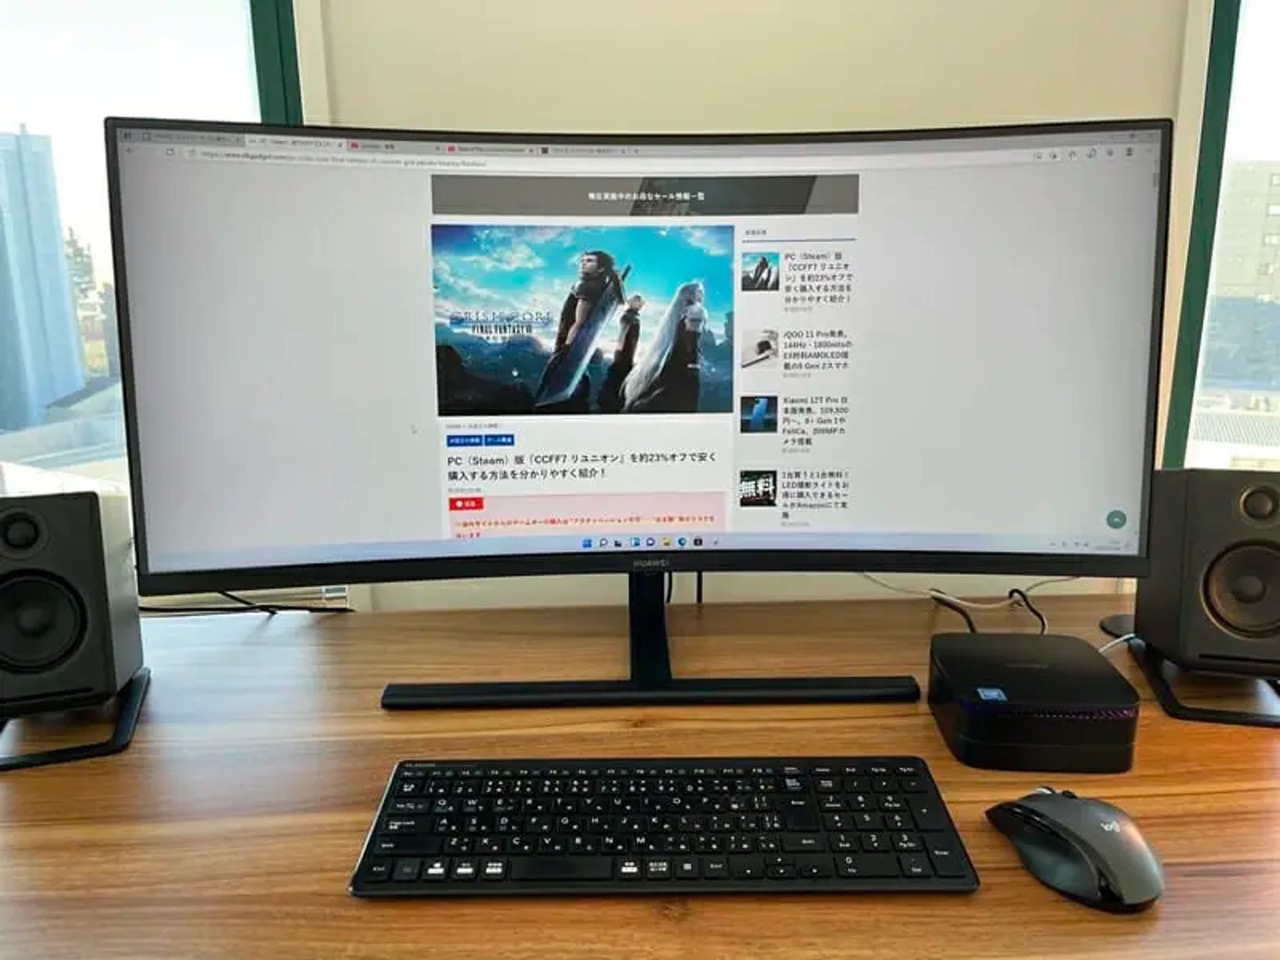
Monitor USB ports function as a built-in USB hub, allowing you to connect peripherals directly to the display instead of your computer. This means you can leave your PC tower tucked away and still enjoy quick, front-facing access to your devices. The key is understanding that these ports are not automatically active, they require a data connection to your computer, which is established via a dedicated upstream cable. Once that link is in place, the monitor acts as a convenient extension of your PC's USB ports, reducing cable clutter and making everyday connections effortless.
Identify your monitor's upstream and downstream ports
Before you connect anything, you need to tell the two types of ports apart. The upstream port is an input that bridges the monitor's hub to your computer, it's typically square-shaped (USB-B) or oval (USB-C) and is often labeled with a "U" or a "PC" icon. The downstream ports are the standard rectangular USB-A or USB-C jacks you'll see alongside them, designed for your peripherals like keyboards, mice, or flash drives. Look for the small symbol next to each port: upstream ports usually have a "PC" or "upstream" label, while downstream ports show a standard USB trident icon. If you're unsure, check your monitor's user manual, it will clearly mark which is which, and the manual is your best friend for confirming port types and capabilities.
Connect the upstream cable to your computer
This is the critical step: take the upstream cable, often a USB-B to USB-A cable that resembles a printer cable, or a USB-C to USB-C cable, and plug the square or USB-C end into the monitor's upstream port. Then, connect the other end to a USB port on your computer. This upstream connection is what activates the monitor's entire USB hub; without it, the downstream ports will not communicate with your PC. Make sure the connection is firm on both ends, as a loose fit is a common cause of failure. Once plugged in, your computer should recognize the monitor as a USB hub, and the downstream ports will become live.
Plug your devices into the monitor's downstream ports
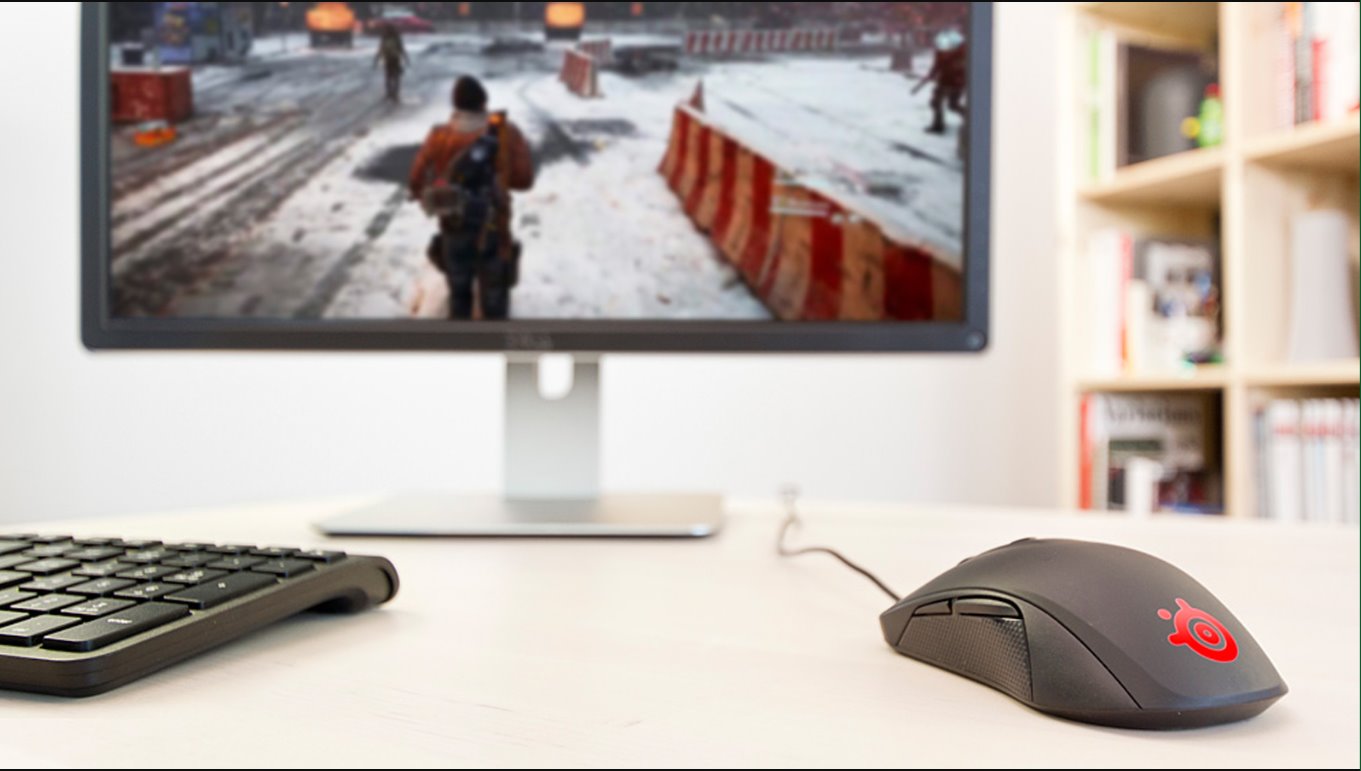
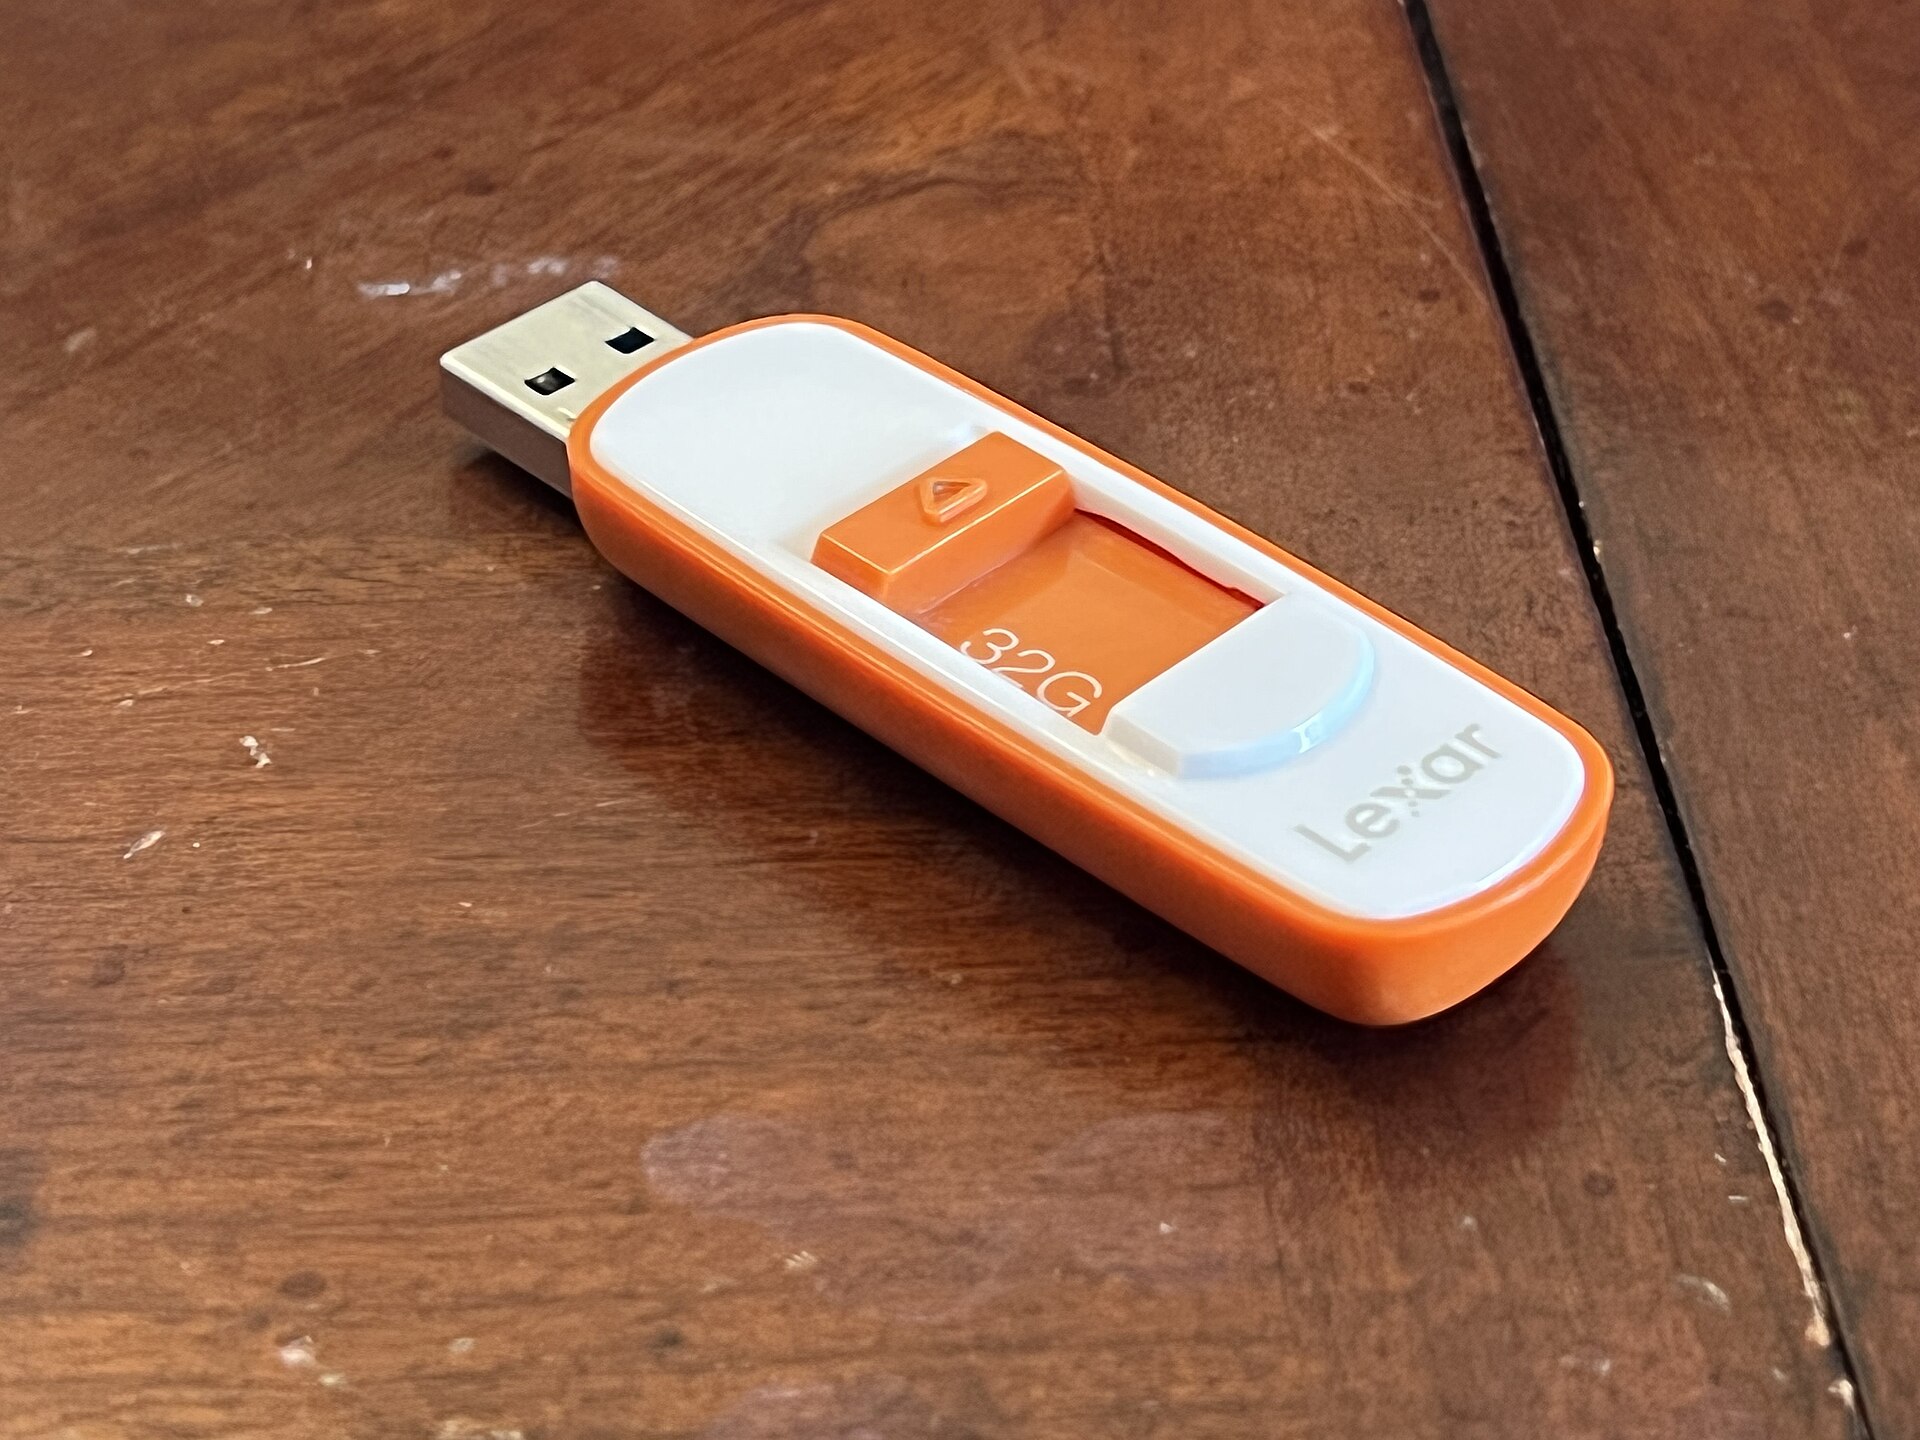
With the upstream cable connected, you can now plug your peripherals into the monitor's downstream ports. Common devices include keyboards, mice, webcams, USB headsets, and flash drives, all of which will work just as they would if plugged directly into your computer. Simply insert the USB connector firmly into any available rectangular port on the monitor. If you have multiple devices, you can connect them one by one, using separate ports for each. For optimal performance, if your monitor has both USB 2.0 and USB 3.0 ports, plug high-speed devices like external drives into the blue USB 3.0 jacks for faster data transfer. The monitor will automatically detect and recognize your devices, so you can start using them immediately.
Using a single USB-C cable for video, data, and power
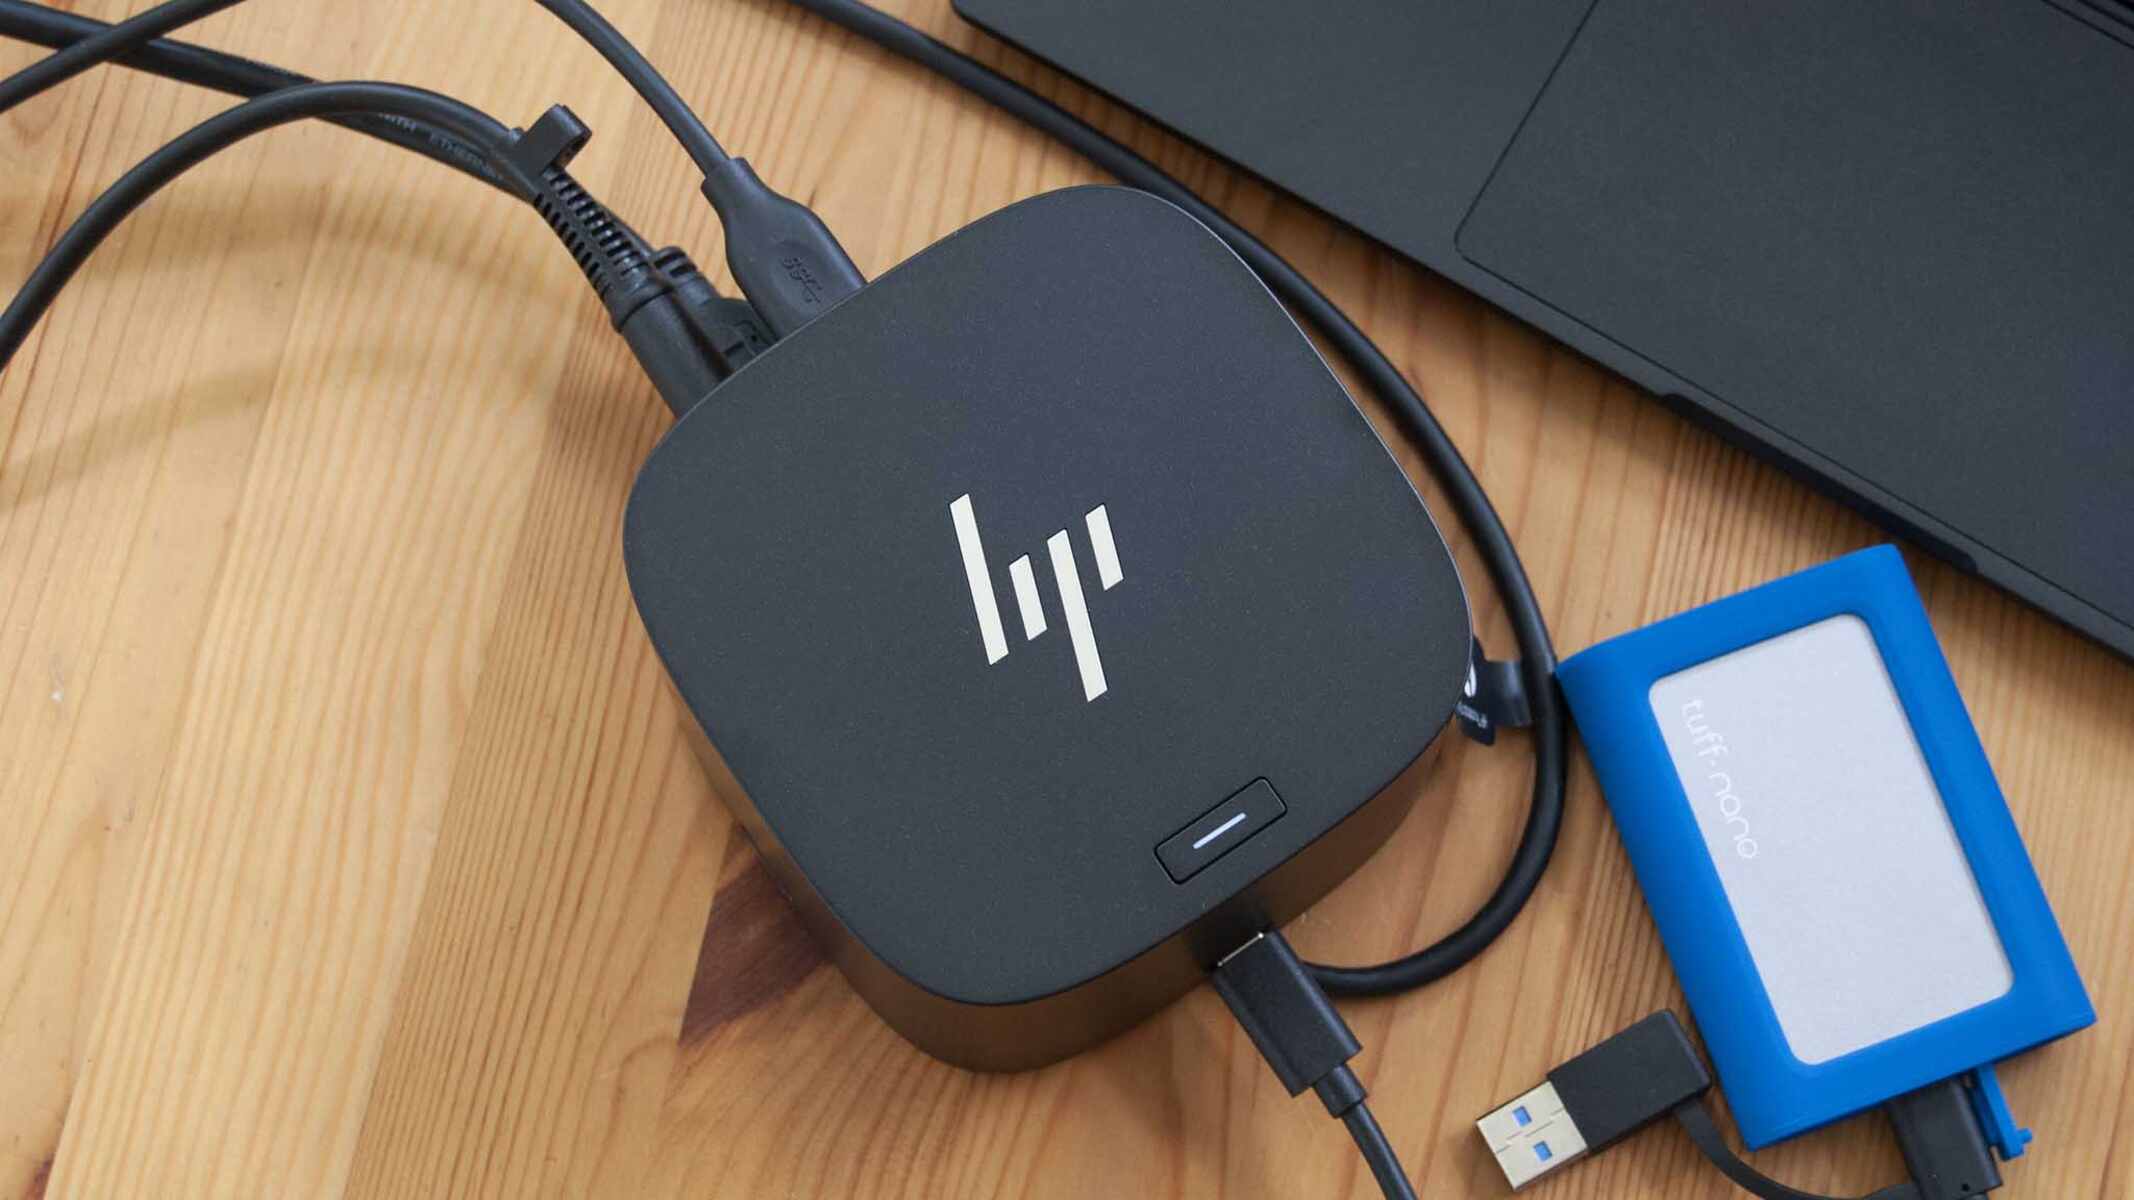
If your monitor and laptop both support USB-C with DisplayPort Alternate Mode (DP Alt Mode) and USB Power Delivery (USB-PD), you can simplify everything down to a single cable. This special case lets one USB-C connection carry video, data, and power simultaneously, meaning you can connect your laptop to the monitor and have it charge while displaying your screen and running your peripherals, all through one cable. To take advantage of this, verify that both your monitor and computer support these features; check the monitor's specifications or your laptop's manual. If they do, simply plug the USB-C cable from your laptop into the monitor's USB-C upstream port, and the monitor will handle the rest, eliminating the need for separate power and data cables.
What to avoid plugging into your monitor's USB hub
While the monitor's USB hub is great for everyday peripherals, it's not ideal for high-bandwidth devices. Avoid connecting external NVMe SSDs or 4K webcams to the monitor's USB hub if maximum speed and stability are critical, as these devices may perform better when plugged directly into your computer. The hub shares bandwidth with the upstream connection, so data-intensive tasks can slow down or cause stuttering. Additionally, remember that the monitor must be powered on for its USB ports to function, if the display is off or in standby, the hub is dead. For simple devices like a mouse or keyboard, the monitor's hub is perfectly fine, but for anything that demands top-tier transfer speeds, go straight to your PC's ports.
Troubleshooting when monitor USB ports are not working
If your monitor's USB ports suddenly stop working, start with the basics: ensure the upstream USB cable is firmly connected on both the monitor and your computer. Try a different port on the monitor or a different cable altogether, as a faulty cable is a common culprit. Next, restart both your computer and the monitor, this simple step often re-establishes the connection. For Windows PCs, check the Device Manager to see if the monitor's hub is recognized and free of errors; if you see a warning icon, right-click and update the driver. Also, confirm the monitor is powered on, not in sleep mode, and consult your user manual for any specific settings that might disable USB functionality. In most cases, these steps resolve the issue, but if problems persist, try connecting the upstream cable to a different USB port on your computer or test the monitor's ports with another device to isolate the problem.