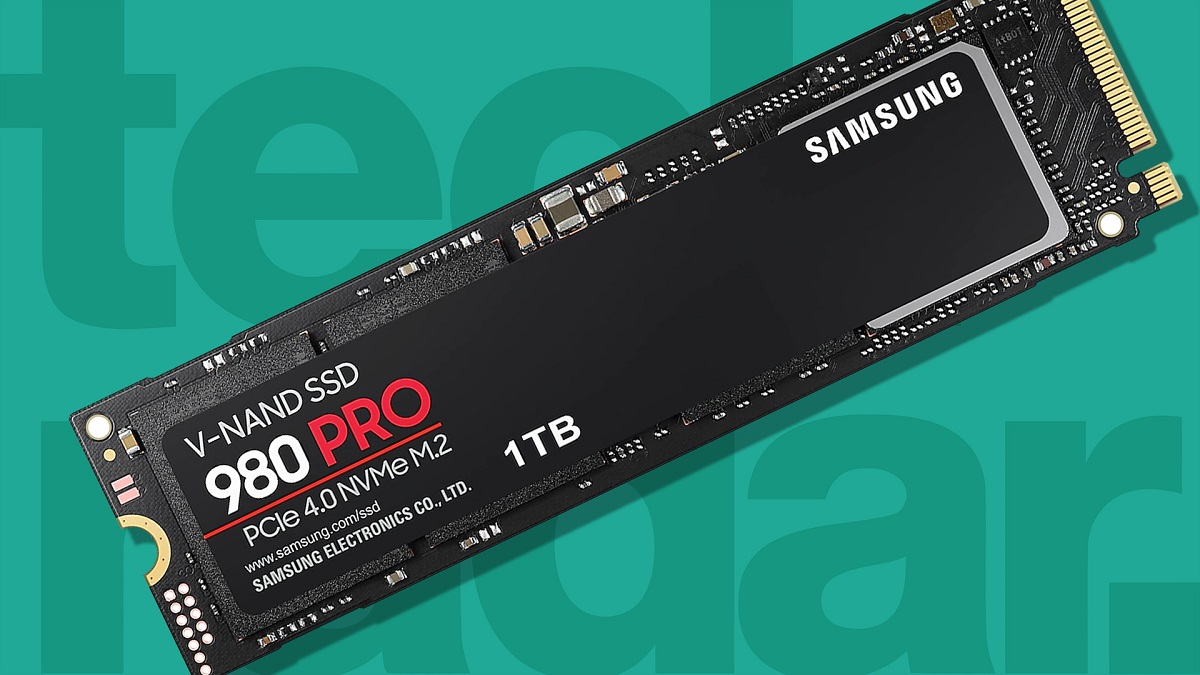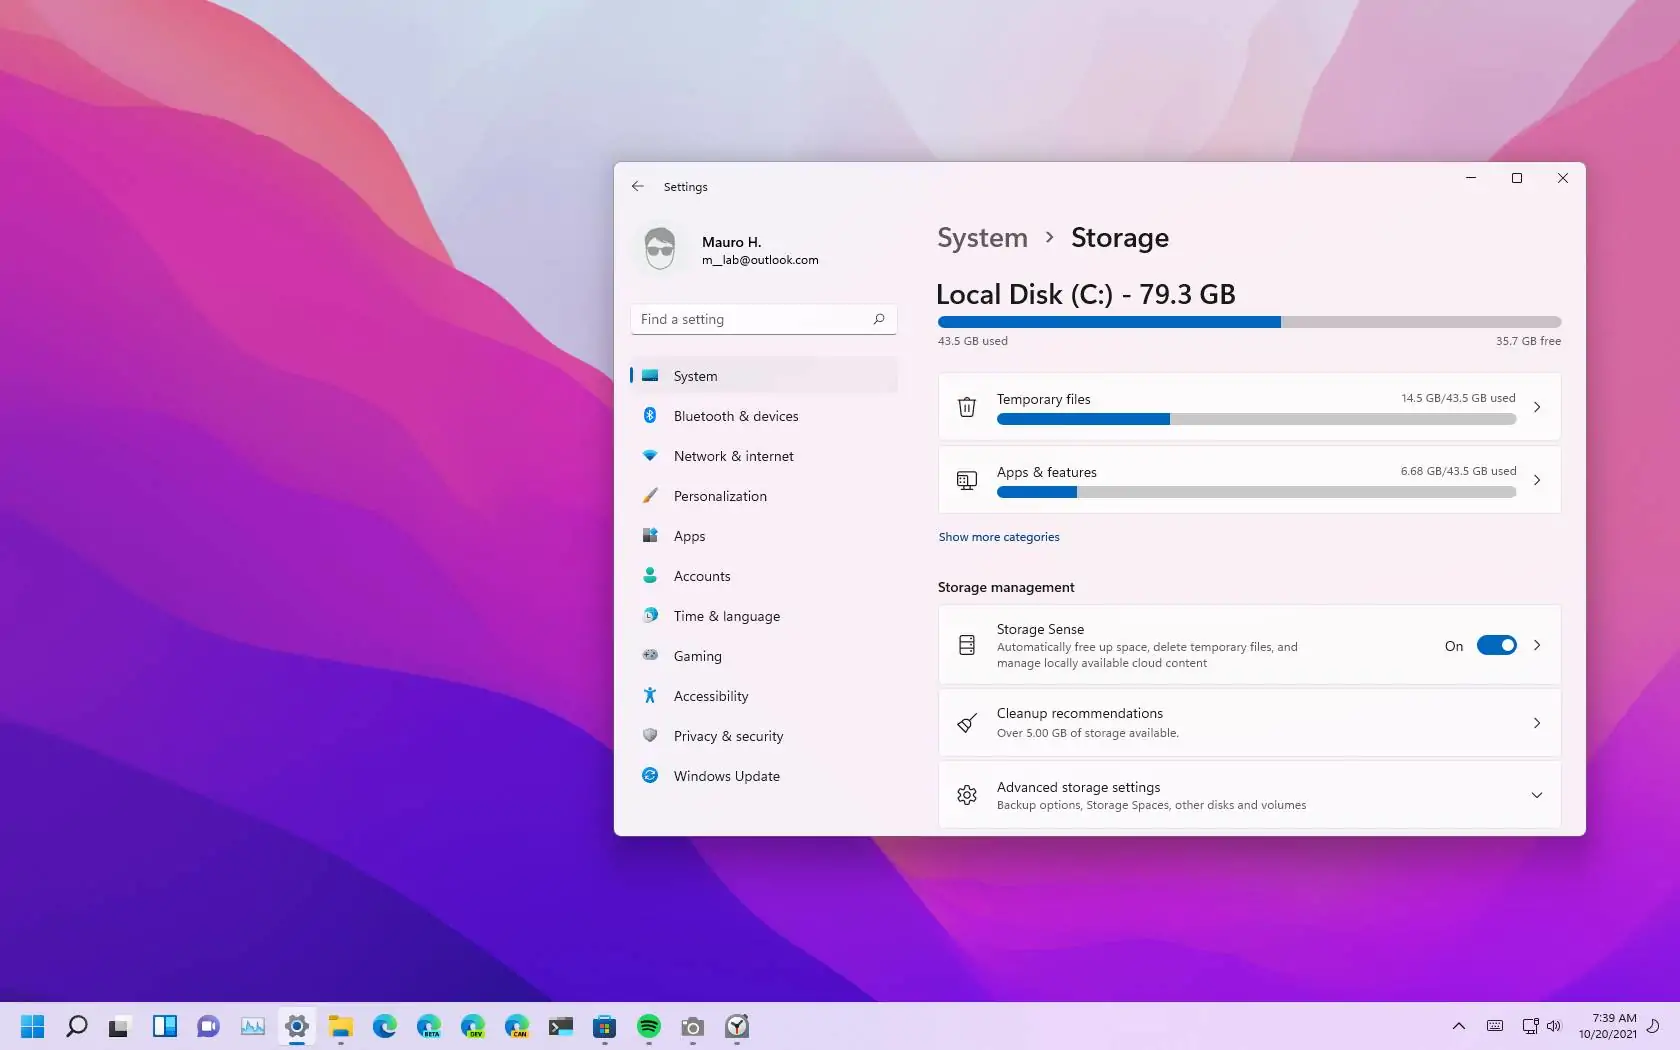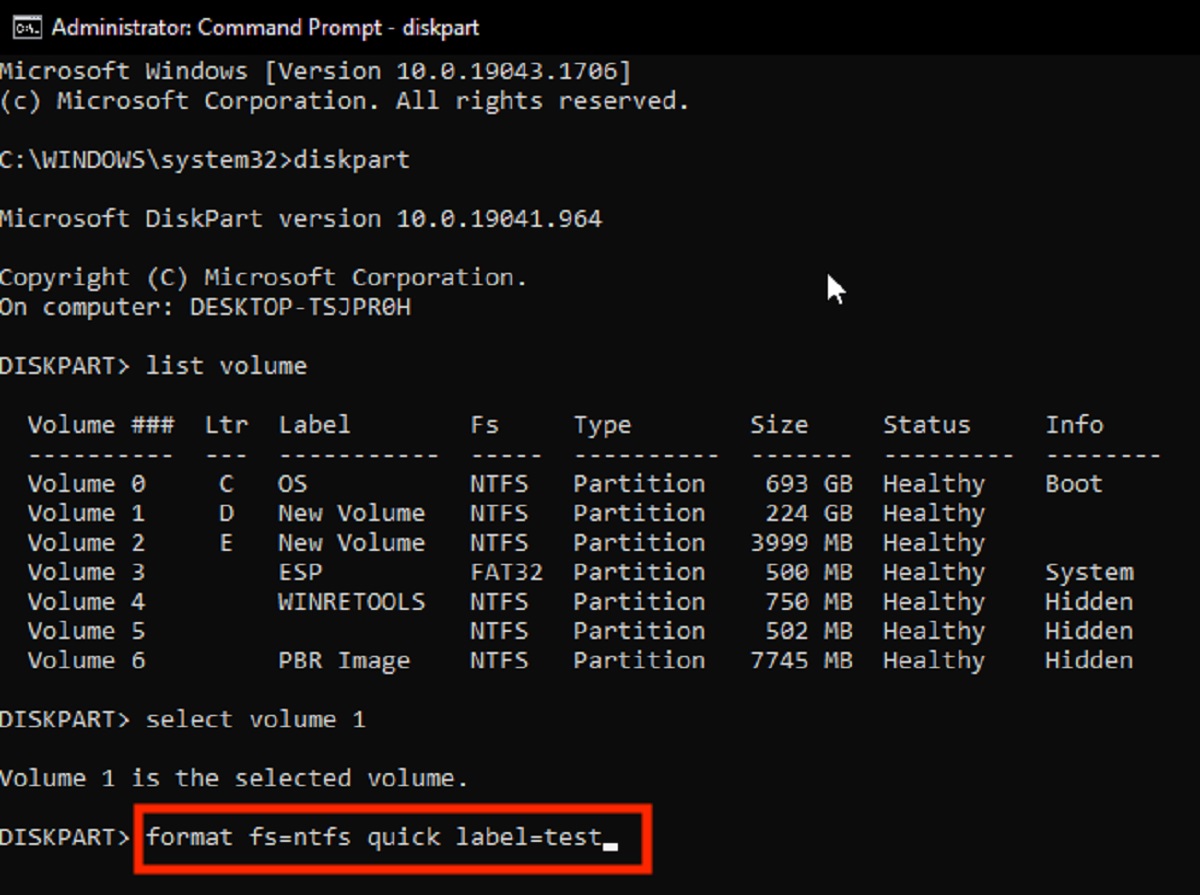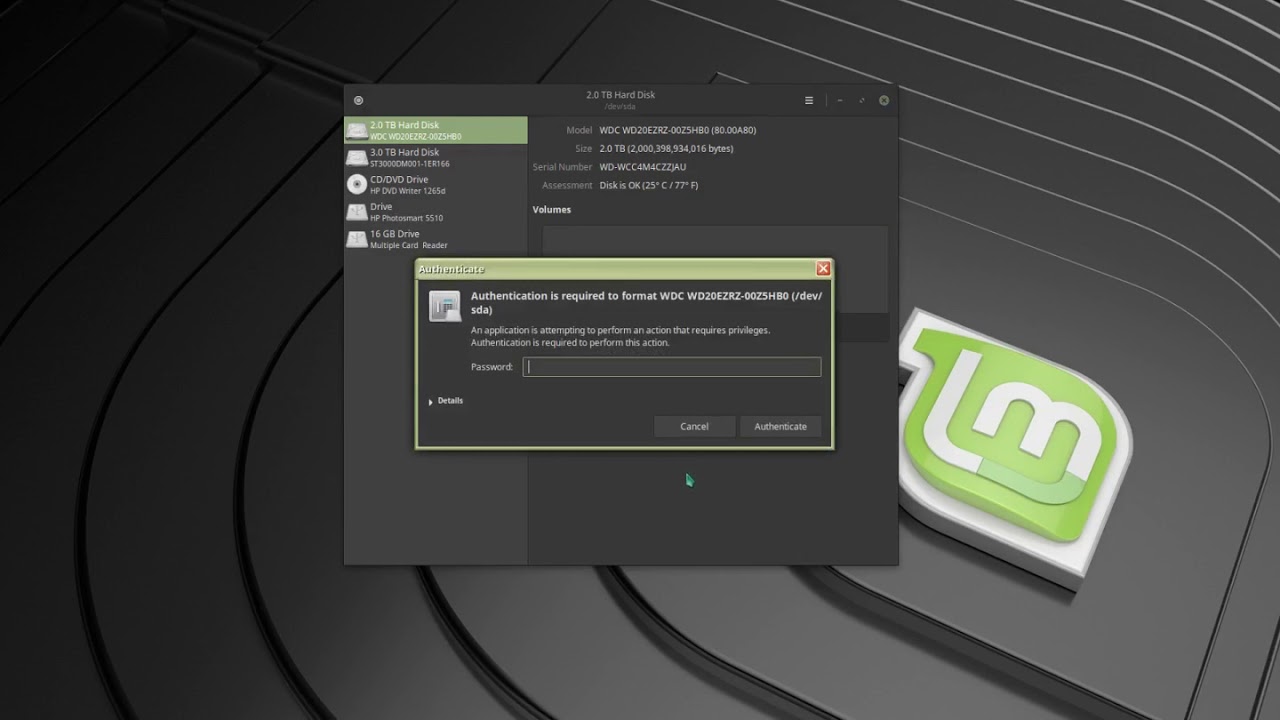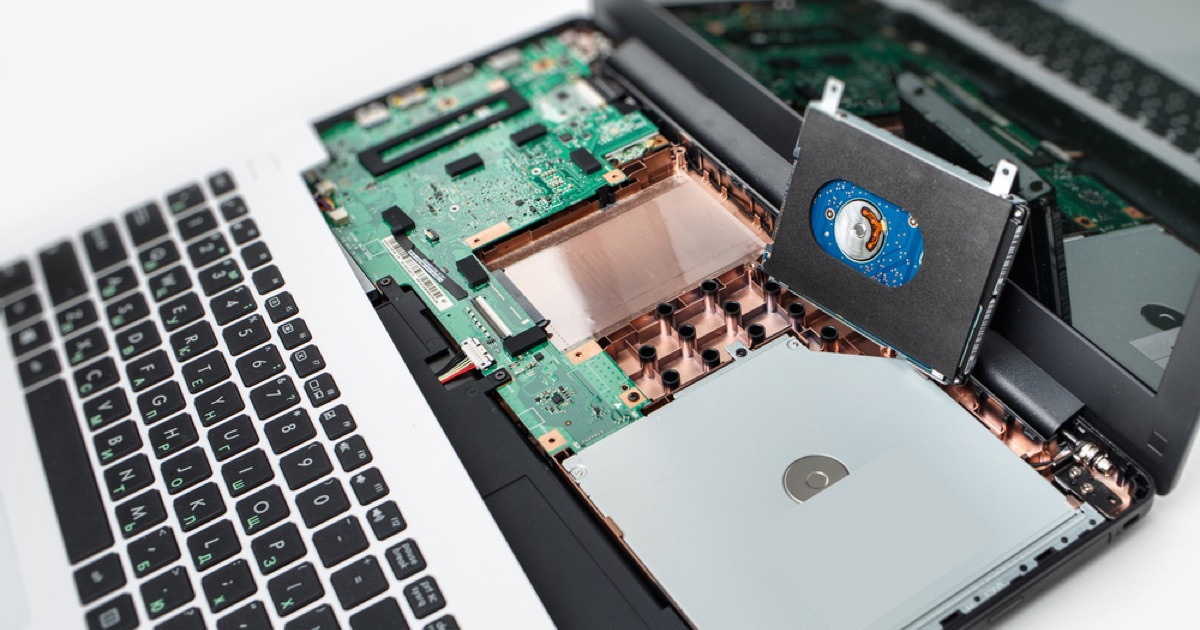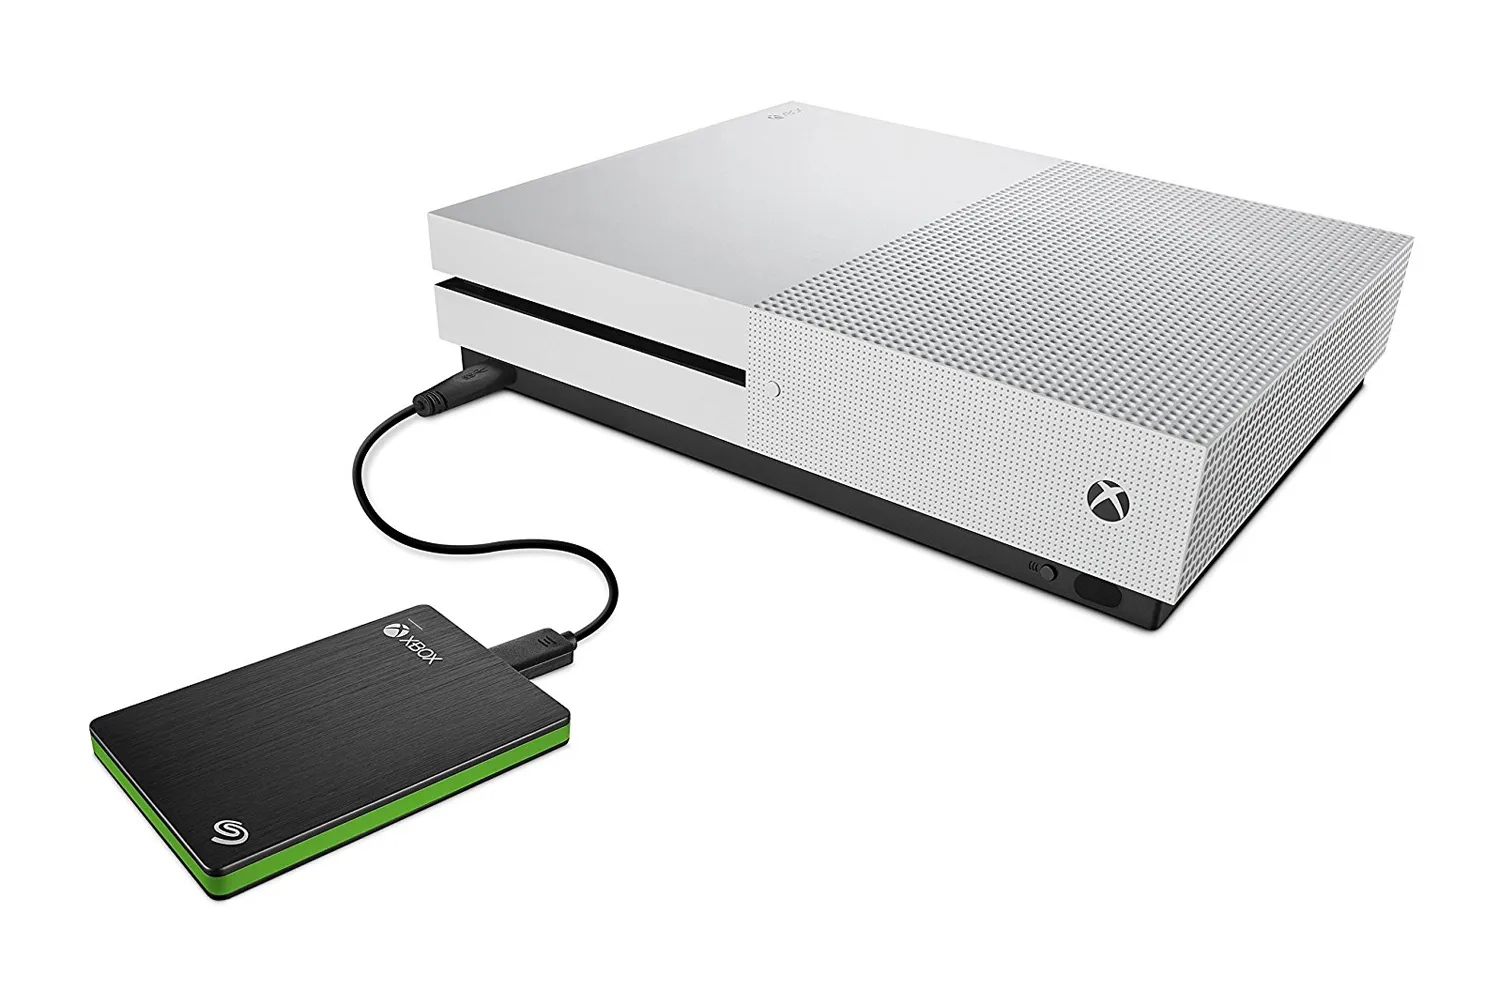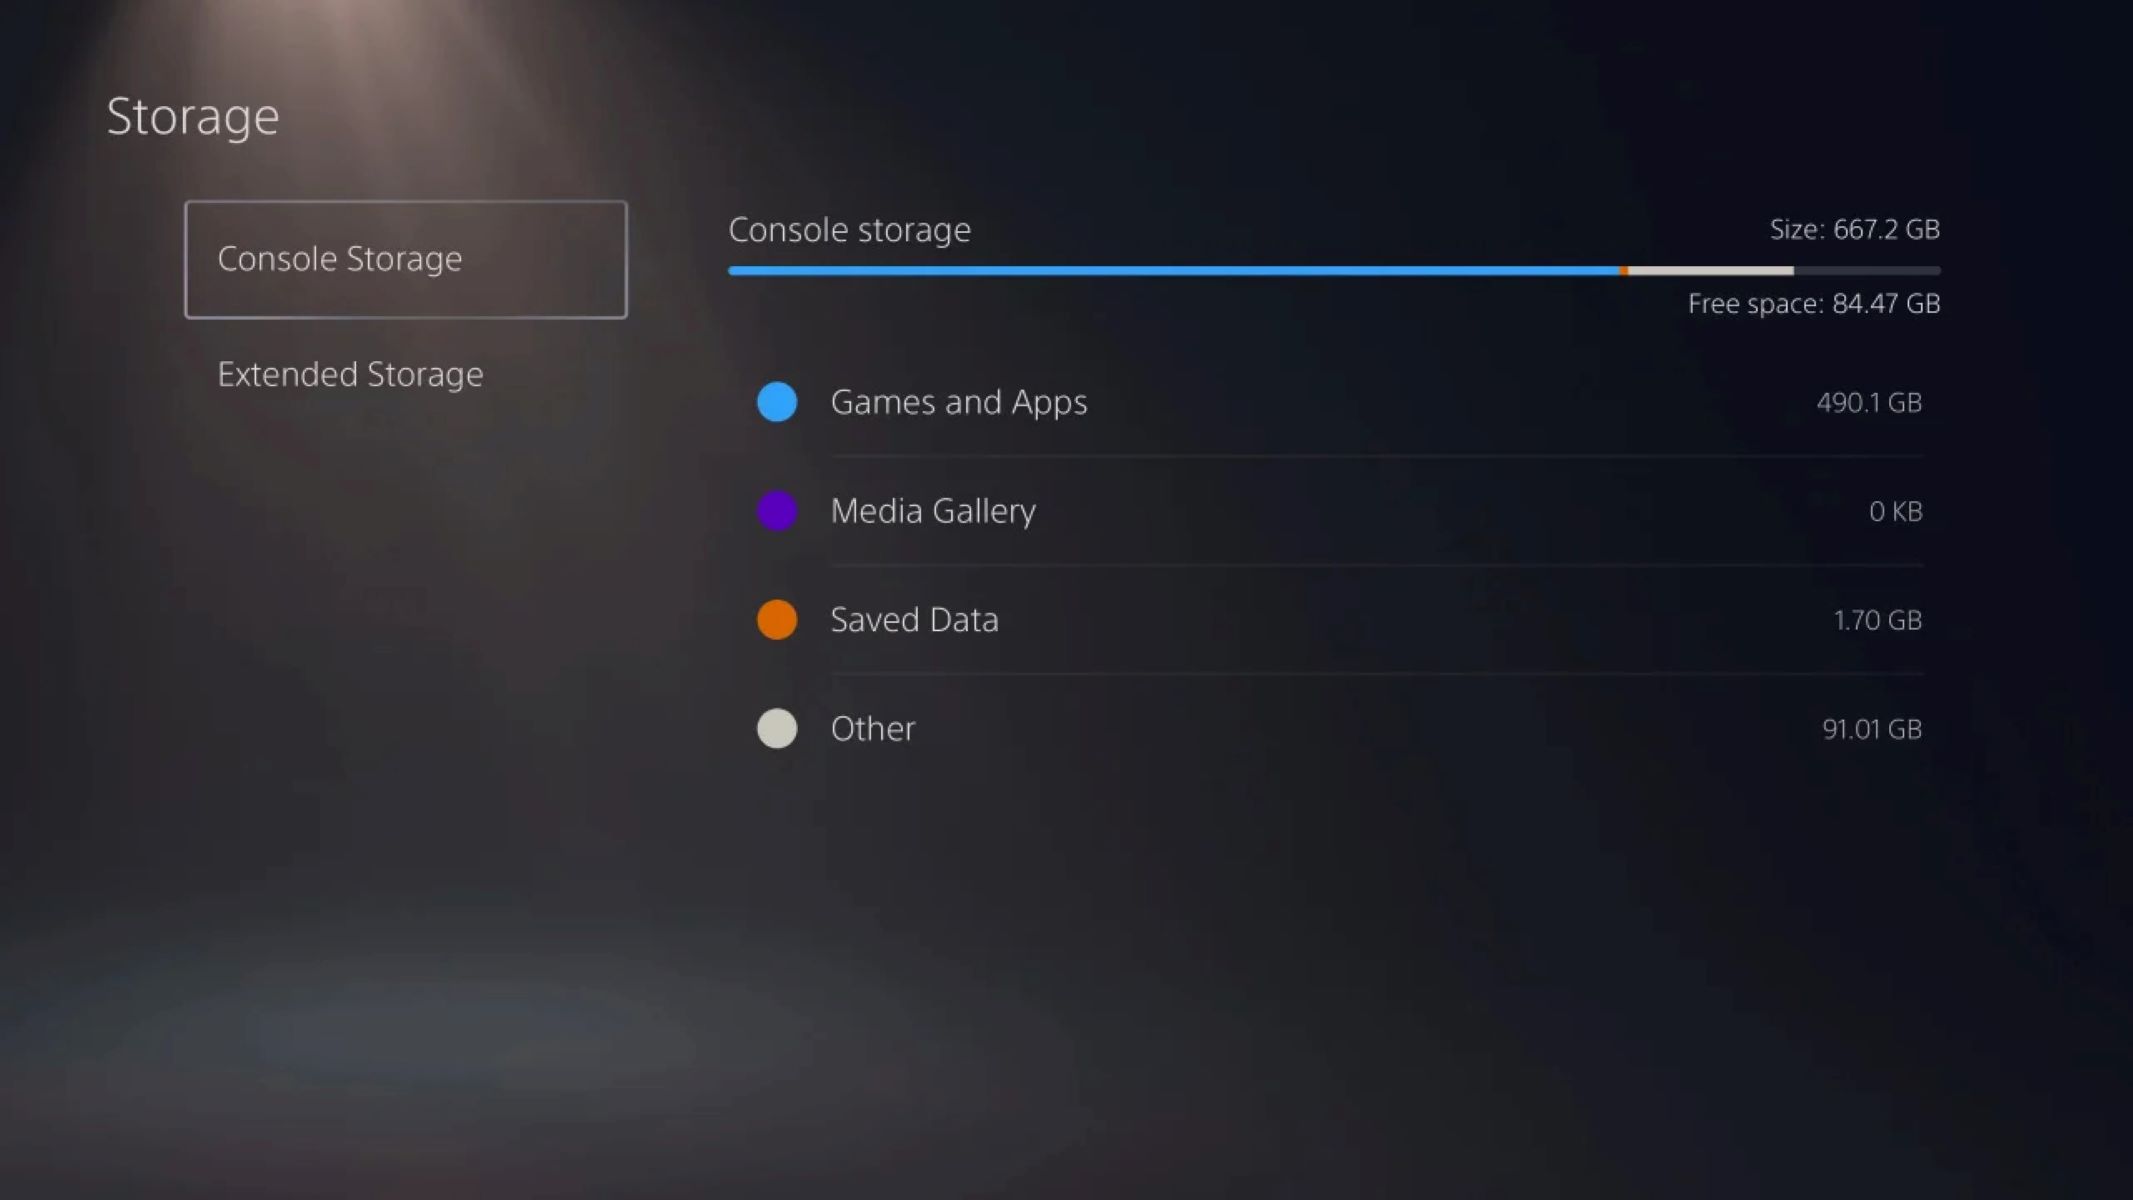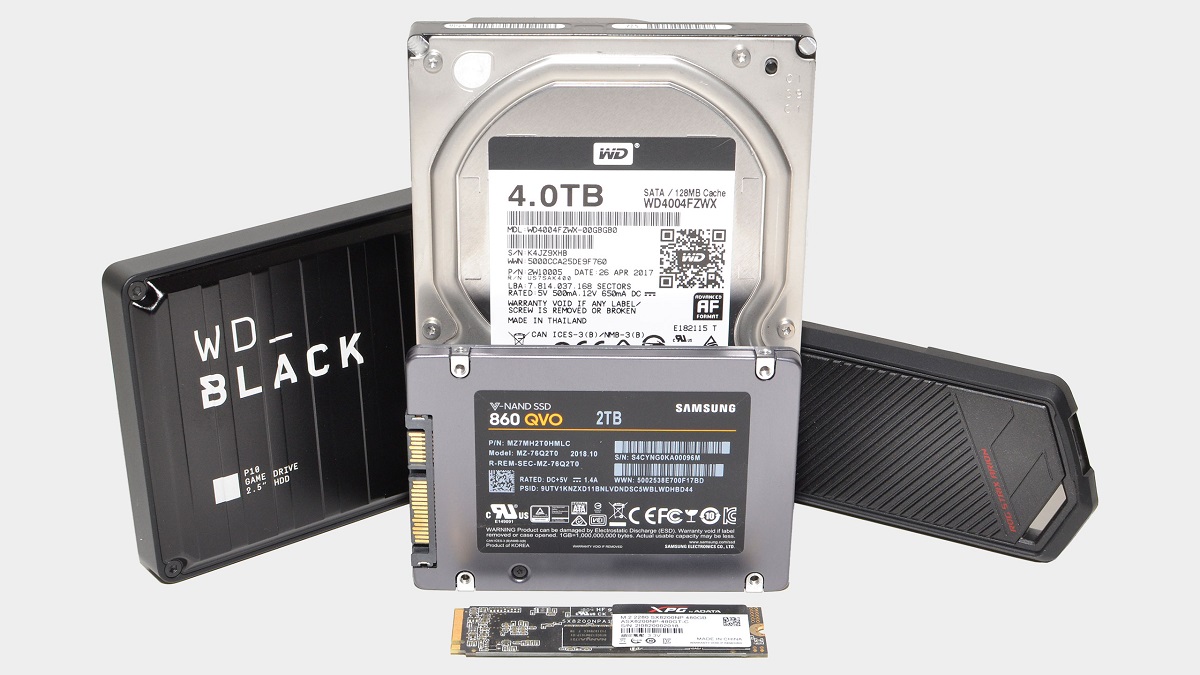
To use SSD as cache for HDD, you combine a small, fast solid-state drive with a large, slow hard disk so the system automatically stores frequently accessed data on the SSD. This gives you near-SSD speeds for boot times, app launches, and file transfers while keeping the HDD's massive storage capacity.
Before you start: check compatibility and requirements
Before you begin, verify your system supports SSD caching. Check your motherboard or computer manufacturer’s specifications for technologies like Intel Smart Response Technology, AMD StoreMI, or a mention of "SSD caching." Access your BIOS/UEFI and look for storage or cache-related options, if you see settings like "RAID mode" or "Optane," your hardware likely supports it. Alternatively, search online for your specific model plus "SSD cache" to see if others have done it. If your system lacks built-in support, third-party software like PrimoCache can still work, but you'll need to ensure your drives are properly connected and recognized. Also, be aware that SSD caching consumes a small amount of RAM for its index tables; for instance, 1GB of SSD cache can require approximately 416KB of system RAM. This overhead is negligible for most systems, but it's worth knowing before you allocate a large cache.
Set up SSD caching on Windows with Intel Optane
For Intel systems, the most reliable method is using Intel Optane Memory (or Intel Rapid Storage Technology). This requires a specific BIOS configuration before you install the software. Here’s the verified step-by-step process:
First, restart your computer and enter the BIOS. Press F7 (or DEL, F2 depending on manufacturer like MSI, ASUS, ASRock/CyberPowerPC) to go to the advanced mode. Once in advanced mode, navigate to `Settings > Boot > Boot Configuration` and check `Boot Mode Select = UEFI`. Then go to `Settings > Advanced > Windows OS Configuration` and ensure `Windows* 8.1/10 WHQL Support` is enabled. Next, go to `Settings > SATA Configuration` and check the following options: `SATA Mode: RAID/Optane™ Mode`, `M.2 Genie: Enabled -M.2_1`, and `RST PCIe Storage Remapping: Enabled`. For ASRock/CyberPowerPC, select `SATA Mode Selection` and set it to `RAID/Optane`. Save and exit the BIOS.
After Windows boots, download and install the Intel Rapid Storage Technology (IRST) utility from Intel’s official site. Open the software, and it should detect your Optane module and HDD. Follow the on-screen prompts to enable acceleration, typically you’ll select the HDD as the "accelerated" drive and the Optane SSD as the cache device. The software will then automatically manage caching. You can verify it's working by checking the IRST dashboard, which shows cache status and hit rates. This method is the most stable and officially supported for Intel platforms.
Set up SSD caching on Windows with third-party software
If you don’t have an Intel Optane-compatible system, third-party software like PrimoCache offers a flexible alternative. Install PrimoCache, then open its main interface. After enabling, PrimoCache will automatically cache frequently accessed data. Monitor its dashboard for hit rates and adjust the cache size if needed. This approach works on any hardware and gives you granular control.
Set up SSD caching on macOS
macOS uses a feature called Fusion Drive to combine an SSD and HDD into a single logical volume, where the system automatically caches frequently used files on the SSD. Warning: this permanently merges the two drives into one volume, you cannot separate them later without erasing everything. To create a Fusion Drive, open Terminal and use the `diskutil` command. First, identify your drives with `diskutil list`, then unmount both drives with `diskutil unmountDisk /dev/diskX` (replace X with your SSD and HDD identifiers). Then run: `diskutil coreStorage create Fusion `. After that, create a volume with `diskutil coreStorage createVolume JHFS+ "Macintosh HD" 100%`. macOS will handle caching automatically, you don't need to configure anything else. Just ensure both drives are connected and recognized in Disk Utility before starting.
Set up SSD caching on Linux with bcache
Linux users can use bcache, a kernel module that provides SSD caching for HDDs. First, install the tools: on Debian/Ubuntu, run `sudo apt install bcache-tools`. Then identify your drives with `lsblk`, note the device names (e.g., /dev/sda for HDD, /dev/sdb for SSD). Create the backing device (HDD) and cache device (SSD) with these commands: `sudo make-bcache -B /dev/sda` and `sudo make-bcache -C /dev/sdb`. Next, register both devices: `sudo echo /dev/sda > /sys/fs/bcache/register` and `sudo echo /dev/sdb > /sys/fs/bcache/register`. You'll now see a new device like /dev/bcache0. Format it with a filesystem: `sudo mkfs.ext4 /dev/bcache0`, then mount it. To make it permanent, add the bcache device to /etc/fstab. Finally, attach the cache to the backing device: `sudo echo /dev/sdb > /sys/block/bcache0/bcache/attach`. Your system will now use the SSD as a cache automatically.
Monitor and manage your SSD cache
Once your cache is running, you need to keep an eye on its performance. On Windows with Intel Optane, the IRST dashboard shows cache hit rates and lets you adjust settings. For PrimoCache, its main window displays real-time read/write hit ratios. On macOS, Fusion Drive caching is invisible, but you can check disk activity in Activity Monitor to see if the SSD is being used. On Linux with bcache, use `cat /sys/block/bcache0/bcache/stats` to view hit rates and `cat /sys/block/bcache0/bcache/cache_mode` to check the caching mode. If you ever need to reset an Intel Optane module, enter the BIOS, go to `Settings > Advanced > Intel Rapid Storage Technology`, select the Intel PCIe (Optane module with serial number), and then select `Reset to non-Optane`. This will disable caching and restore the SSD to normal storage. Regularly update your caching software and SSD firmware to ensure stability and performance.
\nRelated reading: What Is 1TB SSD Mean, How Much Space Does Windows 11 Take On SSD, and How To Format A SSD In Command Prompt.