Introduction
Welcome to the world of USB Ethernet adapters! As technology continues to advance, it’s becoming increasingly important for our devices to be connected to the internet at all times. While most computers come with built-in Ethernet ports, there are situations where you might need to connect to a wired network using a device that doesn’t have one. This is where the USB Ethernet adapter comes to the rescue.
A USB Ethernet adapter is a small device that allows you to connect your computer, laptop, or tablet to an Ethernet network using a USB port. It provides a fast and reliable wired internet connection, ensuring seamless and uninterrupted browsing, gaming, or streaming experiences.
Whether you’re a professional working from home, a student needing a stable internet connection for online classes, or simply someone who prefers the speed and reliability of a wired connection, a USB Ethernet adapter is a valuable tool to have in your arsenal.
In this article, we will explore the advantages of using a USB Ethernet adapter, the compatibility and requirements for using one, and provide you with a step-by-step guide on how to use a USB Ethernet adapter to connect to a wired network. So, let’s dive in!
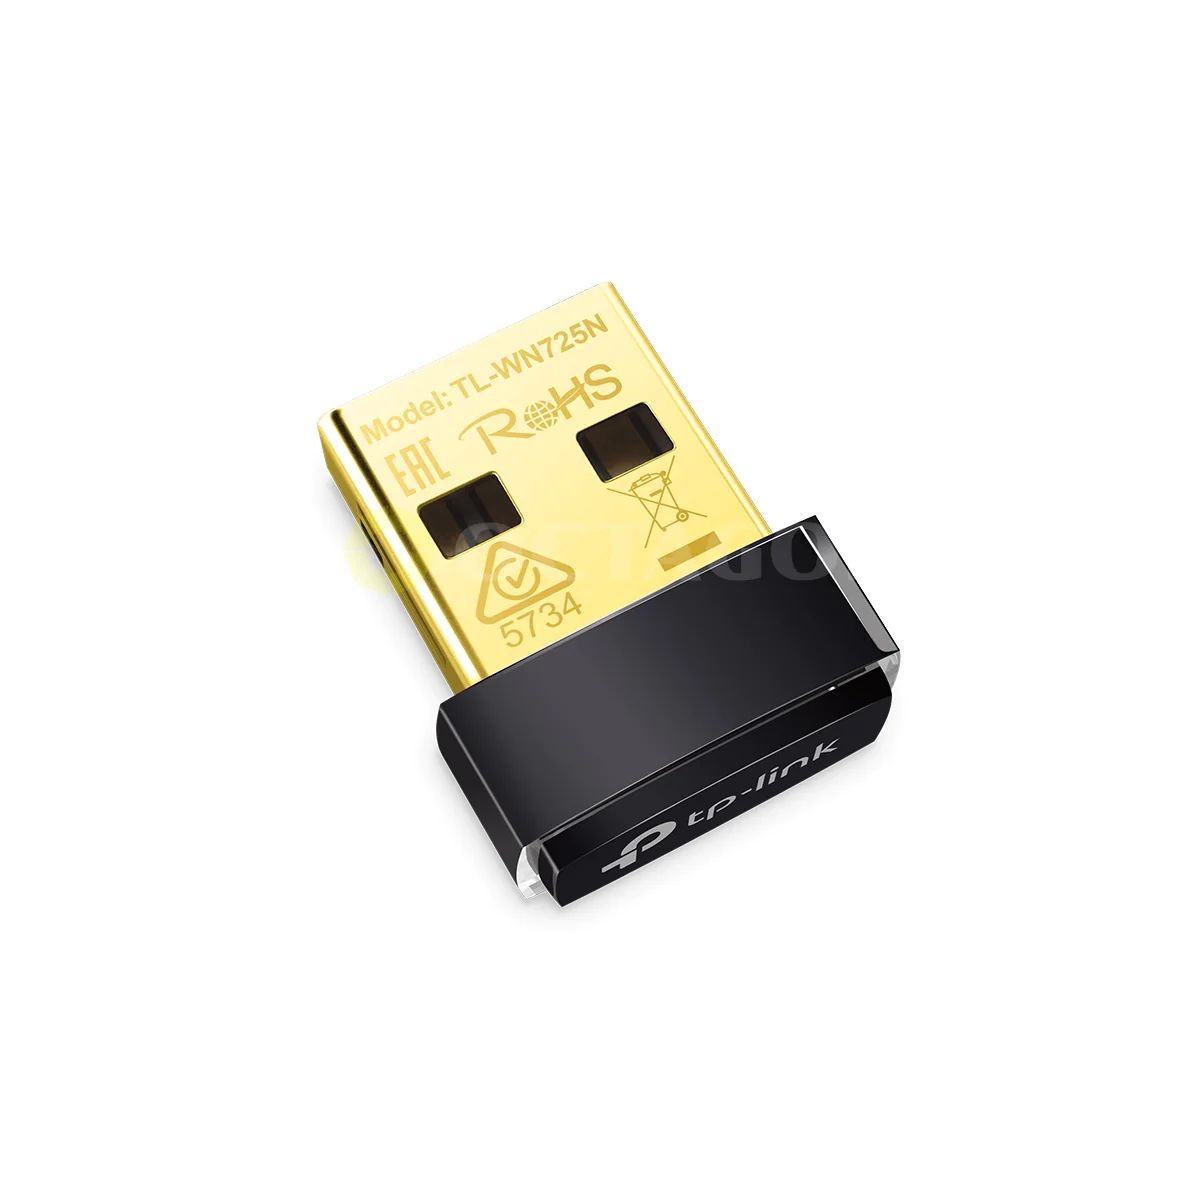
What is a USB Ethernet Adapter?
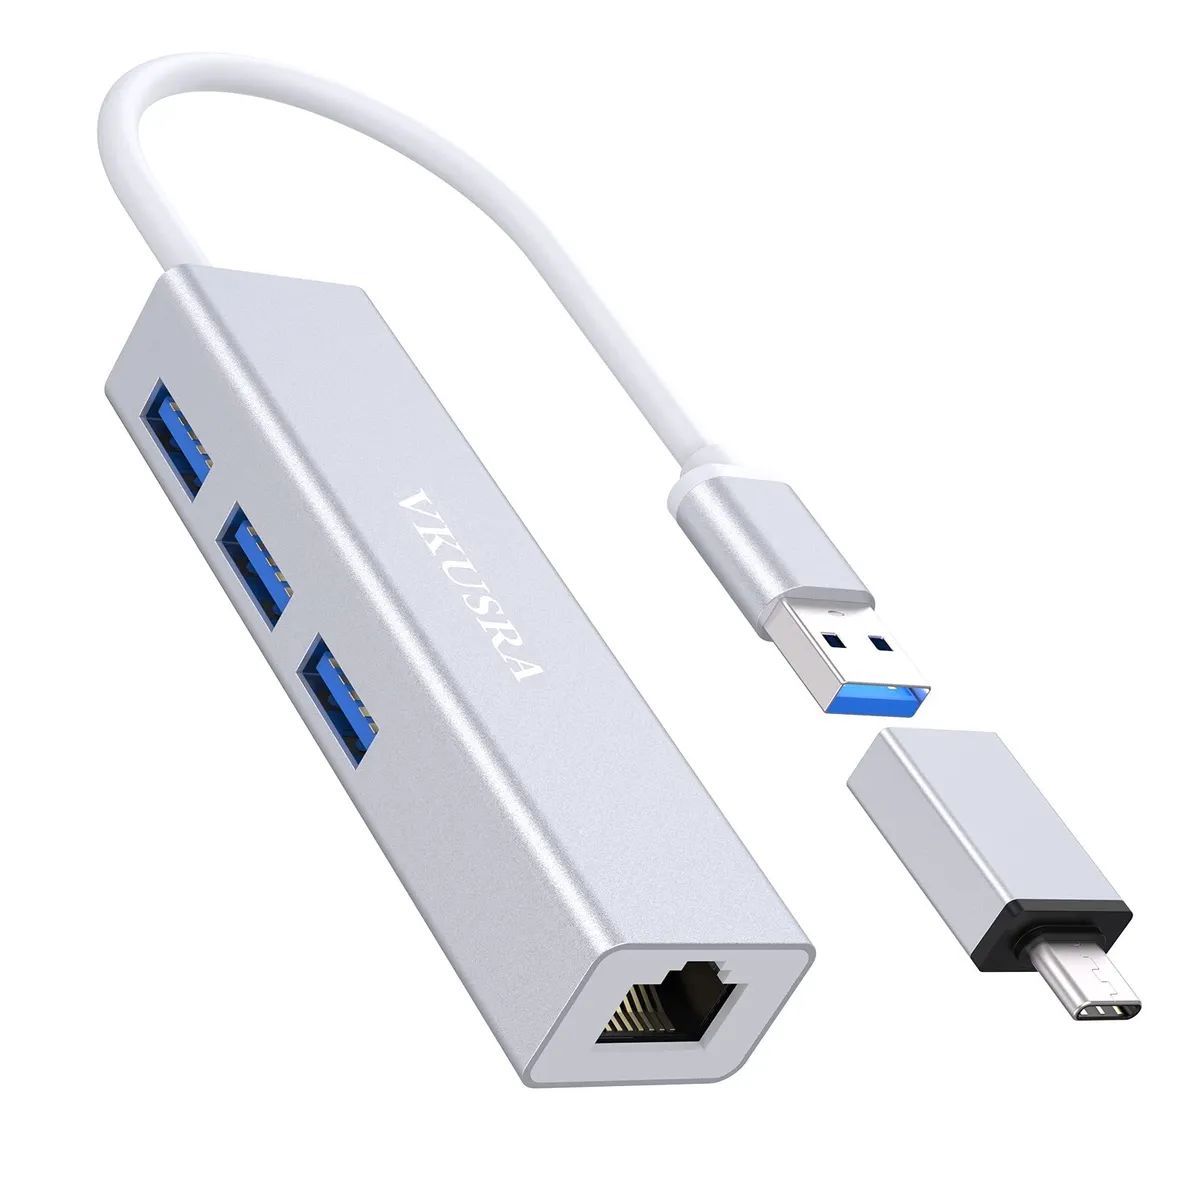
A USB Ethernet adapter is a small device that enables you to connect your computer to an Ethernet network using a USB port. It essentially acts as a bridge between your computer’s USB port and the Ethernet connection, allowing you to enjoy all the benefits of a wired network connection.
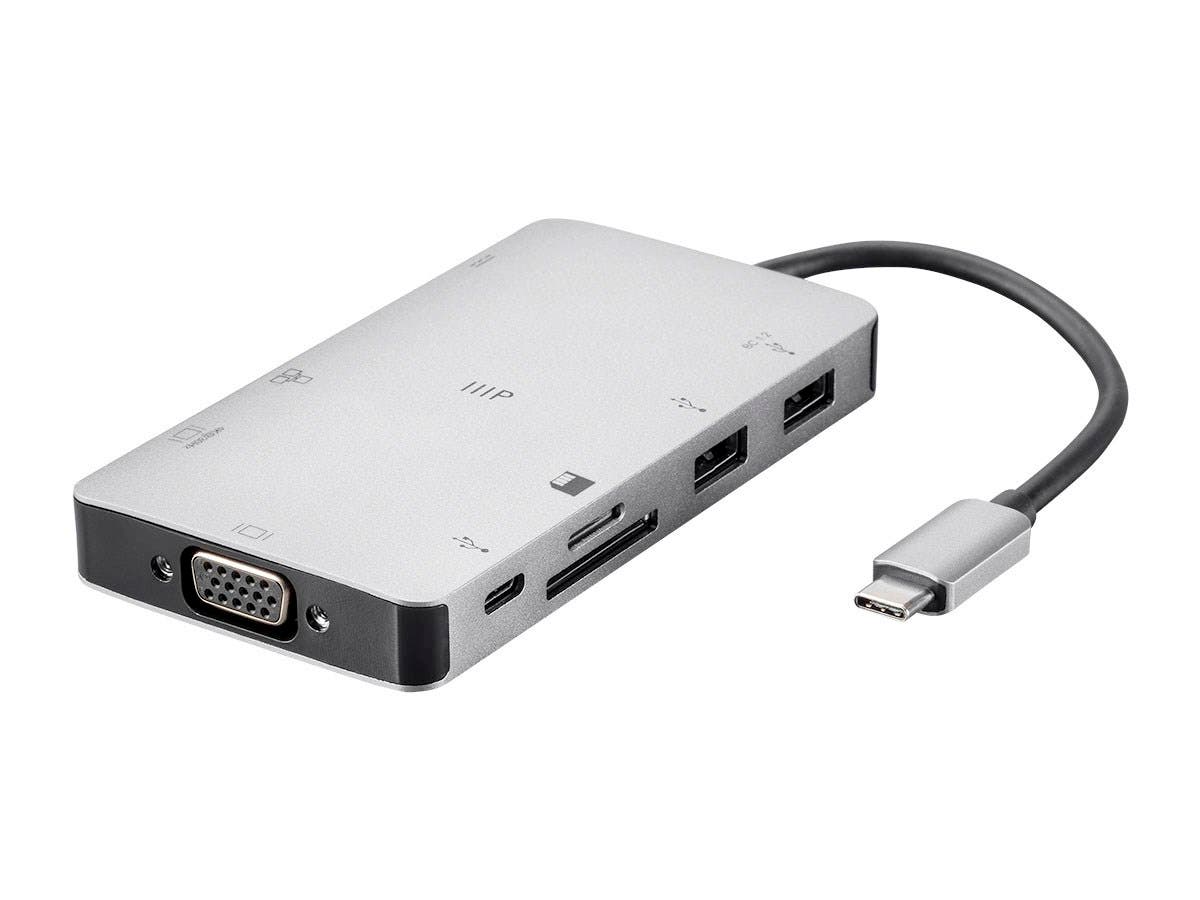
The adapter consists of a USB connector on one end, which plugs into your computer or laptop’s USB port, and an Ethernet port on the other end, where you connect the Ethernet cable. Some USB Ethernet adapters also come with an additional USB port, allowing you to charge your device or connect other USB peripherals simultaneously.
The main advantage of using a USB Ethernet adapter is that it provides a fast, reliable, and secure internet connection. While wireless connections, like Wi-Fi, are commonly used in today’s digital landscape, they can sometimes be prone to interference or instability, leading to slower speeds or occasional drops in connectivity. With a USB Ethernet adapter, you can enjoy a steady and consistent internet connection without worrying about signal quality or interference.
USB Ethernet adapters also come in handy when you have a device that doesn’t have a built-in Ethernet port. Nowadays, many ultrabooks, tablets, and even some desktop computers prioritize slimness and portability over including Ethernet ports. In such cases, a USB Ethernet adapter provides a convenient solution to connect these devices to a wired network.
Furthermore, using a USB Ethernet adapter can be beneficial in scenarios where you need high-speed internet access, such as for online gaming, streaming high-definition videos, or downloading large files. These activities require a stable and fast connection, which a USB Ethernet adapter can provide.
In the next section, we will explore the various advantages of using a USB Ethernet adapter in more detail, so stay tuned!
Advantages of Using a USB Ethernet Adapter
Using a USB Ethernet adapter offers several advantages that make it a valuable tool for connecting to a wired network. Let’s explore some of the key benefits:
- Faster and more reliable connection: One of the primary advantages of using a USB Ethernet adapter is the improved speed and reliability it offers compared to wireless connections. Wired Ethernet connections provide higher data transfer rates, reduced latency, and a more stable connection, making them ideal for bandwidth-intensive tasks like online gaming, video streaming, or large file transfers.
- Improved security: While wireless networks are susceptible to hacking or unauthorized access, wired connections provide a more secure environment. By using a USB Ethernet adapter, you can ensure that your data transmission is less vulnerable to interception, increasing your overall network security.
- Increased compatibility: USB Ethernet adapters are compatible with a wide range of devices, including laptops, desktop computers, tablets, and even gaming consoles. Whether you have a device without a built-in Ethernet port or you want to add an additional network connection to your existing setup, a USB Ethernet adapter can easily meet your needs.
- Ease of use: USB Ethernet adapters are incredibly user-friendly. Simply plug the adapter into an available USB port on your device, connect the Ethernet cable to the adapter’s Ethernet port, and you’re ready to go. Most adapters are also plug-and-play, meaning there’s no need for complex configurations or additional software installation.
- Flexibility: By using a USB Ethernet adapter, you can enjoy the flexibility of a wired network connection while still having the option to switch back to a wireless connection if needed. This is particularly useful when you’re traveling or in an area where Wi-Fi signals are weak or unreliable.
Overall, a USB Ethernet adapter offers a reliable, secure, and fast internet connection, making it a valuable accessory for anyone who requires a stable network connection for their work, studies, or leisure activities.
In the next section, we will delve into the compatibility and requirements of using a USB Ethernet adapter. Stick around to learn more!
Compatibility and Requirements
USB Ethernet adapters are designed to be compatible with a wide range of devices and operating systems. Before purchasing an adapter, it’s essential to check its compatibility with your specific device. Here are some key considerations:
- Device Compatibility: USB Ethernet adapters are generally compatible with laptops, desktop computers, tablets, and some gaming consoles. Ensure that your device has an available USB port for connecting the adapter.
- Operating System Compatibility: Most USB Ethernet adapters are compatible with popular operating systems such as Windows, macOS, Linux, and Chrome OS. Make sure to check if the adapter supports your specific operating system version.
- USB Port Type: USB Ethernet adapters are available in different versions, including USB 2.0 and USB 3.0. Determine the USB port type on your device and choose an adapter that matches the port type for optimal performance.
- Power Source: While many USB Ethernet adapters draw power from the connected device, some may require an additional power source. Ensure that your device can provide sufficient power or check if the adapter comes with an external power option if needed.
- Network Compatibility: USB Ethernet adapters support various network types, such as Ethernet, Fast Ethernet, and Gigabit Ethernet. Check the supported network standards of the adapter to ensure compatibility with your wired network infrastructure.
Once you have confirmed the compatibility of the USB Ethernet adapter with your device, there are no additional complex requirements for using it. The adapter typically comes with the necessary drivers or software, making it a hassle-free setup process.
In the next section, we will provide a step-by-step guide on how to connect and use a USB Ethernet adapter. Stay tuned!
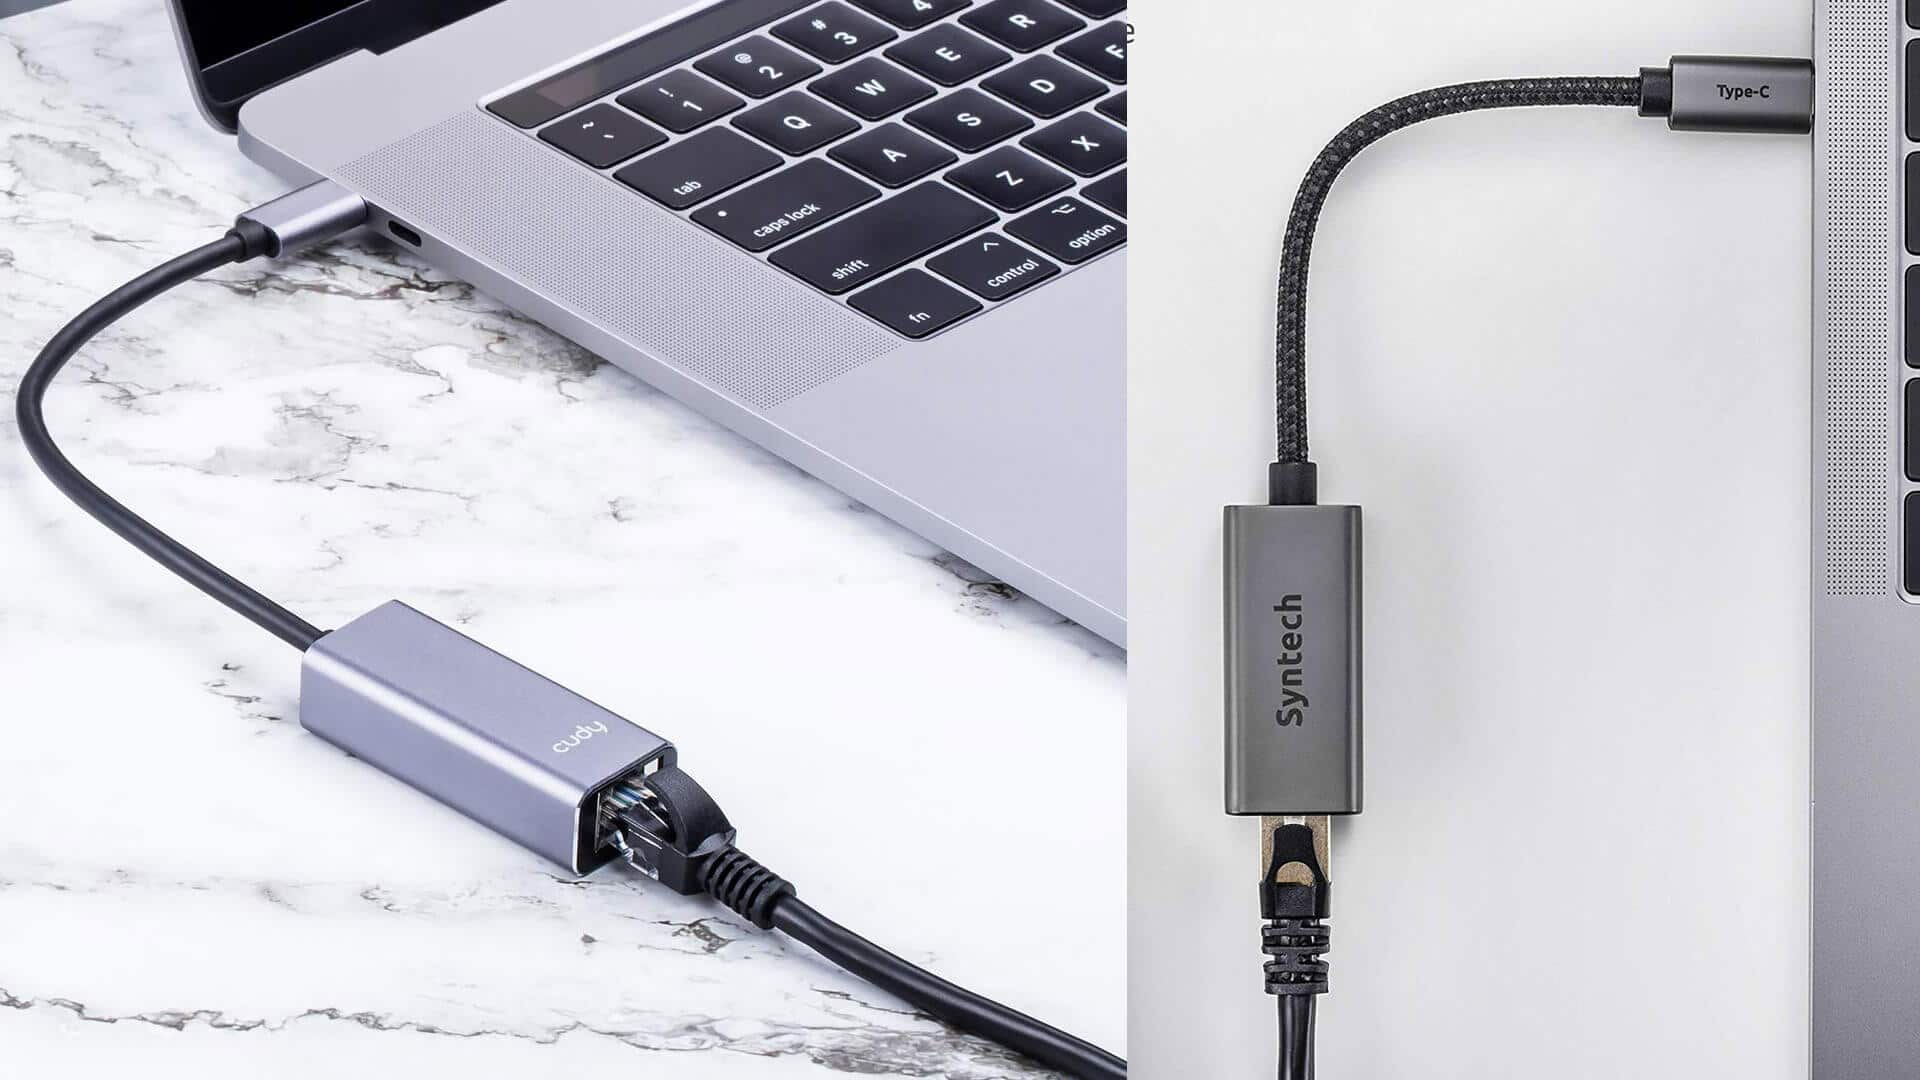
Step 1: Connecting the USB Ethernet Adapter to your Computer
Connecting a USB Ethernet adapter to your computer is a simple process. Follow these steps to get started:
- Locate an available USB port: Examine your computer or laptop to find an available USB port. Most devices have multiple USB ports located on the sides or back of the device.
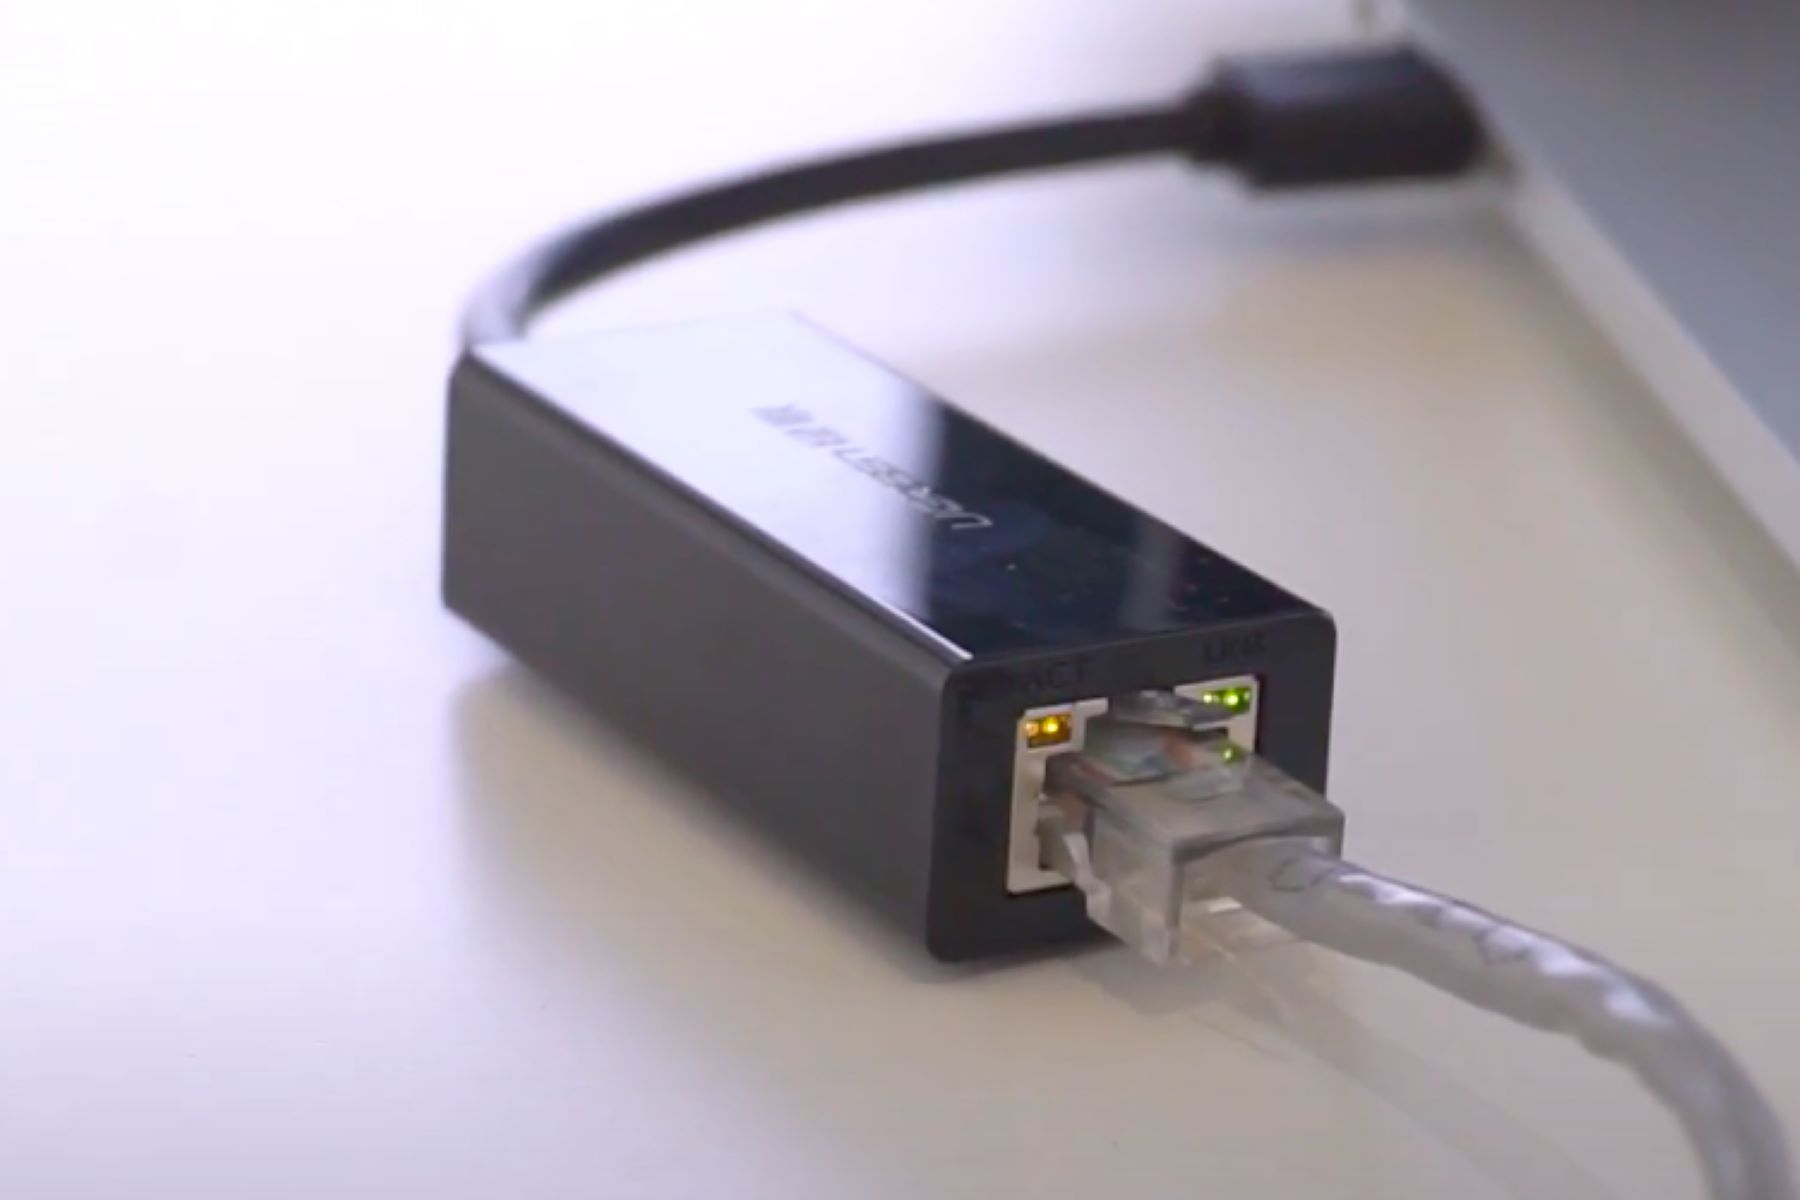
- Insert the USB Ethernet adapter: Take your USB Ethernet adapter and insert the USB connector into the available USB port on your computer. Ensure that the adapter is securely plugged in, establishing a stable connection.
- Confirm the connection: Once connected, your computer should recognize the USB Ethernet adapter and may display a notification indicating a new device has been detected. If prompted, allow the operating system to install the necessary drivers for the adapter.
- Position the adapter: Depending on the design of your USB Ethernet adapter, it may protrude from the side or back of your computer. Position the adapter in a way that doesn’t obstruct other ports or interfere with the placement of the device.
That’s it! You have successfully connected the USB Ethernet adapter to your computer. Now, it’s time to move on to the next step of installing the drivers to ensure proper functionality.
Note: Some USB Ethernet adapters may have additional features or options, such as an extra USB port or LED indicators. Refer to the instructions provided with your specific adapter for any additional setup instructions.
Continue reading for step-by-step instructions on installing the drivers for your USB Ethernet adapter.
Step 2: Installing the Drivers
After connecting the USB Ethernet adapter to your computer, the next step is to install the necessary drivers. The drivers allow your computer’s operating system to recognize and communicate with the adapter. Follow these steps to install the drivers:
- Check for automatic driver installation: In many cases, when you connect the USB Ethernet adapter, your computer’s operating system will automatically search for and install the required drivers. Wait for a few moments to allow the automatic installation to complete.
- Visit the manufacturer’s website: If the drivers are not automatically installed, or if you encounter any issues with the adapter, visit the manufacturer’s website. Look for the support or downloads section and search for the drivers specifically designed for your USB Ethernet adapter model.
- Download the drivers: Locate the correct drivers for your operating system and download them to your computer. Ensure that you choose the latest available drivers to benefit from any bug fixes or performance improvements.
- Install the drivers: Once the drivers are downloaded, double-click the installation file and follow the on-screen instructions to install them. Typically, the installation involves accepting the license agreement and choosing the destination folder.
- Restart your computer: After the driver installation is complete, you may be prompted to restart your computer. It’s important to restart your computer to ensure that the drivers are properly integrated into the operating system.
Once your computer has restarted, the drivers should be installed, and the USB Ethernet adapter should be ready to use. To confirm the successful installation, check the device manager on your computer and ensure that the adapter is listed without any warning symbols or errors.
In the next step, we will guide you through the process of configuring the network settings for your USB Ethernet adapter. Keep reading!
Step 3: Configuring the Network Settings
Once you have connected the USB Ethernet adapter to your computer and installed the necessary drivers, the next step is to configure the network settings. This process allows your computer to communicate with the network through the adapter. Follow these steps to configure the network settings:
- Open the Control Panel: On your computer, go to the Control Panel. This can usually be accessed by clicking on the Start menu and searching for “Control Panel”.
- Go to Network and Internet Settings: In the Control Panel, navigate to the “Network and Internet” settings. This section may be labeled differently depending on your operating system version.
- Select Network and Sharing Center: Within the “Network and Internet” settings, locate and click on the “Network and Sharing Center” option. This will open a window displaying your network connections.
- Click on Change Adapter Settings: In the Network and Sharing Center, look for the “Change adapter settings” link on the left-hand side and click on it. This will display all available network connections on your computer.
- Right-click on the USB Ethernet adapter: In the list of network connections, locate the USB Ethernet adapter. Right-click on it and select “Properties” from the context menu.
- Configure the IP settings: In the adapter properties window, select the “Internet Protocol Version 4 (TCP/IPv4)” option and click on the “Properties” button. Here, you can configure the IP address settings for the adapter, including obtaining the IP address automatically from the network or setting it manually.
- Configure additional settings (if necessary): Depending on your network requirements, you may need to configure additional settings such as DNS servers, subnet mask, or gateway addresses. Consult your network administrator or internet service provider for the correct values.
- Apply the changes: After configuring the desired settings, click “OK” to apply the changes and close the properties window.
At this point, the network settings for your USB Ethernet adapter are configured. You should now be able to access the network and enjoy a stable internet connection through the adapter.
In the next step, we will guide you on how to test the connection to ensure it is working correctly. Stay with us!
Step 4: Testing the Connection
After connecting the USB Ethernet adapter, installing the drivers, and configuring the network settings, it’s crucial to test the connection to ensure everything is working correctly. Follow these steps to test the connection:
- Open a web browser: Launch your preferred web browser on your computer.
- Navigate to a website: In the address bar of the web browser, type in the URL of a website you want to visit. For example, you can navigate to www.google.com.
- Check for internet access: Once you have entered the website’s URL, press Enter or click the Go button. If the page loads successfully and you can browse the website without any issues, it indicates that the USB Ethernet adapter is functioning correctly, and you have a working internet connection.
- Test other online activities: To further verify the connection, you can perform additional online activities such as streaming videos, downloading files, or playing online games. If these activities run smoothly without interruptions or delays, it confirms that the USB Ethernet adapter is providing a stable and reliable internet connection.
- Perform a speed test: To assess the performance of your internet connection, you can also conduct a speed test. There are several online speed testing tools available that measure your download and upload speeds. Run a speed test and compare the results with your internet plan to ensure you are getting the expected speeds.
If you encounter any issues during the testing phase, it’s important to check your network settings, drivers, and cables for any potential problems. Additionally, you can consult the troubleshooting section later in this article to address common issues and find solutions to resolve them.
Congratulations! You have successfully tested the connection of your USB Ethernet adapter. Now you can fully enjoy the benefits of a stable and reliable wired network connection.
In the next section, we will discuss some common issues you may encounter while using a USB Ethernet adapter and provide troubleshooting tips to resolve them. Continue reading!
Troubleshooting Common Issues
While USB Ethernet adapters generally provide a smooth and reliable network connection, you may sometimes encounter certain issues. Here are some common problems and troubleshooting tips to help you resolve them:
- No internet connection: If you’re unable to connect to the internet after setting up the USB Ethernet adapter, first check if the adapter is properly connected to the computer and the Ethernet cable is securely plugged in. Additionally, ensure that the drivers are correctly installed and that the network settings are configured correctly. You can also try restarting your computer and router to reset the network connection.
- Slow internet speed: If you are experiencing slow internet speeds, first check if your internet service provider is facing any issues. You can also try connecting the Ethernet cable directly to the router to rule out any issues with the USB Ethernet adapter. Additionally, perform a speed test to check if the actual internet speed matches your subscribed plan. If the issue persists, try updating the drivers for the USB Ethernet adapter or contact the manufacturer for further assistance.
- Device not recognized: If your computer does not recognize the USB Ethernet adapter, try connecting it to a different USB port on your device. Make sure that the adapter is compatible with your operating system and that you have installed the correct drivers. In some cases, using a USB hub or a USB port replicator may cause compatibility issues, so try connecting the adapter directly to the computer’s USB port.
- Interference or no signal: If you experience intermittent connectivity or signal drops, it could be due to interference from nearby electronic devices. Ensure that the USB Ethernet adapter is not placed too close to other devices that emit electromagnetic signals. Additionally, use high-quality Ethernet cables to minimize signal degradation and try repositioning the adapter to improve the signal strength.
- Compatibility issues: If you are facing compatibility issues with your USB Ethernet adapter and your device or operating system, check the manufacturer’s website for any firmware or driver updates that might address the problem. Alternatively, consider contacting the manufacturer’s customer support for assistance in resolving the compatibility issue.
If none of the troubleshooting tips mentioned above resolve the problem, it may be necessary to consult a technical expert or reach out to the manufacturer’s customer support for further assistance. They will be able to provide specialized guidance and solutions specific to your USB Ethernet adapter model.
By addressing these common issues and following the troubleshooting tips, you can overcome any obstacles and ensure a smooth and reliable network connection with your USB Ethernet adapter.
Now that you have a better understanding of troubleshooting, let’s conclude this article.
Conclusion
USB Ethernet adapters are handy devices that provide a reliable and fast wired internet connection for devices lacking built-in Ethernet ports. They offer numerous advantages, including improved speed, enhanced security, and increased compatibility. With a USB Ethernet adapter, you can enjoy stable connectivity, particularly beneficial for tasks such as online gaming, video streaming, and large file transfers.
In this article, we explored the process of connecting and using a USB Ethernet adapter. We discussed the importance of checking compatibility and requirements, along with step-by-step instructions for connecting the adapter, installing drivers, configuring network settings, and testing the connection.
Furthermore, we provided troubleshooting tips for common issues you may encounter during the setup or while using a USB Ethernet adapter. These tips can help you troubleshoot issues related to internet connectivity, speed, device recognition, interference, and compatibility.
Remember that USB Ethernet adapters offer a reliable and efficient way to connect to a wired network, but they are not immune to technical glitches. By following the steps outlined in this article and addressing any issues that may arise, you can ensure a smooth and uninterrupted internet experience.
Whether you are a professional working remotely, a student attending online classes, or a gaming enthusiast looking for a lag-free connection, a USB Ethernet adapter can be a valuable addition to your tech arsenal.
We hope this article has provided you with the knowledge and guidance necessary to use a USB Ethernet adapter effectively. Now, go ahead and enjoy the benefits of a stable and reliable wired network connection!