Introduction
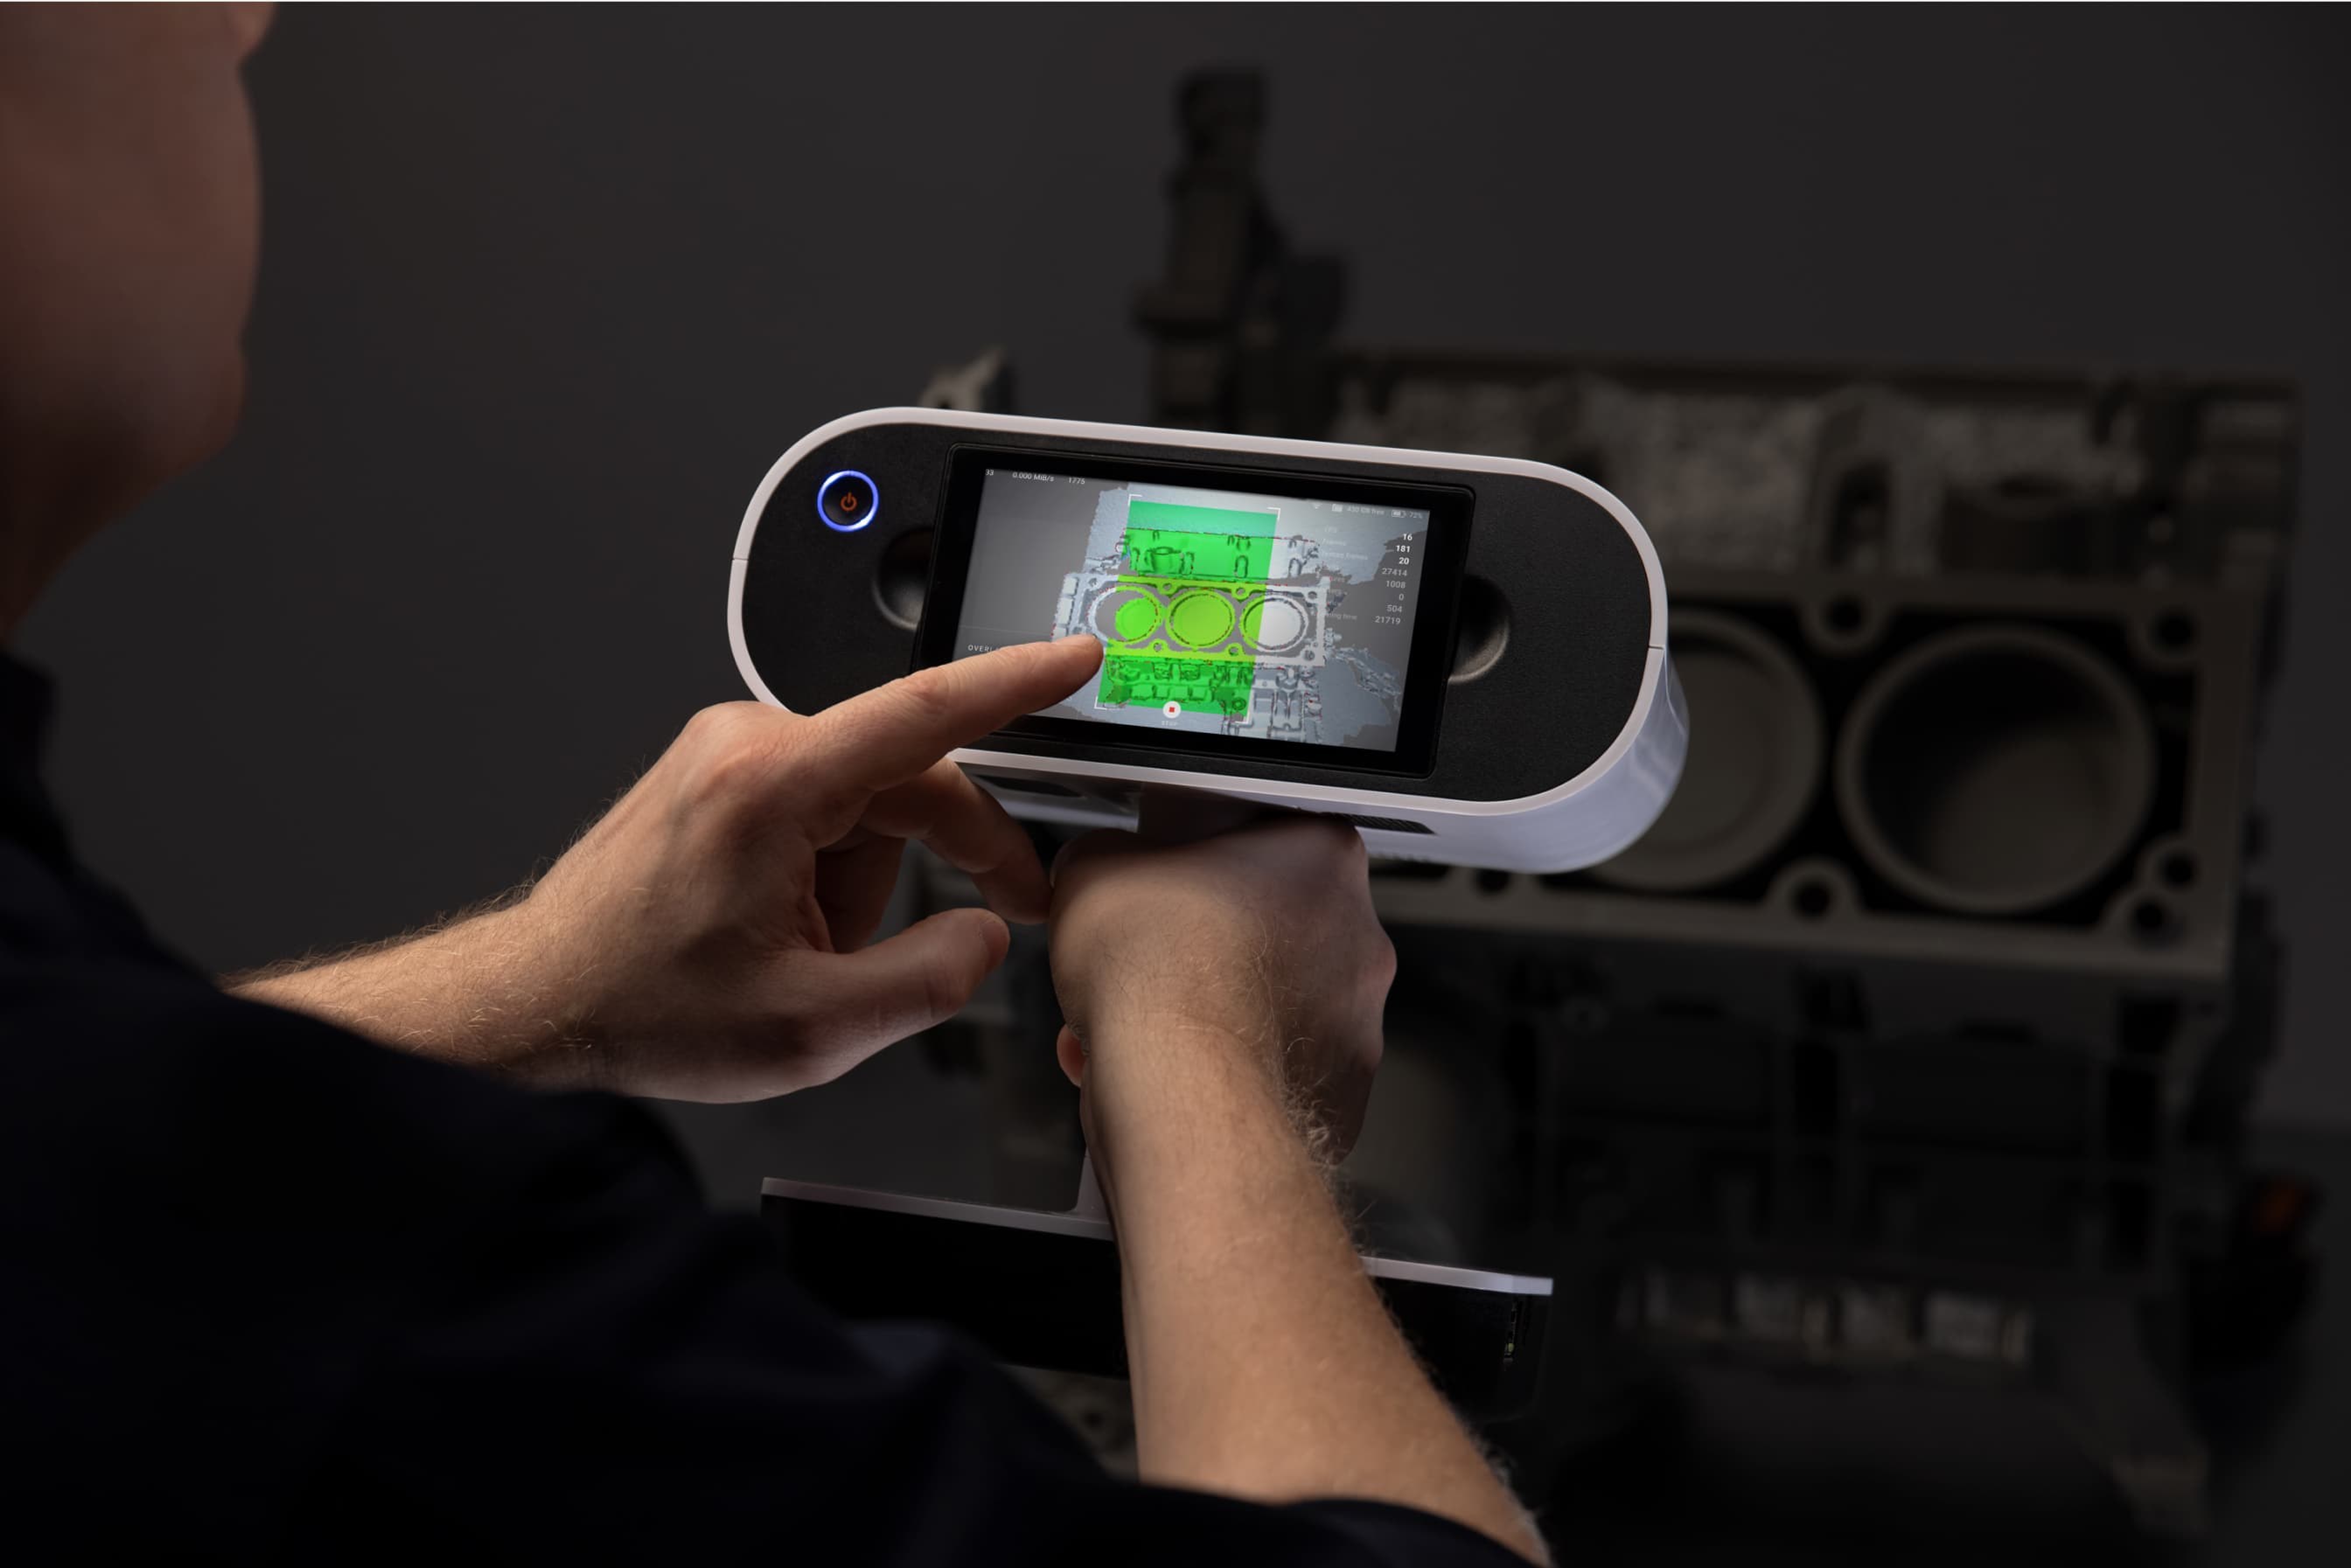
3D scanning technology has revolutionized the way we create digital replicas of real-world objects. With its ability to capture intricate details and dimensions, a 3D scanner opens up a world of possibilities for designers, artists, engineers, and hobbyists. One popular choice in the world of 3D scanners is the Matter and Form 3D Scanner. This user-friendly device combines accuracy, affordability, and ease of use, making it ideal for both beginners and professionals.
Whether you are interested in creating 3D models for 3D printing, virtual reality, or simply to preserve cherished objects, the Matter and Form 3D Scanner is a powerful tool that can bring your ideas to life. In this guide, we will walk you through the process of using the Matter and Form 3D Scanner, from the initial setup to scanning objects and post-processing the scanned data.
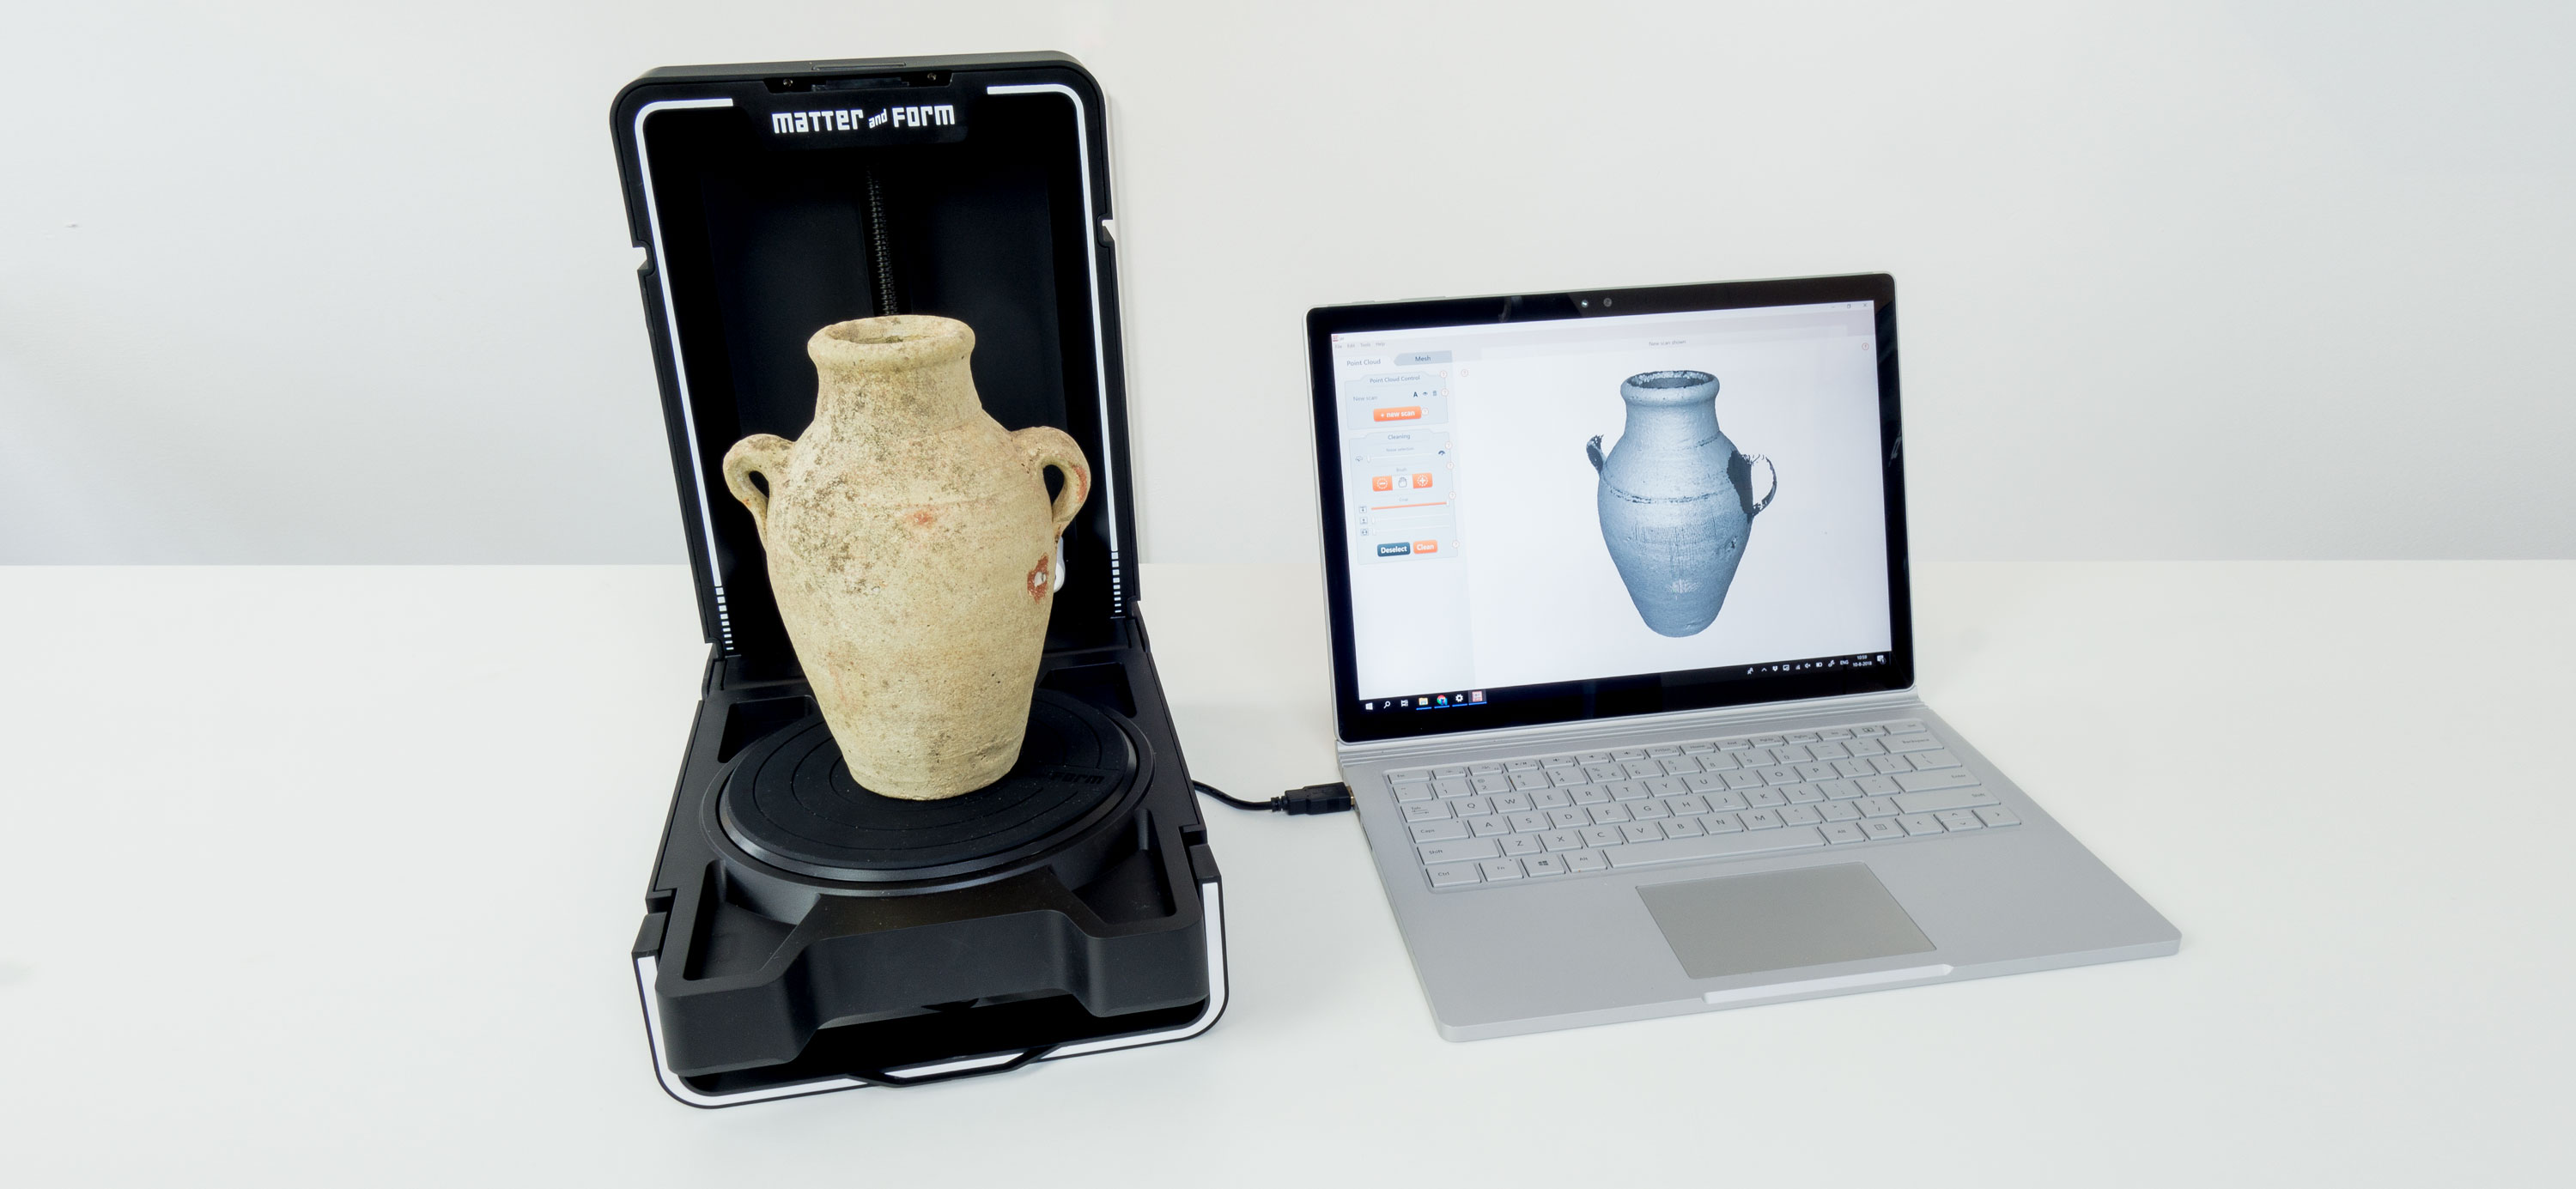
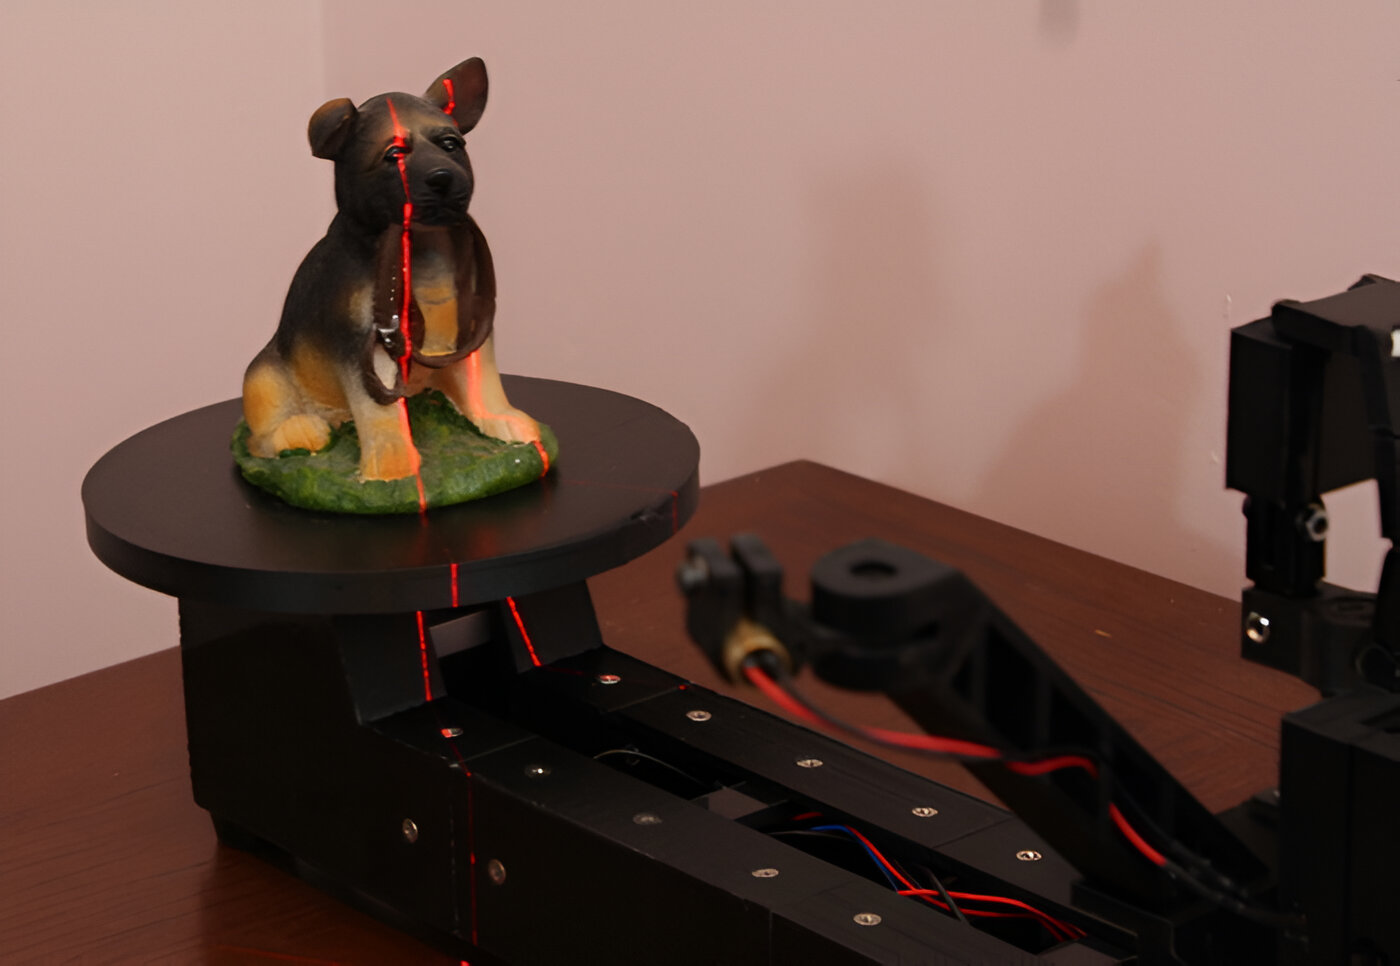
The Matter and Form 3D Scanner utilizes advanced laser triangulation technology to capture the geometry and texture of objects. It consists of a hardware component, including the scanner and turntable, and a software component that allows you to control the scanning process and manipulate the scanned data.
By following the steps outlined in this guide, you will be able to harness the full potential of the Matter and Form 3D Scanner and unleash your creativity. So, let’s get started and dive into the world of 3D scanning with the Matter and Form 3D Scanner!
What is the Matter and Form 3D Scanner?
The Matter and Form 3D Scanner is a high-quality, affordable, and user-friendly 3D scanning device that allows you to effortlessly capture detailed and accurate 3D models of real-world objects. It is designed for both professionals and beginners, providing a seamless experience in creating digital replicas of physical objects.
One of the standout features of the Matter and Form 3D Scanner is its versatility. It is capable of capturing objects of various sizes and textures, from small intricate items to larger objects. The scanner uses laser triangulation technology to map the surface of the object and generate a 3D model with both geometry and texture.
The Matter and Form 3D Scanner consists of two main components: the scanner itself and the included turntable. The turntable ensures that the object is captured from all angles, allowing for a complete 360-degree scan. This turntable can support objects weighing up to 3 kilograms (6.6 pounds).
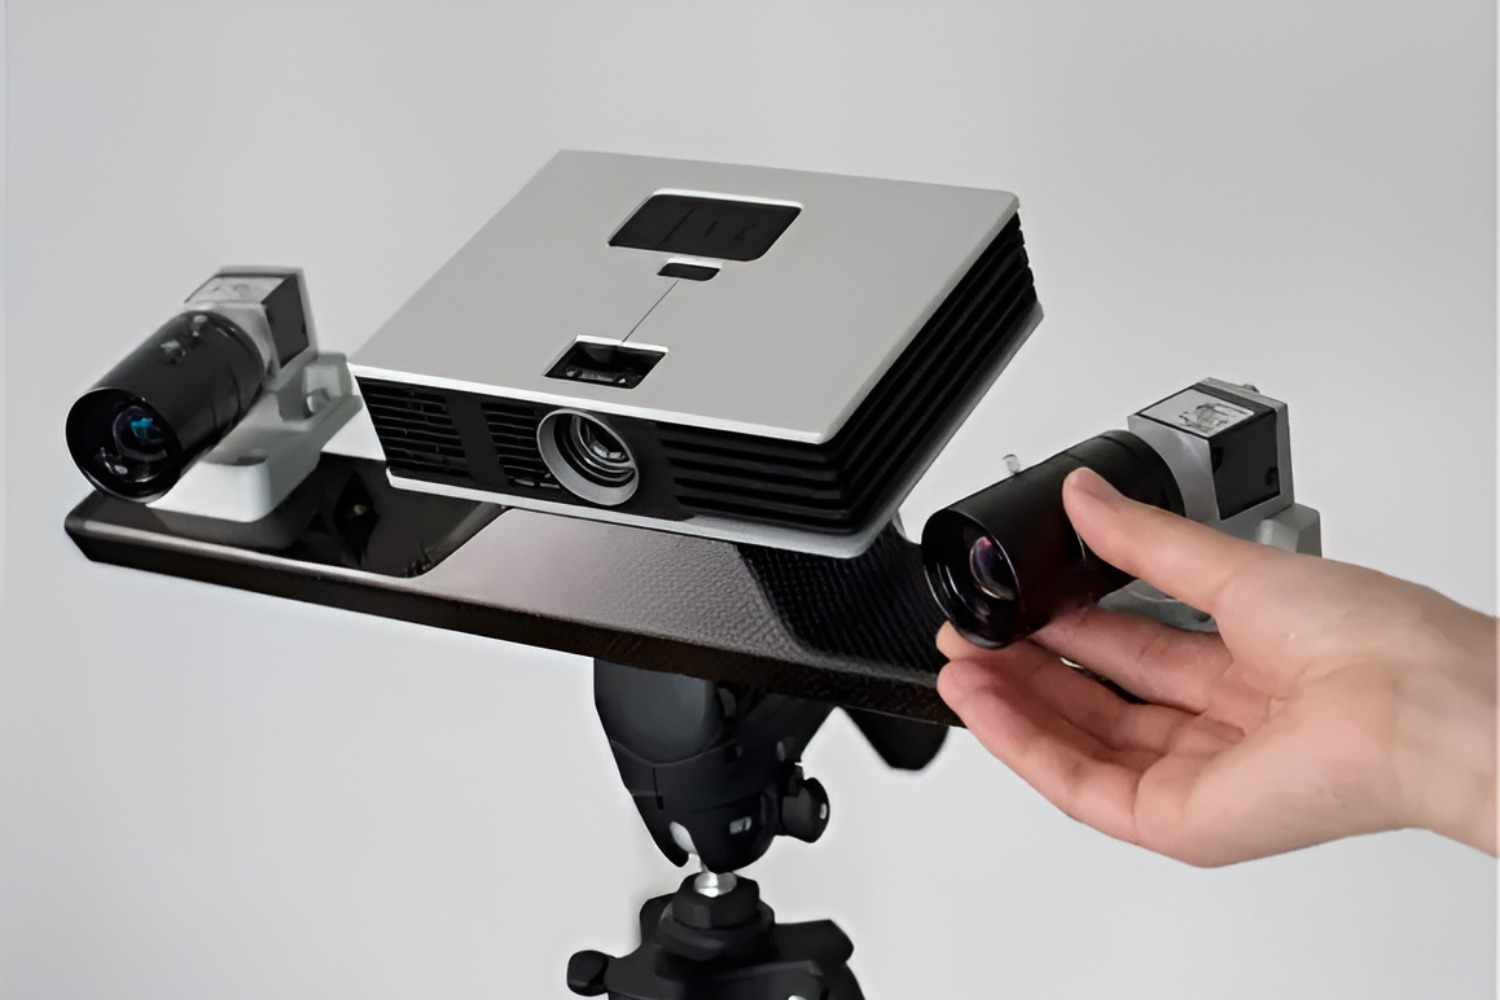
The scanner is equipped with high-resolution cameras and advanced sensors that work together to capture detailed information about the geometry and texture of the object. It can achieve a scanning resolution of up to 0.25mm, ensuring accurate and precise results. The scanner also utilizes infrared light to improve the scanning process, making it suitable for objects of different colors and materials.
To control and manipulate the scanning process, the Matter and Form 3D Scanner comes with intuitive software. This software facilitates easy setup, calibration, and scanning of objects. It also provides a range of options for adjusting scan settings, post-processing the scanned data, and exporting the final 3D model in various file formats compatible with popular 3D modeling software.
In summary, the Matter and Form 3D Scanner is a versatile, affordable, and user-friendly device that allows you to create accurate and detailed 3D models of real-world objects. Whether you are a professional looking to streamline your design process or a beginner exploring the world of 3D scanning, the Matter and Form 3D Scanner is a reliable tool that can enhance your creativity and bring your ideas to life.
Getting Started
Before you can start using the Matter and Form 3D Scanner, there are a few key steps you need to follow to ensure a successful scanning experience. Let’s dive into the process of getting started with the scanner:
- Unboxing the Scanner: Begin by unboxing the Matter and Form 3D Scanner and carefully remove all the components from the packaging. Make sure to keep all the items in a safe place for future use.
- Checking the Contents: Verify that all the expected components are included in the package. This typically includes the scanner itself, the turntable, power adapter, USB cable, and any other accessories that may be included.
- Reviewing the Documentation: Take some time to familiarize yourself with the user manual and any other documentation provided by the manufacturer. This will give you a better understanding of the various components and their functions.
- System Requirements: Ensure that your computer meets the minimum system requirements to operate the Matter and Form 3D Scanner. This typically includes a compatible operating system, sufficient RAM, and available USB ports.
- Installing the Software: Download and install the Matter and Form software on your computer. The software is available for both Windows and Mac operating systems. Follow the on-screen prompts to complete the installation process.
- Connecting the Scanner: Connect the Matter and Form 3D Scanner to your computer using the provided USB cable. Ensure that the scanner is powered off before connecting it to your computer.
- Powering on the Scanner: Once the scanner is connected, turn on the power using the power switch located on the scanner. The scanner will initialize and be ready for use.
- Software Setup: Launch the Matter and Form software on your computer. Follow the on-screen instructions to set up the scanner in the software. This may involve calibrating the scanner and adjusting the scan settings based on your preferences and the type of object you are scanning.
- Completing the Setup: Once the software setup is complete, ensure that the scanner is properly calibrated and aligned. It is recommended to perform a test scan to verify that everything is working correctly before moving on to scanning actual objects.
By following these steps, you will be ready to start using the Matter and Form 3D Scanner and delve into the exciting world of 3D scanning. Remember to refer to the user manual or online resources provided by the manufacturer for any specific instructions or troubleshooting tips.
Installing the Software
Before you can begin scanning objects with the Matter and Form 3D Scanner, you need to install the software that allows you to control and manipulate the scanning process. The software is essential for setting up the scanner, adjusting scan settings, and post-processing the scanned data. Here are the steps to install the Matter and Form software:
- Visit the Manufacturer’s Website: Go to the official Matter and Form website and navigate to the software download section. The software is available for both Windows and Mac operating systems, so make sure to select the appropriate version for your computer.
- Download the Software: Once you have selected the correct software version, click on the download button to initiate the download. The software package is relatively small, so the download should complete quickly.
- Run the Installer: Once the download is complete, locate the downloaded file and run the installer. The installer will guide you through the installation process, prompting you to select the destination folder and agreeing to the software’s terms and conditions.
- Complete the Installation: Follow the prompts provided by the installer to complete the software installation. The process may take a few minutes, depending on your computer’s speed.
- Launch the Software: Once the installation is complete, you can launch the Matter and Form software. The software icon should now be available on your desktop or in your applications folder.
With the software successfully installed on your computer, you are now ready to connect your Matter and Form 3D Scanner and start exploring its features. Remember to periodically check for software updates from the manufacturer’s website to ensure that you are working with the latest version of the software, as updates often include improvements and new functionalities.
Connecting the 3D Scanner to your Computer
Once you have installed the Matter and Form software, the next step is to connect the Matter and Form 3D Scanner to your computer. This connection allows the software to communicate with the scanner and control the scanning process. Follow these steps to establish a successful connection:
- Locate the USB Cable: Find the USB cable that came with the Matter and Form 3D Scanner. It should be included in the package along with the scanner and the other accessories.
- Connect the USB Cable: Take one end of the USB cable and insert it into the USB port on the back of the Matter and Form 3D Scanner. The USB port is usually located near the power switch. Make sure the connection is secure.
- Connect to Computer: Take the other end of the USB cable and insert it into an available USB port on your computer. It is recommended to use a USB 3.0 port for faster data transfer, if available.
- Power on the Scanner: Before you can establish the connection, make sure the Matter and Form 3D Scanner is powered on. Locate the power switch on the scanner and turn it on.
- Detection and Installation: After powering on the scanner, your computer should automatically detect the connected device. The software may prompt you to install additional drivers if necessary. Follow the on-screen instructions to complete the driver installation process.
- Confirm Connection: Open the Matter and Form software on your computer. Go to the connection settings within the software and confirm that the scanner is recognized and connected. If the connection is established, you are now ready to start scanning objects.
It is important to ensure that the USB cable is properly connected and that the scanner is powered on before attempting to establish the connection. If you encounter any connectivity issues, try using a different USB cable or port. Additionally, make sure that your computer meets the minimum system requirements for the Matter and Form 3D Scanner to ensure a smooth connection process.
By successfully connecting the Matter and Form 3D Scanner to your computer, you can now take full advantage of its capabilities and start scanning objects with ease and precision.
Calibrating the Matter and Form 3D Scanner
Calibrating the Matter and Form 3D Scanner is a crucial step to ensure accurate and high-quality scans. Calibration aligns the scanner’s sensors and cameras, allowing for precise capture of the object’s geometry and texture. Follow these steps to calibrate your scanner:
- Prepare the Scanner: Place the Matter and Form 3D Scanner on a stable surface and ensure that it is properly connected to your computer with the USB cable. Make sure the scanner is powered on.
- Launch the Software: Open the Matter and Form software on your computer. If the software is already open, navigate to the main screen or home screen.
- Select Calibration: Look for the calibration option within the software interface. It is usually found in the settings or configuration menu. Click on the “Calibrate” button to initiate the calibration process.
- Follow On-Screen Prompts: The software will guide you through the calibration process with on-screen prompts and instructions. This may involve positioning the calibration square or calibration panel in the scanner’s field of view.
- Start Calibration: Once you have positioned the calibration square or panel as instructed, click on the “Start Calibration” button in the software. The scanner will start capturing calibration data.
- Complete Calibration: Allow the scanner to complete the calibration process. This may take a few moments. Once the calibration is finished, you will receive a confirmation message or prompt indicating that the calibration was successful.
- Validate Calibration: After the calibration is complete, it is advisable to perform a test scan to validate the calibration. Scan a small object or use a calibration target provided by the manufacturer to confirm that the scanner is capturing accurate and consistent data.
- Repeat if Necessary: If the test scan reveals any issues or inaccuracies, you may need to repeat the calibration process. Ensure that the calibration square or panel is positioned correctly and follow the on-screen instructions precisely.
Calibrating the Matter and Form 3D Scanner regularly is recommended, especially if you notice any changes in the scanning results or if you are using the scanner in a different environment. Proper calibration ensures optimal performance and accurate scans, allowing you to achieve the best possible results with your 3D scanning projects.
Scanning Objects
Now that your Matter and Form 3D Scanner is set up and calibrated, it’s time to start scanning objects. Follow these steps to capture detailed and accurate 3D models:
- Prepare the Object: Choose the object you want to scan and ensure that it is clean and free from any dirt, dust, or debris. If needed, apply a matte spray or powder to improve the object’s surface texture and capture more accurate scans.
- Position the Object: Place the object on the turntable, making sure that it is securely positioned and balanced. Ensure that the object is within the scanner’s field of view and that none of its features are obstructed.
- Align the Object: Use the software’s guiding indicators to align the object correctly. This will help achieve better scan results and ensure that the entire object is captured from all angles.
- Adjust Scan Settings: Before initiating the scan, adjust the scan settings based on the object’s characteristics and your preferences. This includes selecting the scan resolution, color mode, and other relevant options available in the software.
- Start the Scan: Once you have positioned and aligned the object and adjusted the scan settings, click on the “Start Scan” button in the software. The turntable will start rotating, and the scanner will begin capturing data.
- Monitor the Progress: Keep an eye on the scanning process as it progresses. The software interface will often display a live preview of the scan, allowing you to monitor the quality and coverage of the capture.
- Complete the Scan: Once the turntable completes a full rotation, the scanning process will be finished. The software will provide a notification or prompt indicating that the scan is complete.
- Review and Refine: After the scan is complete, review the captured data in the software. This may include a 3D preview of the object or a point cloud representation. If necessary, refine the scan by editing any imperfections or missing details using the software’s editing tools.
It’s important to note that scanning larger or more complex objects may require multiple scans from different angles and positions. In such cases, you can merge the individual scans later in the software to create a complete 3D model.
Experimenting with different scanning techniques and settings can also improve your scanning results. Take the time to explore the features of your Matter and Form 3D Scanner and find the approach that works best for your specific objects and projects.
Understanding Scan Settings
When using the Matter and Form 3D Scanner, understanding and optimizing the scan settings is essential for capturing high-quality and accurate 3D models. The scan settings allow you to customize various parameters based on your specific scanning requirements. Here are some key scan settings to consider:
- Scan Resolution: The scan resolution determines the level of detail captured in the scanned model. Higher resolution settings result in more precise and detailed scans but may also increase the scanning time and file size. Lower resolution settings can lead to faster scans but with reduced detail.
- Color Mode: The color mode enables you to capture the object’s texture and color during the scanning process. Choose between capturing texture, color, or both based on your intended use for the 3D model. Keep in mind that color scanning may require additional processing and result in larger file sizes.
- Lighting Options: The Matter and Form 3D Scanner offers different lighting options to optimize the scanning process. These options include ambient light, scattered light, and direct light. Experiment with different lighting setups to achieve the best results based on the object’s characteristics and your scanning environment.
- Scanning Speed: The scanning speed setting determines the speed at which the turntable rotates during the scanning process. Adjusting the scanning speed can impact the scanning time and the level of detail captured. Slower speeds tend to produce more accurate results but may increase the overall scanning time.
- Multiple Scans: If you are scanning a larger object or one with complex geometry, consider using the multiple scan feature. This feature allows you to capture different sections or angles of the object and merge them later in the software. It ensures complete coverage of the object and improves the overall quality of the final 3D model.
- Manual Alignment: The software typically offers an automatic alignment feature that automatically aligns the individual scans for a complete 3D model. However, you may choose to manually align the scans if you require more control over the alignment process or if the software’s automatic alignment produces unsatisfactory results.
Each of these scan settings impacts the scanning process, so it’s important to experiment and adjust them based on the specific characteristics of the object you are scanning and your desired outcome. It’s recommended to start with the default settings and make gradual adjustments to achieve the desired result.
By understanding and utilizing the scan settings effectively, you will have greater control over the scanning process, allowing you to capture detailed, accurate, and high-quality 3D models with your Matter and Form 3D Scanner.
Tips for a Successful Scan
Getting a successful scan with the Matter and Form 3D Scanner requires some technique and careful attention to detail. To help you achieve the best results, here are some tips to keep in mind:
- Choose the Right Environment: Find a well-lit area with consistent lighting conditions to minimize the impact of shadows and reflections on your scans. Avoid direct sunlight or harsh lighting that can create unwanted artifacts on the scanned models.
- Ensure Stability: Place the Matter and Form 3D Scanner on a stable surface to minimize vibrations during the scanning process. This helps to maintain accuracy and prevent blurring or distortion in the scanned data.
- Optimize Object Placement: Position the object centrally on the turntable and ensure that it is securely positioned. This ensures that the entire object is captured during the scan and reduces the risk of alignment issues.
- Clean and Prep the Object: Thoroughly clean the object before scanning to remove any dust, dirt, or fingerprints. Additionally, applying a matte spray or powder to shiny or reflective surfaces can enhance the scanner’s ability to capture details accurately.
- Remove Background Distractions: Clear the scanning area of any objects or clutter that might interfere with the scanning process. Minimizing background distractions helps the scanner focus solely on capturing the object you want to scan.
- Monitor the Scanning Process: Keep an eye on the scanning process as it progresses to ensure that the object is being captured accurately. This allows you to intervene if any issues arise, such as object movement or alignment problems.
- Use Multiple Scans for Complex Objects: For larger or more complex objects, consider dividing them into sections and capturing multiple scans from different angles. This helps ensure complete coverage and higher quality results when merging the scans in post-processing.
- Experiment with Scan Settings: Explore different scan settings to find the optimal combination for your specific object and desired outcome. Adjust parameters such as resolution, lighting options, and scanning speed to achieve the desired level of detail and accuracy.
- Make Test Scans: Before scanning valuable or irreplaceable objects, it’s a good practice to make test scans using similar objects. This allows you to fine-tune the scanning process and ensure that the settings and technique are working effectively.
- Practice and Patience: Scanning with the Matter and Form 3D Scanner improves with practice, so don’t get discouraged if your first few scans don’t turn out perfectly. Take your time, be patient, and keep refining your technique to achieve better results.
By following these tips, you can increase your chances of obtaining successful scans with the Matter and Form 3D Scanner. Remember, practice and experimentation are key to mastering the scanning process and achieving optimal results with your scanning projects.
Post-processing Scanned Objects
After capturing the 3D model of an object with the Matter and Form 3D Scanner, post-processing is an important step to refine and optimize the scanned data. Here are some post-processing techniques and considerations to enhance the quality and usability of your scanned objects:
- Merge Scans: If you scanned a larger object in multiple sections, use the software’s merging feature to combine the individual scans into a seamless and complete 3D model. This ensures that all parts of the object are accurately represented.
- Mesh Repair: Scan data might have imperfections or holes, especially in more complex objects. Utilize mesh repair tools in the software to fill holes, smooth out rough surfaces, and fix any missing or erroneous geometry in the scanned model.
- Texture Mapping: If you captured color information during the scan, apply texture mapping to the model to enhance its visual appeal. This process allows the scanned surface details and colors to be accurately applied to the 3D model, resulting in a realistic representation.
- Scaling and Alignment: Adjust the scale and alignment of the scanned object if necessary. The software typically provides options to resize and align the model to real-world dimensions or align it with other objects in your 3D modeling workflow.
- Surface Refinement: Use software tools to refine the surface of the scanned object, removing any residual noise or artifacts. Smoothing algorithms can help to enhance the overall aesthetic quality of the model by producing cleaner and more polished surfaces.
- Detail Enhancement: Enhance the fine details of the scanned object by applying filters or algorithms that highlight intricate features. These techniques can make the model more visually appealing and accurate to the original object.
- Simplification: If the scanned model contains a high level of detail that is unnecessary for your intended use, simplify the geometry to reduce file size and optimize performance. This is particularly useful for 3D printing or web-based applications.
- File Export: Once you are satisfied with the post-processing adjustments, export the finalized 3D model in a compatible format, such as STL or OBJ. Ensure that the file format is suitable for your intended use or further processing in other 3D modeling software.
- Backup and Documentation: Maintain backups of your scanned data and document the post-processing steps taken. This ensures that you can revisit and modify the models if needed, and also allows for better organization and retrieval in future projects.
Post-processing techniques vary depending on the specific software you are using, so be sure to familiarize yourself with the tools and options available in the Matter and Form software. Experimentation and practice will help you develop your own workflow and achieve the desired results with your post-processed scanned objects.
Exporting Scanned Objects
Once you have successfully post-processed your scanned object using the Matter and Form 3D Scanner, the next step is to export the model in a format that is compatible with your intended use or further 3D modeling processes. Here are the key steps to export your scanned objects:
- Prepare the Model: Ensure that you have completed all necessary post-processing steps and are satisfied with the final result. Double-check for any remaining imperfections or issues that need to be addressed before exporting.
- Select Export Format: Determine the desired file format for your exported model. The Matter and Form software typically provides various format options, such as STL, OBJ, or PLY. Choose a format that suits your specific requirements and is compatible with other software or applications you intend to use.
- Set Export Options: Depending on the chosen file format, select the appropriate export options to optimize the model’s characteristics and size. Some options might include adjusting the resolution, mesh density, or including color information.
- Specify File Name and Location: Provide a suitable file name for your exported model and choose the location where you want to save it on your computer or storage device.
- Export the Model: Click on the export button or command specified in the Matter and Form software to initiate the export process. The software will process the model and save it as the chosen file format in the specified location.
- Verify Exported Model: Open the exported model in software that supports the chosen file format to ensure that the model has been exported correctly and retains all the necessary details and textures.
- Backup Exported Model: It is always a good practice to create backups of your exported models. Store them in secure locations or consider making cloud-based backups to prevent any loss or accidental deletion of the files.
By following these steps, you can export your post-processed scanned objects with the Matter and Form 3D Scanner and utilize them in various applications, such as 3D printing, visualizations, animations, or further manipulations in 3D modeling software.
Remember to consult the documentation and user manual provided with the Matter and Form 3D Scanner for any specific instructions related to exporting models in different formats and ensuring compatibility with different software tools.
Troubleshooting Common Issues
While using the Matter and Form 3D Scanner, you may encounter some common issues that can affect the scanning process or the quality of the scanned objects. Here are some troubleshooting tips to address these common issues:
- Poor Scan Quality: If your scans are not capturing sufficient detail or appear blurry, check the alignment of the object on the turntable. Ensure that the object is securely positioned and in focus within the scanner’s field of view.
- Incomplete Scans: If the scanner is not capturing the entire object or if sections are missing, ensure that the object is well-centered and fully positioned on the turntable. Check the software’s scan settings to confirm that the scan area is set appropriately.
- Interference and False Captures: Objects with reflective surfaces or intricate geometries can sometimes confuse the scanner and result in erroneous captures. Apply a matte spray or powder to reduce reflection, and experiment with lighting settings to minimize interference.
- Excessive Noise and Artifacts: If your scans have excessive noise or artifacts, try adjusting the scan resolution or scanning speed. Alternatively, you can apply post-processing techniques such as mesh repair or surface refinement to clean up the scanned data.
- Connectivity Issues: If you experience intermittent or unstable connections between the scanner and your computer, ensure that the USB cable is securely plugged into both devices. Try using a different USB cable or port to rule out any connection problems.
- Software Crashes or Errors: If the Matter and Form software crashes or displays error messages, make sure that your computer meets the software’s minimum system requirements. Check for software updates and reinstall the software if necessary to resolve any compatibility issues.
- Calibration Problems: If you encounter difficulties during the calibration process or notice inaccurate scans even after calibration, double-check that the calibration square or panel is positioned correctly. Ensure that the scanner is well-lit and that you are following the calibration instructions accurately.
- Scanner Maintenance: Regularly clean the scanner’s lenses and sensors using a soft, lint-free cloth to prevent dust or debris buildup that may affect scan quality. Follow the manufacturer’s guidelines for proper maintenance and care of the scanner.
If you encounter persistent issues or encounter problems not addressed here, consult the Matter and Form 3D Scanner’s user manual or reach out to the manufacturer’s customer support for further assistance. They can provide tailored troubleshooting advice to help resolve any specific issues you may encounter.
By troubleshooting common issues, you can optimize the scanning process and ensure that you consistently obtain high-quality scans with your Matter and Form 3D Scanner.
Conclusion
The Matter and Form 3D Scanner is a powerful tool that allows you to easily and accurately capture 3D models of real-world objects. Throughout this guide, we have explored the process of using the Matter and Form 3D Scanner, from setting it up and calibrating it to scanning objects and post-processing the scanned data.
We have covered essential topics such as understanding scan settings, troubleshooting common issues, and exporting the final scanned models. With the tips and techniques provided, you can overcome challenges and achieve high-quality results with your scans.
Remember to take your time, practice, and experiment with different settings and techniques to understand the capabilities of your Matter and Form 3D Scanner fully. Each scan is an opportunity to improve and enhance your scanning skills.
With its user-friendly design, affordability, and versatility, the Matter and Form 3D Scanner opens up endless possibilities for applications like 3D printing, virtual reality, and product design. Whether you are a professional or a hobbyist, the Matter and Form 3D Scanner empowers you to bring your imagination to life in the digital realm.
So, are you ready to dive into the exciting world of 3D scanning? Unleash your creativity and make the most of this innovative technology with the Matter and Form 3D Scanner. Happy scanning!


