Introduction
Welcome to our guide on how to use a dedicated graphics card instead of integrated graphics. If you’re a gamer, graphic designer, or someone who needs high-performance graphics for their work, you probably know the importance of having a dedicated graphics card. However, many computers come equipped with integrated graphics by default, which can often be insufficient for demanding applications.
Integrated graphics, also known as onboard graphics, refer to the graphics processing unit (GPU) that is built into the computer’s motherboard or CPU. They are designed to handle basic graphical tasks and provide display functionality for everyday use. While integrated graphics can handle web browsing, document editing, and light multimedia tasks, they may struggle with more graphics-intensive applications or games.
On the other hand, dedicated graphics cards are separate components specifically designed for handling complex graphical tasks. These powerful GPUs have their own dedicated video memory and processing power, making them capable of rendering high-quality graphics and providing a smooth gaming experience.
If you have a dedicated graphics card installed in your computer but find that your system is still using integrated graphics, don’t worry. There are steps you can take to ensure that your computer utilizes the full potential of your dedicated graphics card.
In this guide, we will walk you through the process of configuring your system to use the dedicated graphics card instead of integrated graphics. We will cover checking system requirements, configuring BIOS settings, updating graphics drivers, setting the preferred graphics card in Windows, optimizing graphics performance, and troubleshooting common issues. By the end of this guide, you’ll be able to harness the power of your dedicated graphics card for all your graphics-intensive tasks.
Understanding Integrated Graphics
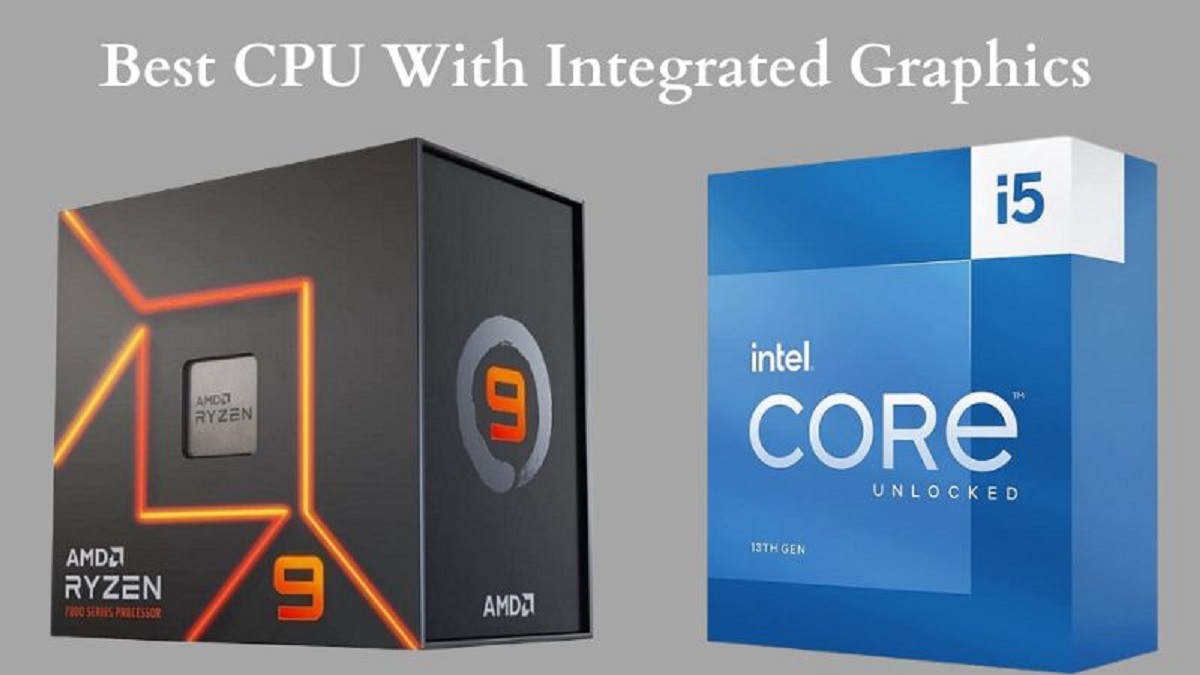
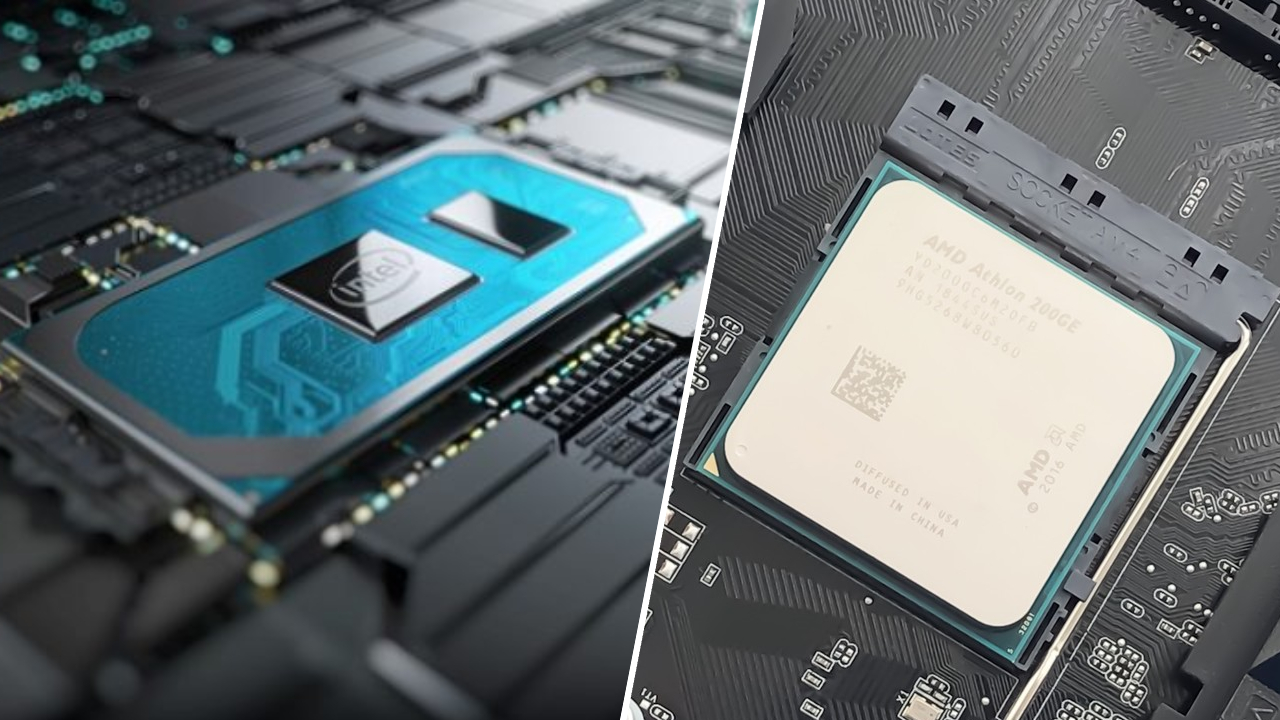
Integrated graphics, also referred to as onboard graphics, are the graphics processing units (GPUs) that come built into the computer’s motherboard or central processing unit (CPU). These graphics solutions are designed to handle basic graphical tasks and provide display functionality for everyday computer use.
The key advantage of integrated graphics is that they come pre-installed on most computers, making them cost-effective and suitable for general computing tasks. They utilize a portion of the system’s RAM (random access memory) for graphics processing, which means they do not have their own dedicated memory. This shared memory configuration can impact the overall performance of the system, particularly when running graphics-intensive applications or games.
Integrated graphics are more than capable of handling day-to-day tasks such as web browsing, email, document editing, and multimedia playback. They can also support lower-end games with moderate graphics requirements. However, when it comes to more demanding tasks, such as graphic design, video editing, or playing high-end games, integrated graphics may struggle to deliver the performance and visual quality required.
The performance of integrated graphics is determined by several factors, including the specific model of the CPU or motherboard, the amount of RAM allocated to graphics, and the driver software being used. While modern integrated graphics solutions have improved significantly over the years, they still cannot match the power and performance of a dedicated graphics card.
It’s important to note that not all computers have the same level of integrated graphics capabilities. Laptops and low-end desktops often have more limited integrated graphics solutions, while higher-end desktops may have more advanced options with higher performance. Before deciding to upgrade or use a dedicated graphics card, it’s essential to understand the capabilities and limitations of your integrated graphics setup.
In the following sections of this guide, we will explore ways to configure your computer to use a dedicated graphics card if you have one installed. This will allow you to harness the full potential of your system’s graphics capabilities and enjoy a more immersive and high-performance graphical experience.
Understanding Dedicated Graphics
Dedicated graphics refer to a separate graphics processing unit (GPU) that is specifically designed to handle complex graphical tasks. Unlike integrated graphics, which are integrated into the computer’s motherboard or central processing unit (CPU), dedicated graphics cards are discrete components that provide their own dedicated video memory and processing power.
One of the main advantages of dedicated graphics cards is their ability to deliver high-performance graphics for demanding applications such as gaming, graphic design, video editing, and 3D modeling. These GPUs are equipped with powerful processors and dedicated video RAM, allowing them to handle intense graphical calculations and deliver visually stunning graphics.
Dedicated graphics cards come with their own range of advanced features and technologies that enhance the overall graphical experience. These can include support for higher resolutions, multiple displays, hardware acceleration, and advanced shading techniques. These features make dedicated graphics cards ideal for tasks that require real-time rendering, complex visual effects, and high-quality image output.
When it comes to gaming, a dedicated graphics card is essential for achieving smooth gameplay and allowing the game to run at higher frame rates. The dedicated GPU offloads the graphics processing from the CPU, allowing the system to focus on other tasks and ensuring a more immersive gaming experience with better graphics quality and reduced lag.
Graphic designers and video editors also benefit greatly from dedicated graphics cards. These professionals require the ability to work with large files, complex visual effects, and rendering capabilities that integrated graphics simply cannot handle efficiently. Dedicated graphics cards provide the necessary horsepower to handle these tasks quickly and without compromising quality.
It’s important to note that dedicated graphics cards come in various tiers and models, each offering different levels of performance and capabilities. High-end graphics cards like those in the Nvidia GeForce RTX or AMD Radeon RX series are designed for professionals and enthusiasts who demand the highest level of performance and visual fidelity, while mid-range or entry-level cards offer a more affordable option for casual gamers and general computing tasks.
Before purchasing a dedicated graphics card, it’s essential to assess your specific needs and budget. Consider the types of applications or games you’ll be using and the level of graphics performance required. Research different models and compare their specifications and benchmarks to ensure you choose the graphics card that best suits your needs.
In the next sections of this guide, we will explore various methods to configure your system to utilize the power of your dedicated graphics card. By doing so, you’ll be able to maximize your system’s performance and enjoy the full potential of your graphics-intensive tasks.
Checking System Requirements
Before diving into the process of configuring your system to use a dedicated graphics card, it’s important to ensure that your computer meets the necessary system requirements. Here are some key considerations to check:
- Compatibility: Verify that your computer has an available PCIe slot for installing a dedicated graphics card. Older systems may require a different type of slot, such as AGP or PCI.
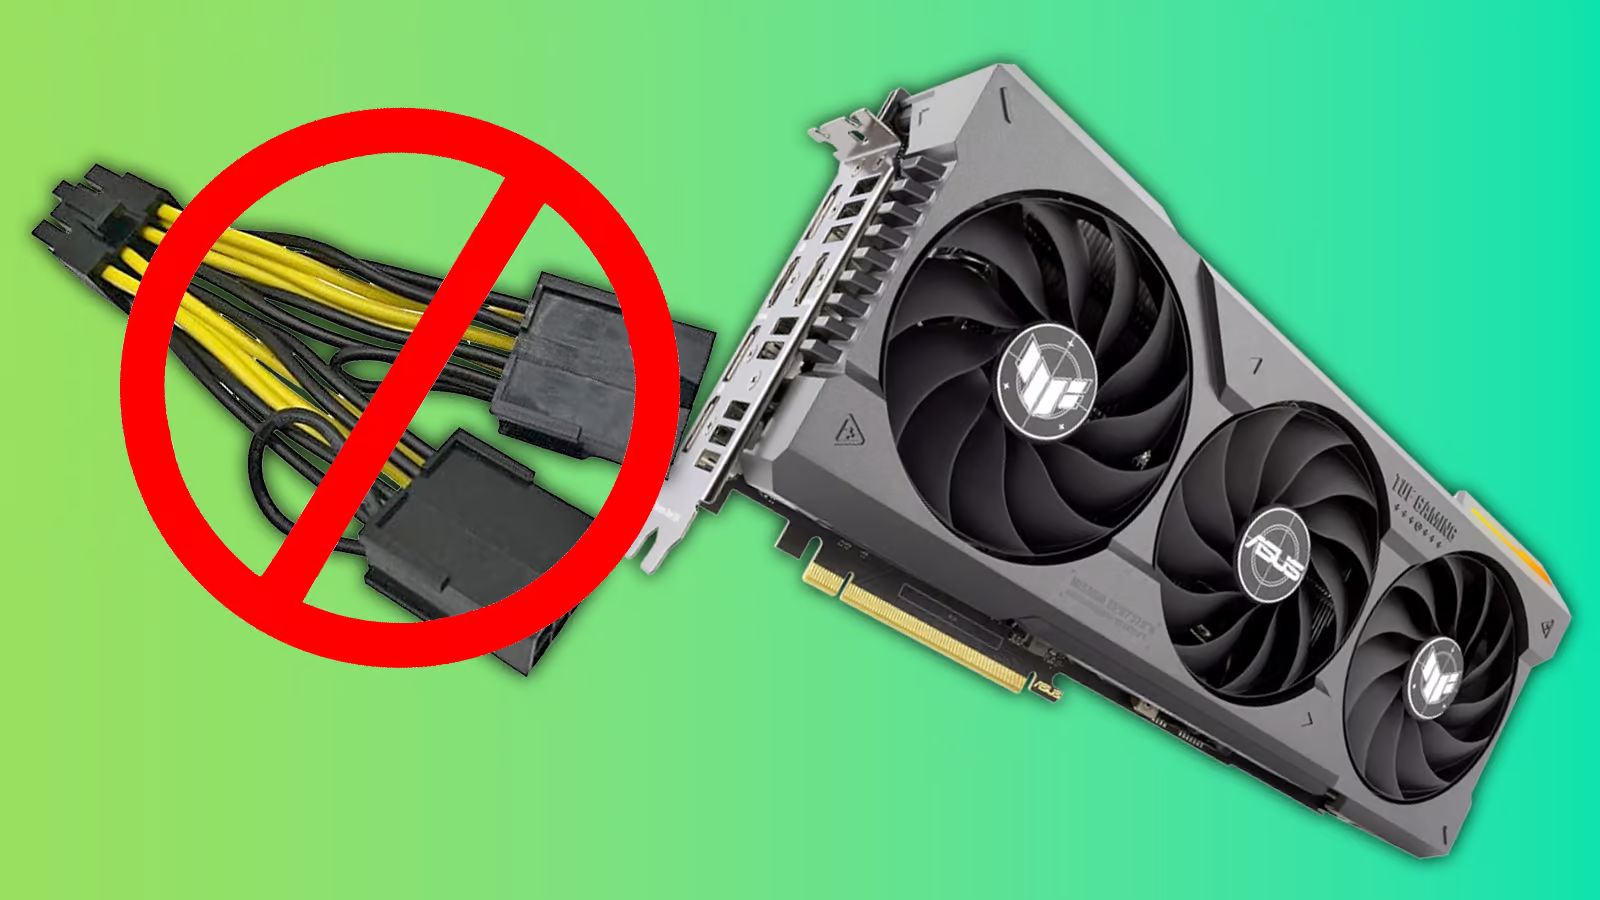
- Power Supply: Check if your power supply unit (PSU) has sufficient wattage to support the additional power requirements of the graphics card. High-performance cards often demand more power, so you may need to upgrade your PSU if it is inadequate.
- Physical Space: Measure the available space inside your computer case to ensure that the graphics card will fit without any issues. Some graphics cards are larger and can occupy multiple slots, so make sure you have the necessary space.
- Driver Support: Verify that the graphics card you plan to install is supported by your operating system. Check the manufacturer’s website for compatible drivers and software.
- Monitor Connectivity: Determine the type of video connectivity your monitor supports (e.g., HDMI, DisplayPort, DVI). Ensure that the graphics card has the necessary ports to connect to your display.
- Operating System Requirements: Confirm that your operating system is compatible with the graphics card. Some newer graphics cards may require specific versions of Windows, macOS, or Linux.
Checking these system requirements will help you avoid compatibility issues and ensure a smooth installation process for your dedicated graphics card. If you’re unsure about any of these requirements, consult the documentation provided by the graphics card manufacturer or seek assistance from a knowledgeable technician.
Once you have assessed and confirmed that your system meets the necessary requirements, you can proceed with the installation and configuration of your dedicated graphics card. The next sections of this guide will walk you through the essential steps to set up and optimize your graphics card for enhanced performance and visual quality.
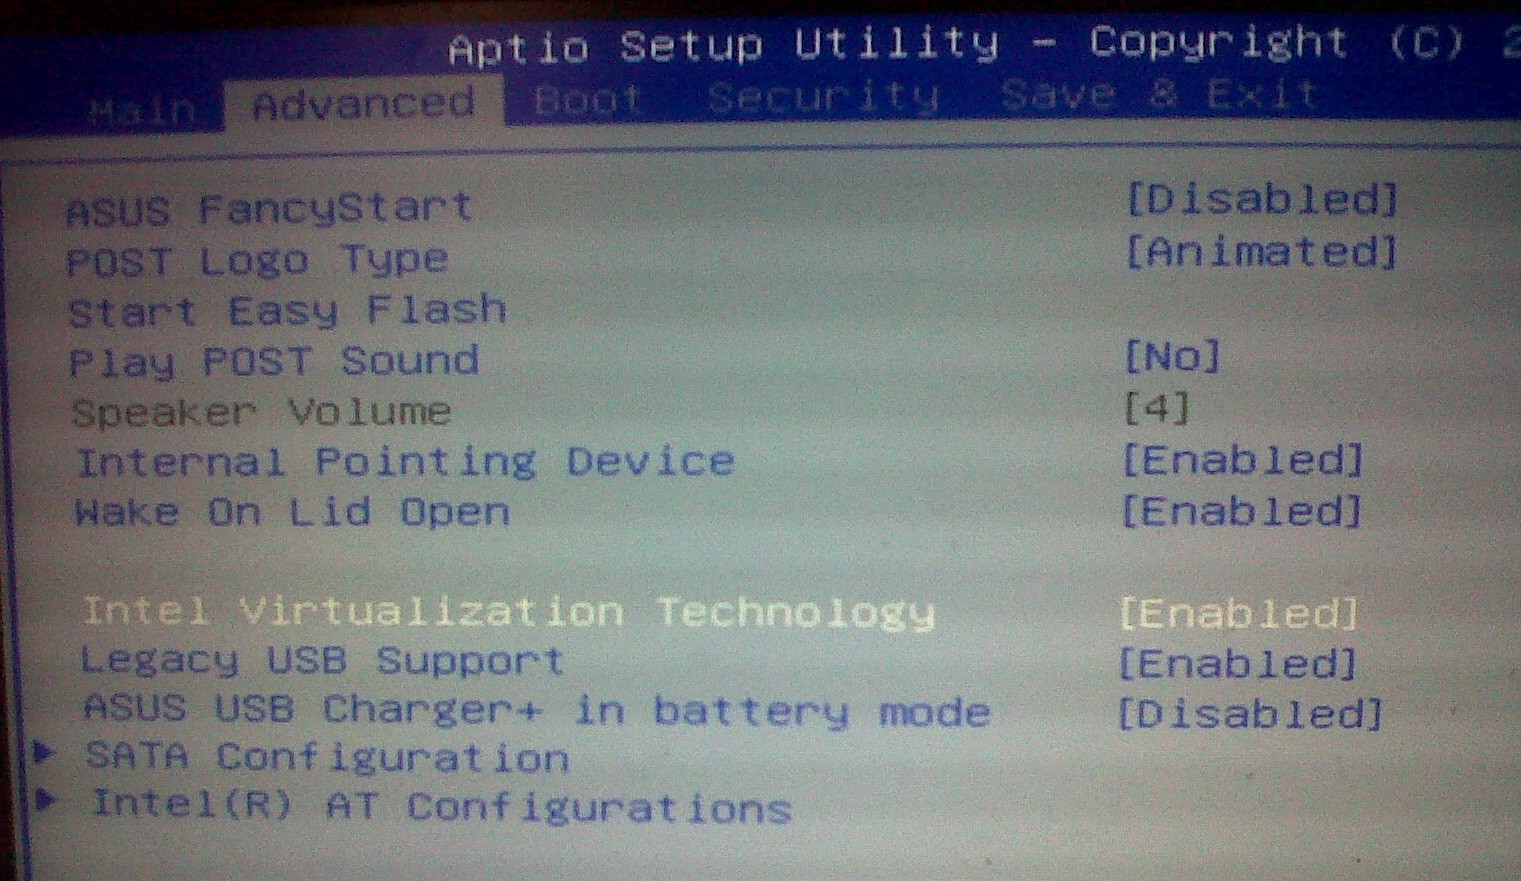
Configuring BIOS Settings
Configuring the BIOS (Basic Input/Output System) settings is an essential step in using a dedicated graphics card instead of integrated graphics. The BIOS is firmware installed on the computer’s motherboard that manages hardware configurations and communication between the operating system and the hardware components.
To configure BIOS settings for your dedicated graphics card, follow these steps:
- Start by turning off your computer and then turning it back on. As the computer starts, press the designated key, usually displayed on the screen, to enter the BIOS settings. The key varies depending on the motherboard manufacturer, but commonly used keys include F2, Del, or Esc.
- Navigate through the BIOS menu using the arrow keys on your keyboard. Look for settings related to graphics or display. The exact location and naming of these settings may differ depending on your motherboard manufacturer and BIOS version.
- Locate the option to switch between integrated and dedicated graphics. This option may be named “Primary Graphics Adapter,” “Init Display First,” or something similar. Select the dedicated graphics option if available.
- Check for additional settings related to the graphics card, such as the PCI-E slot configuration or video memory allocation. Adjust these settings as necessary, depending on your specific requirements or recommendations from the graphics card manufacturer.
- Save your changes and exit the BIOS. Usually, you can do this by pressing the F10 key or selecting the “Save and Exit” option from the BIOS menu.
Please note that the BIOS settings interface and options can vary significantly depending on your motherboard model and BIOS version. It’s important to refer to the documentation provided by your motherboard manufacturer or consult their website for more specific instructions relevant to your system.
Once you have configured the BIOS settings to utilize the dedicated graphics card, the system will prioritize the dedicated GPU over the integrated graphics. This ensures that your computer takes full advantage of the power and capabilities of your dedicated graphics card.
In the following sections, we will discuss how to update your graphics drivers, set the preferred graphics card in Windows, optimize graphics performance, and troubleshoot common issues to further enhance your graphics experience.
Updating Graphics Drivers
Updating your graphics drivers is crucial for optimal performance and compatibility with your dedicated graphics card. Graphics driver updates often include bug fixes, performance enhancements, and improved compatibility with the latest software and games. Here’s how you can update your graphics drivers:
- Identify your graphics card: Start by identifying the make and model of your graphics card. You can check the manufacturer’s website or use third-party software like GPU-Z to gather this information.
- Visit the manufacturer’s website: Once you have identified your graphics card, visit the manufacturer’s website (such as NVIDIA or AMD). Look for a support or drivers section on the website.
- Search for the latest drivers: In the support or drivers section, search for the latest drivers for your specific graphics card model and operating system. Download the drivers that match your system specifications.
- Uninstall old drivers: Before installing the new drivers, it’s recommended to uninstall the old ones to ensure a clean installation. You can do this by going to the Control Panel, selecting “Uninstall a program,” and then selecting the old graphics driver from the list.
- Install the new drivers: Run the downloaded driver installer and follow the on-screen instructions to install the new drivers. Restart your computer if prompted.
- Verify driver installation: After restarting your computer, verify that the new drivers are properly installed. You can do this by checking the device manager or using tools like GPU-Z to confirm that the new drivers are recognized.
Regularly updating your graphics drivers ensures that you have access to the latest features, improvements, and bug fixes from the graphics card manufacturer. It can help resolve performance issues, stability problems, and graphics-related errors.
Many graphics card manufacturers also provide additional software utilities to further optimize and customize your graphics settings. These utilities can help enhance performance, adjust fan speeds, monitor temperatures, and tweak various graphical settings.
Remember to periodically check for driver updates and install them as they become available. This ensures that you’re getting the most out of your dedicated graphics card and enjoying the best possible graphical experience on your system.
In the next section, we will discuss how to set the preferred graphics card in Windows, further optimizing your system’s graphics performance.
Setting the Preferred Graphics Card in Windows
Setting the preferred graphics card in Windows is an essential step to ensure that your system utilizes the dedicated graphics card for optimal performance. By default, Windows may prioritize the use of integrated graphics for certain applications or games. Here’s how you can set the preferred graphics card:
- Open the graphics control panel: Right-click on an empty area of your desktop and select either “NVIDIA Control Panel” (for NVIDIA graphics cards) or “AMD Radeon Settings” (for AMD graphics cards). These options may vary depending on the brand of your dedicated graphics card.
- NVIDIA Control Panel: In the NVIDIA Control Panel, navigate to “Manage 3D Settings” or “3D Settings” from the left-hand menu. Under the “Global Settings” tab, select “High-performance NVIDIA Processor” as the preferred graphics processor.
- AMD Radeon Settings: In the AMD Radeon Settings, click on the “Gaming” tab and then go to “Global Settings.” Here, select “High-performance” or “High-performance GPU” as the preferred graphics option.
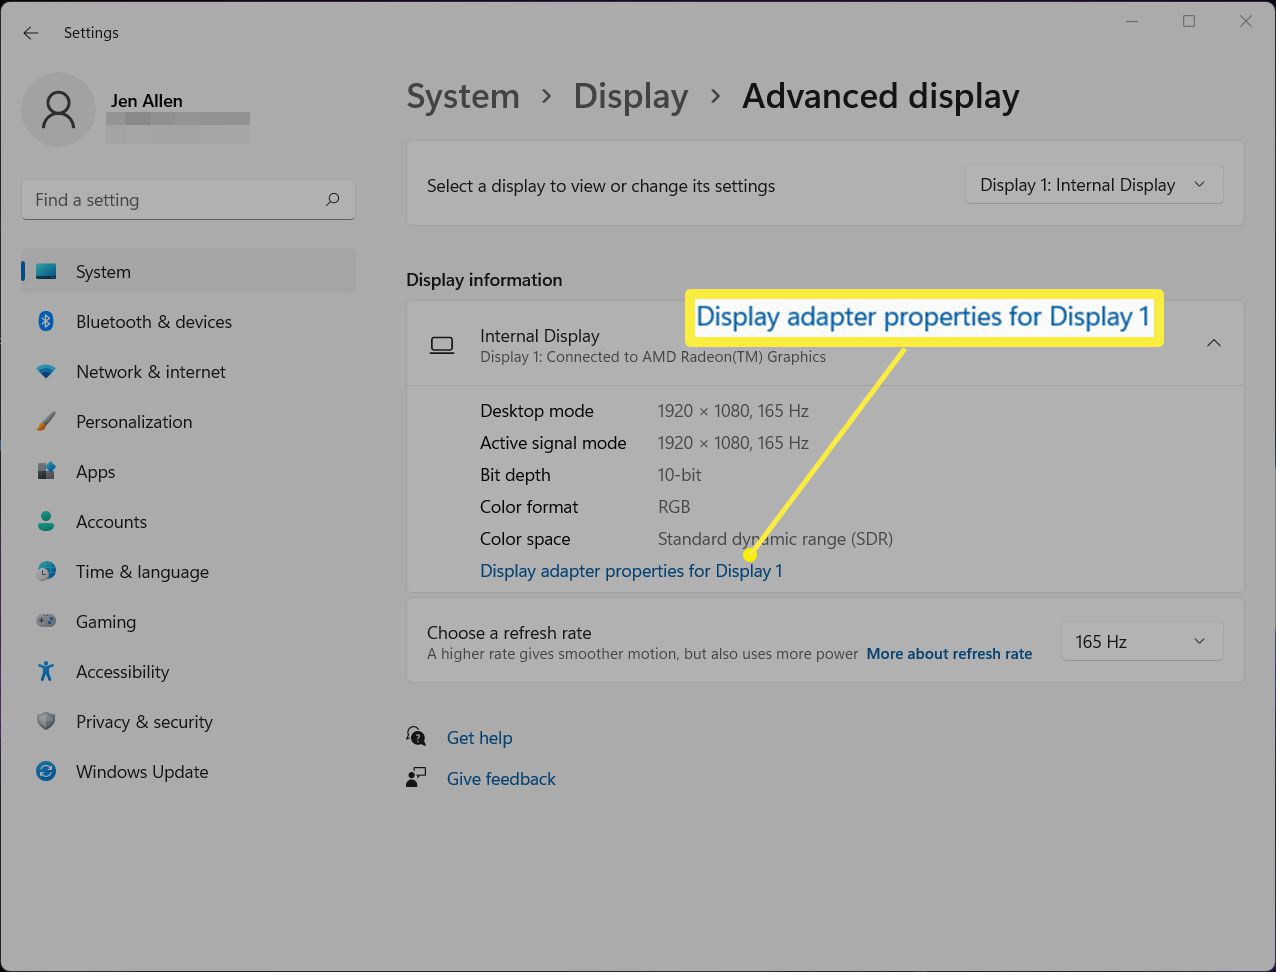
- Windows Graphics Settings: Additionally, you can also adjust the preferred graphics card settings through the Windows Graphics Settings. Open the Windows Settings by pressing “Windows key + I,” then go to “System” and select “Display.” Scroll down and click on “Graphics settings.” Under “Graphics performance preference,” choose the application or game you want to configure and select “High performance.”
By setting the preferred graphics card to your dedicated GPU, you ensure that Windows utilizes the full power of the graphics card for all applications and games. This allows for better performance and improved visual quality.
It’s important to note that some laptops have a feature called NVIDIA Optimus or AMD Switchable Graphics, which automatically switches between integrated and dedicated graphics based on the system’s demands. In such cases, the system will intelligently manage the graphics settings without manual intervention.
However, if you experience any issues or inconsistent behavior with a specific application, you can also customize the graphics settings on a per-application basis. This allows you to choose whether to prioritize performance or power efficiency for individual programs.
By following these steps, you can ensure that your dedicated graphics card is used to its full potential, delivering a superior graphical experience on your Windows computer.
In the next section, we will delve into ways to optimize graphics performance and ensure smooth gameplay or efficient graphics processing.
Optimizing Graphics Performance
Optimizing graphics performance is vital to ensure a smooth and seamless experience when using your dedicated graphics card. Whether you are a gamer looking for maximum frame rates or a professional needing efficient graphics processing, here are some tips to help you optimize your graphics performance:
- Keep graphics drivers up to date: Regularly updating your graphics drivers, as discussed earlier, is essential for gaining access to performance improvements, bug fixes, and compatibility enhancements released by the graphics card manufacturer.
- Adjust in-game graphics settings: Most modern games offer graphics settings that can be adjusted to find the right balance between performance and visual quality. Experiment with settings like resolution, texture quality, shadows, anti-aliasing, and post-processing effects to achieve the desired performance and visuals.
- Enable hardware acceleration: Many applications, including web browsers and multimedia players, support hardware acceleration. Enabling this feature offloads certain graphics processing tasks to your dedicated graphics card, resulting in smoother performance and improved responsiveness.
- Manage power settings: Adjusting power settings, particularly in laptops, can affect graphics performance. Ensure that your power plan is configured to prioritize performance over power saving, as this allows the graphics card to operate at its full potential.
- Clean and optimize your system: Regularly perform system maintenance tasks such as removing unnecessary files, updating other drivers, and conducting malware scans. A clean and optimized system reduces resource usage and improves overall performance, including graphics performance.
- Monitor temperatures and manage cooling: Graphics cards can generate significant heat during intense usage. Use software utilities provided by the graphics card manufacturer to monitor temperatures and adjust fan speeds if necessary. Ensuring proper cooling helps maintain optimal performance and prevents thermal throttling that can hinder graphics performance.
- Consider overclocking: Overclocking your graphics card can provide a performance boost, but it also carries certain risks. If you choose to overclock, research the process thoroughly and follow guidelines provided by reputable sources to avoid damaging your graphics card.
Every system and application is different, so it’s essential to experiment with these settings to find the optimal balance for your specific needs. The right combination of graphics settings and system optimizations can significantly enhance your graphics performance and overall user experience.
Remember to regularly monitor and test your system’s performance to ensure that it’s operating at its best. If you encounter any issues or slowdowns, troubleshoot by reviewing system configurations, adjusting settings, or seeking assistance from the graphics card manufacturer’s support resources.
In the next section, we will address common issues that may arise while using a dedicated graphics card and provide troubleshooting tips to help you overcome them.
Troubleshooting Common Issues
While using a dedicated graphics card can greatly enhance your graphical experience, you may encounter some common issues along the way. Here are some troubleshooting tips to help you overcome these issues:
- Driver issues: If you experience graphical glitches, artifacts, or performance problems, ensure that you have the latest graphics drivers installed. Consider performing a clean reinstall of the drivers and check for any conflicting software that may be causing issues.
- Compatibility problems: Certain games or applications may have compatibility issues with specific graphics card models or driver versions. Check for known compatibility issues and consider updating the software or contacting the developer for support and potential fixes.
- Overheating: If your graphics card is running too hot, it can lead to performance drops or system instability. Ensure that your graphics card is properly cooled with adequate airflow and consider adjusting fan speeds or applying new thermal paste if needed.
- Power supply limitations: If you experience sudden system shutdowns or instability when using your graphics card, it could indicate that your power supply unit (PSU) doesn’t provide enough power. Consider upgrading your PSU to meet the power demands of your graphics card.
- Incorrect BIOS settings: Double-check your BIOS settings to ensure that the dedicated graphics card is properly recognized and selected as the primary graphics device. Revisit the “Configuring BIOS Settings” section in this guide for step-by-step instructions.
- Compatibility with other hardware: Sometimes, conflicts can arise between your graphics card and other hardware components in your system. Check for any hardware compatibility issues or conflicts, such as incompatible RAM or motherboard limitations.
- External display issues: If you’re using an external monitor or multiple displays, ensure that the cables are securely connected and that the appropriate display settings are selected in both your graphics control panel and the Windows display settings.
If you encounter persistent issues that you cannot resolve, it’s recommended to seek assistance from the graphics card manufacturer’s support resources. They can provide specific guidance for your particular graphics card model and help troubleshoot any problems you may be experiencing.
Remember to document any error messages, symptoms, or steps you’ve taken to troubleshoot the issues. This information will be helpful when seeking support or discussing the problem in online forums or communities.
By following these troubleshooting tips and seeking assistance when needed, you can resolve common issues and ensure a smooth and enjoyable experience with your dedicated graphics card.
Conclusion
Configuring and utilizing a dedicated graphics card can significantly enhance your computer’s graphical performance, whether you’re a gamer, designer, or multitasking enthusiast. By understanding the differences between integrated and dedicated graphics, checking system requirements, configuring BIOS settings, updating graphics drivers, setting the preferred graphics card in Windows, optimizing performance, and troubleshooting common issues, you can make the most of your dedicated graphics card and elevate your visual experience.
Remember to regularly update your graphics drivers to access the latest features, bug fixes, and performance improvements. Adjust in-game graphics settings to achieve the desired balance between performance and visual quality. Take advantage of hardware acceleration, optimize power settings, and keep your system clean and free of unnecessary files to maximize graphics performance.
If you encounter any issues, refer to troubleshooting tips and seek assistance from the graphics card manufacturer’s support resources. Be mindful of compatibility issues, power supply limitations, and correct BIOS settings to ensure a smooth experience with your dedicated graphics card.
By following the guidelines provided in this guide, you can harness the full potential of your dedicated graphics card and enjoy an immersive, high-performance graphical experience tailored to your specific needs.
Now, go ahead and unlock the power of your dedicated graphics card, whether it’s for gaming, content creation, or any graphics-intensive task!