Introduction
Welcome to the world of Macbook Pro, a powerful and sleek device that offers incredible computing capabilities. One of the many advantages of owning a Macbook Pro is its ability to easily and efficiently work with external storage devices, such as flash drives. Whether you want to transfer files, back up important documents, or simply expand your storage capacity, using a flash drive on your Macbook Pro is a breeze.
In this article, we will guide you through the process of using a flash drive on your Macbook Pro, step by step. We will cover everything from checking compatibility to transferring files and safely removing the flash drive. Whether you are a seasoned Mac user or new to the world of Macbook Pro, this guide will provide you with all the information you need to make the most of your flash drive on your Macbook Pro.
Before we dive into the detailed steps, it is important to note that Macbook Pro supports a wide range of flash drives, including USB 2.0 and USB 3.0. However, it is always advisable to check the compatibility of your flash drive with your Macbook Pro to ensure smooth functioning. Now, let’s get started and explore how to use a flash drive on your Macbook Pro.
Step 1: Check the Compatibility of the Flash Drive with MacBook Pro
Before you begin using a flash drive with your MacBook Pro, it is important to ensure that the flash drive is compatible with your device. This will help avoid any compatibility issues and ensure that the flash drive works seamlessly with your MacBook Pro.
To check the compatibility of your flash drive, follow these steps:
- Make sure your MacBook Pro is powered on and running the latest operating system. Keeping your device updated is crucial for compatibility with various external devices.
- Insert the flash drive into an available USB port on your MacBook Pro. It is recommended to use a USB 3.0 port for faster data transfer.
- Wait for a few seconds to allow your MacBook Pro to recognize the flash drive. If your flash drive is compatible, it should appear on the desktop or in the Finder window as a removable storage device.
- Open the Finder by clicking on the blue and white face icon located on the Dock. In the Finder, you should see the flash drive listed under the “Devices” section in the sidebar.
- Click on the flash drive’s name to open it and confirm that it is recognized by your MacBook Pro. You can also check the available storage capacity of the flash drive at this stage.
If you encounter any issues or if the flash drive is not recognized by your MacBook Pro, it is possible that the flash drive is not compatible with your device. In such cases, you may need to try a different flash drive or consult the manufacturer’s website or user manual for compatibility information.
Remember, checking the compatibility of your flash drive is an essential first step to ensure smooth and trouble-free usage. Once you have confirmed compatibility, you can proceed to the next steps of using the flash drive on your MacBook Pro.
Step 2: Insert the Flash Drive into the USB Port
Now that you have confirmed the compatibility of your flash drive with your MacBook Pro, it’s time to insert the flash drive into the USB port. Follow these simple steps:
- Locate the USB ports on your MacBook Pro. Depending on the model, you may have multiple USB ports located on the sides or back of the device.
- Gently insert the USB connector of the flash drive into an available USB port on your MacBook Pro. Make sure to align the connector properly and apply even pressure until it is fully inserted.
- Once the flash drive is securely connected, your MacBook Pro should detect it and display a notification or show the flash drive icon on the desktop.
You are now ready to access and use the flash drive on your MacBook Pro. It’s important to handle the flash drive with care while it is connected to your device to avoid any accidental disconnections or damage.
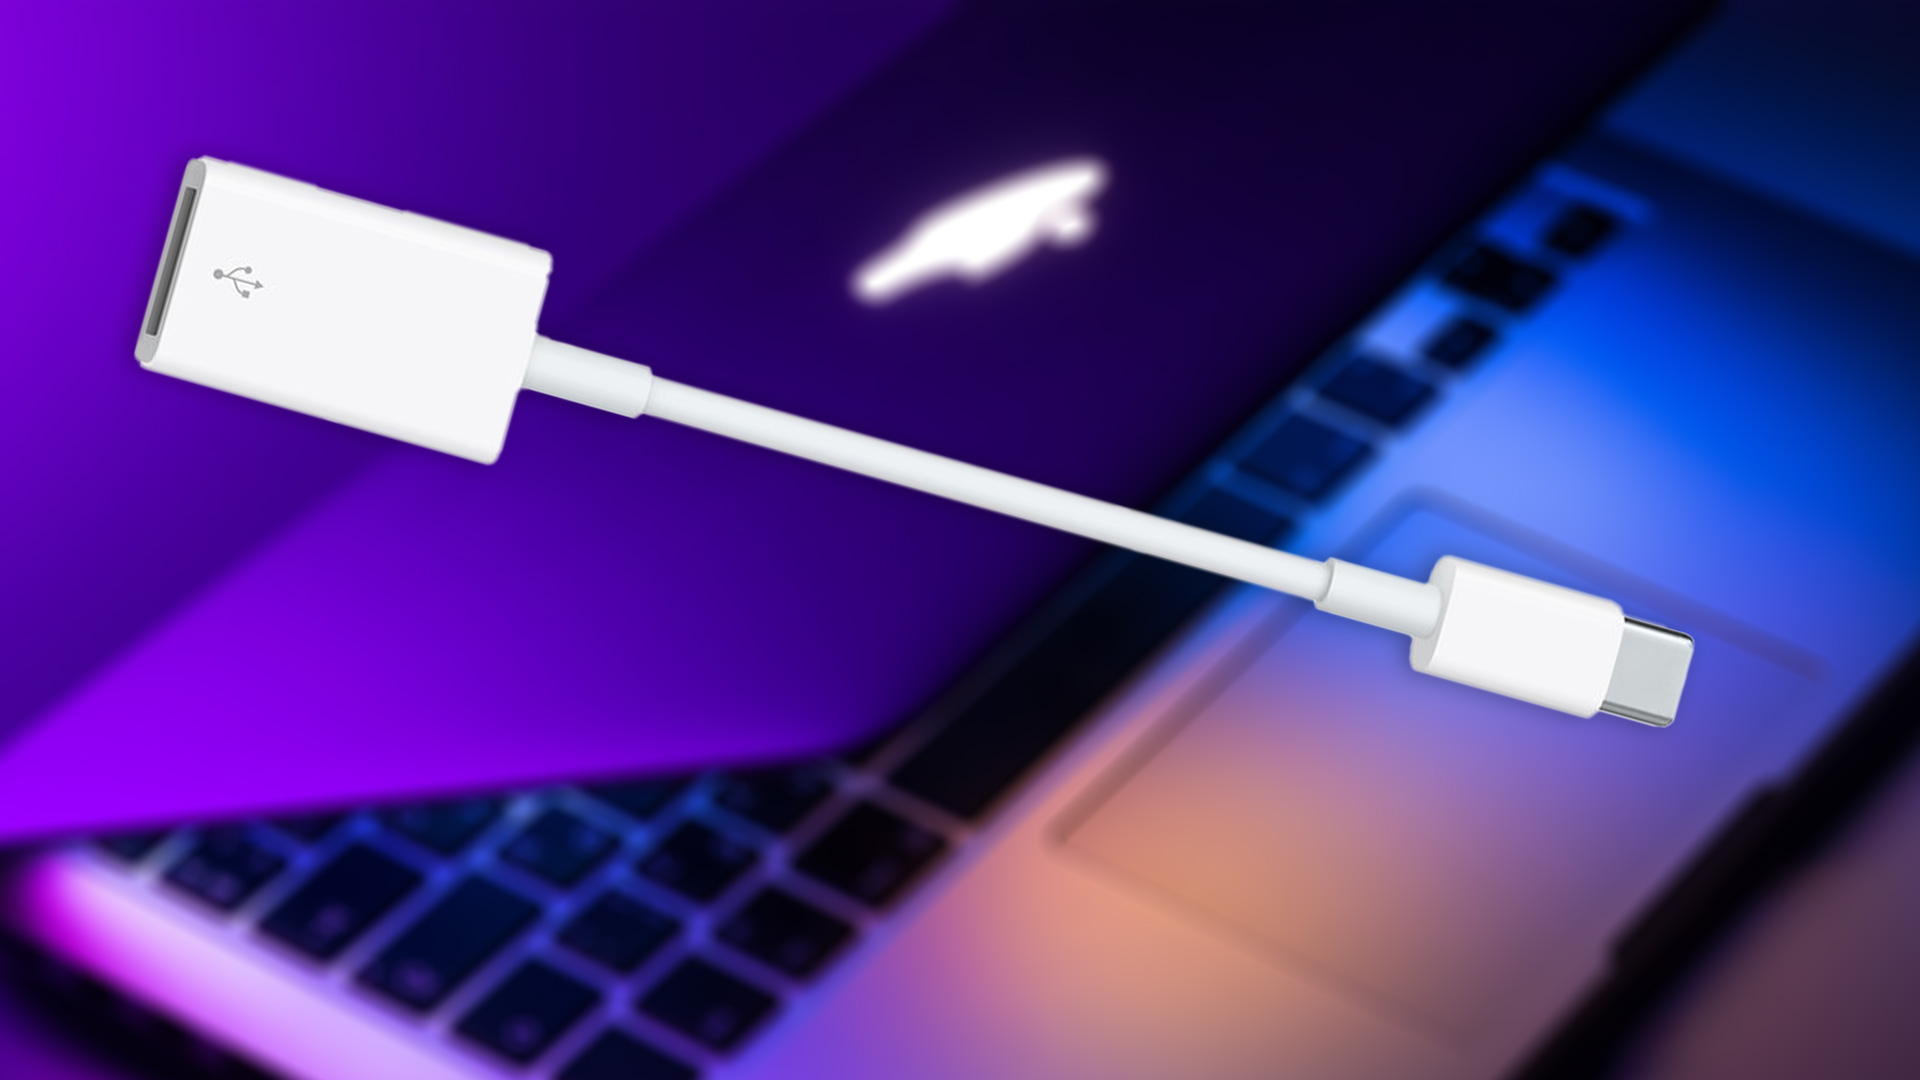
Keep in mind that different MacBook Pro models may have different USB port types. Some may have USB Type-A ports, while others may feature USB Type-C ports. If your flash drive has a different connector type than the USB port on your MacBook Pro, you may need to use an adaptor or cable to connect them properly.
With your flash drive securely inserted into the USB port, you can now move on to the next step and start utilizing its storage capacity for transferring files and data on your Macbook Pro.
Step 3: Locate the Flash Drive on the MacBook Pro
Once you have inserted the flash drive into the USB port of your MacBook Pro, the next step is to locate and access the flash drive on your device. Follow these steps to find the flash drive:
- Look for the flash drive icon on your desktop. If your MacBook Pro is set to show connected devices on the desktop, you should see the flash drive icon appear. Simply double-click on the icon to open the flash drive.
- If you do not see the flash drive on the desktop, you can also access it through the Finder. Click on the Finder icon in the Dock, and then look for the flash drive listed in the sidebar under the “Devices” section. Click on the flash drive’s name to open it.
- Once you open the flash drive, you will be able to view its contents, including any files or folders stored on it. You can navigate through the flash drive, create new folders, delete files, or copy and paste files between your MacBook Pro and the flash drive.
It’s important to note that the flash drive will be assigned a name based on its manufacturer or model. If you have multiple flash drives connected to your MacBook Pro, each drive will have a unique name to differentiate them.
If you are unable to locate the flash drive on your MacBook Pro, try disconnecting it from the USB port and reconnecting it again. Sometimes a simple restart of your MacBook Pro can also help refresh the system and recognize the flash drive.
Now that you have successfully located the flash drive on your MacBook Pro, you can proceed to the next step and start transferring files to and from the flash drive with ease.
Step 4: Transfer Files to and from the Flash Drive
Now that you have accessed the flash drive on your MacBook Pro, you can easily transfer files to and from the flash drive. Follow these steps to transfer files:
- To copy files from your MacBook Pro to the flash drive, simply select the file or folder you want to transfer. Right-click on it and choose “Copy” from the context menu.
- Navigate to the flash drive in the Finder by either clicking on its icon on the desktop or locating it in the sidebar of the Finder.
- Once you are inside the flash drive, right-click in an empty space and choose “Paste” from the context menu. The file or folder will be copied to the flash drive.
- To move files from the flash drive to your MacBook Pro, select the file or folder on the flash drive. Right-click on it and choose “Copy” or “Cut” from the context menu.
- Navigate to the desired location on your MacBook Pro using the Finder, and then right-click in an empty space and choose “Paste” from the context menu. The file or folder will be transferred to your MacBook Pro.
Alternatively, you can also drag and drop files between your MacBook Pro and the flash drive. Simply select the file or folder and drag it from one location to the other.
While transferring files, make sure to keep an eye on the available storage space on both your MacBook Pro and the flash drive. If either device is running low on storage, you may need to delete unnecessary files or consider using a larger capacity flash drive.
By following these simple steps, you can easily transfer files to and from the flash drive, allowing you to free up space on your MacBook Pro and keep important files safely stored on the flash drive.
Step 5: Safely Remove the Flash Drive from MacBook Pro
Once you have finished transferring files to or from the flash drive on your MacBook Pro, it’s important to safely remove the flash drive to avoid data corruption or damage. Follow these steps to safely remove the flash drive:
- Make sure all file transfers or operations involving the flash drive are complete. This ensures that no data is being read from or written to the flash drive.
- In the Finder, locate the flash drive in the sidebar under the “Devices” section. It will be displayed with its assigned name.
- Right-click on the flash drive’s name and choose “Eject” from the context menu. Alternatively, you can also drag the flash drive’s icon from the desktop or Finder window to the Trash bin to eject it.
- Wait for a few seconds until the flash drive’s icon disappears from the desktop or Finder window. This indicates that it has been safely ejected from your MacBook Pro.
- Gently remove the flash drive from the USB port by pulling it straight out. Avoid applying excessive force or bending the USB connector.
It’s essential to follow these steps for safe removal as simply pulling out the flash drive without ejecting it first can lead to potential data loss or damage to the drive.
If you accidentally eject the wrong flash drive or realize you need to access it again, simply reconnect it to the USB port of your MacBook Pro. It will be detected and appear on the desktop or in the Finder window.
By safely removing the flash drive from your MacBook Pro, you can ensure the integrity and longevity of your data, as well as the longevity of the flash drive itself.
Conclusion
Using a flash drive on your MacBook Pro is a convenient and efficient way to expand your storage capacity, transfer files, and conveniently carry your data with you. Throughout this guide, we have explored the step-by-step process of using a flash drive on your MacBook Pro.
We started by ensuring the compatibility of the flash drive with your MacBook Pro. Checking compatibility is essential to ensure smooth functioning and avoid any compatibility issues.
Next, we learned how to insert the flash drive into the USB port of your MacBook Pro. Properly inserting the flash drive ensures a secure connection and reliable usage.
We then discussed how to locate the flash drive on your MacBook Pro, both on the desktop and through the Finder. Locating the flash drive allows you to easily access its contents and manage files efficiently.
Furthermore, we explored the process of transferring files to and from the flash drive. Whether it involves copying, moving, or dragging and dropping files, these methods provide you with flexibility and convenience in managing your data.
Lastly, we emphasized the importance of safely removing the flash drive from your MacBook Pro. Safely ejecting the flash drive helps prevent data corruption or damage, ensuring the longevity and reliability of both your data and the flash drive itself.
By following these steps, you can confidently use a flash drive on your MacBook Pro, harnessing its power and versatility to fulfill your storage and file transfer needs.
Remember to regularly back up your data, keep your MacBook Pro updated, and handle the flash drive with care to maintain a smooth and seamless user experience.
Now that you have successfully mastered the art of using a flash drive on your MacBook Pro, you are ready to enjoy the benefits of this portable and versatile storage solution.


