Introduction
Welcome to our guide on how to update your GPU drivers! Whether you’re a seasoned gamer or a professional designer, keeping your graphics card drivers up to date is essential for optimal performance and compatibility with the latest software and games. In this article, we will walk you through the necessary steps to successfully update your GPU drivers.
GPU drivers, also known as graphics card drivers, act as a bridge between your computer’s operating system and your graphics card. These drivers enable your system to communicate effectively with your GPU, ensuring smooth and efficient operation. Updating your GPU drivers regularly not only improves overall system stability but also unlocks new features and enhancements that can significantly enhance your gaming or design experience.
Outdated GPU drivers can cause a range of issues, including decreased performance, graphical glitches, and compatibility problems with new games or software updates. By keeping your GPU drivers up to date, you can avoid these issues and ensure that your system is running at its best.
Now that you understand why updating your GPU drivers is important, let’s dive into the step-by-step process of how to do it. We’ll guide you through identifying your GPU model, visiting the manufacturer’s website, downloading the latest drivers, uninstalling the old drivers, installing the new drivers, and verifying the driver installation.
Why should you update your GPU drivers?
Updating your GPU drivers regularly is vital for several reasons. Let’s explore why keeping your graphics card drivers up to date is crucial:
- Performance improvements: GPU driver updates often include performance optimizations to enhance the overall efficiency of your graphics card. These improvements can lead to smoother gameplay, faster rendering times, and increased frame rates, delivering a more enjoyable and immersive experience when gaming or working with graphic-intensive applications.
- Bug fixes and stability: Manufacturers regularly release driver updates to address bugs, stability issues, and other software flaws that can impact the performance of your GPU. By installing the latest drivers, you can resolve known issues and ensure a stable computing environment.
- Compatibility: Newer games and software updates often require the latest GPU drivers to ensure compatibility. Without updating your drivers, you may encounter compatibility issues, such as graphical errors, crashes, or even the inability to run certain applications altogether. Keeping your GPU drivers up to date guarantees optimal compatibility with the latest software releases.
- New features and enhancements: GPU driver updates often introduce new features, tools, and enhancements that can enhance your computing experience. These updates may include support for advanced graphical effects, improved overclocking options, or new technologies like ray tracing or AI-based rendering. By updating your GPU drivers, you can take advantage of these exciting new features.
- Security fixes: Just like any software, GPU drivers can have security vulnerabilities. Manufacturers release driver updates to address these vulnerabilities and provide essential security patches. By updating your GPU drivers, you can protect your system from potential security threats.
Now that you understand the benefits of updating your GPU drivers, you can see why it is crucial to keep them up to date. In the next sections, we will guide you through the step-by-step process of updating your GPU drivers to ensure you’re getting the most out of your graphics card.
Step 1: Identify your GPU model
Before updating your GPU drivers, it is essential to identify the specific model of your graphics card. This information will help you download the correct drivers from the manufacturer’s website. Here’s how you can identify your GPU model:
- Check your computer’s documentation: If you purchased a pre-built computer, your GPU model may be listed in the documentation that came with it. Look for any information related to the graphics card, such as the make and model.
- Check the device manager: On Windows, you can open the device manager by right-clicking the start button and selecting “Device Manager” from the menu. Expand the “Display adapters” category, and you should see your graphics card listed. Note down the name of the GPU.
- Use third-party software: Several third-party software tools can provide detailed information about your hardware, including the GPU model. Programs like CPU-Z or GPU-Z can detect and display the specific model of your graphics card. Download and install one of these tools, launch it, and navigate to the graphics card section.
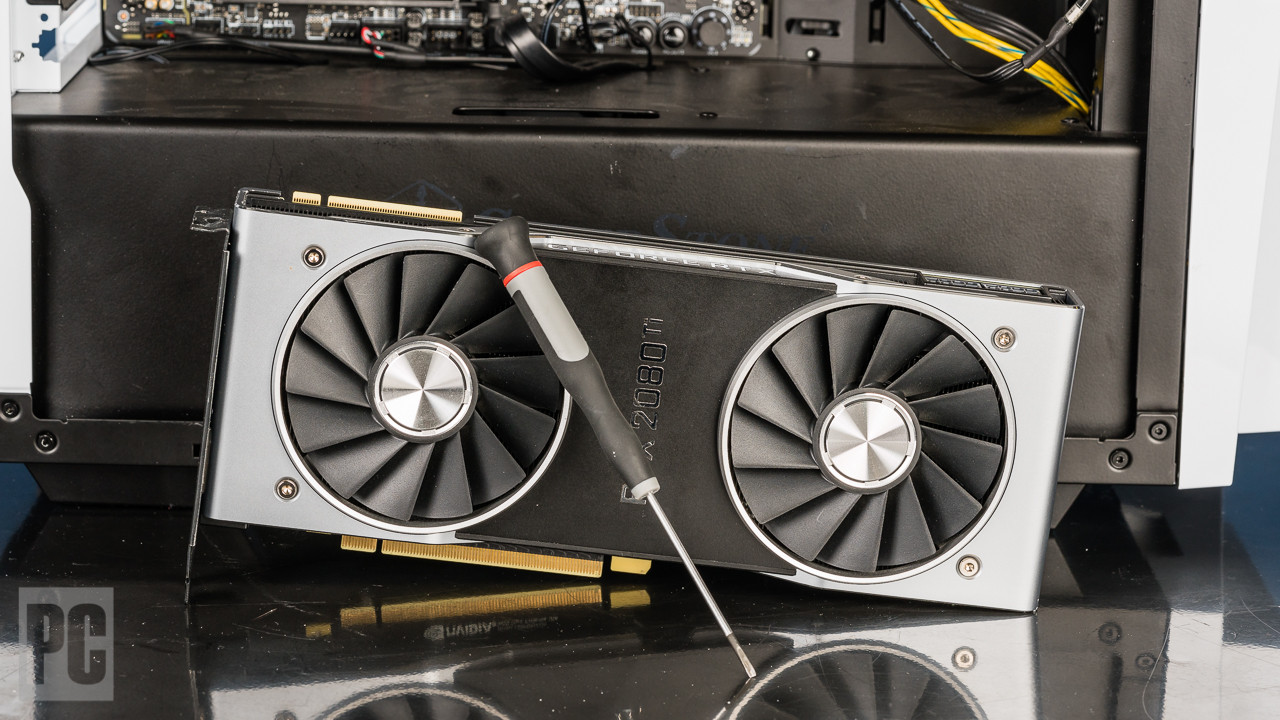
- Physical inspection: If you are comfortable opening your computer, you can identify the GPU model by physically inspecting the graphics card. Carefully open your computer case and locate the graphics card. The model name is usually printed on a sticker or engraved on the card itself.
Once you have identified your GPU model using one of these methods, you are ready to proceed to the next step: visiting the manufacturer’s website to download the latest drivers.
Step 2: Visit the manufacturer’s website
After identifying your GPU model, the next step is to visit the manufacturer’s website to download the latest drivers. Most GPU manufacturers provide dedicated support websites where you can find drivers and software updates specific to your graphics card. Follow these steps:
- Identify the manufacturer: Based on your GPU model, determine the manufacturer of your graphics card. Popular GPU manufacturers include NVIDIA, AMD, and Intel.
- Open a web browser: Launch your preferred web browser and navigate to the website of the GPU manufacturer.
- Find the support section: Look for a section on the manufacturer’s website dedicated to support, drivers, or downloads. This may vary depending on the manufacturer’s website structure. Commonly, you will find it under the “Support” or “Drivers” tab.
- Select your product: Once you’re on the support page, search for your specific graphics card model using the provided search function or through the product categories. This will lead you to the driver download page for your GPU model.
- Choose the operating system: On the driver download page, select the operating system that you are using. Ensure that you choose the correct version, such as Windows, macOS, or Linux.
- Download the driver: Locate the latest driver version available for your GPU model and click on the download link. The driver package will be saved to your computer’s storage.
By visiting the manufacturer’s website and downloading the latest drivers, you are ensuring compatibility and accessing the most up-to-date software for your specific graphics card. In the next section, we will discuss the process of uninstalling the old drivers.
Step 3: Download the latest drivers
Now that you have reached the driver download page for your GPU model on the manufacturer’s website, it’s time to download the latest drivers. Follow these steps to ensure you get the correct and most up-to-date driver:
- Select the correct driver: On the driver download page, you will usually find multiple driver versions available. Choose the latest driver that matches your operating system and GPU model. It is crucial to select the correct driver to avoid compatibility issues.
- Read the release notes: Manufacturers often provide release notes with their driver updates. Take a moment to read through them to learn about the improvements, bug fixes, and any known issues with the driver. This information can help you determine if the driver is suitable for your needs.
- Download the driver: Once you have selected the appropriate driver, click the download button or link provided. Your browser will begin the downloading process. Depending on the size of the driver package and your internet speed, this may take a few moments.
- Save the driver: Once the download is complete, choose a location on your computer where you want to save the driver package. It’s a good idea to save it to a location that is easy to remember, such as your desktop or a dedicated “Drivers” folder.
By following these steps, you can download the latest drivers for your graphics card directly from the manufacturer. In the next section, we will discuss how to uninstall the old drivers to ensure a clean installation of the new ones.
Step 4: Uninstall the old drivers
Before installing the new GPU drivers, it is crucial to uninstall the old drivers from your system. This step ensures that the old drivers do not interfere with the installation of the new ones and helps maintain system stability. Follow these steps to uninstall the old drivers:
- Open the Device Manager: On Windows, right-click on the Start button and select “Device Manager” from the menu that appears. This will open the Device Manager window.
- Expand the Display adapters category: In the Device Manager window, find and expand the “Display adapters” category. This will display your graphics card(s).
- Right-click on your graphics card: Right-click on the graphics card that you want to uninstall and select “Uninstall device” from the context menu. Confirm any prompts that appear.
- Complete the uninstallation process: Depending on your system, you may be asked to restart your computer to complete the uninstallation process. If prompted, save and close any open files and restart your computer.
- Optional: Use driver uninstallation software: If you want to ensure a thorough removal of the old drivers, you can use third-party driver uninstallation software. Programs like Display Driver Uninstaller (DDU) can help remove leftover driver files and registry entries. However, exercise caution when using such software and follow the instructions provided by the developer.
By uninstalling the old drivers, you are preparing your system for a clean installation of the new GPU drivers. In the next section, we will discuss how to install the new drivers onto your system.
Step 5: Install the new drivers
Now that you have uninstalled the old GPU drivers, it’s time to install the new ones. Follow these steps to install the latest drivers onto your system:
- Locate the downloaded driver package: Navigate to the location on your computer where you saved the downloaded driver package.
- Run the installer: Double-click on the installer file to launch the driver installation wizard. If prompted, confirm any security prompts or user account control (UAC) notifications.
- Follow the on-screen instructions: The installation wizard will guide you through the installation process. Follow the on-screen prompts and select any desired options or preferences that the installer offers.
- Agree to the license agreement: In order to proceed with the installation, you will likely be required to accept a license agreement. Make sure to read and understand the terms of the agreement before proceeding.
- Wait for the installation to complete: The installation process may take a few minutes to complete. Avoid closing the installation wizard or interrupting the process prematurely.
- Restart your computer: Once the installation is finished, restart your computer to finalize the driver installation. This step ensures that the new drivers are fully integrated into your system.
After following these steps, your new GPU drivers should be successfully installed on your computer. In the next section, we will discuss the importance of verifying the driver installation.
Step 6: Restart your computer
After installing the new GPU drivers, it is crucial to restart your computer to ensure that the changes take effect and that your system operates with the updated drivers. Follow these steps to restart your computer:
- Save and close any open files or programs: Before restarting your computer, make sure to save any unsaved work and close any open files or programs. This will prevent data loss and ensure a smooth restart.
- Click on the “Start” button: On Windows, click on the “Start” button located in the bottom-left corner of the screen. This will open the Start menu.
- Choose “Restart”: From the Start menu, select the “Restart” option. This will initiate the restart process for your computer.
- Wait for the restart: Your computer will now begin the restart process. Depending on your system, this may take a few moments.
- Log in to your computer: After the restart, your computer will display the login screen. Enter your username and password to log in to your computer.
By restarting your computer, you ensure that the new GPU drivers are fully integrated into your system. This step is essential for the changes to take effect and for your graphics card to operate with the updated drivers. In the next section, we will discuss the importance of verifying the driver installation.
Step 7: Verify the driver installation
After updating your GPU drivers and restarting your computer, it is important to verify that the driver installation was successful. Verifying the driver installation ensures that your system is utilizing the latest drivers and can help identify any potential issues. Follow these steps to verify the driver installation:
- Open the Device Manager: On Windows, right-click the Start button and select “Device Manager” from the menu. This will open the Device Manager window.
- Expand the Display adapters category: In the Device Manager window, find and expand the “Display adapters” category. This will display your graphics card(s).
- Check the driver version: Double-click on your graphics card to open its properties. In the Properties window, navigate to the “Driver” tab. Here, you will find information about the driver version and the date of the driver installation.
- Confirm the driver details: Compare the driver version and installation date with the information provided by the manufacturer. Ensure that the driver version matches the latest version available on the manufacturer’s website.
- Test your system: Once you have confirmed that the driver installation is successful, it is recommended to test your system. Launch a graphics-intensive application or a game and observe its performance. If you experience any issues, consider reinstalling the drivers or contacting the GPU manufacturer for further assistance.
Verifying the driver installation allows you to ensure that your system is running on the latest drivers and helps you identify any discrepancies or potential problems. If you encountered any issues during the verification process or are experiencing difficulties with your system, refer to the manufacturer’s support resources or consider seeking assistance from their technical support team.
Conclusion
Updating your GPU drivers is a crucial task to ensure optimal performance, compatibility, and stability in your system. By following the steps outlined in this guide, you can easily update your GPU drivers and take advantage of the latest features and enhancements offered by your graphics card manufacturer.
Throughout this guide, we discussed the importance of updating GPU drivers, starting from identifying your GPU model to visiting the manufacturer’s website, downloading and installing the latest drivers, and verifying the successful installation. Each step plays a vital role in ensuring a smooth and seamless driver update process.
Regularly updating your GPU drivers can provide several benefits such as improved performance, bug fixes, enhanced compatibility with new software releases, and access to new features. It is recommended to check for driver updates periodically to stay up to date with the latest improvements and optimizations.
Remember, when updating your GPU drivers, always download the drivers directly from the manufacturer’s official website to ensure you are getting the legitimate and most compatible drivers for your specific graphics card model and operating system.
By keeping your GPU drivers up to date, you can ensure that your system is running smoothly, offering the best possible performance for your gaming, design, or other graphic-intensive tasks. So, don’t forget to prioritize updating your GPU drivers regularly to make the most of your graphics card.