Introduction
Welcome to the world of LG OLED TV! Unpacking and setting up your new television can be an exciting experience. Whether you’re upgrading from an older model or diving into the world of OLED technology for the first time, this guide will walk you through the process of unpacking and setting up your LG OLED TV with ease.
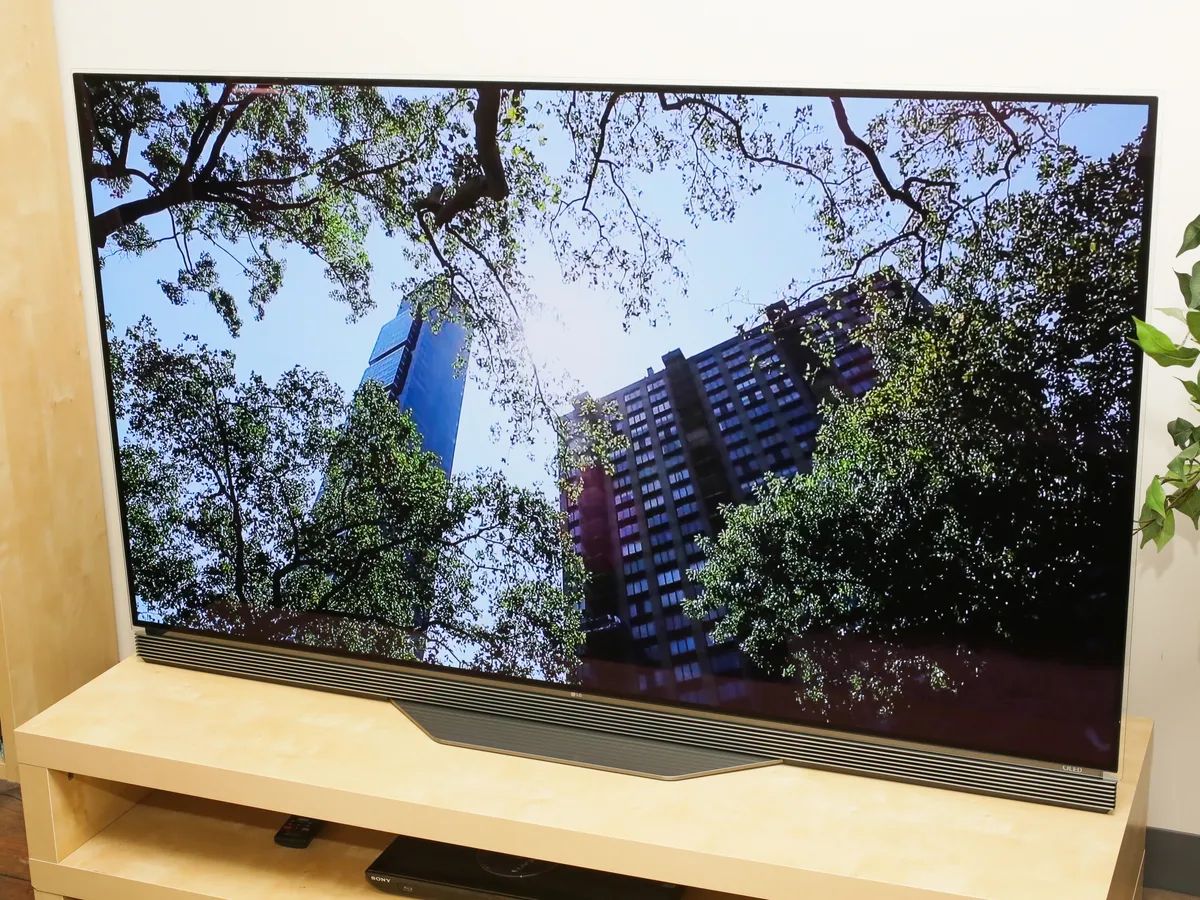
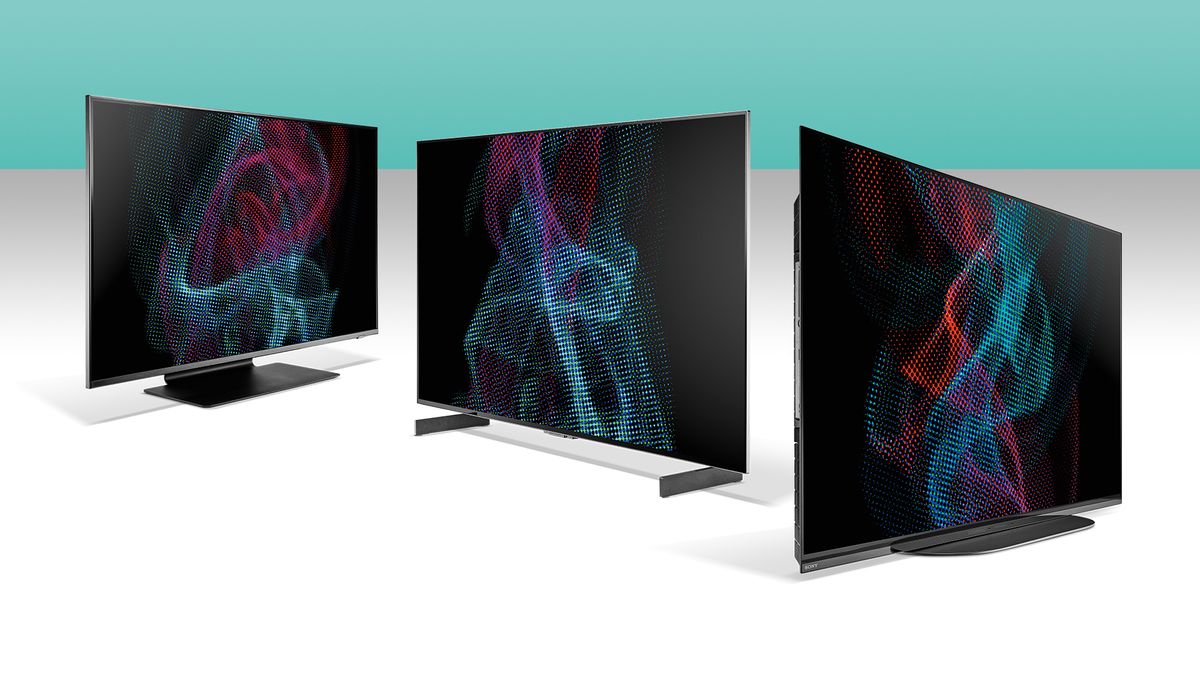
LG OLED TVs are known for their stunning picture quality, vibrant colors, and incredible contrast. With their sleek design and advanced features, they can transform your living room into a true home theater experience.
Before we dive into the unboxing and setup, it’s important to note that the following instructions are general guidelines. It’s always recommended to consult the instruction manual that comes with your specific LG OLED TV for detailed information and any additional setup requirements.
Now, let’s get started and explore the step-by-step process of unboxing and setting up your LG OLED TV.
Unboxing the LG OLED TV
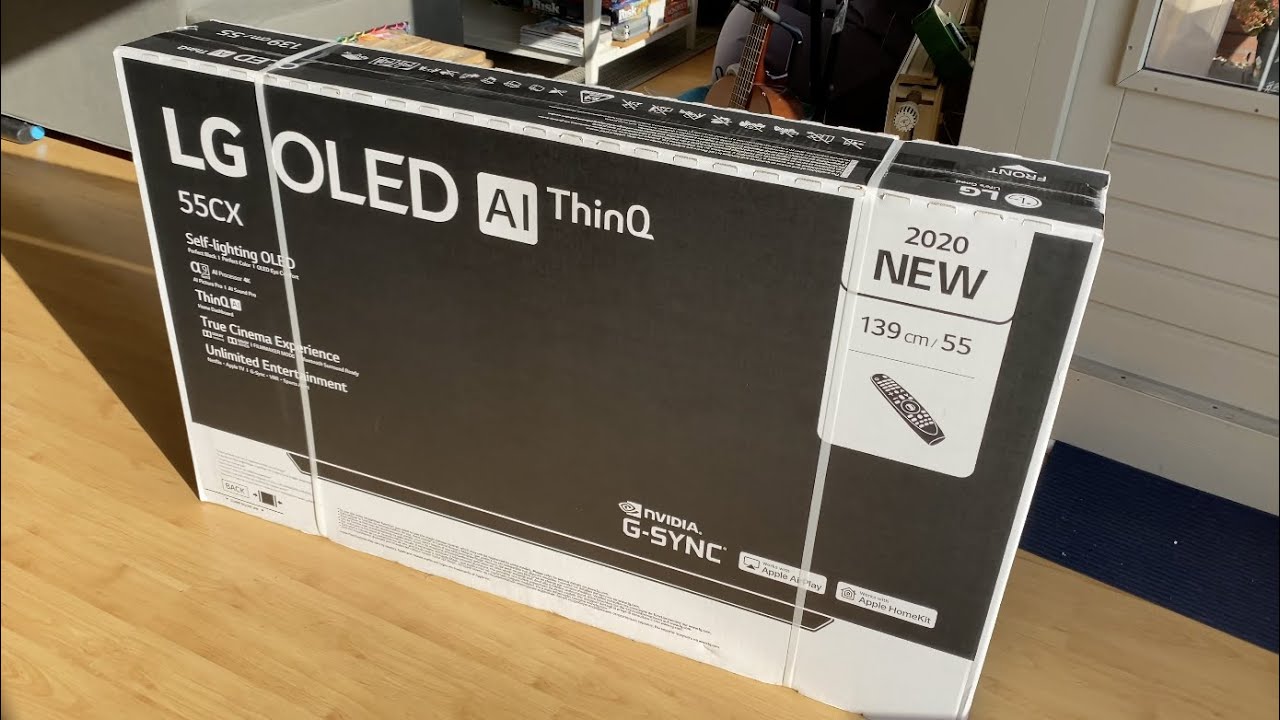
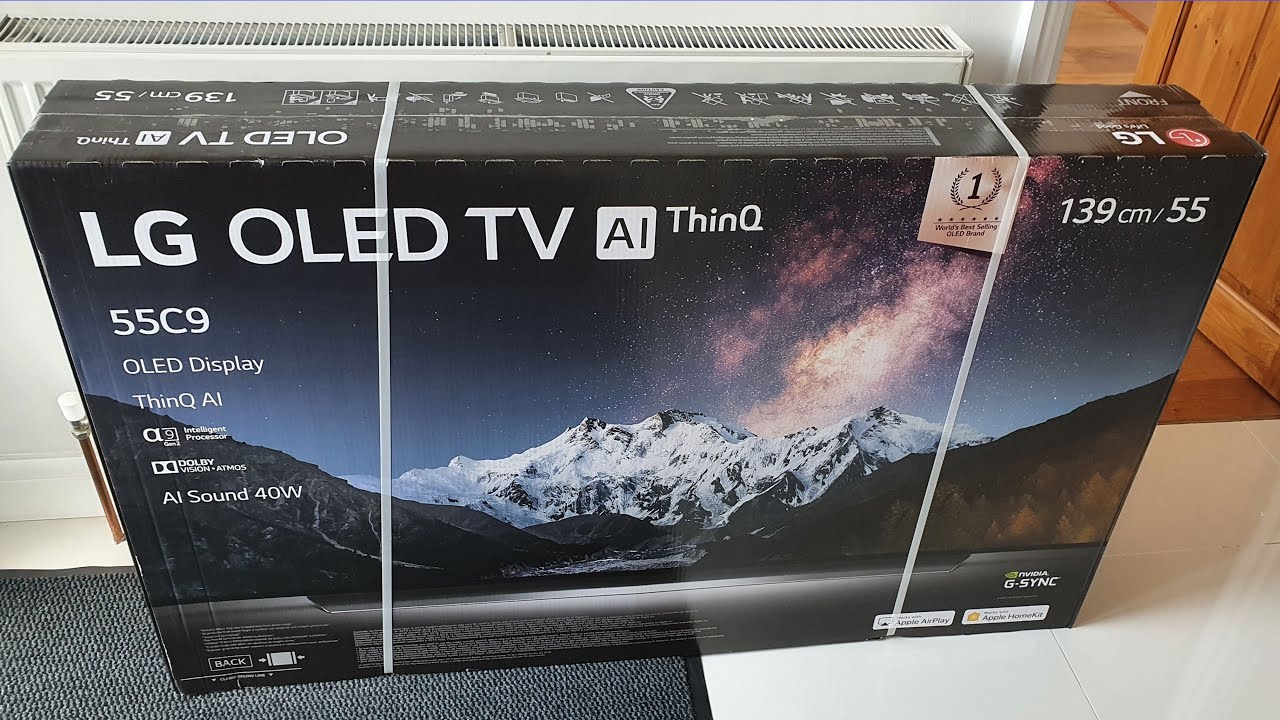
Unboxing your new LG OLED TV is the first step towards enjoying breathtaking visuals and immersive entertainment. Follow these steps to ensure a smooth unboxing process:
- Locate a spacious and uncluttered area where you can safely unpack and handle the TV.
- Remove the packaging materials carefully, ensuring not to use sharp objects that may damage the TV or accessories.
- Start by taking off the cardboard box, making sure to keep it upright to avoid any potential damage.
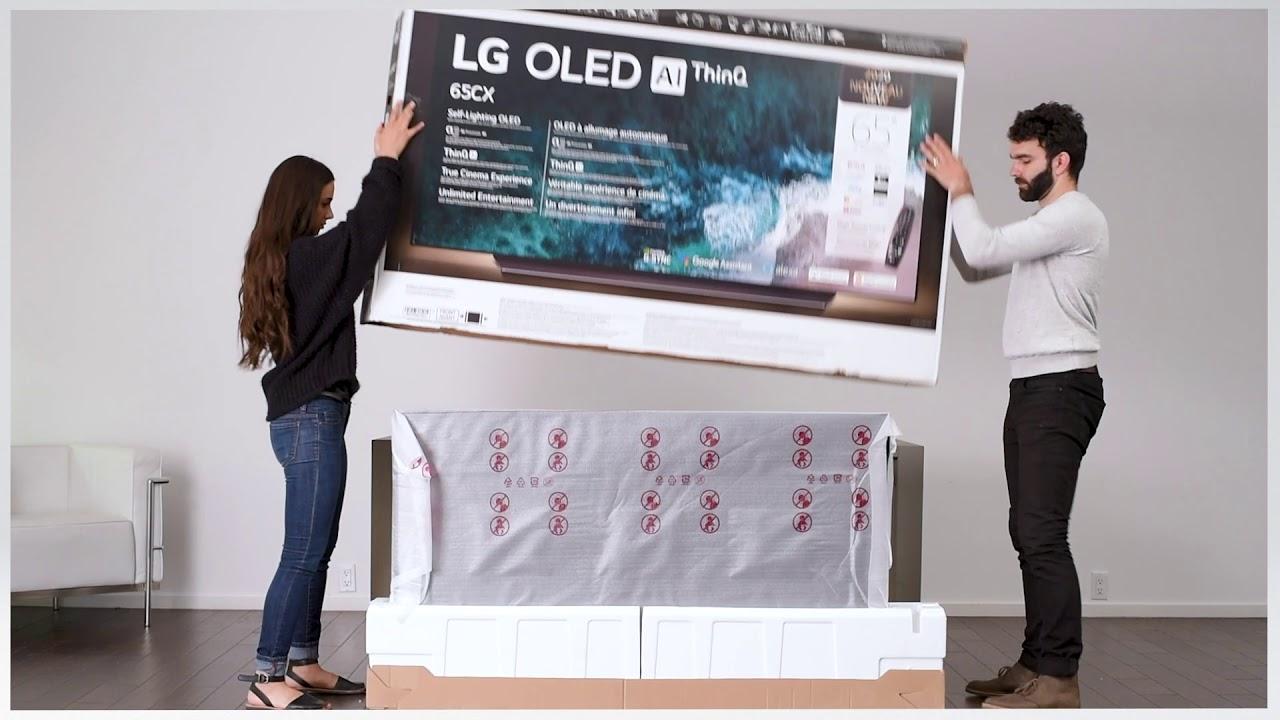
- Next, locate the styrofoam or protective foam brackets that hold the TV securely in place during transportation. Keep them aside as they may be needed later.
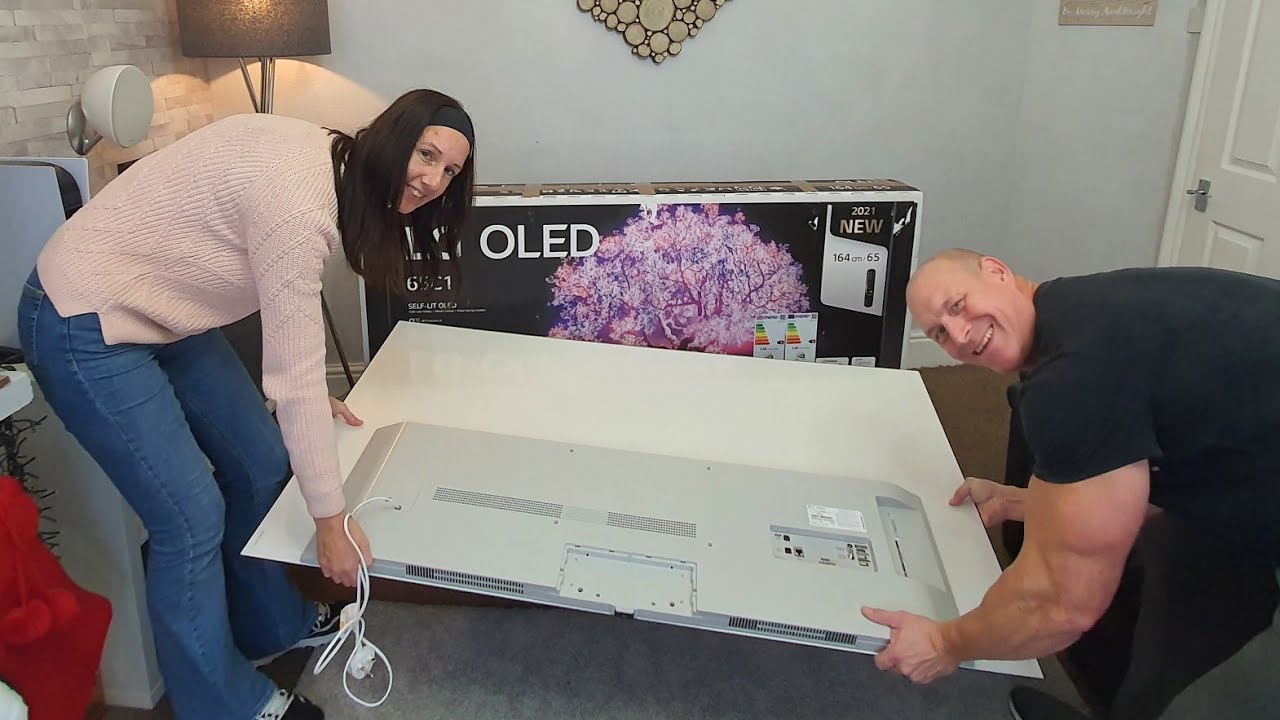
- Gently lift the TV out of the box and place it on a flat surface. It’s always helpful to have an extra pair of hands for this step, considering the weight and delicacy of the TV.
- Inspect the TV for any visible signs of damage or cracks. If you notice any, contact LG customer support for assistance.
- Remove the protective plastic covering from the front of the TV, being cautious not to touch or scratch the screen surface.
- Lastly, locate the accessories box that typically contains the power cord, remote control, batteries, and other necessary items. Keep these accessories for the setup process.
By following these steps, you have successfully unboxed your LG OLED TV without compromising its safety or functionality.
Removing the Packaging
Once you have unboxed your LG OLED TV, it’s time to remove the remaining packaging materials and prepare the TV for setup. Follow these steps to safely remove the packaging:
- Locate any plastic films or covers on the TV’s bezel, stand, or back panel. Carefully peel them off, starting from the edges, and dispose of them properly.
- If your TV has a removable stand, check for any additional plastic covers or stickers on the stand’s mounting area. Remove them to expose the mounting holes.
- If your TV includes any wall-mounting brackets or accessories, carefully remove them from the packaging and set them aside for later use.
- Inspect the TV’s screen for any dust or smudges. If necessary, use a microfiber cloth to gently clean the screen, applying light pressure in a circular motion.
- Remove any remaining protective foam brackets or strips that may be securing the TV. These are usually located on the sides or back of the TV.
- Ensure that all packaging materials, including foam inserts and plastic wraps, are properly disposed of or recycled.
Removing the packaging is essential to ensure that your LG OLED TV is ready for setup and fully functional. By following these steps, you can safely eliminate any protective materials and prepare your TV for the next stages of the setup process.
Mounting the Base Stand
Mounting the base stand is the next step in setting up your LG OLED TV. The base stand provides stability and support, allowing you to position the TV on a flat surface or entertainment center. Follow these steps to mount the base stand:
- Take the base stand out of the packaging, ensuring that all necessary components are present.
- Identify the slots or holes on the back of the TV that match the mounting points on the base stand.
- Align the base stand with the corresponding slots or holes and gently slide it into place.
- Secure the base stand to the TV using the screws provided. Make sure not to overtighten the screws, as it may damage the TV.
- Check that the base stand is firmly attached and provides stable support for the TV.
If you prefer to wall-mount your LG OLED TV instead of using the base stand, refer to the TV’s instruction manual for detailed instructions on wall-mounting procedures and recommended accessories.
Mounting the base stand is an important step in ensuring the stability and proper positioning of your LG OLED TV. By following these steps, you can securely attach the base stand and prepare your TV for the next stages of the setup process.
Attaching the Cable Management Clips
Keeping your cables organized and neatly arranged is crucial for a clean and clutter-free entertainment setup. LG provides cable management clips to help you achieve this. Follow these steps to attach the cable management clips:
- Take out the cable management clips from their packaging. They are usually small plastic clips designed to hold and route cables.
- Identify the designated areas on the back of the TV where the cable management clips should be attached.
- Begin by positioning the first cable management clip near the input/output ports of the TV.
- Insert the cables into the clip, one by one, positioning them in an organized manner.
- Continue attaching the remaining cable management clips along the back of the TV, making sure to route each cable through its respective clip.
- Adjust the position of the cables within the clips to achieve a clean and tidy appearance.
Proper cable management not only enhances the aesthetic appeal of your setup but also helps prevent cable tangling and damage. By attaching the cable management clips as instructed, you can create a streamlined and organized look for your LG OLED TV.
Connecting the Power Cord
The next step in setting up your LG OLED TV is connecting the power cord. This essential step provides the necessary electrical power to the TV. Follow these steps to connect the power cord:
- Locate the power cord included with your LG OLED TV.
- Identify the power input port on the back of the TV.
- Take one end of the power cord and insert it firmly into the power input port.
- Ensure the power cord is securely connected, with no loose connections.
- Now, locate a power outlet near the installation area of the TV.
- Plug the other end of the power cord into the power outlet.
- Verify that the power cord is properly inserted into the outlet.
Once you have successfully connected the power cord, you can proceed to the next step of the setup process. It is important to ensure that the power cord is securely connected at both ends to avoid any risk of power interruption.
Make sure to place the power cord in a manner that eliminates any tripping hazards and keeps it away from sharp objects or excessive heat sources.
Placing the Batteries in the Remote Control
The remote control is an essential tool for navigating through the features and settings of your LG OLED TV. Before you can start using it, you need to install batteries. Follow these steps to place the batteries in the remote control:
- Locate the battery compartment on the back of the remote control.
- Depending on the model, you may need to press a latch or slide the battery compartment cover to open it.
- Take two AAA batteries and ensure they are inserted in the proper orientation, following the “+” and “-” indicators inside the battery compartment.
- Carefully place the batteries in the respective slots, making sure they fit snugly.
- Close the battery compartment cover, ensuring it clicks into place securely.
Once you have placed the batteries in the remote control, it is ready for use. Keep in mind that the remote control may have additional buttons or features specific to your LG OLED TV model, so refer to the user manual for more information.
Remember to replace the batteries when they are running low to ensure optimal performance of the remote control.
Setting up the LG OLED TV
Now that you have completed the initial steps of unboxing and assembling your LG OLED TV, it’s time to set it up for optimal performance and customization. Follow these steps to get your TV ready for viewing:
- Ensure the TV is plugged into a power source and that the power is turned on.
- Locate the power button either on the TV or on the remote control and press it to turn on the TV.
- Follow the prompts on the screen to select your preferred language and other regional settings.
- Connect the TV to your home network by selecting the Wi-Fi network and entering the password, if applicable. Alternatively, you can connect via an Ethernet cable for a stable wired connection.
- Allow the TV to search for and install any available software updates. This ensures that you have the latest firmware and features for your LG OLED TV.
- Agree to any user agreements or terms of service that may be presented on the screen.
- Customize the settings to your preferences, such as picture mode, sound mode, and other audio-visual adjustments.
- Set up any additional features or services, such as voice commands, streaming apps, or external devices.
- Perform a test run to ensure that all components, inputs, and features are functioning correctly.
By following these steps, you can ensure that your LG OLED TV is set up to deliver the best picture quality, audio performance, and user experience tailored to your preferences.
If you encounter any issues during the setup process or have additional questions, consult the instruction manual or contact LG customer support for assistance.
Turning on the LG OLED TV
After completing the initial setup steps, it’s time to turn on your LG OLED TV and begin enjoying your favorite content. Follow these simple steps to power on your TV:
- Locate the power button on the TV itself or the remote control.
- If using the TV’s power button, press the button once to turn on the TV. It may take a few seconds for the TV to power up.
- If using the remote control, press the power button once and wait for the TV to turn on.
- After turning on the TV, you’ll be greeted with the LG logo or the home screen, depending on your settings.
It’s important to note that on some LG OLED TV models, the power button may be located on the rear, side, or underneath the TV panel. Refer to your TV’s user manual for the specific location of the power button.
Once the TV is powered on, you can navigate through the various menus and settings using the remote control or any other compatible input device.
It’s a good practice to familiarize yourself with the TV’s remote control layout, as it may have dedicated buttons for specific functions like input selection, volume control, and menu navigation.
Now that your LG OLED TV is turned on, you’re ready to dive into a world of stunning visuals and immersive entertainment experiences.
Configuring the Initial Setup
Once your LG OLED TV is turned on, it’s time to configure the initial setup to personalize your viewing experience. Follow these steps to customize the settings to your preferences:
- Select your preferred language for the on-screen display and menu options.
- Choose the country or region in which you reside.
- Set the date and time. This ensures accurate program schedules and system updates.
- Configure your network settings. Select the Wi-Fi network you want to connect to and enter the password if required. Alternatively, you can connect the TV to your router via an Ethernet cable.
- Allow the TV to search for available channels. This process may take a few minutes. Once completed, you will have access to the available over-the-air channels in your area.
- Agree or decline to participate in the LG data collection program. This feature helps LG improve their products and services but is optional to participate in.
- Customize your picture and sound settings. Adjust the brightness, contrast, color, and other picture settings to your liking, and fine-tune the volume and audio modes for optimal sound quality.
- Enable any additional features or services that you may want to use, such as voice control, smart apps, screen mirroring, or gaming modes.
- Once you have configured all the necessary settings, review and confirm your selections.
Configuring the initial setup allows you to tailor the LG OLED TV to your preferences, ensuring that you have the best possible viewing experience. Take your time to explore and make adjustments until you are satisfied with the picture quality, audio output, and functionality of your TV.
If at any point you want to change or modify your settings, you can access the TV’s menu system and navigate to the respective options for customization.
Connecting External Devices
One of the key advantages of an LG OLED TV is its ability to connect to a variety of external devices, expanding your entertainment options. Follow these steps to connect your external devices to the TV:
- Identify the available input ports on the back or side of your LG OLED TV. Common input options include HDMI, USB, optical audio, composite, and component ports.
- Choose the appropriate cable(s) for your device and TV. For example, HDMI cables are commonly used for connecting gaming consoles, Blu-ray players, and streaming devices.
- Connect one end of the cable to the output port on your external device.
- Connect the other end of the cable to the corresponding input port on your LG OLED TV. Ensure a secure connection by firmly inserting the cable ends.
- Repeat the steps for any additional devices you want to connect.
- Switch on the connected external devices and set them to the appropriate input source.
- Use the TV’s remote control or input selector to choose the input source you want to view or use.
Common devices that can be connected to your LG OLED TV include gaming consoles, set-top boxes, DVD or Blu-ray players, streaming devices, soundbars, and audio systems.
It’s important to note that depending on the specific model of your LG OLED TV, you may have a limited number of input ports available. Consider using an HDMI switch or AV receiver if you need to connect multiple devices with limited ports.
By connecting external devices to your LG OLED TV, you can enjoy an expanded range of content and enhance your viewing experience with additional audio and video features.
Adjusting Picture and Sound Settings
To ensure the best audio and visual experience, it’s important to adjust the picture and sound settings on your LG OLED TV. Follow these steps to fine-tune the settings according to your preferences:
- Access the TV’s menu system by pressing the “Settings” or “Menu” button on the remote control.
- Navigate to the “Picture” settings. Here, you can adjust elements like brightness, contrast, color temperature, sharpness, and backlighting.
- Make incremental adjustments to these settings to find the optimal picture quality for your viewing environment and personal preference.
- Experiment with the preset picture modes, such as Standard, Cinema, Sports, or Game, to see which suits your content best.
- Next, navigate to the “Sound” or “Audio” settings. Here, you can adjust elements like volume, equalization, surround sound, and audio mode.
- Try different sound modes, such as Standard, Cinema, Music, or Sports, to optimize the audio output based on the type of content you’re watching.
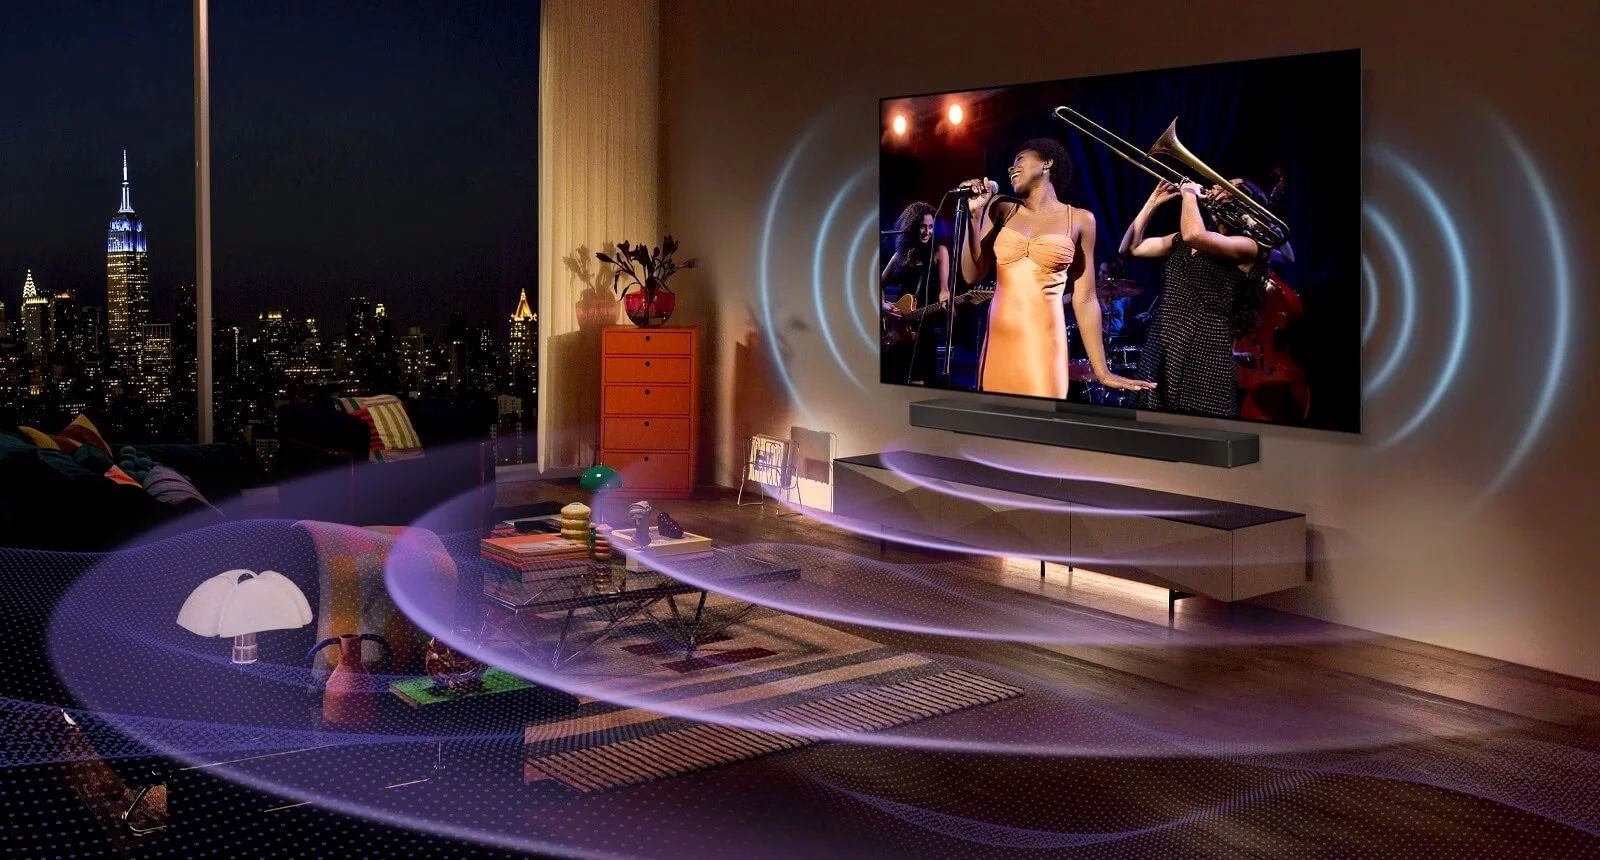
- Consider enabling any additional audio features that your TV may offer, such as virtual surround sound, dialogue enhancement, or sound leveling.
- Continue making adjustments to the picture and sound settings until you achieve the desired balance and quality.
Remember, everyone’s preference for picture and sound may vary. It’s recommended to start with the default settings and experiment with different options to find what suits your taste best.
Additionally, if you’re unsure about specific settings or seeking professional calibration, it may be beneficial to consult an audio-visual specialist or refer to the TV’s user manual for more detailed instructions.
By adjusting the picture and sound settings on your LG OLED TV, you can enhance your viewing experience and immerse yourself in stunning visuals and immersive audio.
Enjoying Your LG OLED TV
With your LG OLED TV now set up and optimized, it’s time to sit back, relax, and enjoy a world of captivating entertainment. Here are some suggestions for making the most out of your viewing experience:
- Explore the wide range of content options available to you. Whether it’s streaming services, gaming consoles, Blu-ray players, or cable/satellite TV, take advantage of the various sources of entertainment that are compatible with your LG OLED TV.
- Discover the smart features and apps on your TV. LG OLED TVs offer a variety of built-in apps and content platforms, allowing you to access popular streaming services, connect to social media accounts, and browse the internet.
- Take advantage of the advanced features of your TV. LG OLED TVs often boast features like HDR (High Dynamic Range) support, Dolby Vision, enhanced audio technologies, and voice control. Take some time to explore and experience the enhanced visuals and audio capabilities of your TV.
- Consider calibrating your TV for optimum performance. If you desire precise color accuracy and picture quality, professional calibration can help fine-tune your LG OLED TV’s settings to achieve the best possible image.
- Experiment with different viewing modes and settings. Depending on the content you’re watching, you may find that specific picture modes or sound settings enhance your overall experience. Play around with these settings to find what suits your taste and preferences.
- Keep your TV software up to date. LG regularly releases firmware updates that introduce new features, enhance performance, and improve compatibility. Check for updates regularly through the TV’s settings menu, and install any available updates to keep your TV running smoothly.
- Take care of your TV. Follow proper cleaning and maintenance guidelines to ensure the longevity of your LG OLED TV. Use a soft, lint-free cloth to wipe the screen gently, and avoid using harsh chemicals or abrasive materials.
Remember, enjoying your LG OLED TV is all about indulging in your favorite movies, TV shows, games, and more. Relax, get comfortable, and savor the stunning picture quality and immersive audio that your TV delivers.
Lastly, don’t forget to invite family and friends over to share in the excitement of watching your favorite content on your brand-new LG OLED TV. Happy viewing!