Introduction
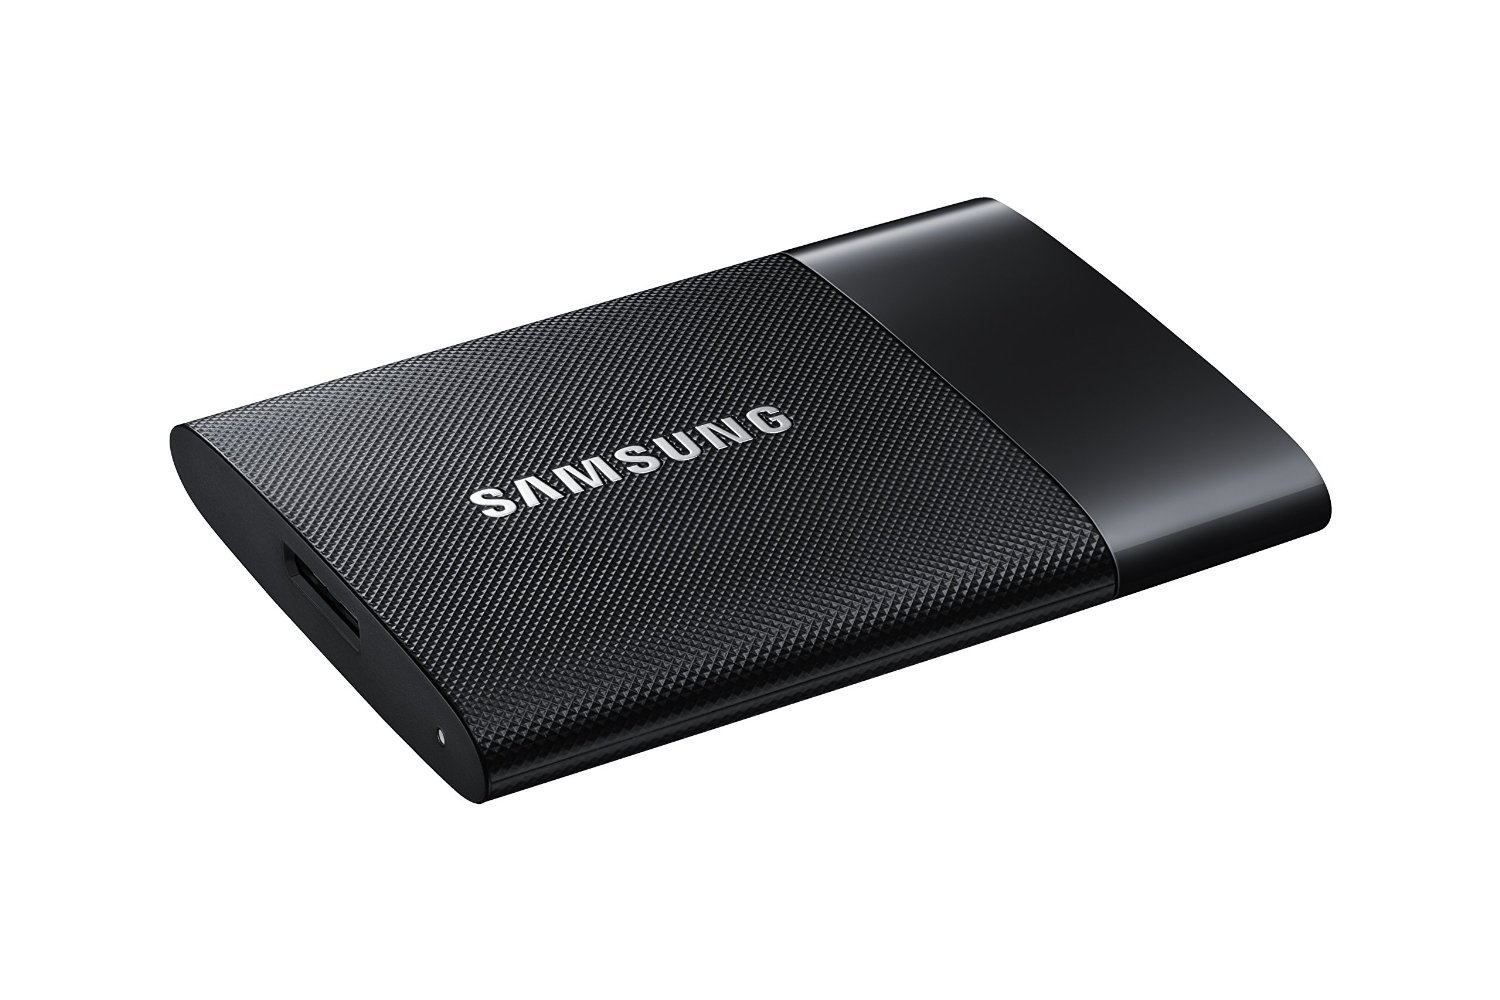
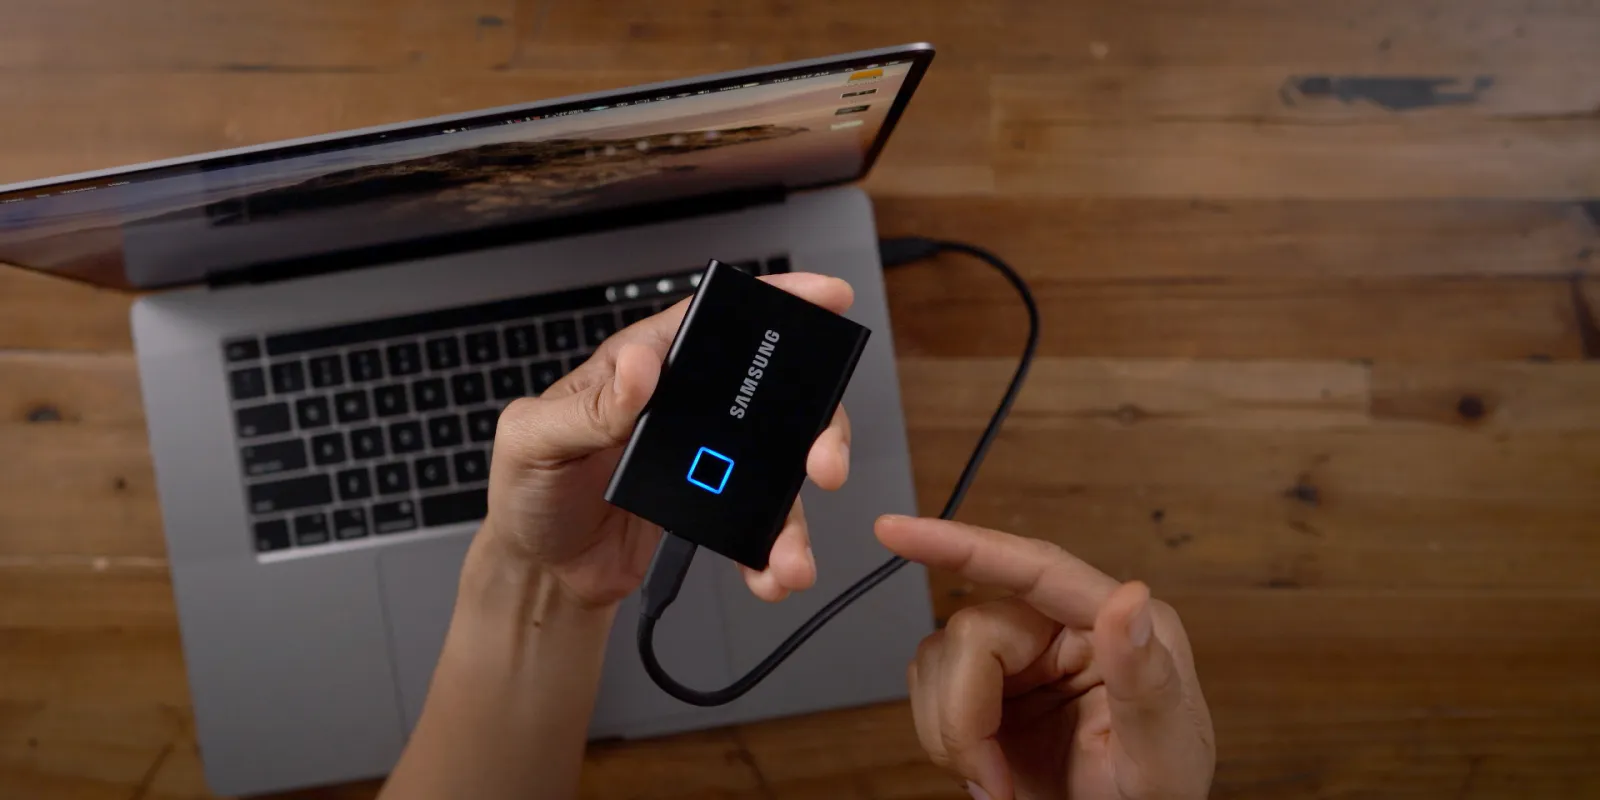
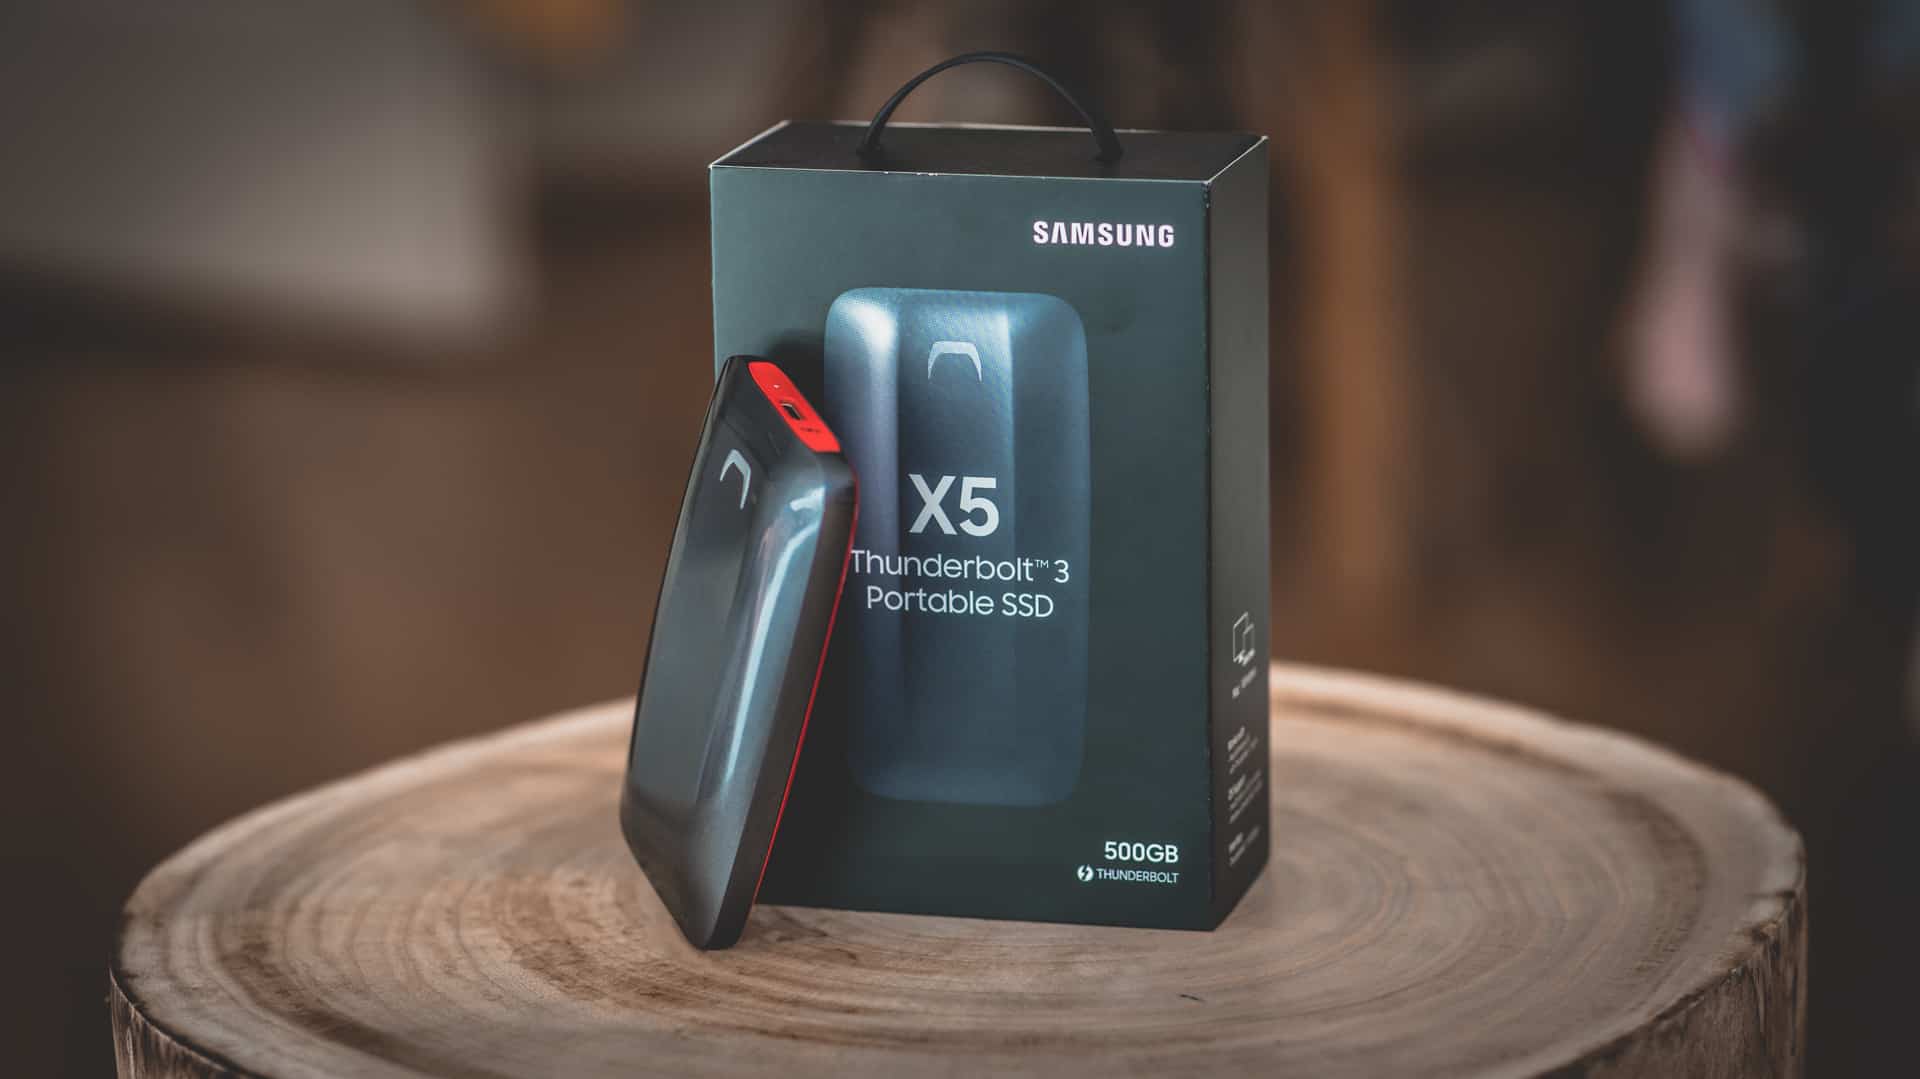
Welcome to the world of Samsung Portable SSDs! These high-performance storage devices offer fast and reliable data transfer, making them a popular choice among Mac users. To optimize the functionality of your Samsung Portable SSD, you may have installed the Samsung Portable SSD Software on your Mac. However, if you no longer need the software or want to free up some space on your system, you may be wondering how to uninstall it.
In this article, we will guide you through the step-by-step process of uninstalling the Samsung Portable SSD Software from your Mac. Whether you are upgrading to a new software version or simply want to remove it from your system, we’ve got you covered. By following this guide, you will be able to uninstall the Samsung Portable SSD Software quickly and efficiently.
Before we dive into the steps, it’s worth noting that uninstalling the Samsung Portable SSD Software will not affect the data stored on your Samsung Portable SSD. All your files and folders will remain intact; only the software and its associated files will be removed from your Mac.
Now, let’s get started with the uninstallation process!
Step 1: Open the Samsung Portable SSD Software
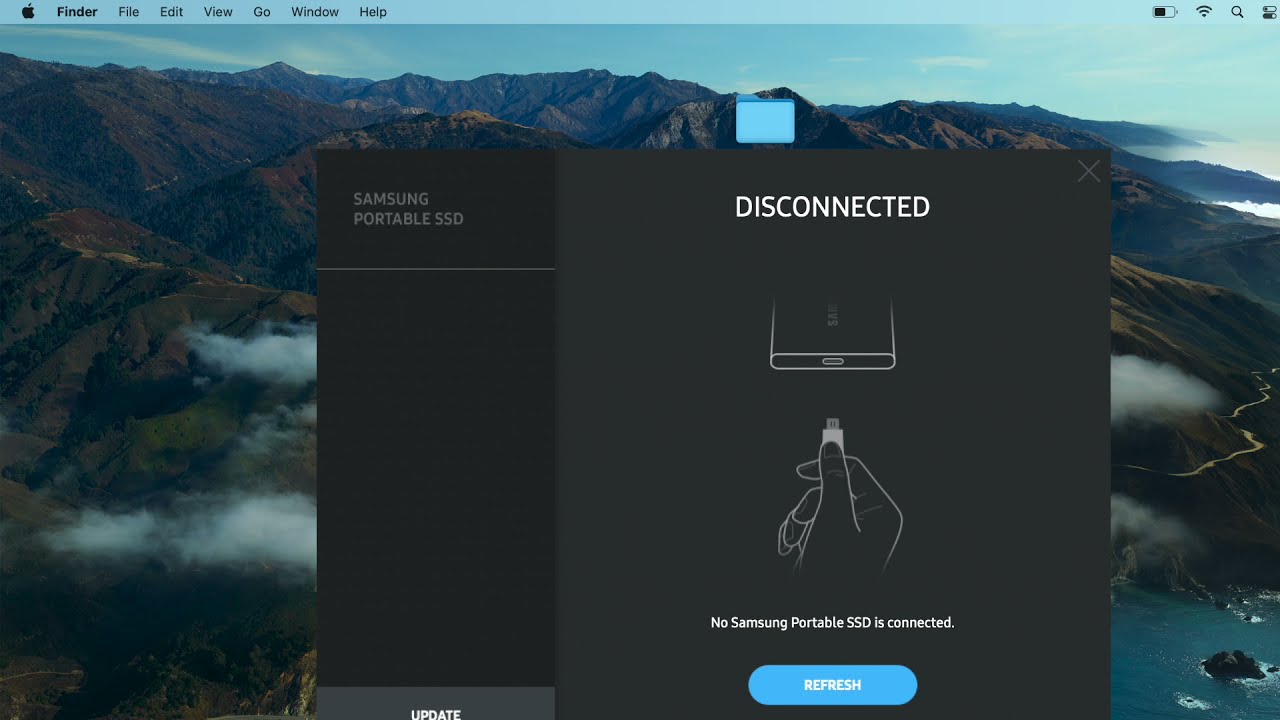
The first step in uninstalling the Samsung Portable SSD Software from your Mac is to locate and open the software application. Here’s how you can do it:
- Go to your Applications folder on your Mac.
- Locate the Samsung Portable SSD Software in the list of installed applications.
- Double-click on the Samsung Portable SSD Software icon to open the application.
Once you have successfully opened the Samsung Portable SSD Software, you are ready to proceed to the next step.
If you are unable to find the Samsung Portable SSD Software in your Applications folder, it is possible that you have previously uninstalled it or it was not installed on your Mac. In such cases, you can skip this step and move on to the next one.
Now that you have opened the Samsung Portable SSD Software, let’s move on to the next step to uninstall it completely from your Mac.
Step 2: Locate the Uninstaller
Once you have opened the Samsung Portable SSD Software on your Mac, the next step is to locate the uninstaller. The uninstaller is a built-in feature in the Samsung Portable SSD Software that allows you to remove it from your system. Here’s how you can find the uninstaller:
- In the Samsung Portable SSD Software interface, look for a menu option or button labeled “Uninstall” or “Uninstaller”.
- Click on the “Uninstall” or “Uninstaller” option to access the uninstaller tool.
Some versions of the Samsung Portable SSD Software may have a dedicated uninstaller application instead of an option within the software interface. In such cases, you can search for the uninstaller application in your Applications folder or using the Spotlight search feature on your Mac.
If you are having trouble locating the uninstaller, refer to the user manual or documentation provided by Samsung for specific instructions on finding the uninstaller for your particular version of the software.
Once you have successfully located the uninstaller, you are ready to move on to the next step and start the uninstallation process.
Step 3: Run the Uninstaller
Now that you have found the uninstaller for the Samsung Portable SSD Software on your Mac, it’s time to run the uninstallation process. Follow these steps to uninstall the software:
- Double-click on the uninstaller icon or select the “Run Uninstaller” option within the software interface.
- You may be prompted to enter your administrator password to authorize the uninstallation process. Provide the necessary credentials to proceed.
- Follow the on-screen instructions provided by the uninstaller. These instructions may vary depending on the version of the software.
- Wait for the uninstallation process to complete. This may take a few moments as the software and its associated files are removed from your Mac.
During the uninstallation process, it is essential to avoid interrupting or closing the uninstaller. Doing so may result in incomplete removal of the software, leading to potential issues in the future.
Once the uninstallation process is finished, you have successfully removed the Samsung Portable SSD Software from your Mac. However, there may still be some remaining files associated with the software that need to be deleted.
Let’s move on to the next step to remove any remaining files to ensure a complete uninstallation of the Samsung Portable SSD Software.
Step 4: Confirm Uninstallation
Once you have run the uninstaller for the Samsung Portable SSD Software on your Mac, it is important to confirm that the software has been successfully uninstalled. Here’s how you can do it:
- Open your Applications folder on your Mac.
- Look for the Samsung Portable SSD Software in the list of installed applications.
- If you do not find the Samsung Portable SSD Software in the list, it means that the uninstallation process was successful, and the software has been removed from your system.
- If you still see the Samsung Portable SSD Software in the list, try restarting your Mac and check again. Sometimes, a restart is required for the changes to take effect.
It’s important to note that even if the software is no longer listed in the Applications folder, there may still be some leftover files and folders associated with the Samsung Portable SSD Software.
Proceed to the next step to learn how to remove any remaining files to ensure a clean uninstallation of the Samsung Portable SSD Software.
Step 5: Remove Remaining Files
After confirming the uninstallation of the Samsung Portable SSD Software from your Mac, it is important to remove any remaining files and folders associated with the software. Follow these steps to ensure a complete clean-up:
- Open Finder on your Mac.
- In the menu bar, click on “Go” and select “Go to Folder”.
- In the “Go to Folder” window, type in the following path:
/Library/Application Support/Samsung Portable SSD Softwareand hit Enter. - This will open the folder containing the remaining files and folders related to the Samsung Portable SSD Software
- Select all the files and folders within the folder, and move them to the Trash.
- Empty the Trash to permanently remove the files from your Mac.
By following these steps, you have removed any remaining files associated with the Samsung Portable SSD Software. This ensures a complete clean-up and eliminates any potential leftover files that might interfere with future installations or cause clutter on your system.
Now that you have removed all the remaining files, it’s time to move on to the final step.
Step 6: Restart Your Mac
The final step in the uninstallation process of the Samsung Portable SSD Software is to restart your Mac. Restarting your Mac ensures that any system changes related to the software removal are fully applied. Here’s how you can restart your Mac:
- Click on the Apple menu icon in the upper left corner of your screen.
- Select “Restart” from the drop-down menu.
- Wait for your Mac to turn off and then turn back on.
After restarting your Mac, all remnants of the Samsung Portable SSD Software should be completely removed from your system. You can now enjoy the additional storage space and a clutter-free Mac.
If you encounter any issues after uninstalling the software or have any concerns about the uninstallation process, it is recommended to reach out to Samsung support for further assistance.
Congratulations! You have successfully uninstalled the Samsung Portable SSD Software from your Mac. Your system is now free from the software and any associated files, allowing you to optimize your Mac’s performance and storage space.
Thank you for following this guide, and we hope it was helpful in assisting you with the uninstallation process. Should you decide to reinstall the Samsung Portable SSD Software in the future, you can refer back to this guide for a smooth installation process.
Conclusion
Uninstalling the Samsung Portable SSD Software from your Mac might seem like a daunting task, but with the step-by-step guide provided in this article, it becomes a straightforward process. By following the steps outlined, you can successfully remove the software and any associated files, freeing up valuable space on your Mac.
Remember, before you start the uninstallation process, ensure that you have opened the Samsung Portable SSD Software, located the uninstaller, and run it to initiate the uninstallation. Be sure to confirm the successful removal of the software from your Applications folder and remove any remaining files and folders associated with it.
After completing the process, restarting your Mac will finalize the removal and allow any system changes to take effect. By following these steps, you can have a clean uninstallation of the Samsung Portable SSD Software, improving the performance and organization of your Mac.
If you ever decide to reinstall the Samsung Portable SSD Software or have any issues during the uninstallation process, don’t hesitate to reach out to Samsung support for further assistance. They are readily available to help you with any concerns.
Thank you for using this guide to uninstall the Samsung Portable SSD Software from your Mac. We hope it has been helpful in simplifying the process and ensuring a smooth experience. Enjoy your increased storage space and optimized Mac performance!


