Introduction
Turning on the voice-to-text feature on your Android device can be incredibly convenient. Whether you want to send a quick text message, jot down notes, or compose an email, the ability to convert your spoken words into written text can save you time and effort. With just a few simple steps, you can activate this feature and start using voice-to-text on your Android device.
In this guide, we will walk you through the process of turning on the voice-to-text feature on your Android device. Whether you have a Samsung, Google Pixel, Huawei, or any other Android phone, the steps will generally be the same. So, let’s dive in and get started!
Please note that the steps mentioned in this guide may vary slightly depending on the make and model of your Android device, as well as the version of Android it is running. However, the overall process should remain largely the same.
Before we proceed, make sure your device is unlocked, and you have access to the Settings app. Now, let’s begin!
Step 1: Open the Settings app
The first step to enabling the voice-to-text feature on your Android device is to open the Settings app. You can usually find the Settings app represented by a gear icon.
To open the Settings app, locate the app drawer on your device’s home screen. This is often represented by an icon that looks like a grid of squares or dots. Tap on the app drawer icon to access your device’s applications.
Scroll through the app drawer until you find the Settings app. The icon for the Settings app may vary depending on the manufacturer of your device, but it is typically a gear-shaped icon. Tap on the Settings app to open it.
If you have a search function integrated into your device, you can alternatively swipe down from the top of the screen to open the notification panel, and then enter “Settings” into the search bar.
Once you open the Settings app, you will be ready to move on to the next step in enabling the voice-to-text feature on your Android device.
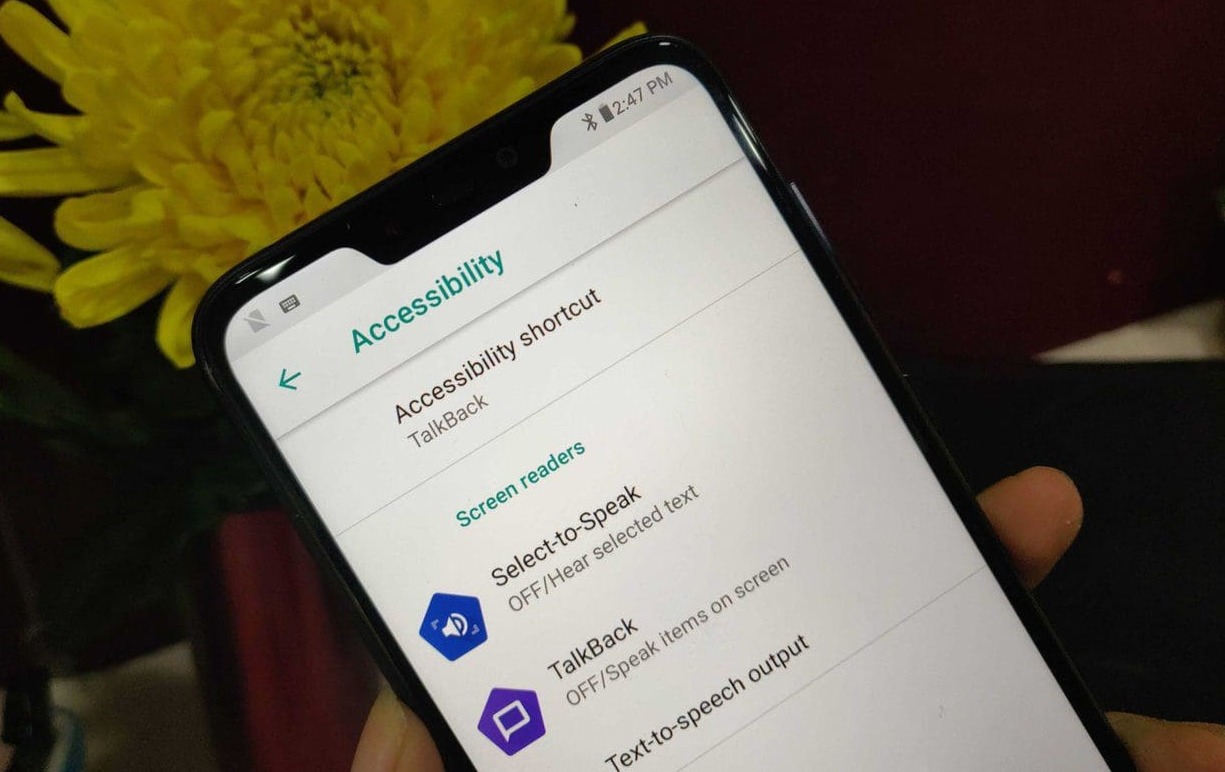
Step 2: Navigate to the Language & Input settings
After opening the Settings app on your Android device, the next step is to navigate to the Language & Input settings. This is where you’ll find the options related to your device’s keyboard settings and input methods.
Scroll down the Settings menu until you see the “System” or “System and Device” section, depending on your device’s layout. Tap on this section to expand it and reveal more options.
Within the system settings, look for the “Language & Input” option. The icon for Language & Input may resemble a keyboard or a globe. Tap on this option to access the language and input settings.
Some Android devices may have a separate “Language” option before you can access the Language & Input settings. If this is the case, tap on “Language” first, then proceed to the next step.
Once you’re in the Language & Input settings, you’re one step closer to enabling the voice-to-text feature on your Android device. Let’s move on to the next step!
Step 3: Select the Virtual Keyboard option
Now that you’ve accessed the Language & Input settings on your Android device, it’s time to select the Virtual Keyboard option. This is where you’ll find the settings for your device’s keyboard and input methods.
Scroll through the list of options under the Language & Input settings until you come across the section labeled “Keyboard & Input Methods.” This section may have a slightly different name, depending on your device’s manufacturer and Android version.
Tap on the “Virtual Keyboard” or “On-Screen Keyboard” option to access the keyboard settings.
Within the Virtual Keyboard settings, you will see a list of keyboards that are currently installed on your device. This includes the default keyboard that came with your device, as well as any additional keyboards you may have downloaded or installed.
Select the keyboard that you currently use or wish to enable the voice-to-text feature for. Typically, the default keyboard will be labeled as “Gboard” or “Google Keyboard,” although the name may vary depending on your device.
Once you have selected the Virtual Keyboard, you’re ready to move on to the next step and access the voice typing settings. Let’s continue!
Step 4: Tap on Gboard (or your default keyboard)
After accessing the Virtual Keyboard settings on your Android device, the next step is to tap on Gboard or your default keyboard. This will allow you to access the settings specific to that keyboard and enable the voice-to-text feature.
Scroll through the list of available keyboards within the Virtual Keyboard settings until you find Gboard or your default keyboard. The default keyboard is typically the one that came pre-installed on your device.
Tap on the name of the keyboard to access its settings. In this case, we’ll use Gboard as an example since it is one of the most popular and widely used keyboards on Android devices.
Once you tap on Gboard, it will open a new screen with various options and settings specific to the keyboard. These options may include theme customization, language settings, and other input preferences.
Now that you’ve accessed the settings for Gboard or your default keyboard, you’re one step closer to enabling the voice-to-text feature on your Android device. Let’s move on to the next step and access the voice typing settings.
Step 5: Access the Voice typing settings
Once you have opened the settings for Gboard or your default keyboard, the next step is to access the voice typing settings. This is where you’ll find the option to enable the voice-to-text feature on your Android device.
Scroll through the settings screen until you see the option labeled “Voice typing” or “Speech recognition.” Tap on this option to access the voice typing settings.
Within the voice typing settings, you may see additional options such as language selection, voice feedback, and offline speech recognition. These settings allow you to customize your voice typing experience according to your preferences.
Tap on the toggle or checkbox next to the “Voice typing” or “Speech recognition” option to enable it. This will activate the voice-to-text feature on your Android device and allow you to convert your spoken words into written text.
Some devices may require additional permissions or prompts to enable the voice-to-text feature. If prompted, follow the on-screen instructions to grant the necessary permissions and enable voice typing.
Once you have successfully enabled the voice-to-text feature, you’re ready to start using it on your Android device. Let’s move on to the next step and explore additional voice typing settings if desired.
Step 6: Enable Voice to Text (Speech recognition) option
After accessing the voice typing settings on your Android device, the next step is to enable the Voice to Text or Speech recognition option. This will activate the voice-to-text feature and allow you to convert your spoken words into written text.
Within the voice typing settings, look for the option labeled “Voice to Text,” “Speech recognition,” or something similar. This option may be located under a sub-section or within the general voice typing settings menu.
Tap on the toggle or checkbox next to the Voice to Text or Speech recognition option to enable it. This action ensures that your Android device will recognize and convert your voice input into text accurately.
After enabling the Voice to Text or Speech recognition option, your Android keyboard is now ready to accept voice input. You can use this feature in various applications where you would typically type, such as messaging apps, email clients, and note-taking applications.
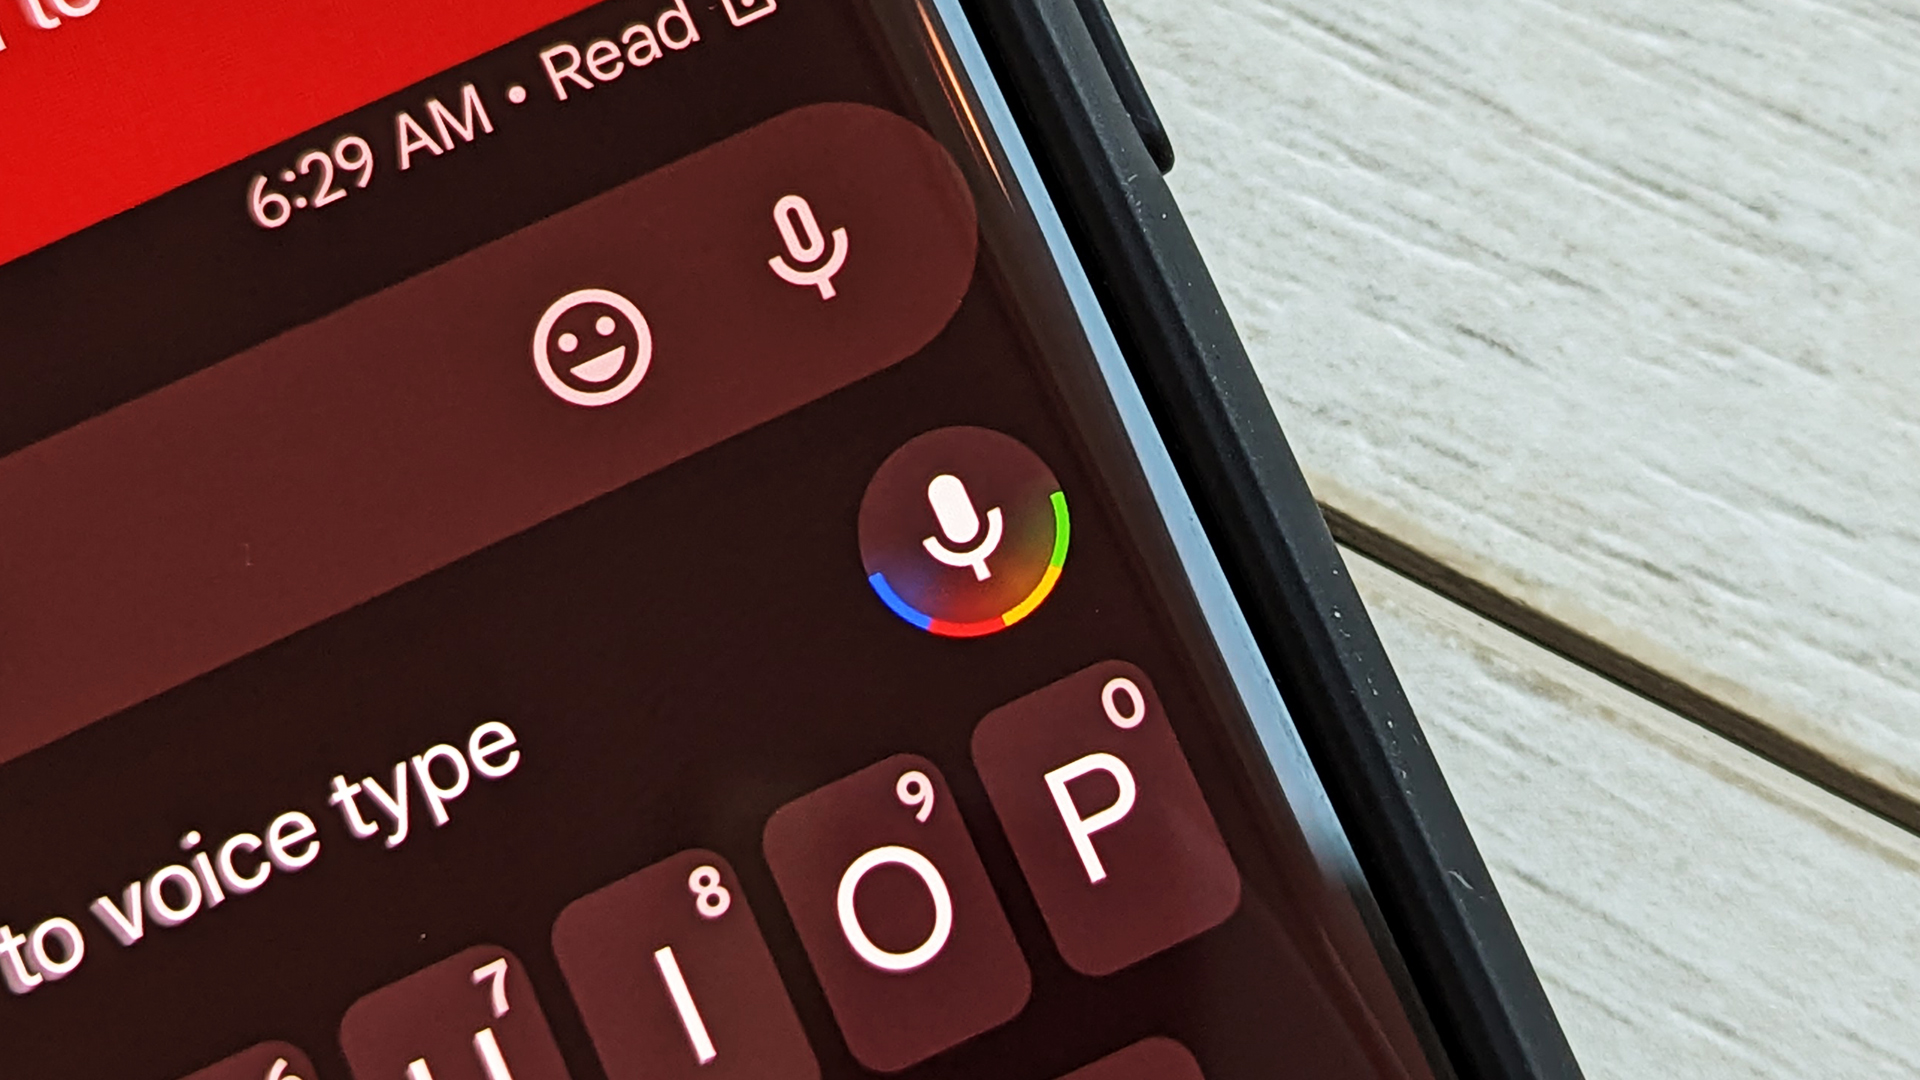
Remember, to utilize the voice-to-text feature, simply tap on the microphone icon within the keyboard and start speaking. Your device will convert your spoken words into written text in real-time.
Now that you have successfully enabled the voice-to-text feature on your Android device, you can enjoy the convenience of converting your voice into written text. Let’s move on to the next step and customize additional voice typing settings if desired.
Step 7: Customize additional voice typing settings if desired
After enabling the voice-to-text feature on your Android device, you have the option to customize additional voice typing settings according to your preferences. While these settings are optional, they can enhance your voice typing experience and make it more tailored to your needs.
Within the voice typing settings, you may find a range of customization options. These can include language selection, voice feedback settings, punctuation preferences, and more. Take some time to explore these settings and adjust them as desired.
Language selection: If you frequently communicate in multiple languages, you can choose the languages you want your device to recognize during voice input. This ensures accurate conversion of your voice into the correct written text.
Voice feedback: You can customize the feedback you receive while using the voice-to-text feature. This can include audible feedback, such as hearing a spoken response when you dictate a message or note.
Punctuation preferences: Some devices allow you to specify how you want punctuation marks to be added during voice typing. You can choose to have them automatically inserted, or you can manually specify when you want them included.
Offline speech recognition: Depending on your device model and software version, you may have the option to enable offline speech recognition. This allows your device to convert your voice into written text even without an internet connection.
Take your time to explore these customization options and adjust them according to your personal preferences. Experimenting with different settings can help you find the perfect voice typing experience that suits your needs.
With the voice-to-text feature enabled and customized to your liking, you can now enjoy the convenience and efficiency of converting your spoken words into written text on your Android device.
Congratulations! You have successfully enabled and customized the voice-to-text feature on your Android device. Start utilizing this powerful tool and enjoy a more efficient and hands-free way of communicating.
Conclusion
Enabling the voice-to-text feature on your Android device can greatly enhance your productivity and convenience. By following the simple steps outlined in this guide, you can activate this feature and start converting your spoken words into written text.
Throughout this process, we covered the necessary steps, including opening the Settings app, navigating to the Language & Input settings, selecting the Virtual Keyboard option, tapping on Gboard (or your default keyboard), accessing the Voice typing settings, enabling the Voice to Text (Speech recognition) option, and customizing additional voice typing settings if desired.
Once you have enabled the voice-to-text feature, you can utilize it in various applications and scenarios. Whether you need to compose texts, write emails, take quick notes, or any other form of written communication, voice typing offers a convenient and hands-free alternative to traditional typing.
Remember to speak clearly and enunciate your words while using voice-to-text to ensure accurate transcription. Additionally, explore the customization options available to tailor the voice typing experience to your preferences, such as language selection and voice feedback settings.
Don’t hesitate to experiment and find the right settings and techniques that work best for you. With practice, you’ll become more proficient in using voice typing and enjoy the benefits it offers in terms of efficiency, speed, and convenience.
Now that you have successfully enabled and customized the voice-to-text feature on your Android device, you’re ready to take advantage of this powerful tool. Enjoy the convenience of converting your spoken words into written text effortlessly, and make your Android device work even smarter for you.