Introduction
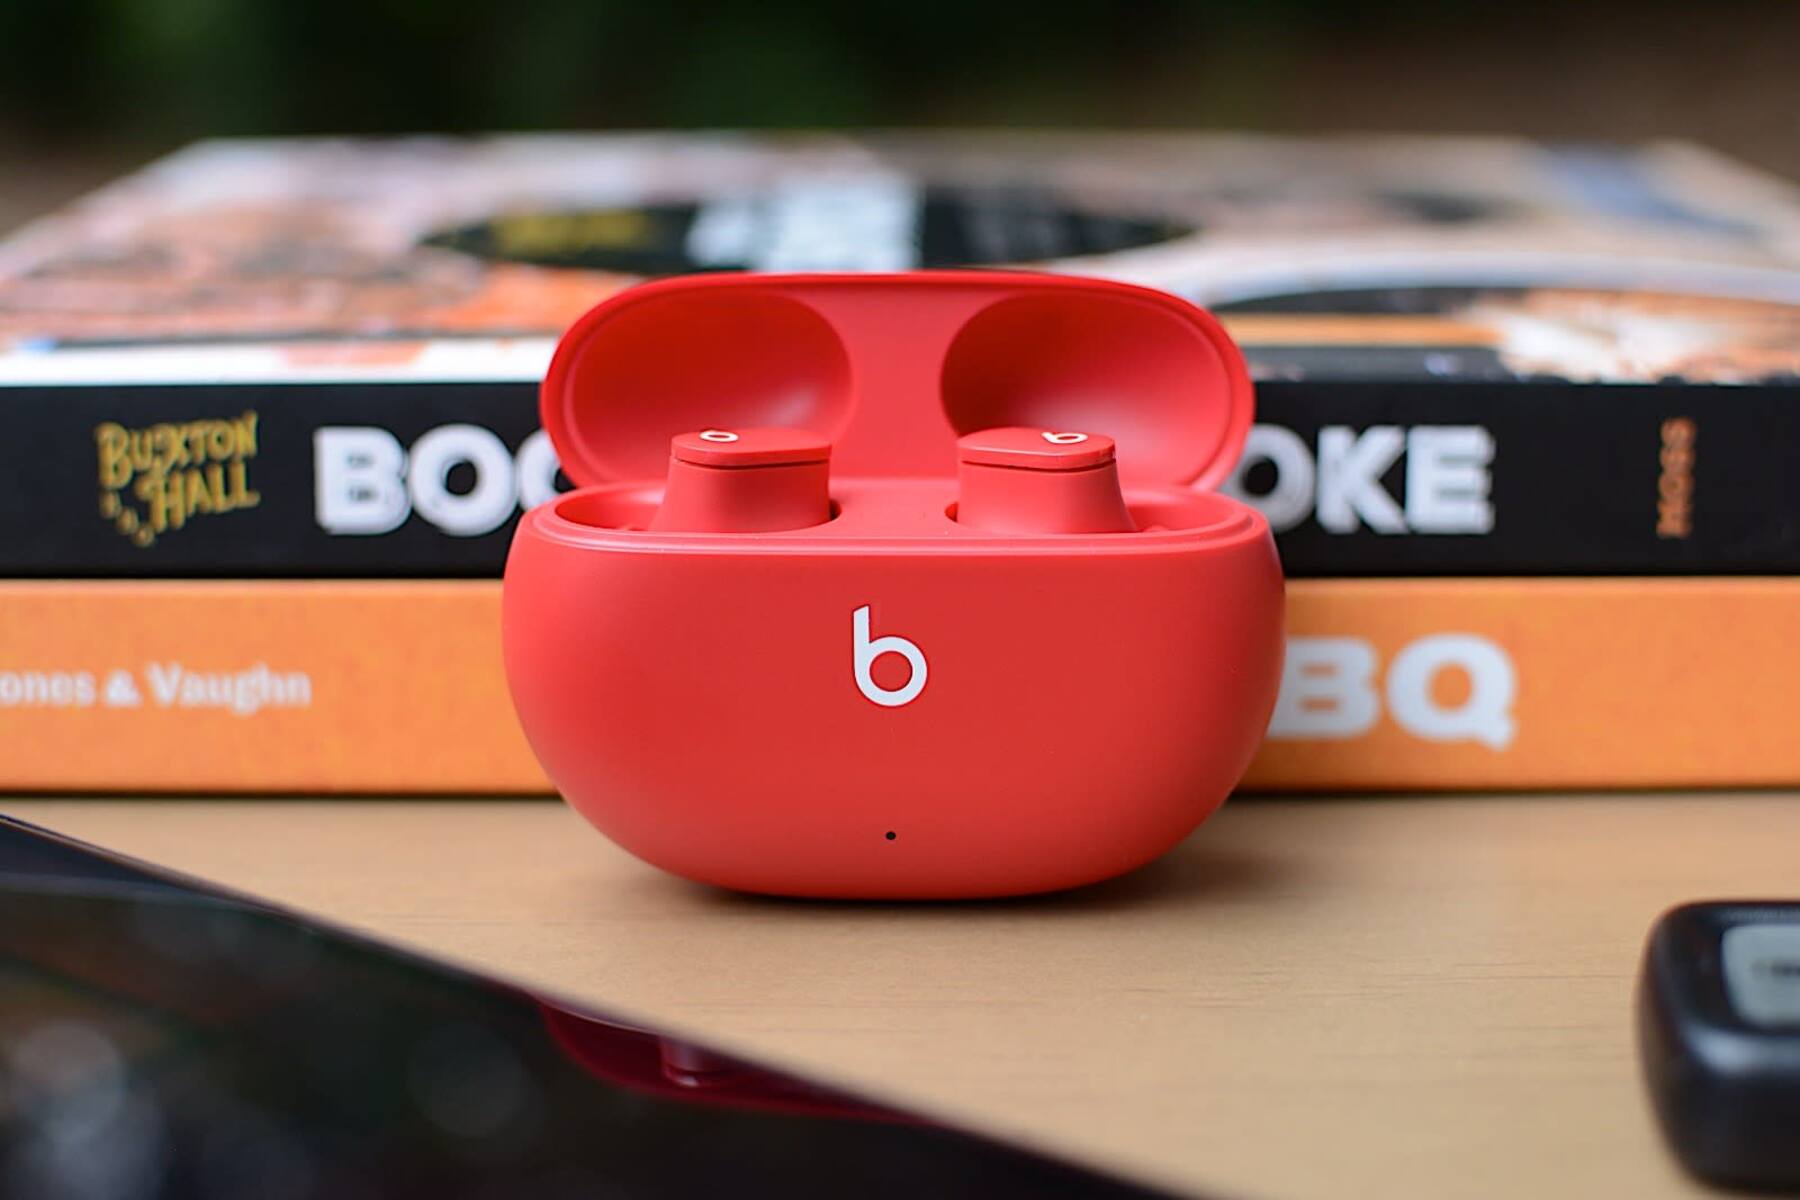
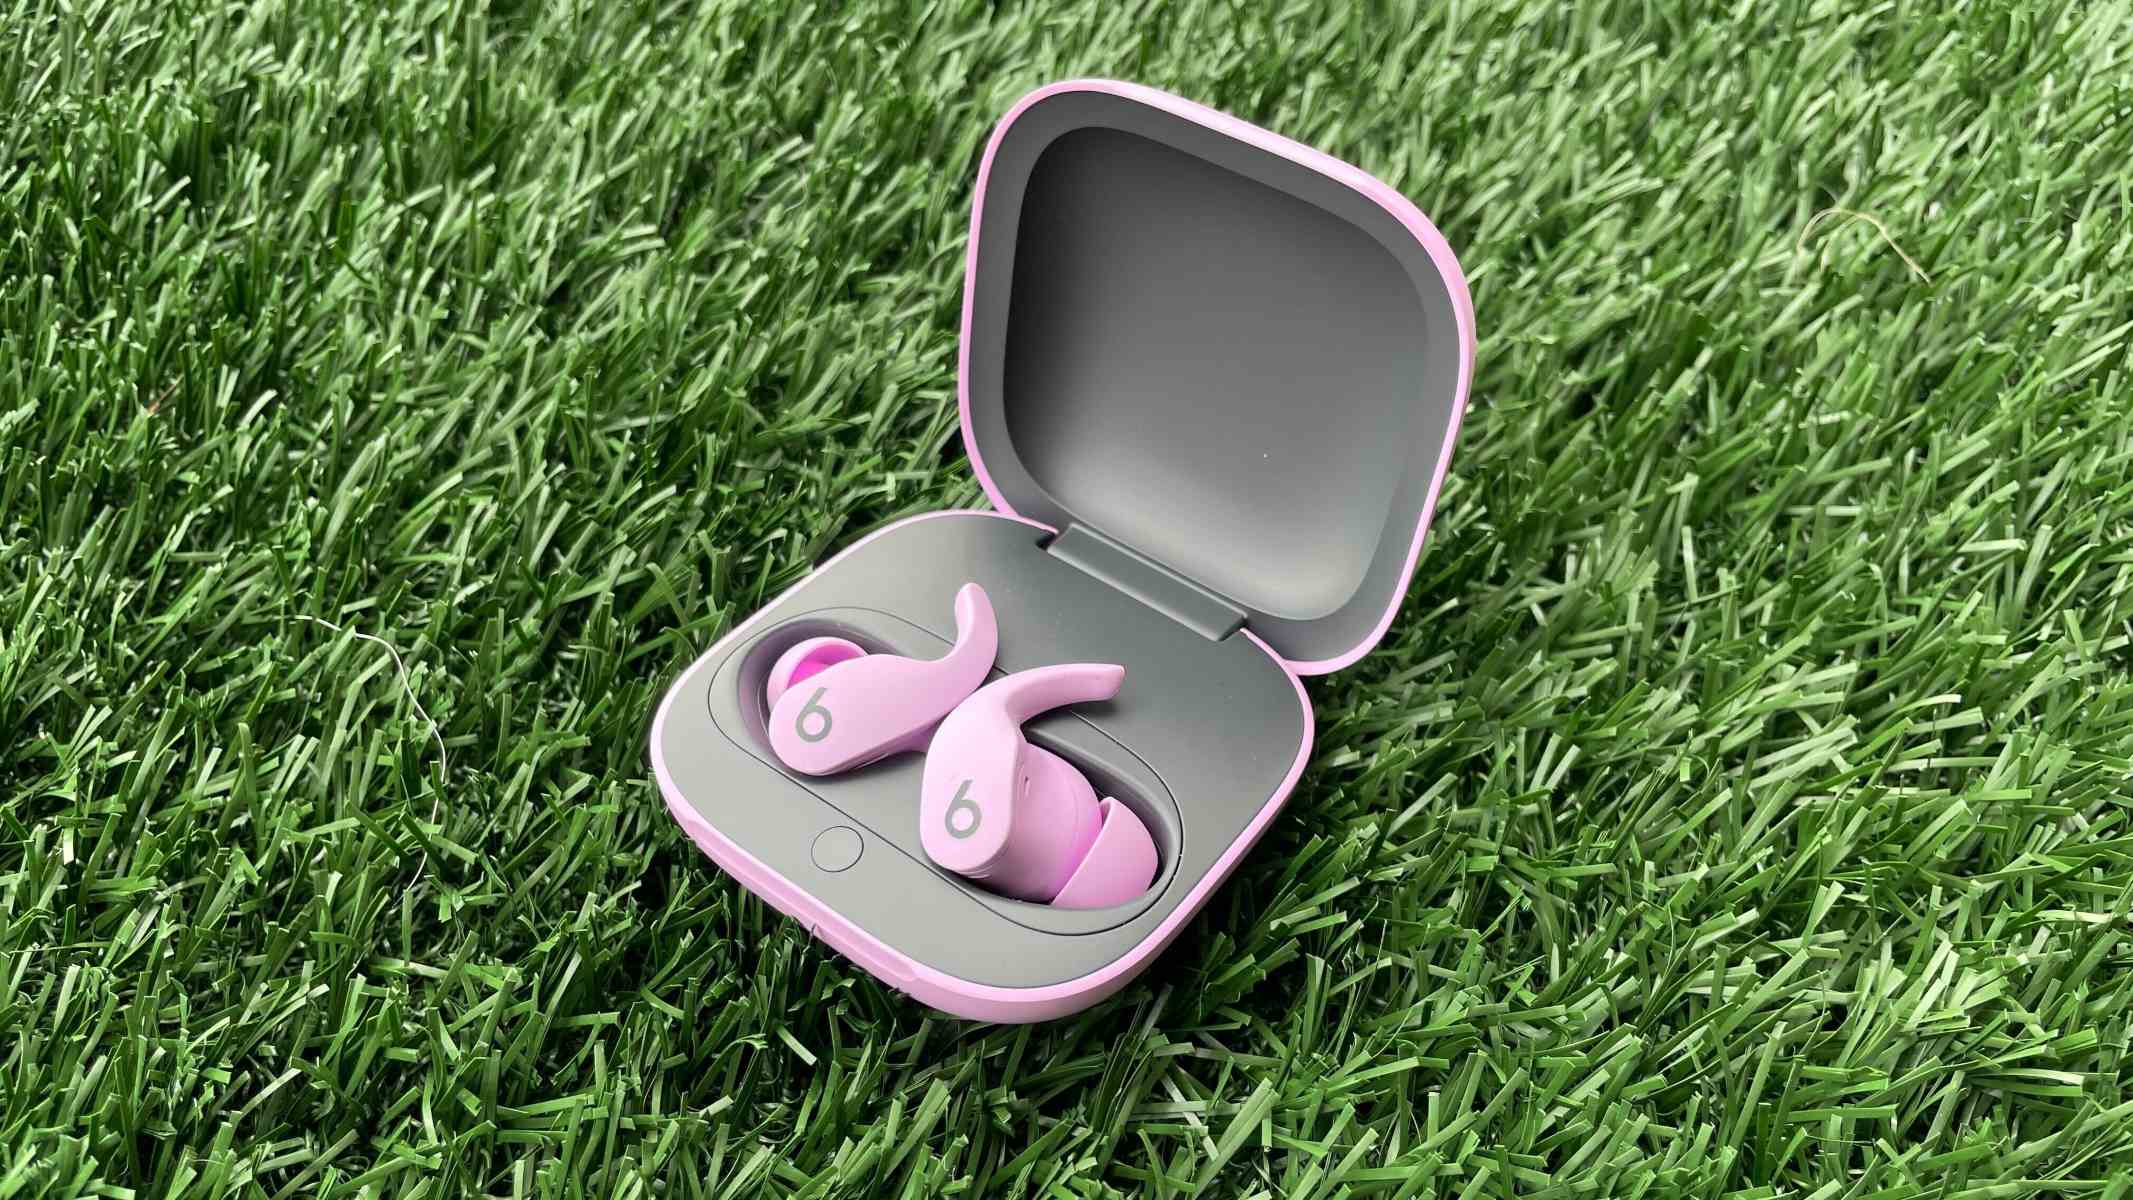
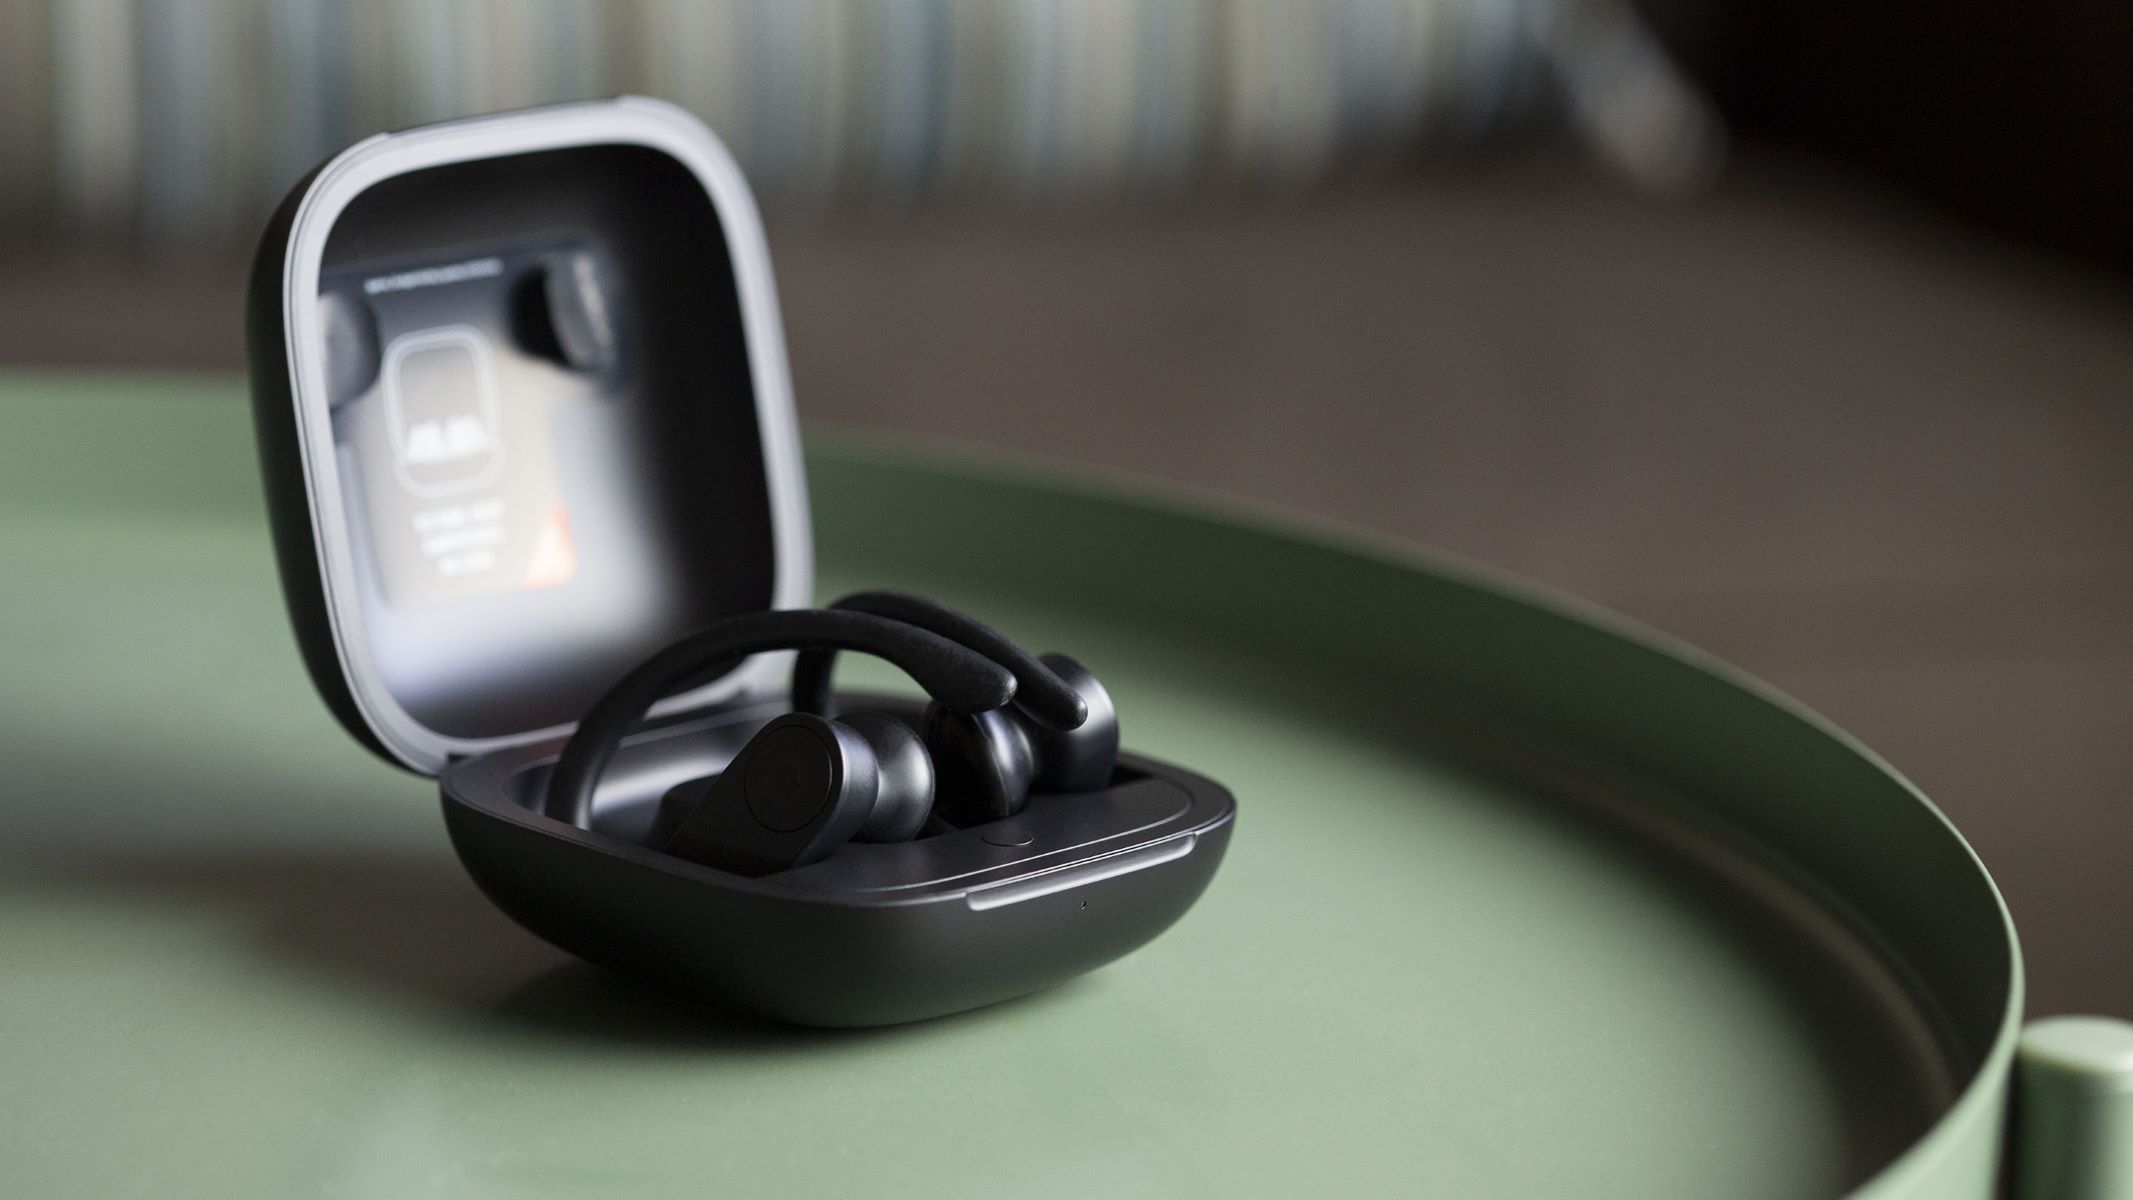
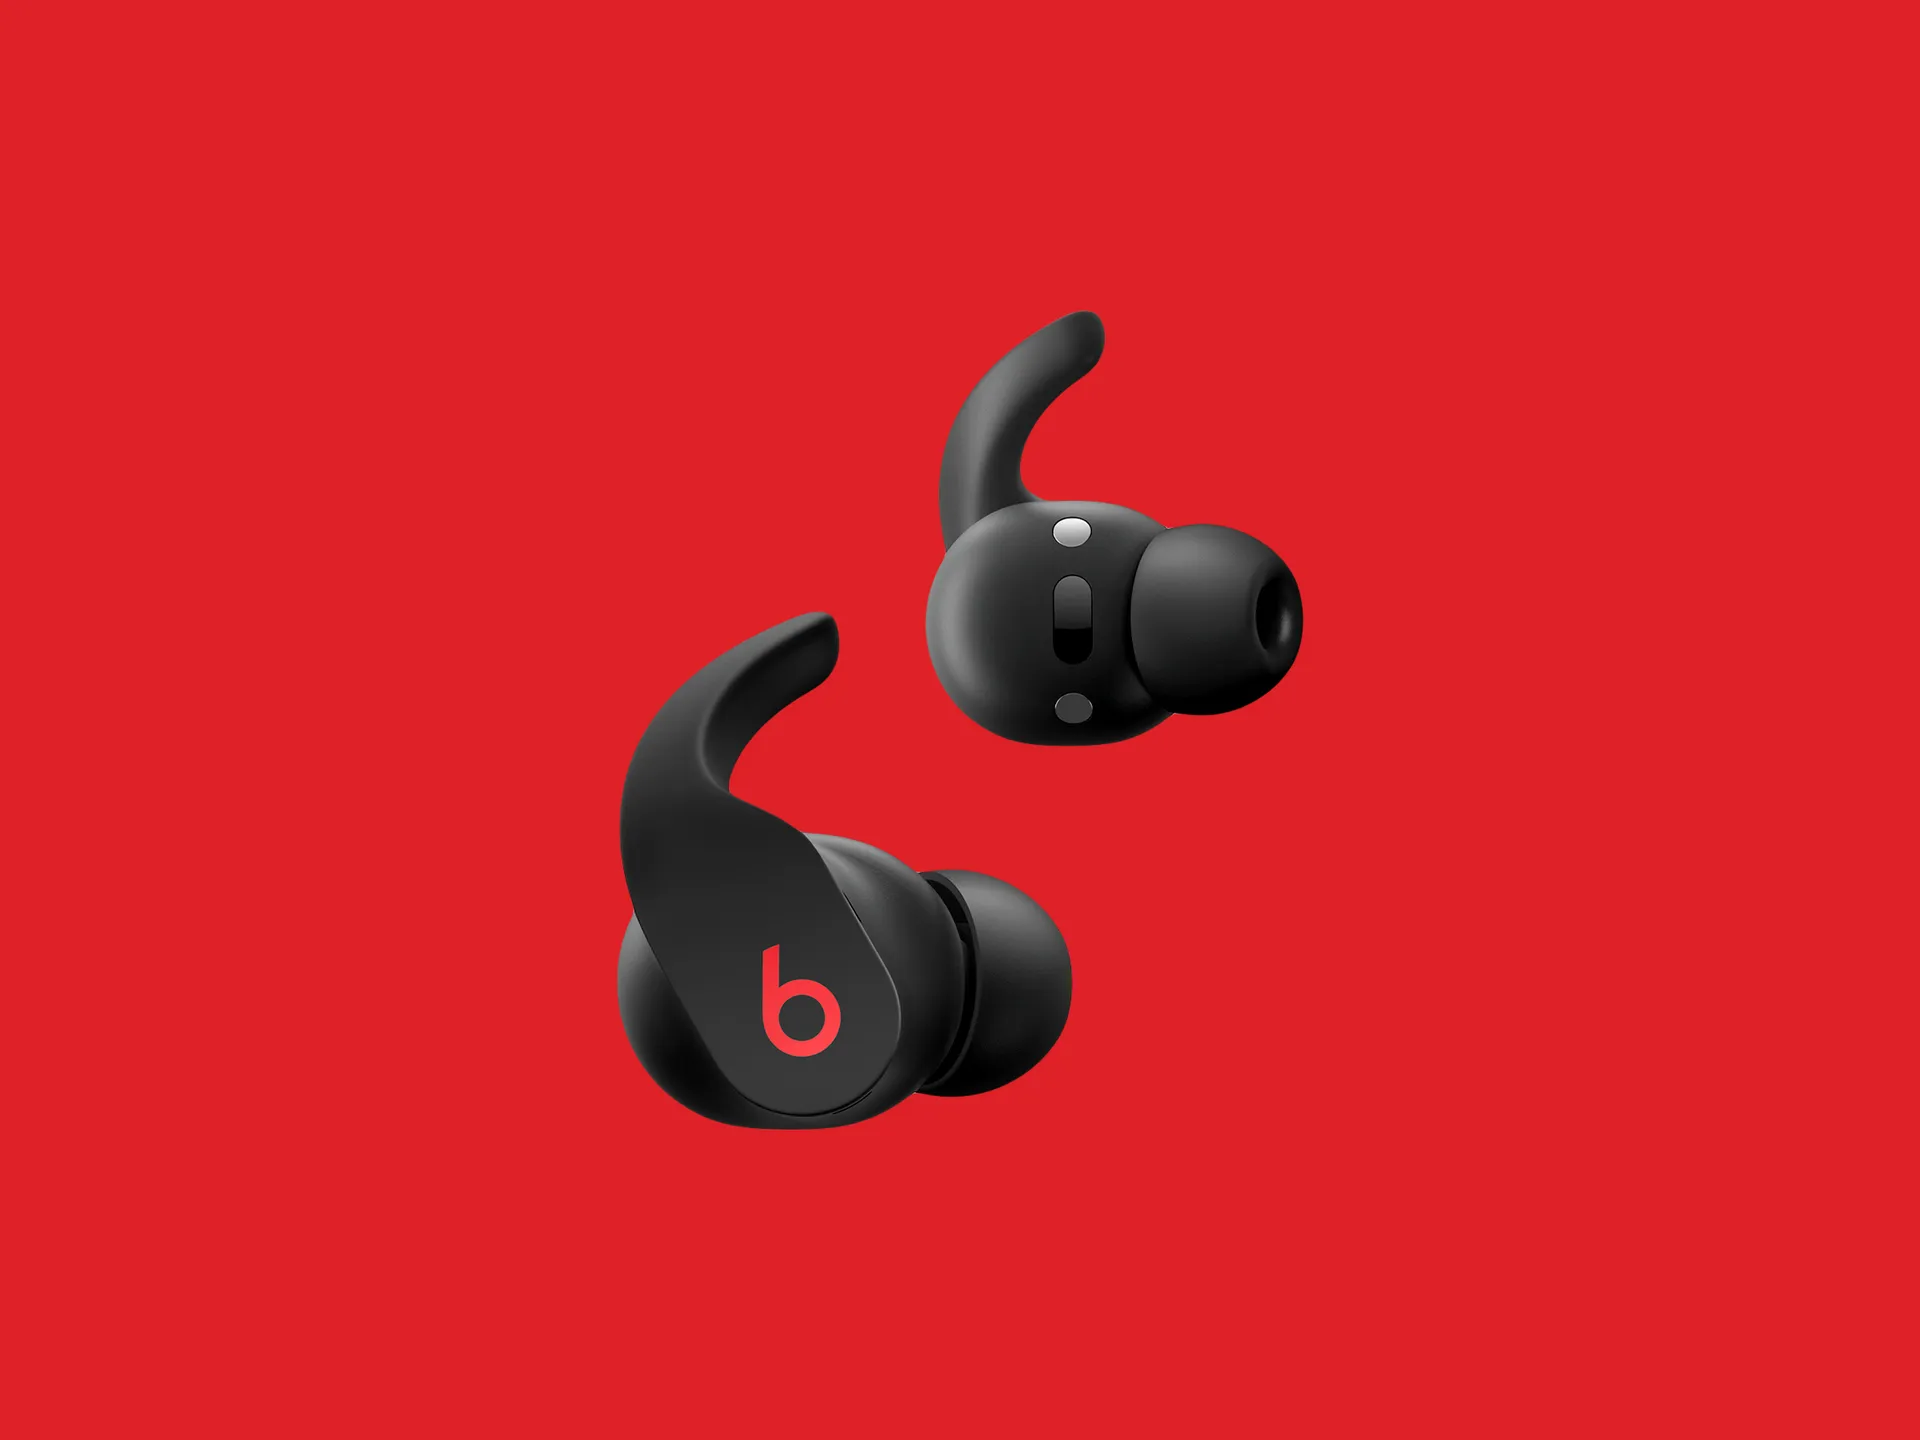
Welcome to the world of Beats Studio Buds, a revolutionary pair of wireless earbuds that not only deliver immersive sound quality but also feature noise-cancelling technology. With the ability to block out unwanted background noise, the Beats Studio Buds allow you to truly immerse yourself in your music or podcasts without any distractions.
In this handy guide, we will walk you through the simple steps to turn on noise cancelling in your Beats Studio Buds, so you can experience a whole new level of audio bliss. Whether you’re commuting in a noisy train or trying to focus in a bustling cafe, activating noise cancelling mode will help create an oasis of calm around you.
Before we dive into the steps, let’s check if your Beats Studio Buds have noise cancelling capability. While all Beats Studio Buds come with this feature, it’s always good to double-check just to be sure. The noise cancelling technology in these earbuds is designed to analyze and reduce external sounds, allowing you to enjoy crystal-clear audio even in noisy environments.
Now that you have a better understanding of what to expect, it’s time to put on your Beats Studio Buds and start enjoying the benefits of noise cancellation. Follow the steps below to activate this feature and get ready to immerse yourself in the world of your favorite music, podcasts, or audio content.
Step 1: Check for noise cancelling capability
Before you can turn on noise cancelling in your Beats Studio Buds, it’s important to confirm that your earbuds have this feature. The good news is that all Beats Studio Buds come equipped with noise cancelling technology, ensuring a more immersive and distraction-free audio experience.
To verify if your Beats Studio Buds have noise cancelling capability, you can refer to the packaging, product description, or check the manufacturer’s website. Look for any mention of noise cancelling or active noise cancellation in the product specifications or features.
If you have already purchased your Beats Studio Buds and are unsure whether they have noise cancelling, you can also check the settings on your device. Connect your earbuds to your smartphone or other compatible device and navigate to the Bluetooth settings. Look for any options or toggle switches related to noise cancellation.
If you find that your Beats Studio Buds do not have noise cancelling capability, it’s possible that they are counterfeit or are a different model. In such cases, it is recommended to reach out to the authorized retailer or Beats customer support for further assistance.
Once you have confirmed that your Beats Studio Buds indeed have noise cancelling, you’re ready to move on to the next step – putting on your earbuds for an enhanced audio experience.
Step 2: Put on your Beats Studio Buds
Now that you’ve confirmed your Beats Studio Buds have noise cancelling capability, it’s time to put them on and get ready for an immersive audio experience. Follow these simple instructions to properly wear your earbuds:
- Ensure your Beats Studio Buds are fully charged.
- Take out the earbuds from their charging case.
- Gently insert the left and right earbuds into your ears. The ‘L’ and ‘R’ indicators on the earbuds can help identify which ear they should be placed in.
- Make any necessary adjustments to ensure a comfortable and secure fit. The earbuds come with different sizes of ear tips, so you can choose the ones that best fit your ears.
It’s important to properly position the earbuds in your ears to optimize the noise cancelling function. Ensuring a good seal between the ear tips and your ear canal will not only enhance the audio quality but also enable the noise cancelling technology to work effectively.
Once your Beats Studio Buds are securely in place, it’s time to move on to the next step and discover how to activate the noise cancelling mode.
Step 3: Press and hold the button
Activating noise cancelling on your Beats Studio Buds is a straightforward process that starts with pressing and holding a specific button on the earbuds. Here’s what you need to do:
- Ensure that your Beats Studio Buds are properly connected to your device via Bluetooth.
- Locate the button on one of the earbuds. This button is multifunctional and is used for various functions, including controlling playback and activating noise cancelling.
- Press and hold the button for a few seconds. You may hear a sound or feel a vibration to indicate that the noise cancelling mode is being activated.
It’s important to note that the location and design of the button may vary depending on the model of your Beats Studio Buds. However, most models feature a button on either one of the earbuds, typically towards the bottom or sides.
If you’re unsure about the location or functionality of the button on your specific model, refer to the user manual that came with your Beats Studio Buds or visit the manufacturer’s website for detailed instructions.
Once you’ve successfully pressed and held the button, you’re ready to move on to the next step, where we will explore how to activate the noise cancellation mode on your Beats Studio Buds.
Step 4: Activate noise cancelling mode
Now that you’ve pressed and held the button on your Beats Studio Buds, it’s time to activate the noise cancelling mode. Follow these steps to ensure that the noise cancellation feature is turned on:
- After pressing and holding the button, release it.
- You should see or hear a confirmation that the noise cancelling mode has been activated. This may be indicated by a change in the LED light on the earbuds or a voice prompt.
Although the exact notification method may vary depending on the model, the Beats Studio Buds are designed to provide a clear indication when the noise cancelling mode is enabled.
Keep in mind that the noise cancelling feature on the Beats Studio Buds is designed to reduce external sounds and provide a more immersive audio experience. The level of noise cancellation can vary depending on the environment and the settings you have configured.
If you find that the noise cancelling mode doesn’t activate or you encounter any difficulties, refer to the user manual or reach out to the manufacturer’s customer support for further assistance.
You’ve successfully activated the noise cancelling mode on your Beats Studio Buds! Next, we’ll explore how you can adjust the level of noise cancellation to suit your preferences.
Step 5: Adjust the level of noise cancellation
After activating the noise cancelling mode on your Beats Studio Buds, you may find that you want to customize the level of noise cancellation to suit your preferences and the environment you’re in. Fortunately, Beats Studio Buds offer the ability to adjust the intensity of the noise cancellation. Here’s how:
- Open the companion app for your Beats Studio Buds on your compatible device. If you haven’t downloaded the app yet, you can find it in the app store.
- Navigate to the settings or noise cancellation section of the app.
- Select the desired level of noise cancellation from the available options. Some models may offer preset options such as “low,” “medium,” or “high,” while others may provide a slider for more precise control.
Experiment with different levels of noise cancellation to find the one that provides the optimal balance between audio clarity and external noise reduction. Keep in mind that the higher the level of noise cancellation, the more sound isolation you will experience.
If your Beats Studio Buds do not have a companion app or the option to adjust the noise cancellation level, the default setting will still provide effective noise reduction in most environments.
Remember to be aware of your surroundings when using noise cancellation, especially in situations where it’s important to hear ambient sounds such as traffic or announcements.
Now that you’ve adjusted the noise cancellation level, it’s time to enjoy your audio content in a completely immersive and personalized way!
Step 6: Enjoy the noise-free experience
With your Beats Studio Buds fully equipped with noise cancelling and the level of noise cancellation tailored to your liking, it’s time to sit back, relax, and immerse yourself in a truly noise-free audio experience.
Whether you’re listening to music, podcasts, or watching movies, the noise cancelling feature on your Beats Studio Buds will help create a bubble of tranquility around you, allowing you to focus on the audio without distractions from the outside world.
As you indulge in your favorite content, take note of the enhanced audio clarity and the absence of background noise. You’ll be able to hear every intricate detail and experience the richness of the sound like never before.
While the noise cancelling technology in the Beats Studio Buds is designed to reduce external sounds, it’s important to remember that it may not completely eliminate all noises. Sudden loud noises or certain frequencies may still be audible.
Additionally, make sure to follow safe listening practices and avoid listening to audio at high volumes for extended periods of time. Taking breaks and giving your ears a rest is essential for maintaining good hearing health.
Now that you know how to activate and customize the noise cancelling feature on your Beats Studio Buds, you can confidently enjoy a noise-free audio experience in any environment.
So go ahead, put on your Beats Studio Buds, activate the noise cancelling, and dive into a world of immersive, crystal-clear sound!
Conclusion
Congratulations! You’ve successfully learned how to turn on noise cancelling in your Beats Studio Buds. These incredible wireless earbuds offer not only exceptional sound quality but also the ability to block out unwanted background noise, allowing you to enjoy your music, podcasts, and audio content without distractions.
Throughout this guide, we walked you through the simple steps to activate the noise cancelling mode on your Beats Studio Buds. From checking for noise cancelling capability to adjusting the level of noise cancellation, you now have the knowledge and tools to create a personalized and immersive audio experience.
Remember to always check the product specifications, user manual, or manufacturer’s website to confirm the noise cancelling capability of your specific Beats Studio Buds model. If you encounter any difficulties or have further questions, don’t hesitate to reach out to the manufacturer’s customer support for assistance.
Now, put on your Beats Studio Buds, press and hold the button, activate the noise cancelling mode, adjust the level to your preference, and enjoy a noise-free listening experience that allows you to escape into your favorite audio content.
Stay tuned for more tips and tricks on optimizing your audio experience with your Beats Studio Buds. Happy listening!


