Introduction
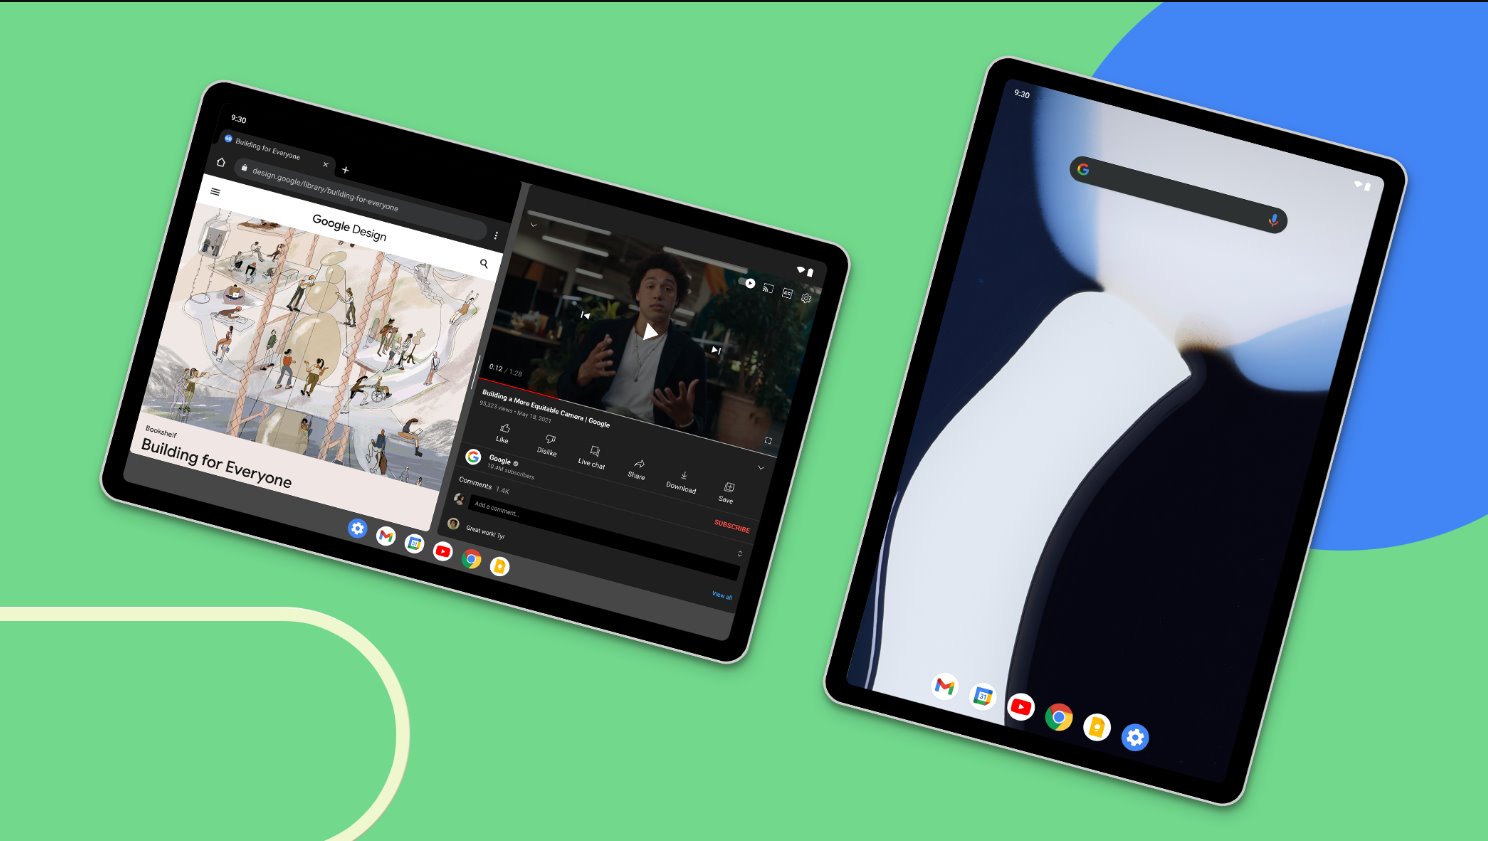
Welcome to the exciting world of Android tablets! If you’ve recently purchased or received an Android tablet and are eager to get started, you’re in the right place. In this guide, we’ll walk you through the necessary steps to turn on your Android tablet and start enjoying its countless features and functionalities. Whether you’re a tech enthusiast or a newbie to the Android ecosystem, this article will give you a clear and concise overview of how to power up your tablet.
Android tablets have become increasingly popular due to their portability, versatility, and user-friendly interfaces. They provide a range of benefits, including access to a wide array of apps, internet browsing, media consumption, and much more. However, if you’re unfamiliar with how to turn on an Android tablet, it can be a bit confusing at first. That’s why we’ve created this step-by-step guide to help you navigate through the process.
Before we dive into the steps, it’s essential to note that the specific method may vary slightly depending on the make and model of your Android tablet. However, the overall concept remains the same across most devices. So, without further ado, let’s get started with the process of turning on your Android tablet.
Step 1: Locate the power button
The first step in turning on your Android tablet is to locate the power button. The power button is a physical button typically located on the side or top of the device. It is usually labeled with a power symbol, which looks like a circle with a vertical line in the center.
If you’re unsure where the power button is located on your tablet, refer to the user manual or the manufacturer’s website for guidance. The exact placement of the power button may vary depending on the tablet’s design and model.
Once you have located the power button, take a moment to familiarize yourself with its position. This will make it easier for you to power on and off your tablet in the future.
It’s worth mentioning that some tablets may have a dedicated physical home button that also functions as a power button. In such cases, you can use the home button to turn on your tablet. However, if your tablet has a dedicated power button, we recommend using that for a smoother experience.
Step 2: Press and hold the power button
Now that you have located the power button on your Android tablet, it’s time to turn it on. To do this, simply press and hold the power button for a few seconds.
Pressing and holding the power button initiates the boot-up process of your tablet. Keep in mind that it may take a few moments for the device to respond, so be patient after pressing the button.
As you hold down the power button, you may feel a slight vibration or see the device’s screen light up. These indicators let you know that the tablet is starting to power on.
It’s important to note that the length of time you need to hold the power button may vary depending on your tablet’s model. Some tablets require a longer press, while others may respond after just a brief press and release.
If you’re unsure whether you’ve held the power button for long enough, refer to the user manual or the manufacturer’s website for specific instructions on your tablet model.
Once your tablet powers on, you can proceed to the next step to unlock and access its features.
Step 3: Wait for the device to start up
After pressing and holding the power button on your Android tablet, you will need to wait for the device to start up. The startup process can take a few seconds to a minute, depending on the tablet’s specifications and any installed software updates.
During this time, you may see the manufacturer’s logo or a loading screen on your tablet’s display. This indicates that the device is undergoing the boot-up process.
It’s essential to be patient during this step and avoid pressing any other buttons or attempting to power up the tablet again. Interrupting the startup process can lead to potential issues with the device’s functionality.
While waiting for the tablet to start up, it’s a good idea to ensure that it is connected to a power source if it’s running low on battery. Additionally, make sure the tablet is placed on a stable surface to avoid any accidental drops or slips.
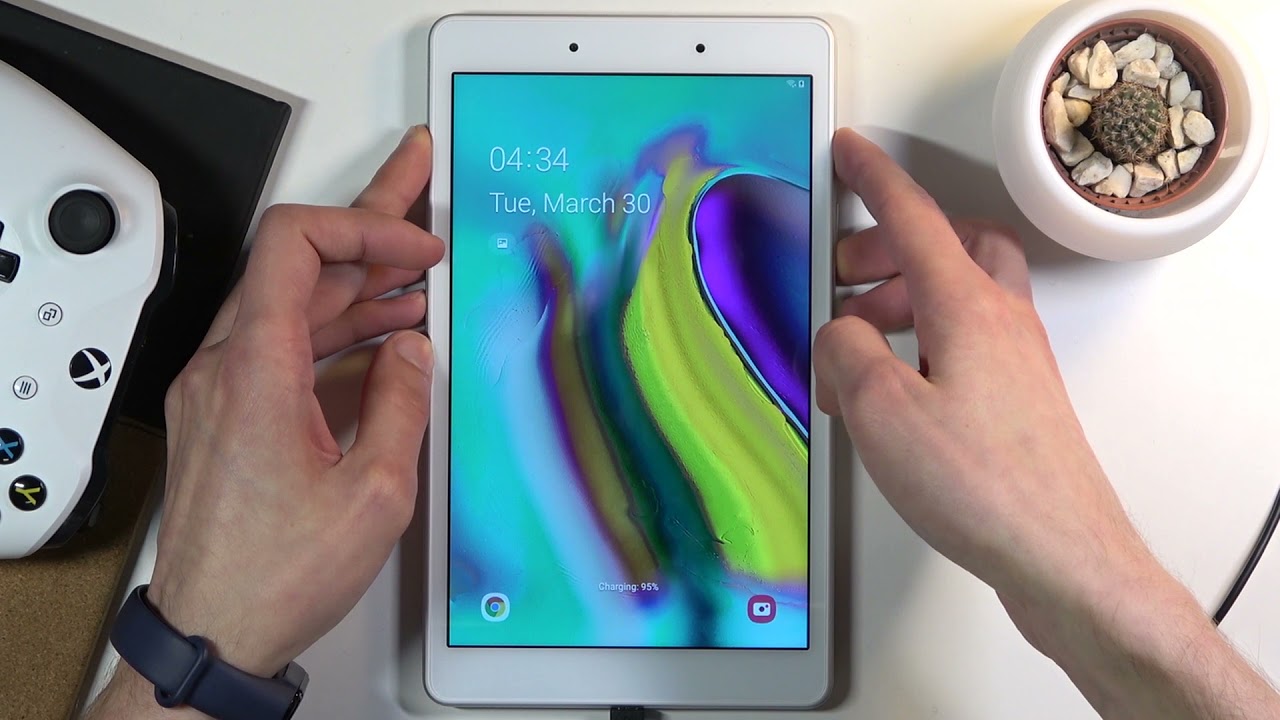
Once the startup process is complete, you will be greeted with the tablet’s lock screen or the home screen, depending on your tablet’s settings. At this point, you can proceed to the next step to unlock your tablet and begin using its features.
Step 4: Unlock the tablet
Now that your Android tablet has started up, it’s time to unlock it and gain access to its features. The exact method of unlocking your tablet may vary depending on the tablet’s manufacturer and the security settings you have enabled. Here are a few common methods to unlock an Android tablet:
- Swipe or Slide: On some tablets, you can unlock the device by swiping or sliding your finger across the screen. This method is straightforward and requires no additional steps.
- Pattern Unlock: Many Android tablets offer a pattern unlock feature. To use this method, you will need to draw a specific pattern on the screen by connecting a series of dots. Ensure that you choose a pattern that is easy for you to remember but difficult for others to guess.
- Pin Code: Another common method is to unlock the tablet using a pin code. You will need to enter a four-digit or six-digit code to gain access to your tablet.
- Password: Some users prefer using a password to unlock their Android tablets. In this case, you will need to enter a combination of letters, numbers, and symbols to unlock the device.
- Fingerprint or Face Unlock: If your tablet supports biometric authentication, you may have the option to unlock it using your fingerprint or facial recognition. Set up these features in the tablet’s settings to take advantage of this convenient method.
Choose the unlocking method that suits your preferences and provides the desired level of security for your tablet. Remember to keep your security code or pattern confidential to protect your device and its contents.
Once you have successfully unlocked your tablet, you can now explore its various apps, settings, and features. Enjoy your Android tablet to the fullest!
Conclusion
Congratulations! You have successfully learned how to turn on your Android tablet and unlock it to access its features. By following the steps outlined in this guide, you can power up your tablet with ease and start enjoying all that it has to offer.
Android tablets provide a world of possibilities, from browsing the internet to playing games, watching videos, reading ebooks, and staying connected with friends and family. With your newfound knowledge, you can now embark on your tablet journey and make the most of its capabilities.
Remember to refer to the user manual specific to your tablet model for any additional details or instructions. Each tablet may have unique features and settings that can enhance your experience and tailor it to your preferences.
Now that you’re familiar with the process of turning on and unlocking your Android tablet, you can confidently power it on anytime you need to. Enjoy exploring the apps, customization options, and the vast world of digital content available at your fingertips.
Whether you’re using your tablet for work, entertainment, or staying connected, embrace the versatility and convenience it offers. Stay curious, continue to learn, and make the most of your Android tablet!


