Introduction
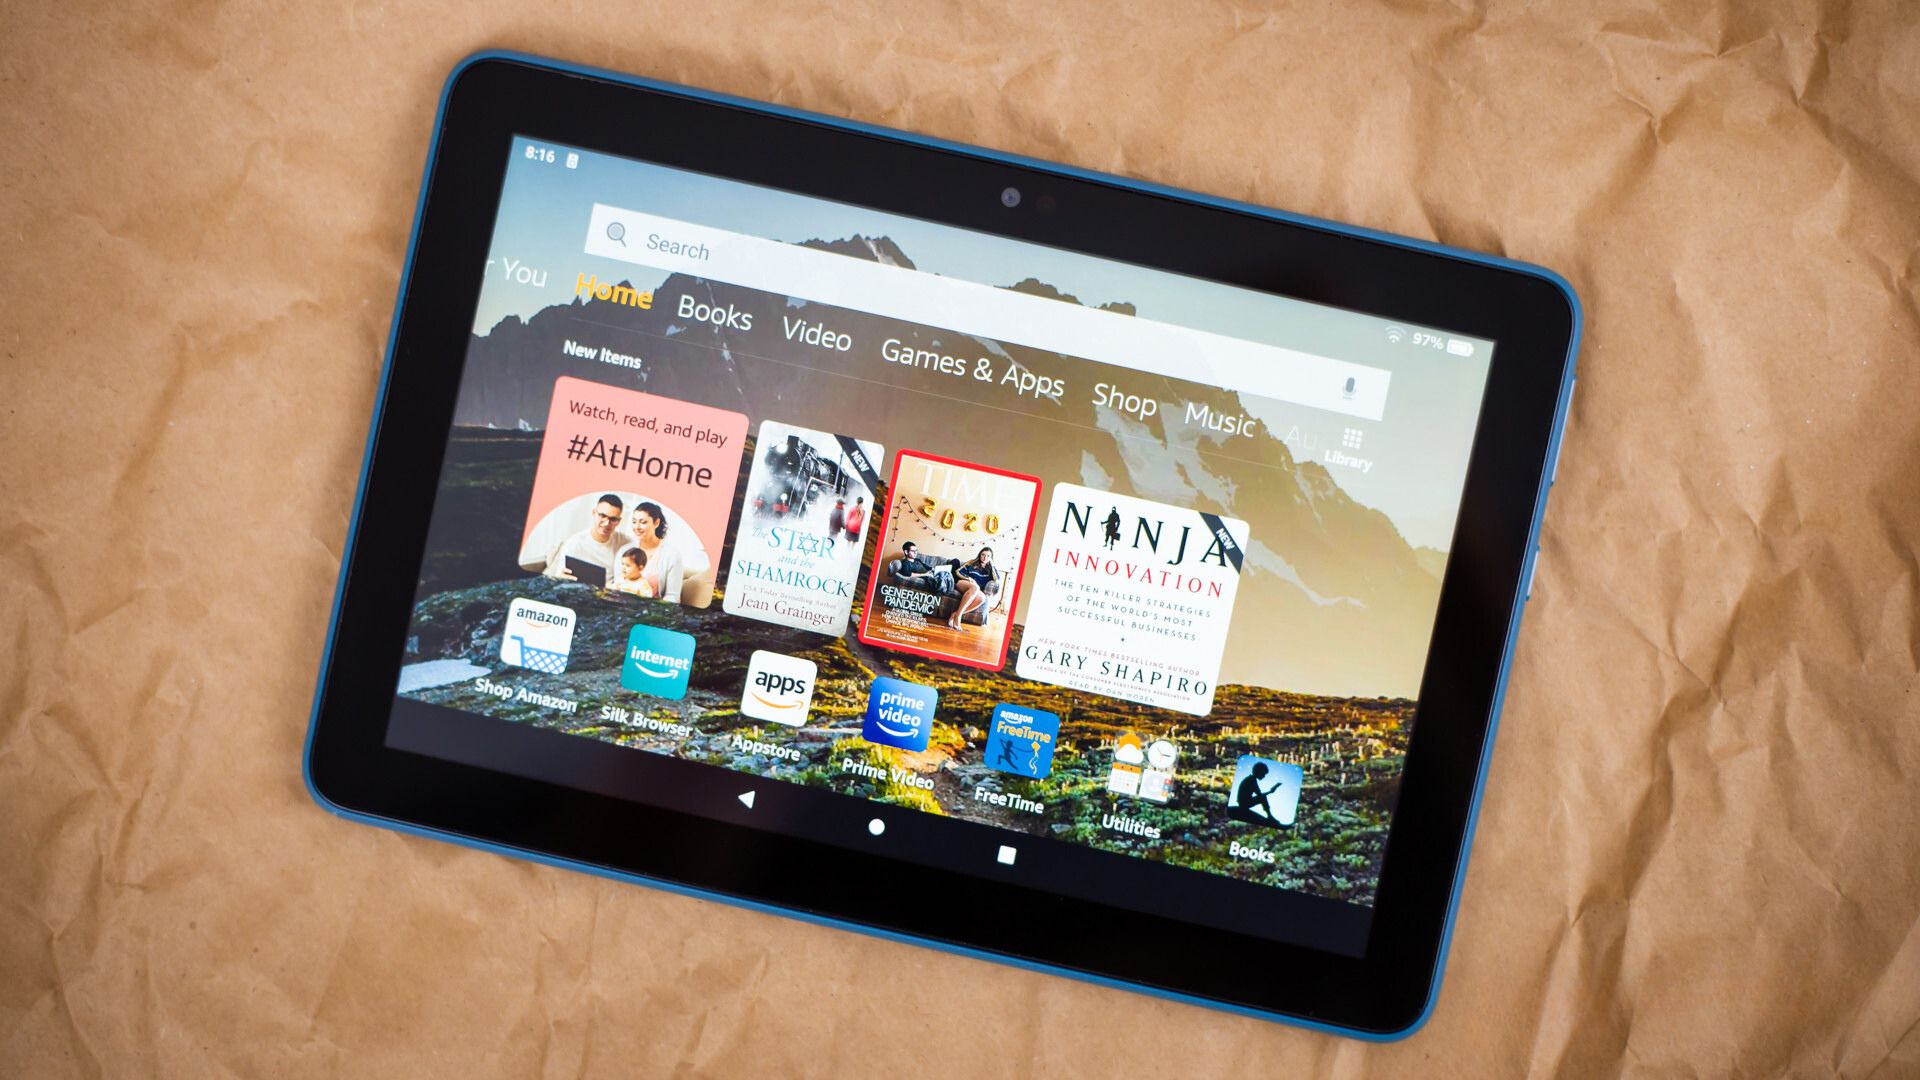
Welcome to the world of Android tablets! These versatile devices offer a range of features and functionalities, making them a popular choice for work, entertainment, and everything in between. One common issue that many Android tablet users face is the screen turning off automatically after a certain period of inactivity. This can be frustrating, especially when you’re in the middle of reading an article, watching a video, or following a recipe.
In this article, we will explore different methods to keep your Android tablet screen on for as long as you need. Whether you’re looking to prevent the screen from timing out during a presentation or simply want to prolong the screen’s active time, we’ve got you covered. From adjusting screen timeout settings to using third-party apps and developer options, we’ll take you through step-by-step instructions to help you keep your Android tablet screen on.
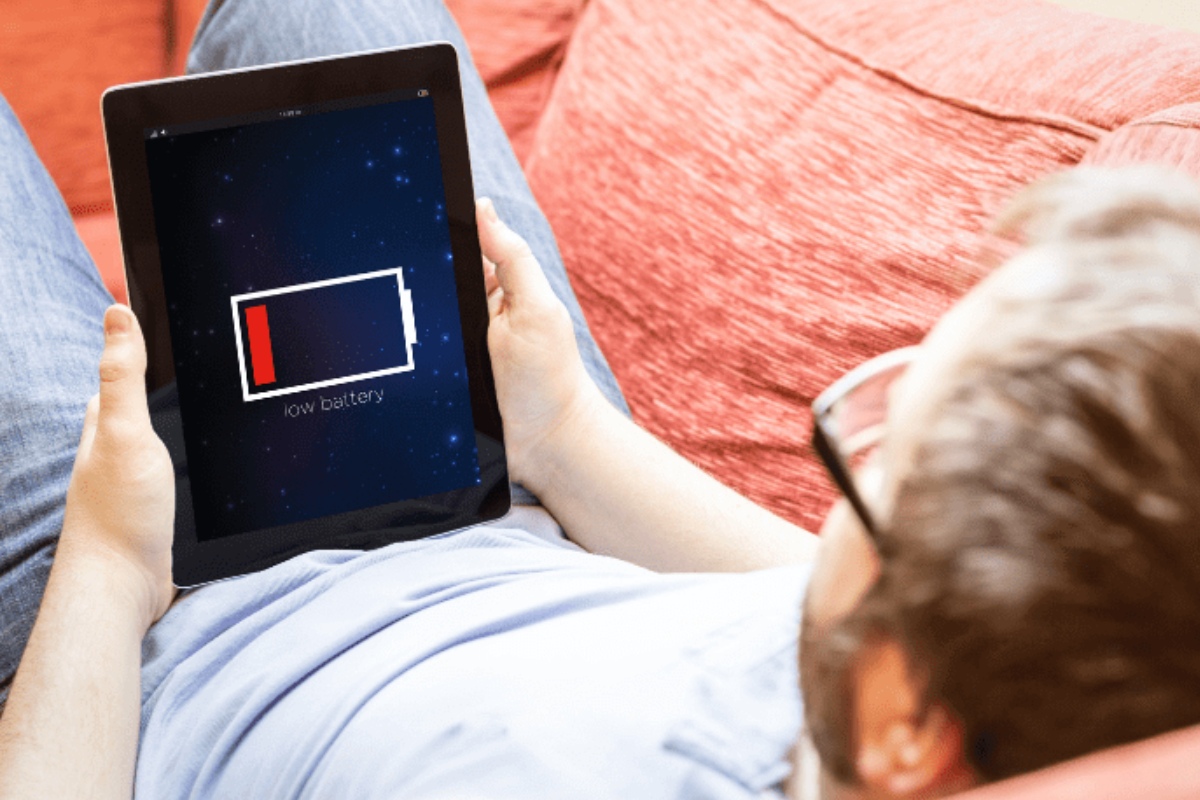
Before we dive into the methods, it’s important to note that constantly keeping your screen on can have an impact on battery life. Therefore, it’s recommended to use these methods when necessary and make sure to have your tablet connected to a power source whenever possible.
Without further ado, let’s explore the various methods to keep your Android tablet screen on and say goodbye to the frustration of having to constantly wake up your device.
Why do you need to keep your Android tablet screen on?
There are several scenarios where you may find it essential to keep your Android tablet screen on. Understanding the importance of this feature will help you make the most out of your device. Here are a few reasons why you might need to keep your Android tablet screen from turning off:
- Reading articles or eBooks: Many of us enjoy reading articles, books, or eBooks on our tablets. It can be frustrating when the screen times out, interrupting our reading experience. By keeping the screen on, you can read at your own pace without worrying about the screen going dark.
- Watching videos: Whether you’re streaming movies, binge-watching your favorite shows, or watching YouTube videos, it’s annoying to have the screen turn off in the middle of your entertainment. Keeping the screen on ensures uninterrupted viewing pleasure.
- Presentations and meetings: If you’re using your Android tablet for professional purposes, such as giving presentations or attending meetings, it’s crucial to keep the screen on. This allows you to maintain constant visibility of the content and avoid any disruptions.
- Following recipes in the kitchen: Cooking enthusiasts often use their tablets in the kitchen to follow recipes. With the screen constantly active, you can easily refer to the recipe without the risk of the screen timing out and losing the instructions.
- Using apps with longer usage times: Some apps, such as fitness trackers, GPS navigation, or music production tools, require longer periods of active screen time. By keeping the screen on, you can fully utilize these apps without interruptions or needing to constantly wake up the device.
By keeping your Android tablet screen on, you can have a more enjoyable and efficient experience across various activities. Now that we’ve established the importance of this feature, let’s explore the methods to achieve it in the next section.
How to keep your Android tablet screen on
Now that we understand the significance of keeping the Android tablet screen on, let’s explore different methods to achieve this. These methods are easy to implement and can help you customize your screen timeout settings according to your needs. Here are four effective methods:
- Adjusting screen timeout settings: The simplest way to keep your Android tablet screen on is by adjusting the screen timeout settings. To do this, go to the “Settings” menu on your tablet, find the “Display” or “Screen” option, and look for the “Sleep” or “Screen timeout” setting. From here, you can choose a longer timeout duration or even disable the screen timeout completely. Keep in mind that this method affects the overall battery life, so it’s recommended to use it judiciously.
- Using a third-party app: If the built-in screen timeout options aren’t sufficient for your needs, you can explore third-party apps available on the Google Play Store. Apps like “Stay Alive!” or “Wakey – Keep Your Screen On” provide more customization options and allow you to keep the screen on for specific apps or activities. Simply install the app, follow the instructions to set it up, and enjoy an extended screen-on time.
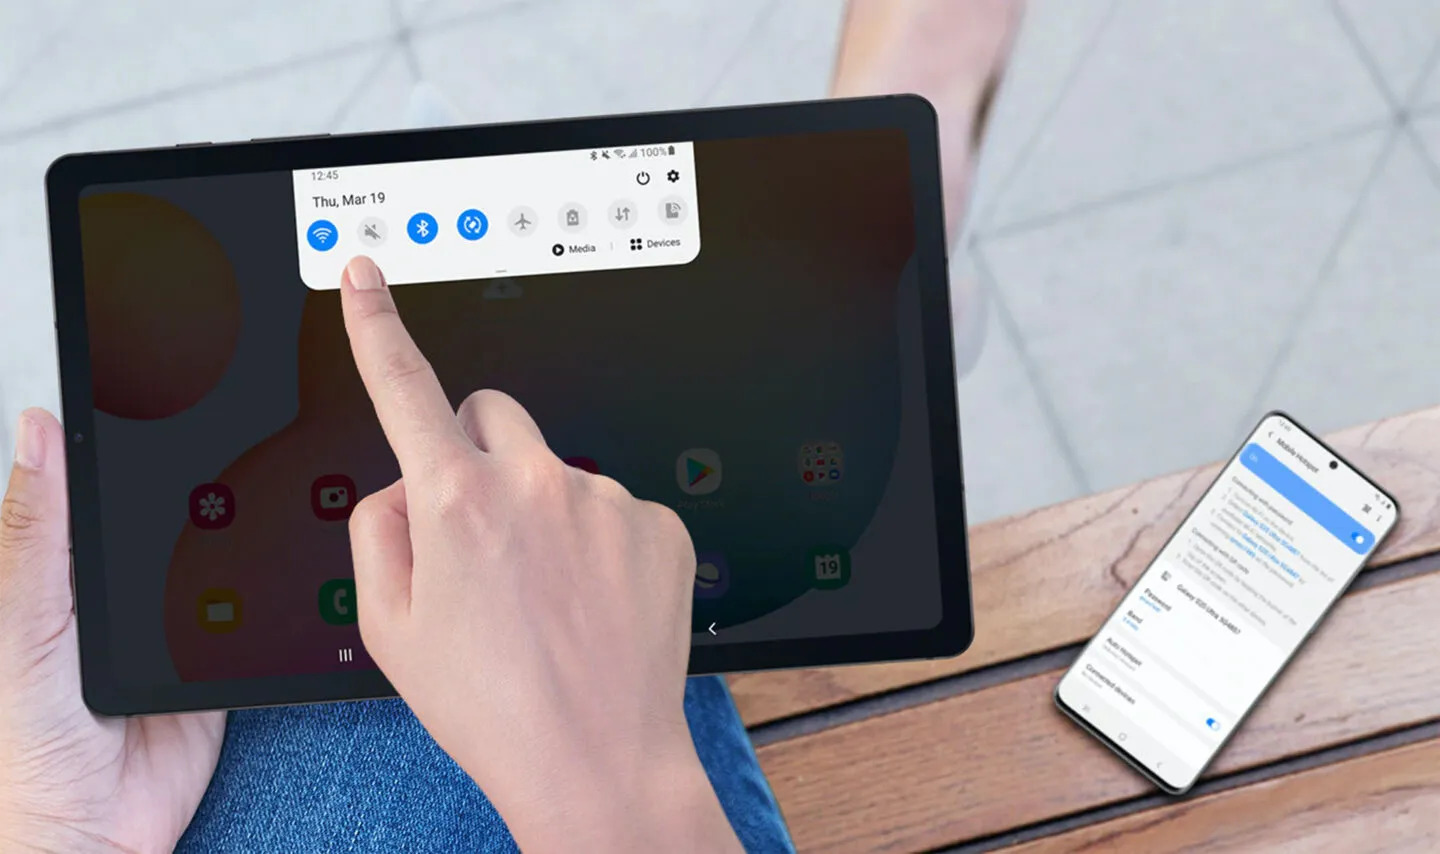
- Using developer options: Android devices have hidden developer options that offer advanced customization settings. To access these options, go to the “Settings” menu, select “About phone” or “About tablet,” and look for the “Build number” or “Build version” entry. Tap on it multiple times until you see a message confirming that you have enabled developer options. Once enabled, go back to the “Settings” menu, find “Developer options,” and look for the “Stay awake” or “Keep the screen turned on” option. Toggle it on, and your screen will stay on while charging or connected via USB.
- Keeping the tablet connected to a power source: Another simple way to keep your Android tablet screen on is by ensuring it’s connected to a power source. When the tablet is charging, the screen timeout settings may be overridden, allowing you to keep the screen on indefinitely. This method is particularly useful when using the tablet for presentations or other activities that require extended screen-on time.
By using these methods, you can customize your Android tablet screen timeout settings to meet your specific requirements. Whether it’s for reading, watching videos, attending meetings, cooking, or using specific apps, you now have the tools to keep your screen on for as long as you need.
Method 1: Adjusting screen timeout settings
One of the easiest and most accessible ways to keep your Android tablet screen on is by adjusting the screen timeout settings. Most Android devices come with predefined sleep or screen timeout settings that determine how long the screen will stay on before it turns off automatically. By adjusting these settings, you can extend the screen-on time and prevent it from timing out too quickly.
To adjust the screen timeout settings, follow these steps:
- Open the “Settings” menu on your Android tablet. You can usually find the gear icon for settings in the app drawer or the quick settings panel.
- Scroll down and tap on the “Display” or “Screen” option. The exact name may vary depending on the device and Android version.
- Look for the “Sleep” or “Screen timeout” setting. This option allows you to choose the duration after which the screen turns off automatically.
- Select a longer timeout option from the available choices. Common options include 1 minute, 2 minutes, 5 minutes, or even 30 minutes. Some devices may also have an option to set the screen timeout to “Never,” disabling the automatic screen-off functionality entirely. However, keep in mind that this may significantly impact the battery life of your tablet.
- Exit the settings menu. Your screen timeout settings are now adjusted, and your Android tablet screen will stay on for the selected duration.
This method allows you to have more control over the screen-on time and adjust it to suit your preferences. However, it’s important to remember that keeping the screen on for extended periods can drain the battery faster. Therefore, it’s advisable to use this method judiciously and consider connecting your tablet to a power source whenever possible to maintain a longer screen-on time.
Method 2: Using a third-party app
If the built-in screen timeout options on your Android tablet aren’t sufficient for your needs, you can explore third-party apps available on the Google Play Store. These apps provide additional customization options and allow you to keep your tablet screen on for specific apps or activities.
Here’s how you can use a third-party app to keep your Android tablet screen on:
- Open the Google Play Store app on your Android tablet.
- Search for a screen-on app that suits your requirements. Popular options include “Stay Alive!” and “Wakey – Keep Your Screen On.”
- Select the desired app from the search results and tap on the “Install” button to download and install it on your tablet.
- Once installed, open the app and follow the instructions to set it up according to your preferences. These apps often provide options to keep the screen on while charging, when specific apps are running, or when the device is in a specific orientation.
- Enable the app’s functionality and exit the app settings. Your Android tablet screen will now stay on for the specified apps or activities as configured in the third-party app.
Using a third-party app gives you more flexibility and control over keeping your Android tablet screen on. These apps often have additional features and options, such as automatically detecting when specific apps are running or allowing you to create custom profiles for different scenarios.
However, it’s important to note that using third-party apps can have an impact on your device’s performance and battery life. Make sure to choose reputable apps from trusted developers and review the app permissions before installation.
By utilizing a third-party app, you can enhance the screen-on experience on your Android tablet and enjoy uninterrupted usage for specific apps or activities that require extended screen time.
Method 3: Using developer options
Android devices come with hidden developer options that provide advanced customization settings. By accessing these options, you can enable features that are not available in the regular settings menu, including the ability to keep your Android tablet screen on.
Follow these steps to use developer options and keep your screen on:
- Open the “Settings” menu on your Android tablet.
- Scroll down and tap on the “About phone” or “About tablet” option.
- Look for the “Build number” or “Build version” entry and tap on it multiple times, usually 7-10 times. You will see a message indicating that you have enabled developer options.
- Go back to the main settings menu and scroll down to find the newly unlocked “Developer options.”
- Tap on “Developer options” to enter the menu.
- Look for the “Stay awake” or “Keep the screen turned on” option and toggle it on to enable it. This option ensures that the screen stays on while charging or when connected via USB.
- Exit the settings menu, and your Android tablet screen will now stay on as long as it is connected to a power source or USB.
Using developer options gives you added control over your Android tablet’s screen-on behavior. It’s particularly useful when you need to keep the screen on for extended periods during activities like charging, file transfers, or using specific apps that require continuous visibility.
Remember, enabling developer options opens up advanced settings that can affect your device’s performance or stability if misused. Therefore, it’s advised to proceed with caution and only make changes that you understand and require.
By utilizing the developer options, you can keep your Android tablet screen on for longer durations, ensuring uninterrupted usage in specific scenarios where the screen should remain active.
Method 4: Keeping the tablet connected to a power source
An effortless way to keep your Android tablet screen on is by ensuring it remains connected to a power source. When your tablet is charging, the screen timeout settings may be overridden, allowing you to keep the screen on for extended periods without any interruptions.
Follow these steps to keep your tablet connected to a power source and maintain a longer screen-on time:
- Locate the charging cable and adapter that came with your Android tablet.
- Connect one end of the charging cable to your tablet’s charging port.
- Plug the other end of the charging cable into a power outlet or a USB port on your computer.
- Ensure that the tablet is properly connected, and the charging indicator appears on the screen.
- Once connected, use your tablet as usual, and the screen will not turn off automatically as long as it remains charging.
This method enables you to have extended screen-on time without any interference. It’s especially useful when you’re engaged in activities like giving presentations, attending meetings, or any other tasks that require continuous visibility on the screen.
It’s important to note that keeping your tablet connected to a power source for extended periods may impact the battery’s overall lifespan. To maximize battery longevity, it’s recommended to disconnect the tablet from the power source once it is fully charged or when you no longer need a consistently on screen.
By keeping your Android tablet connected to a power source, you can enjoy an uninterrupted screen-on experience without worrying about the screen timing out, making it ideal for situations that require prolonged usage.
Conclusion
Keeping your Android tablet screen on is crucial in various scenarios, whether you’re reading, watching videos, giving presentations, following recipes, or using specific apps. Fortunately, there are several methods to achieve this and extend the screen-on time.
In this article, we explored four effective methods:
- Adjusting screen timeout settings: By navigating to the display settings, you can choose a longer timeout duration or disable the screen timeout altogether.
- Using a third-party app: Install apps like “Stay Alive!” or “Wakey – Keep Your Screen On” from the Google Play Store to customize screen-on options based on specific apps or activities.
- Using developer options: Enable the hidden developer options on your device to access advanced settings, including the ability to keep the screen on while charging or connected via USB.
- Keeping the tablet connected to a power source: By ensuring your tablet remains connected to a power outlet or USB, you can override the screen timeout settings and enjoy uninterrupted screen-on time.
Remember to use these methods judiciously and consider the impact on battery life. It’s recommended to keep your tablet connected to a power source whenever possible to maintain a longer screen-on time without affecting the battery’s lifespan.
Now that you’re armed with these methods, you can customize your Android tablet’s screen timeout settings to suit your preferences and needs. Whether it’s for entertainment, productivity, or convenience, you can now keep your screen on for as long as necessary.
Enjoy the enhanced user experience and make the most out of your Android tablet by keeping its screen on whenever you need it!