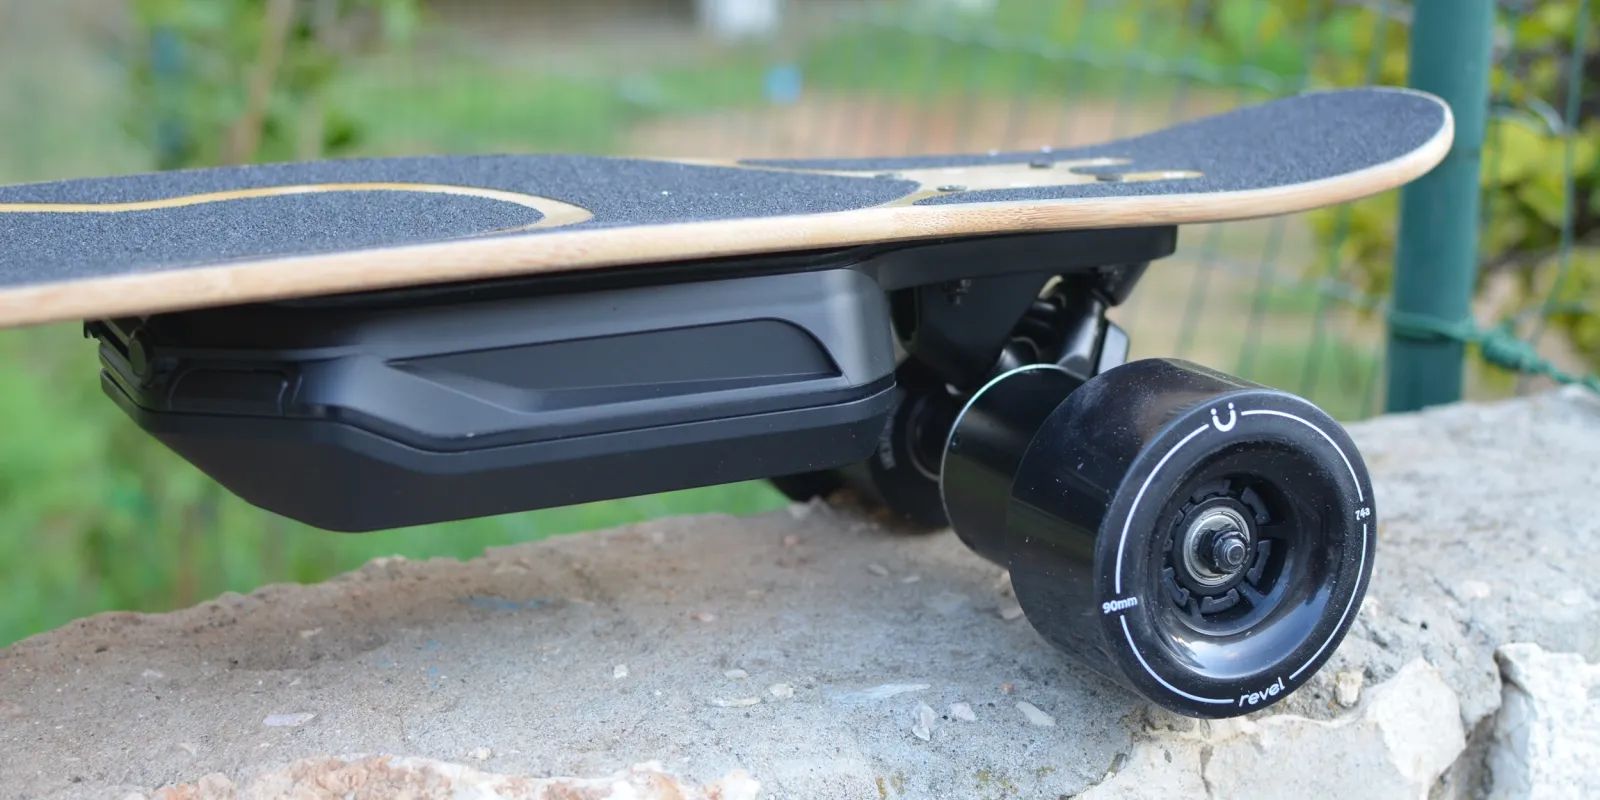
Introduction
Have you ever wondered if it’s possible to transform your traditional electric scooter into a thrilling electric skateboard? Well, wonder no more! In this guide, we will walk you through the step-by-step process of turning your ordinary electric scooter into an exhilarating electric skateboard.
Electric scooters and electric skateboards have gained immense popularity in recent years due to their convenience and eco-friendliness. However, while electric scooters provide a comfortable and efficient means of transportation, some people crave the excitement and maneuverability of electric skateboards.
By following the instructions provided in this guide, you will be able to unleash the full potential of your electric scooter and turn it into a powerful and agile electric skateboard. The process may seem daunting at first, but with the right tools and a little bit of patience, you will be cruising down the streets with style and speed in no time.
Before diving into the conversion process, it’s essential to note that modifying your electric scooter may void any existing warranties, so proceed at your own discretion. Additionally, ensure that you have the necessary tools and materials required for the conversion, as this will save you time and frustration along the way.
So, if you’re ready to embark on an electrifying journey and experience the thrill of riding an electric skateboard, let’s get started with step one: gathering the necessary tools and materials!
Step 1: Gather the necessary tools and materials
Before you begin the electric scooter to electric skateboard conversion process, it’s crucial to collect all the essential tools and materials. Having everything prepared and readily available will make the process smoother and more efficient. Here are the necessary items you’ll need:
1. Electric Scooter: Start with a fully functional electric scooter that you’re willing to convert. Ensure that it is in good working condition and has a strong frame to support the modifications.
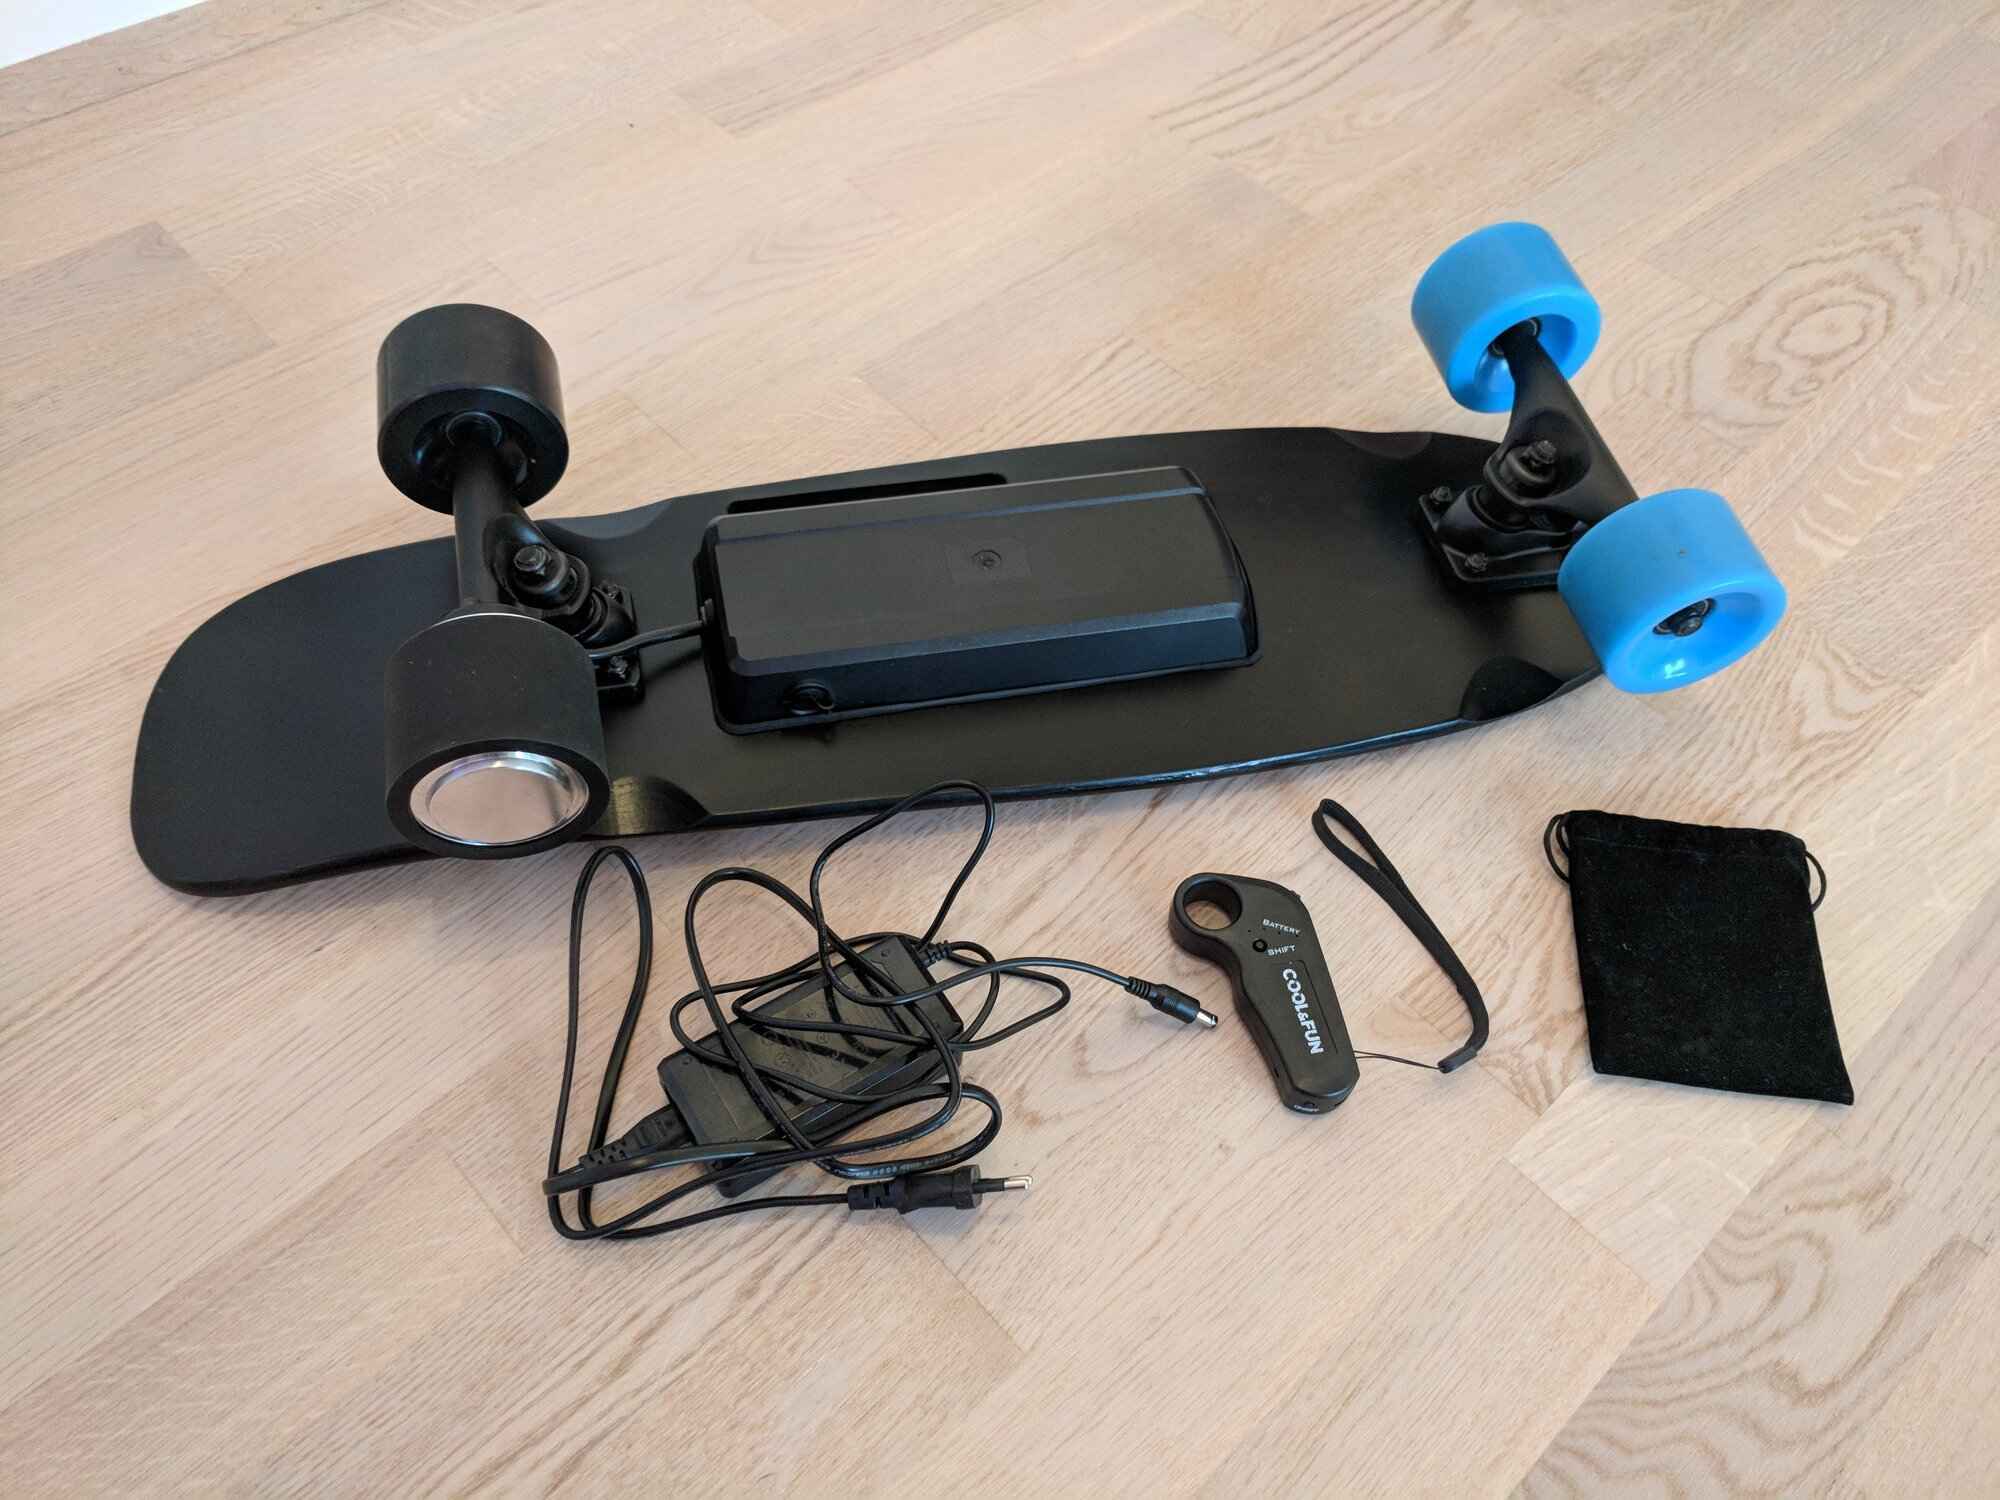
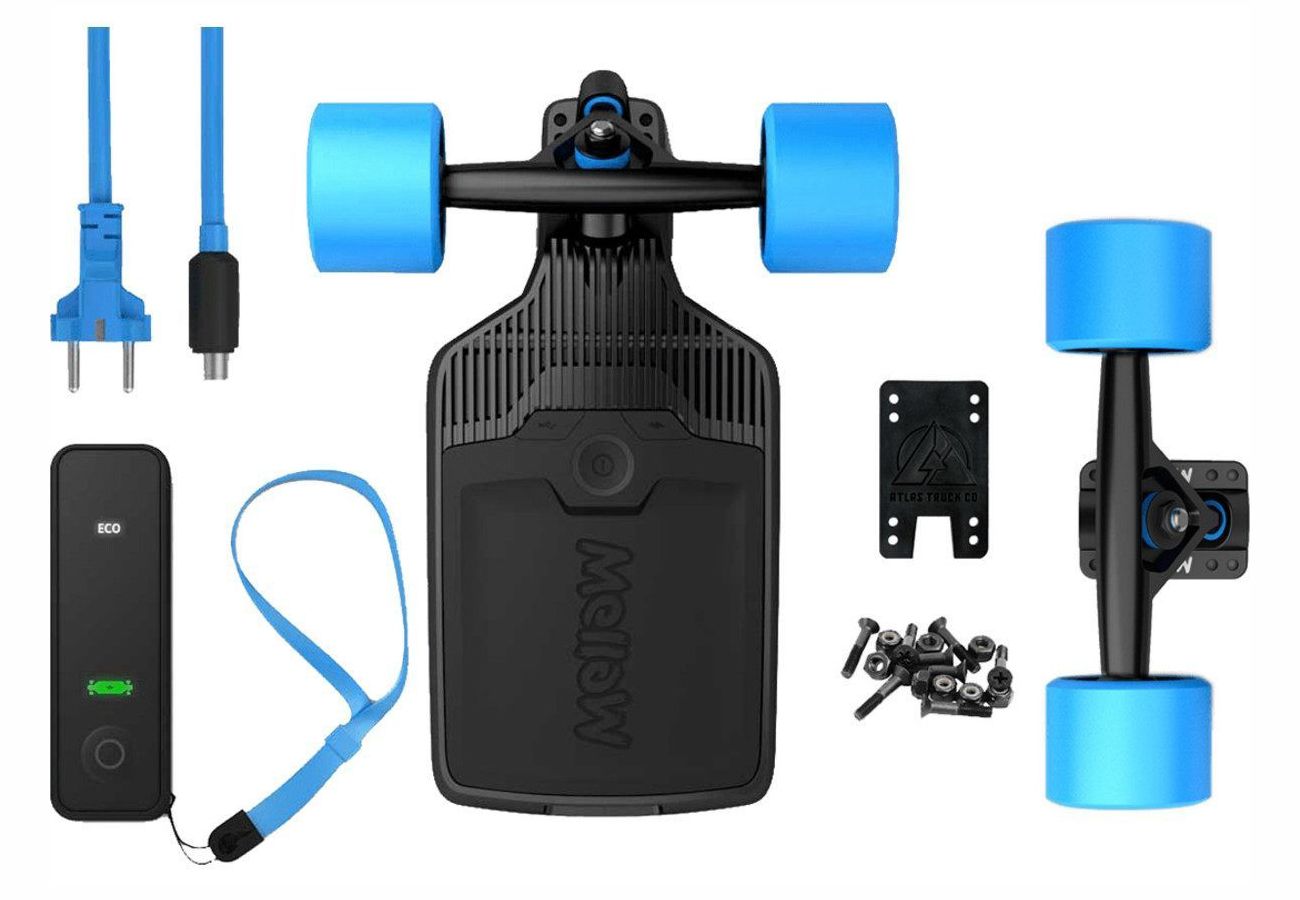
2. Electric Skateboard Conversion Kit: Invest in a reliable electric skateboard conversion kit. These kits typically include an electric motor, a battery pack, an electronic speed controller (ESC), and all the necessary cables and connectors.
3. Basic Hand Tools: You’ll require a set of basic hand tools such as screwdrivers, pliers, wrenches, and allen keys. These tools will help you disassemble the scooter and install the conversion kit.
4. Safety Gear: Don’t forget to prioritize safety! Wear a helmet, knee pads, elbow pads, and other protective gear to ensure your safety during the conversion process and when riding the electric skateboard.
5. Drill and Drill Bits: You may need to modify the scooter’s deck or make adjustments to accommodate the conversion kit components. A drill and various drill bits will come in handy for this purpose.
6. Wire Cutters and Strippers: To connect the wires and cables properly, wire cutters and strippers are essential. These tools will help you trim, strip, and prepare the wires for soldering or connecting to connectors.
7. Soldering Iron and Solder: Depending on the conversion kit, you may need to solder some connections for a secure and reliable electrical connection. A soldering iron and solder will be necessary for this task.
Remember to double-check the compatibility of the conversion kit with your electric scooter model to ensure a successful conversion. It’s also wise to consult the conversion kit’s instructions and documentation for any additional tools or materials specific to your chosen kit.
Now that you have gathered all the necessary tools and materials, you are ready to move on to step two: removing the scooter handlebars and other unnecessary parts.
Step 2: Remove the scooter handlebars and other unnecessary parts
Now that you have everything you need, it’s time to start the conversion process. The first step is to remove the scooter handlebars and any other parts that are not required for the electric skateboard setup.
1. Start by turning off the electric scooter and disconnecting the battery. This ensures your safety during the disassembly process.
2. Use a suitable tool, such as an Allen key or wrench, to loosen and remove the bolts holding the handlebars in place. Carefully detach the handlebars and set them aside. You may need to remove additional components such as the headlight or display panel, depending on your scooter model.
3. Next, remove any unnecessary cables and wires that were connected to the handlebars or other removed components. Be cautious not to damage any other vital wiring during this process.
4. Once the handlebars and other unwanted parts have been removed, assess the remaining scooter frame. Ensure there are no loose or protruding elements that could interfere with the installation of the electric skateboard conversion kit.
5. It’s also a good idea to clean the scooter’s deck and inspect it for any potential areas that may need reinforcement or modification to accommodate the conversion kit components.
By removing the handlebars and unnecessary parts, you are making space for the electric skateboard components and streamlining the conversion process. Remember to keep the removed parts in a safe place in case you decide to revert the scooter to its original form in the future.
With step two completed, you are now ready to move on to step three: modifying the deck to accommodate the motor and battery.
Step 3: Modify the deck to accommodate the motor and battery
Modification of the scooter’s deck is a crucial step in converting it into an electric skateboard. This involves creating the necessary space and structural support for mounting the motor and battery. Here’s how you can modify the deck:
1. Determine the ideal location for the motor and battery on the scooter’s deck. Consider factors such as weight distribution and stability.
2. Measure and mark the area on the deck where the motor and battery will be installed. Use a ruler or tape measure to ensure accurate placement.
3. Using a drill and the appropriate drill bit, create holes in the marked area to accommodate the mounting brackets or screws for securing the motor and battery.
4. If necessary, reinforce the deck by adding additional support materials such as metal plates or plywood. This will ensure the deck can withstand the added weight and vibrations of the motor and battery.
5. Smooth the edges and surfaces of the modified area using sandpaper or a file. This will help prevent any potential injuries or damage to components when installing the motor and battery.
6. Test fit the motor and battery in the modified area to ensure proper alignment and clearance. Adjust the positioning if needed to achieve the ideal balance and functionality.
7. Once satisfied with the modification, secure the motor and battery in place using the mounting brackets or screws. Ensure they are tightly fastened to prevent any movement or instability during use.
Modifying the scooter’s deck requires precision and attention to detail. Take your time to ensure the modifications are done correctly, as it will directly impact the performance and safety of your electric skateboard.
Now that you have successfully modified the deck, it’s time to move on to the exciting part – installing the electric skateboard conversion kit in Step 4.
Step 4: Install the electric skateboard conversion kit
Installing the electric skateboard conversion kit is a significant milestone in the transformation process. This step involves mounting the motor, battery, and electronic speed controller (ESC) onto the modified deck. Follow these instructions to ensure a successful installation:
1. Start by carefully unpacking the electric skateboard conversion kit components. Familiarize yourself with each part to ensure you understand their functions and how they fit together.
2. Begin with the motor. Position it in the designated area on the deck, aligning it with the pre-drilled holes or mounting brackets. Secure the motor in place using the provided screws or the mounting bracket, depending on your kit.
3. Next, attach the battery to the deck. Depending on your conversion kit, this may involve using straps or brackets to securely hold the battery in place. Ensure the battery is positioned in a way that maintains balance and stability.
4. Connect the motor to the electronic speed controller (ESC) using the provided cables and connectors. Follow the manufacturer’s instructions to ensure correct wiring and connections.
5. Attach the ESC to the deck near the motor or battery, ensuring it is securely fastened. This component controls the speed and acceleration of your electric skateboard.
6. Carefully route and organize the wiring from the motor, battery, and ESC to avoid any entanglement or potential damage. Use cable ties or adhesive clips to secure the cables along the deck’s underside.
7. Double-check all the connections and ensure they are tight and secure. Loose connections can lead to malfunctions or safety hazards.
With the electric skateboard conversion kit properly installed, you are one step closer to experiencing the thrill of riding an electric skateboard. But before you can hit the streets, there are a few more crucial steps to complete.
Next, in Step 5, we will focus on connecting the motor and battery to the Electronic Speed Controller (ESC) for optimal performance.
Step 5: Connect the motor and battery to the ESC (Electronic Speed Controller)
Now that the electric skateboard conversion kit is installed, it’s time to establish the vital connections between the motor, battery, and the Electronic Speed Controller (ESC). These connections are crucial for ensuring the proper functioning and control of your electric skateboard. Follow these steps to connect the components:
1. Locate the three main wires coming from the motor: phase wires, sensor wires (if applicable), and the power wires. The phase wires are typically color-coded, with phase A being one color, phase B another color, and phase C a different color.
2. Connect the phase wires from the motor to the corresponding phase terminals on the ESC. Ensure that the wires are securely connected and that there is no risk of them coming loose during usage.
3. If your motor has sensor wires, connect them to the appropriate sensor inputs on the ESC. This step may vary depending on the specific configuration of your conversion kit. Refer to the instruction manual or documentation provided with your kit for guidance.
4. Connect the power wires from the motor to the designated power terminals on the ESC. Take note of the polarity and ensure a secure connection.
5. Connect the battery to the ESC using the provided connectors or cables. Follow the manufacturer’s instructions to ensure you correctly connect the positive (+) and negative (-) terminals.
6. Double-check all the connections to ensure they are properly secured. Loose or incorrect connections can lead to malfunctioning or unsafe operation of your electric skateboard.
7. Once the motor, battery, and ESC connections are established, take a moment to inspect the overall wiring setup. Ensure that the cables and wires are neatly arranged and safely routed away from any moving parts or potential sources of damage.
With the motor and battery connected to the ESC, your electric skateboard is one step closer to being fully operational. However, before you can hit the road, it’s crucial to test and fine-tune the skateboard’s performance in Step 6.
Step 6: Test and fine-tune the skateboard’s performance
After connecting the motor, battery, and Electronic Speed Controller (ESC), it’s time to test and fine-tune your electric skateboard’s performance. This step ensures that everything is functioning properly and allows you to optimize the skateboard for your preferences. Follow these steps to test and fine-tune your electric skateboard:
1. Ensure that all connections are securely fastened and double-check that there are no loose or exposed wires.
2. Turn on the power supply to activate the electronic system. Check that the ESC is responding by looking for any LED indicators or display panel notifications.
3. Step onto the skateboard and carefully test the motor and braking functionality at low speeds. Gradually increase the speed to ensure a smooth and controlled acceleration experience.
4. Evaluate the braking power and responsiveness of the skateboard. Test the brakes at various speeds to ensure they can bring you to a safe stop promptly and smoothly.
5. Take note of any abnormalities or inconsistencies in the performance, such as unusual noises, vibrations, or unresponsive controls. If you encounter any issues, consult the documentation provided with your conversion kit or seek guidance from a professional technician.
6. Fine-tune the performance of the skateboard as needed. This may involve adjusting the acceleration and braking sensitivity through the ESC settings, if available. Refer to the manufacturer’s instructions to understand how to customize the settings based on your preferences.
7. Once you are satisfied with the performance and feel of the electric skateboard, take it for a test ride in a controlled environment. Start with a flat or gently sloping surface to familiarize yourself with the skateboard’s handling and responsiveness.
8. During the test ride, pay attention to the battery’s performance and range. Note how far you can travel on a single charge and any variations in performance over time. This will help you gauge the overall battery life and plan your rides accordingly.
By thoroughly testing and fine-tuning the skateboard’s performance, you can ensure that it meets your expectations in terms of speed, braking, and overall functionality. Once you feel confident in its performance, you’re ready to hit the streets and enjoy the ride!
Step 7: Ensure safety measures are in place
As you prepare to take your electric skateboard on the road, it is vital to prioritize safety. Ensuring proper safety measures are in place will not only protect you but also enhance your overall riding experience. Follow these guidelines to ensure a safe and enjoyable ride:
1. Wear Protective Gear: Always wear a helmet, knee pads, elbow pads, and wrist guards when riding your electric skateboard. This protective gear will safeguard you from potential injuries during falls or accidents.
2. Ride in Safe Areas: Choose safe and designated areas for riding your electric skateboard. Avoid busy roads, crowded pedestrian areas, and steep or uneven terrain. Familiarize yourself with local regulations regarding electric skateboard usage.
3. Be Visible: Ensure you are visible to other road users by wearing brightly colored or reflective clothing. Consider attaching lights or reflectors to your skateboard for enhanced visibility, especially when riding in low-light conditions.
4. Follow Traffic Laws: Obey traffic laws and regulations, including traffic signals, stop signs, and right-of-way rules. Treat your electric skateboard as you would any other vehicle when it comes to road etiquette.
5. Maintain Control and Awareness: Practice good riding habits by maintaining full control of your electric skateboard. Avoid reckless maneuvers or excessive speeds that can compromise your safety or the safety of others. Stay alert and aware of your surroundings at all times.
6. Regularly Check Your Electric Skateboard: Before each ride, inspect your electric skateboard for any loose or damaged components. Check the tire pressure, brakes, and electrical connections to ensure everything is in proper working order.
7. Charge Your Battery Safely: When charging your electric skateboard’s battery, follow the manufacturer’s instructions and use the provided charger. Avoid overcharging or leaving the battery unattended while charging to prevent any potential hazards.
8. Be Mindful of Weather Conditions: Consider weather conditions before riding your electric skateboard. Wet or slippery surfaces can affect traction and increase the risk of accidents. Avoid riding in adverse weather conditions such as heavy rain, snow, or strong winds.
By following these safety measures, you can enjoy a safe and exhilarating ride on your converted electric skateboard. Remember, safety should never be compromised for the sake of excitement.
With all safety measures in place, you can embark on your electric skateboard adventure, confident in your ability to ride responsibly and enjoy the thrilling experience that awaits you!
Conclusion
Congratulations! You have successfully transformed your electric scooter into an electrifying electric skateboard. By following the step-by-step process in this guide, you have created a powerful and thrilling ride that combines the convenience of a scooter with the maneuverability of a skateboard.
Throughout the conversion process, you gathered the necessary tools and materials, removed the scooter handlebars and unnecessary parts, modified the deck to accommodate the motor and battery, installed the electric skateboard conversion kit, connected the motor and battery to the ESC, tested and fine-tuned the skateboard’s performance, and ensured that all safety measures are in place.
As you take your newly converted electric skateboard for a ride, remember to prioritize safety at all times. Wear proper protective gear, ride in safe areas, follow traffic laws, and regularly check your skateboard for any maintenance needs.
Keep in mind that modifying your electric scooter may void any existing warranties and carries some risks. If you are unsure about any step of the conversion process or encounter any technical difficulties, it’s always best to seek guidance from professionals or experienced hobbyists.
Now, enjoy the exhilarating experience of gliding through the streets on your very own homemade electric skateboard. Feel the wind in your hair, embrace the thrill, and have fun exploring new terrain while minimizing your carbon footprint.
Remember to ride responsibly and respect your surroundings. As you become more comfortable with your electric skateboard, you can further customize and enhance it to match your preferences and style.
Thank you for joining us on this journey to transform an electric scooter into an electric skateboard. Embrace the freedom, enjoy the ride, and make unforgettable memories with your newfound electric skateboarding adventure!


