Introduction
A satellite dish is a common fixture on many rooftops, serving as a receiver for satellite television signals. However, if you’re looking to cut the cord and explore other options for TV programming, you may wonder if there’s a way to repurpose your satellite dish as a TV antenna. The good news is that it is indeed possible to transform your satellite dish into a TV antenna, allowing you to access over-the-air channels without the need for a satellite subscription.
By repurposing your satellite dish, you can tap into the abundance of free, high-definition television broadcasts available through local TV stations. This not only saves you money but also gives you the flexibility to enjoy a range of TV shows, news, sports, and more without having to rely on a satellite provider.
Before you get started, it’s important to understand the difference between a satellite dish and a TV antenna. While they both involve picking up signals, satellite dishes receive signals from satellites in space, while TV antennas capture signals that are broadcast over the air by local TV stations. By repurposing your satellite dish, you can convert it into a large and powerful TV antenna that can potentially capture signals from a greater distance and provide better reception.
In this guide, we’ll walk you through the steps to transform your satellite dish into a TV antenna. You’ll need some basic tools and materials, along with a bit of technical know-how, but the process is relatively straightforward. Let’s dive in and explore how to repurpose your satellite dish to enjoy free, over-the-air television channels.
Understanding Satellite Dishes and TV Antennas
Before we delve into the process of turning a satellite dish into a TV antenna, it’s important to have a basic understanding of how satellite dishes and TV antennas work.
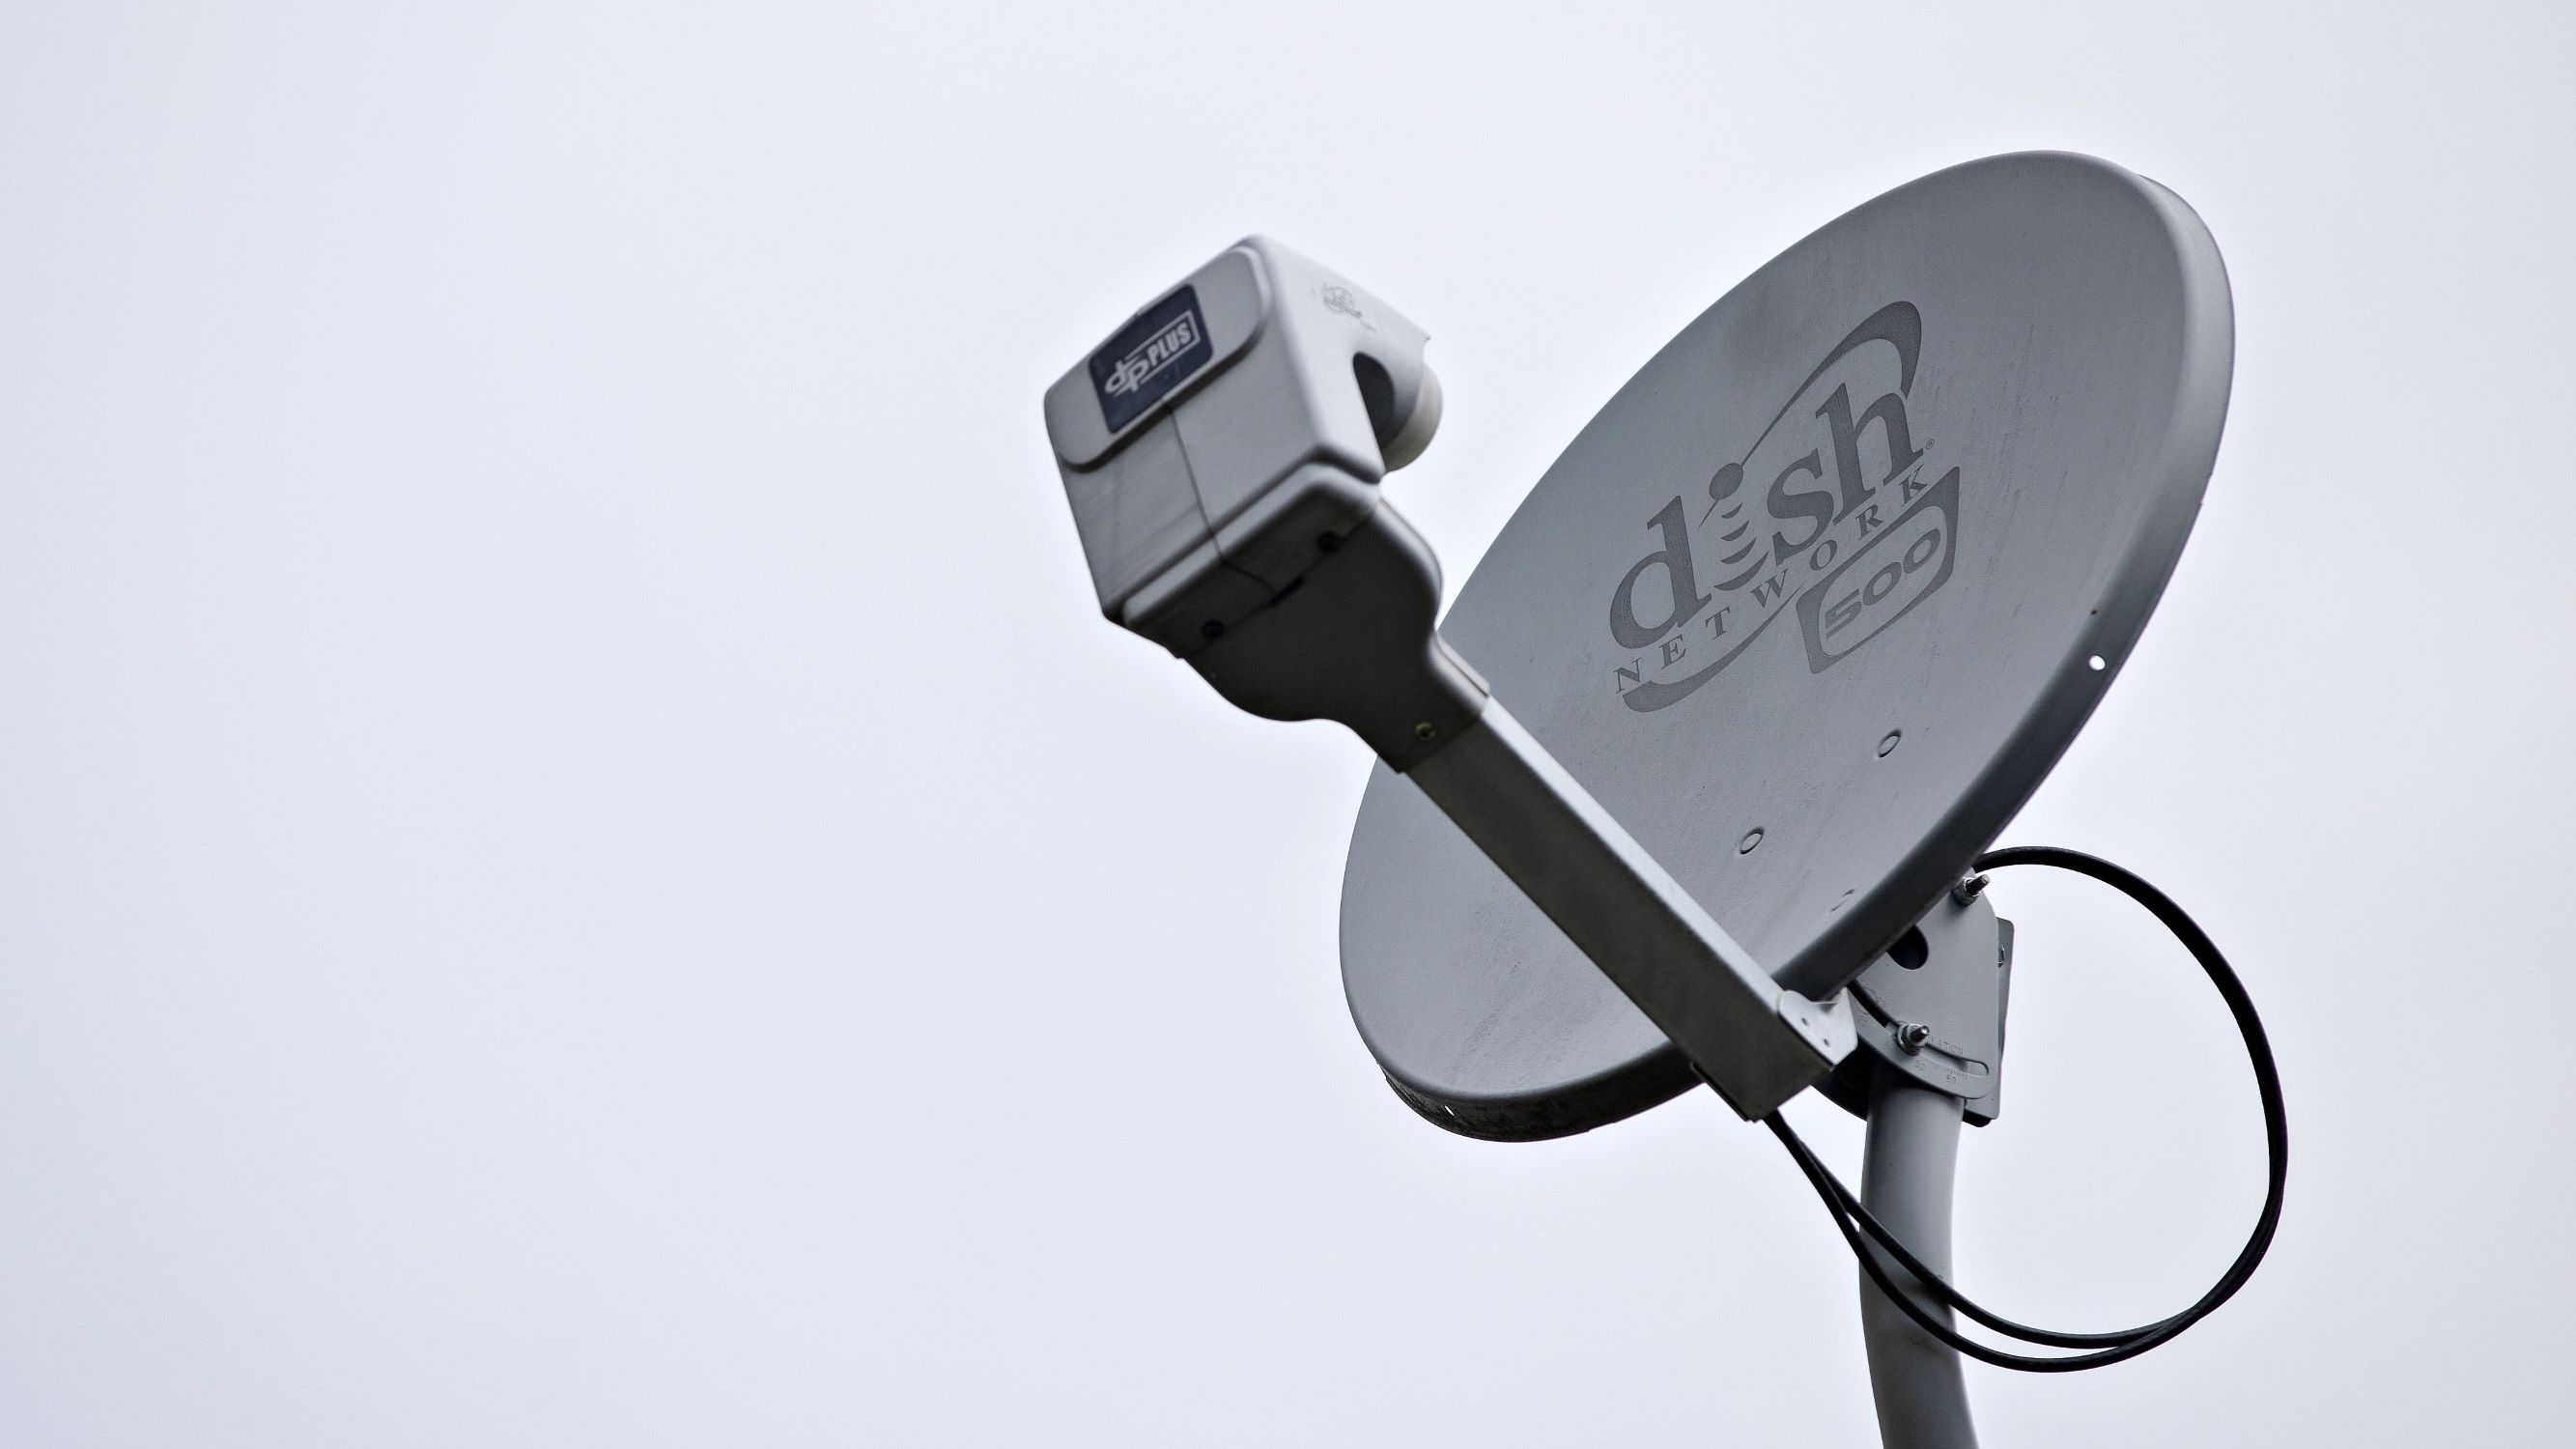
A satellite dish is designed to pick up signals from satellites in orbit and transmit them to a satellite receiver. These signals are encrypted and sent from television providers, allowing subscribers to access a variety of channels and programming. Satellite dishes are typically larger in size and require precise alignment to receive optimal signal strength.
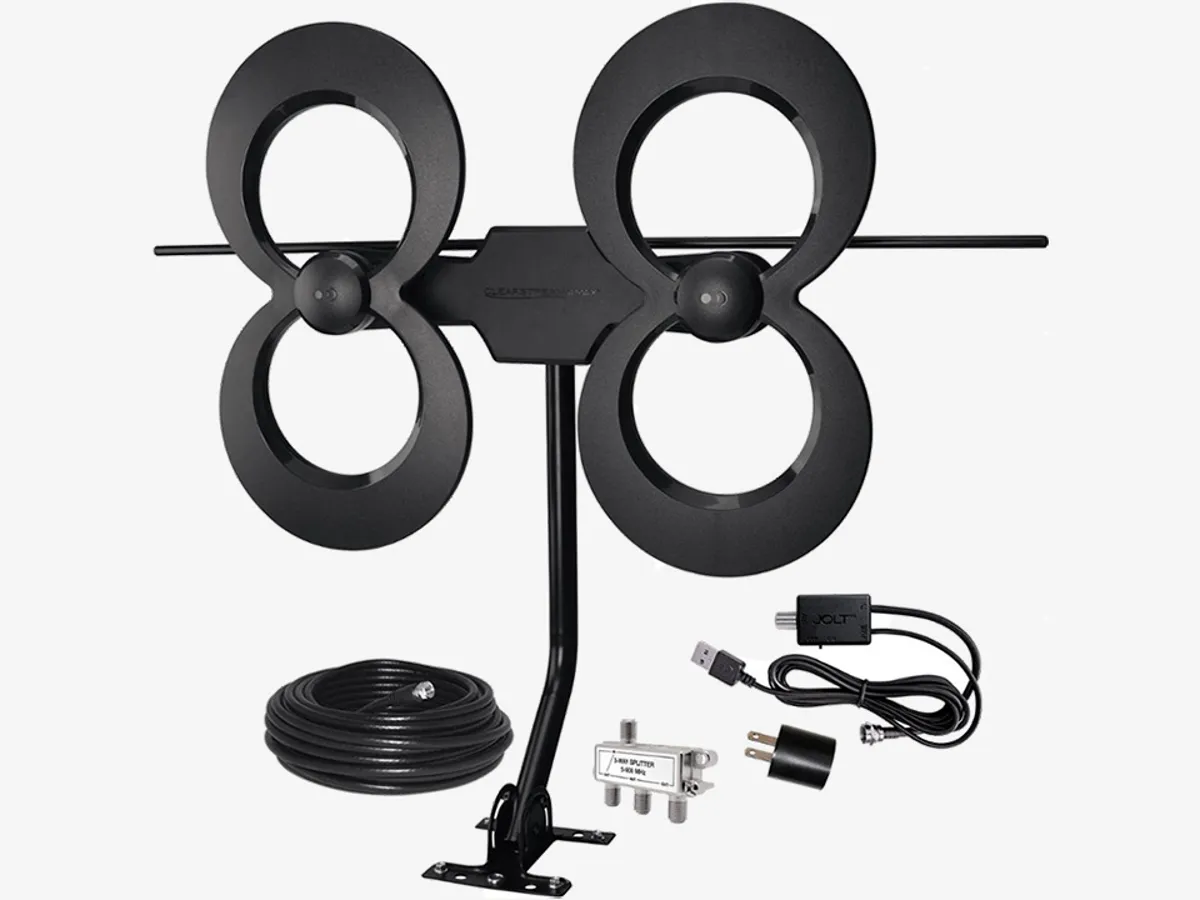
On the other hand, a TV antenna is designed to capture signals that are broadcast over the air by local TV stations. These signals are unencrypted and can be accessed for free, providing access to a wide range of over-the-air channels. TV antennas come in different types, such as rabbit ears or flat panel antennas, and their size and range can vary depending on the location and distance from the TV stations.
When repurposing a satellite dish as a TV antenna, we make use of its large size and precise alignment capabilities to capture over-the-air signals from a greater distance. This can be especially beneficial in areas with weak signal reception or when trying to access channels that are farther away from your location.
Keep in mind that while repurposing a satellite dish as a TV antenna can enhance signal reception, it may not work in all situations. Factors such as physical obstacles, distance from TV transmitters, and interference can still impact the quality of the signals you receive. However, with the right materials and proper installation, you can optimize your chances of receiving strong, reliable over-the-air channels.
Now that you have a better understanding of the differences between satellite dishes and TV antennas, as well as the benefits of repurposing a satellite dish, let’s move on to the materials needed and the step-by-step process of transforming your satellite dish into a TV antenna.
Materials Needed
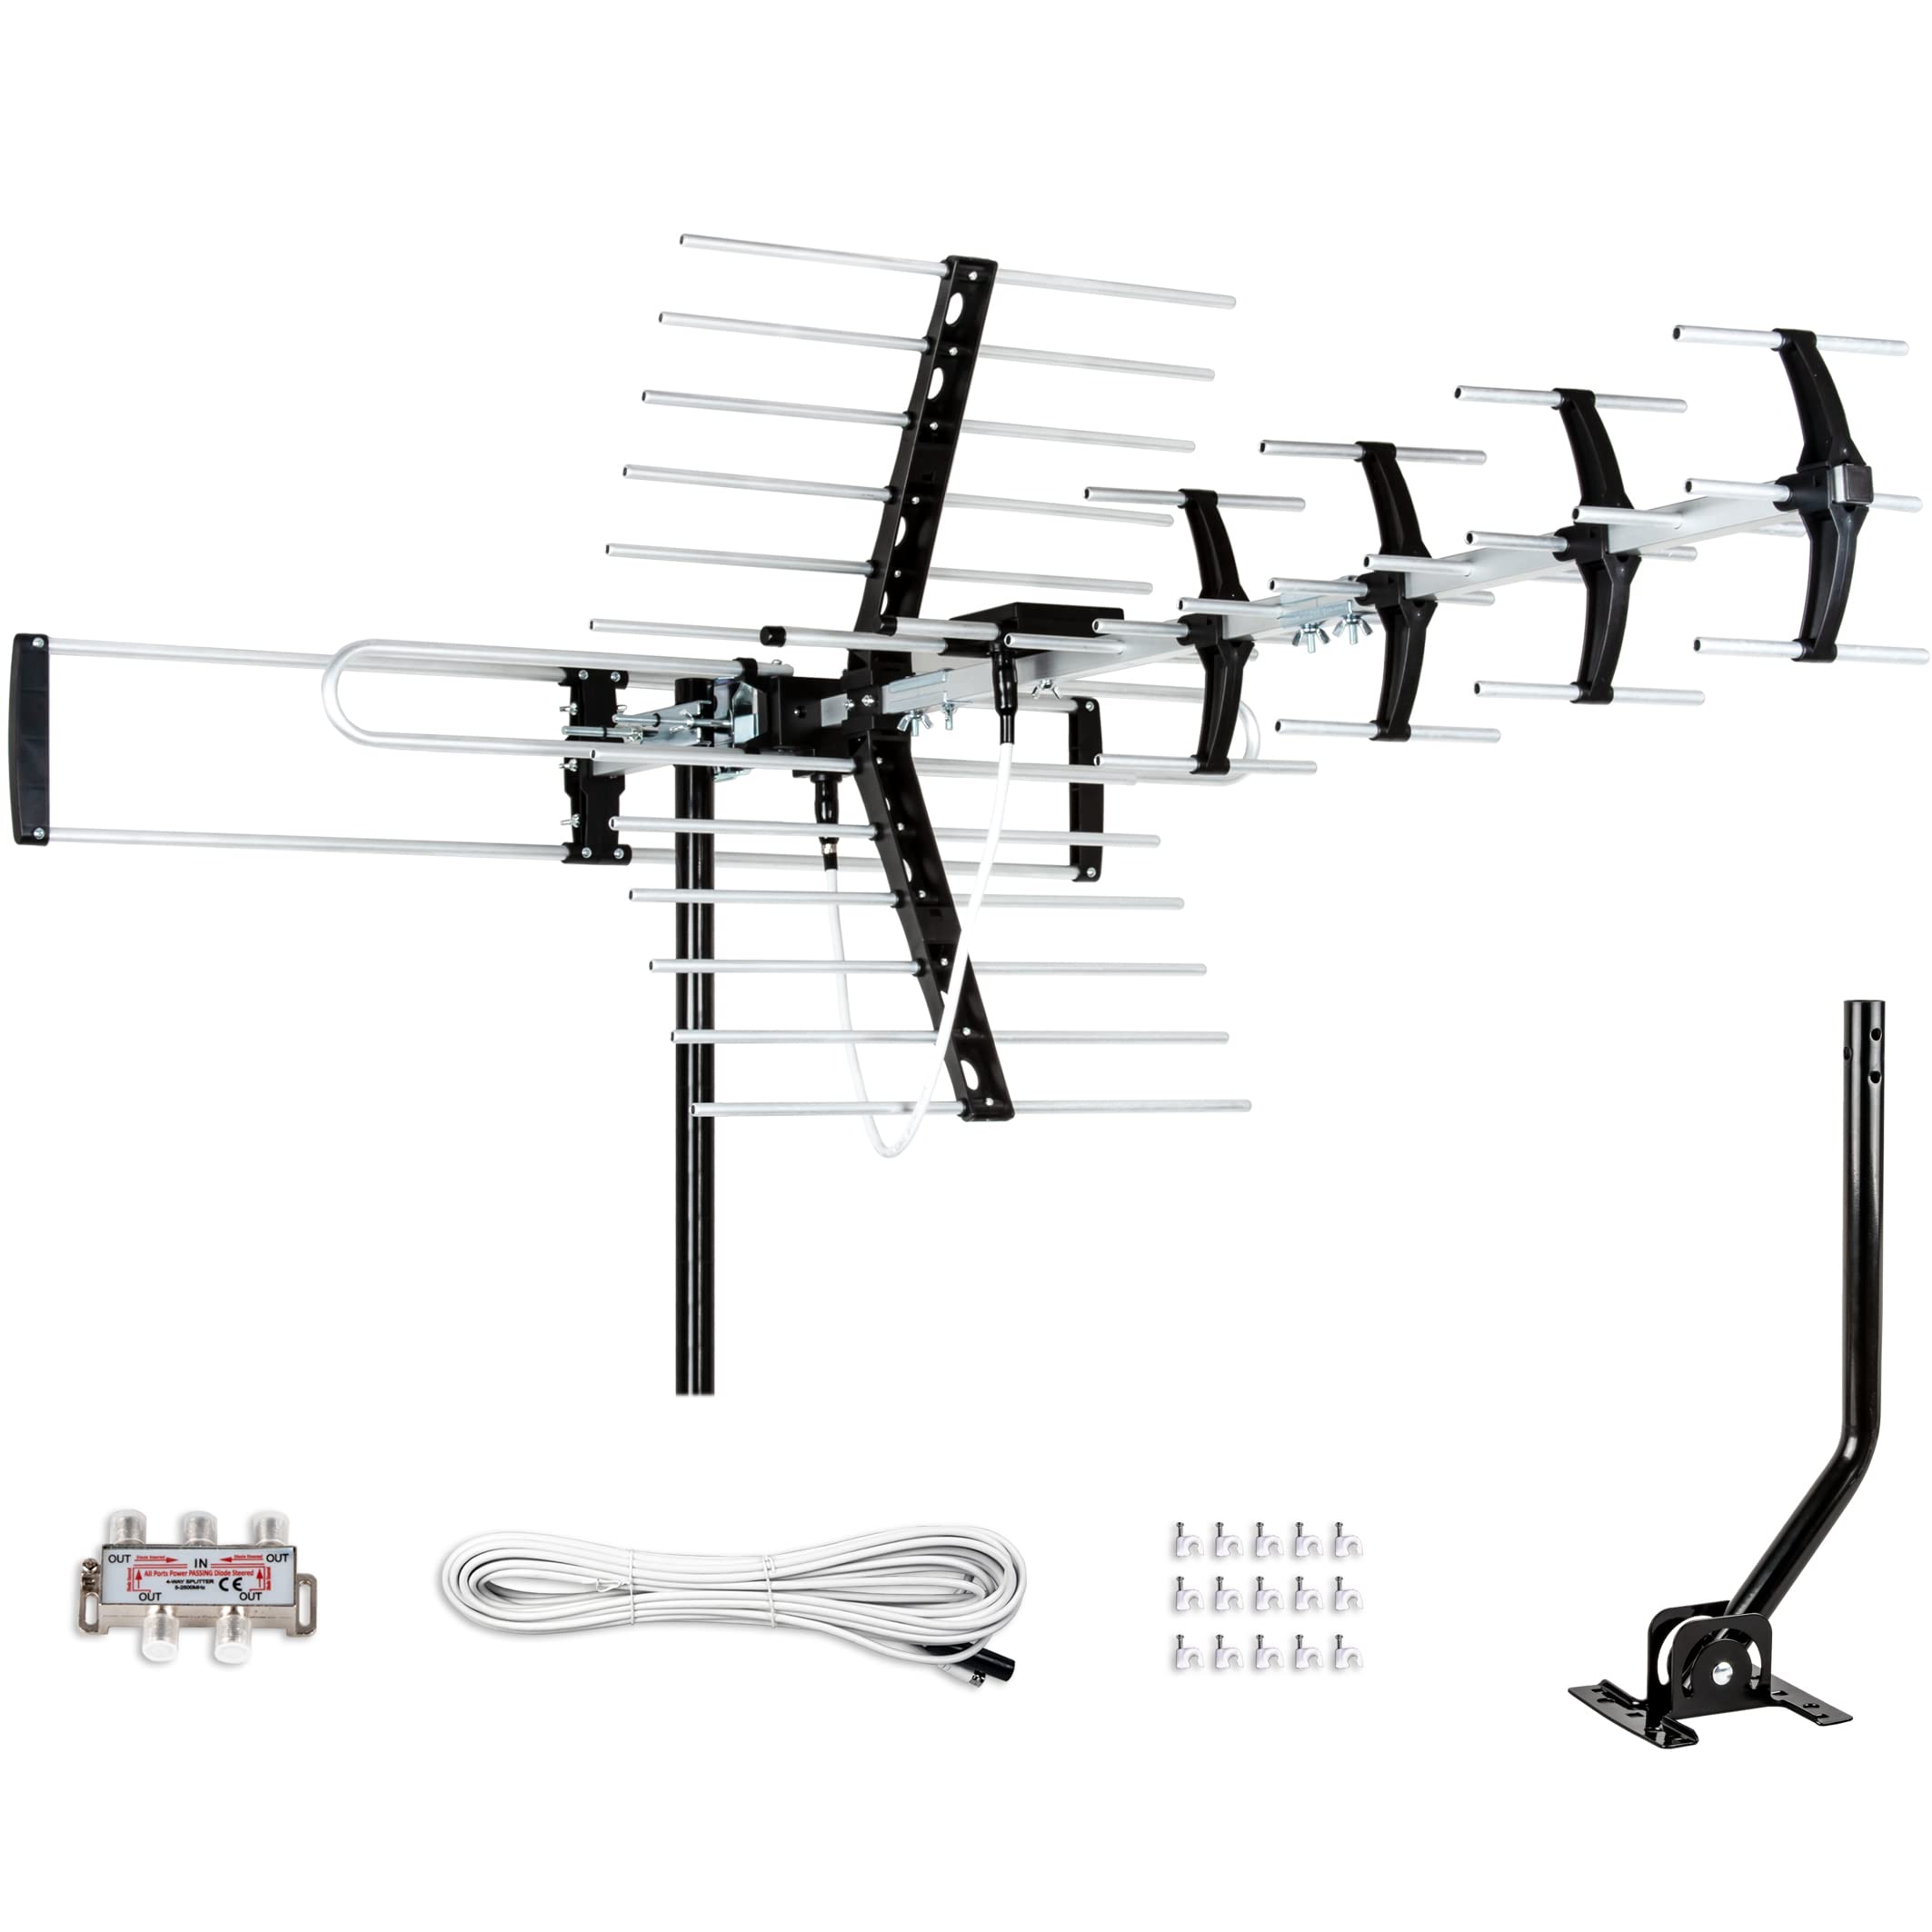
Before you can begin repurposing your satellite dish into a TV antenna, gather the following materials:
- A satellite dish: Use an old or unused satellite dish that is in good condition. Make sure it is structurally sound and free from any damage.
- Tools: You will need a wrench or pliers to remove the LNB (Low-Noise Block Downconverter) from the satellite dish.
- A balun: This is a device that converts the impedance of the coaxial cable to match the impedance of the TV antenna. It helps to improve the signal quality.
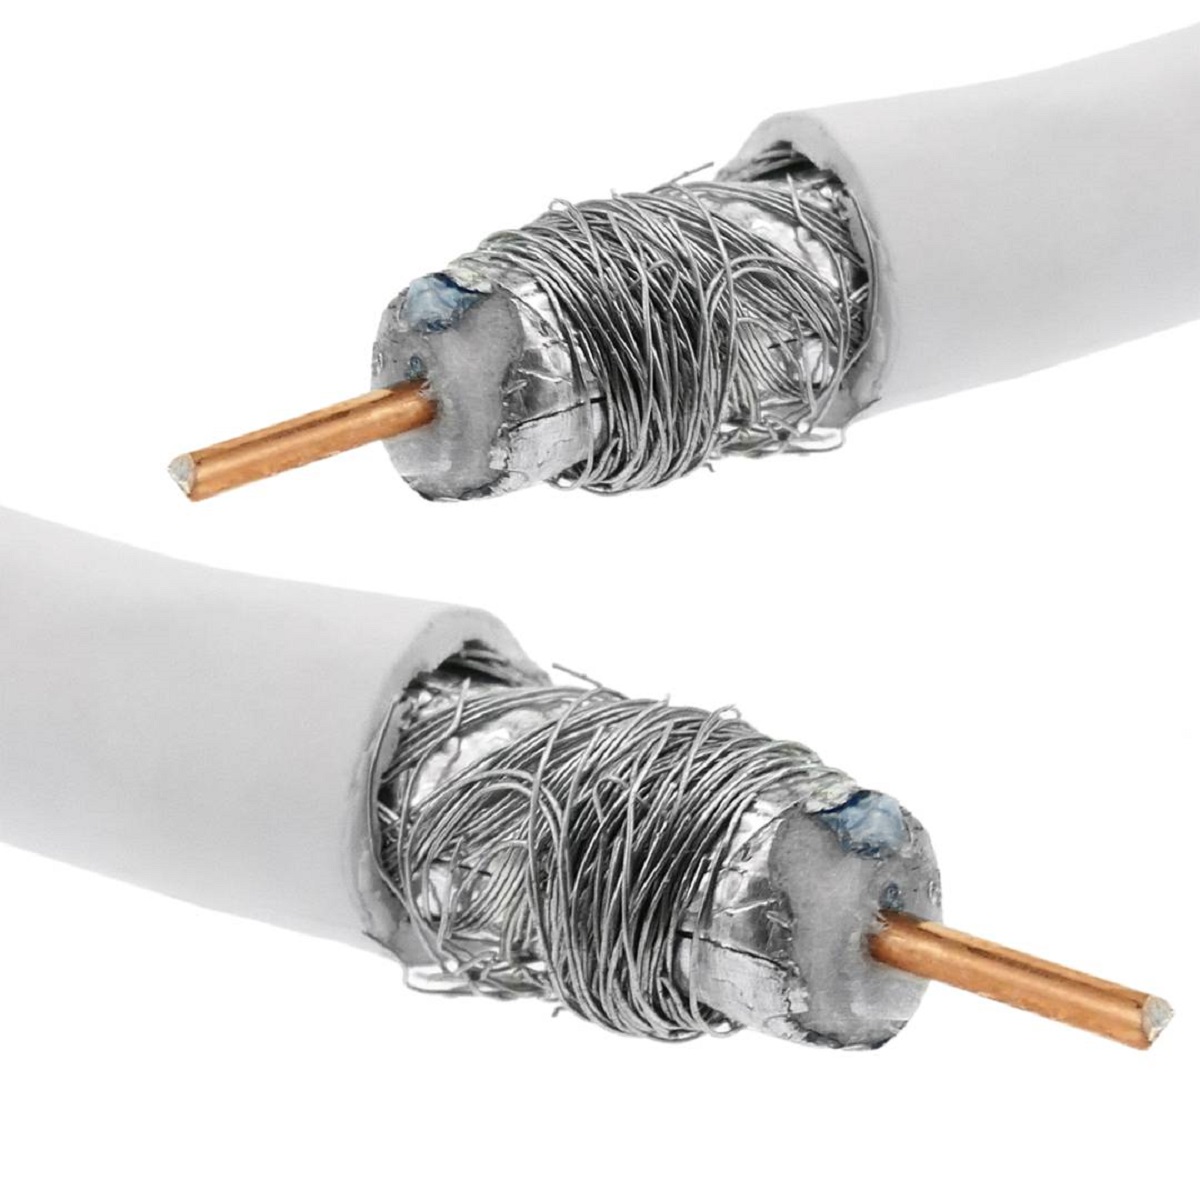
- Coaxial cable: Ensure you have a sufficient length of coaxial cable to connect the TV antenna to your TV. The length will depend on the distance between the TV and the satellite dish.
- Mounting hardware: Depending on your setup, you may need mounting brackets, screws, and other hardware to securely install the satellite dish in the desired location.
- Optional accessories: If you are dealing with weak signal reception, you may consider using a pre-amplifier or signal booster to amplify the TV signals.
By having these materials ready, you’ll be well-prepared to proceed with the process of converting your satellite dish into a TV antenna. Once you’ve gathered all the necessary items, you can move on to the first step: removing the LNB from the satellite dish.
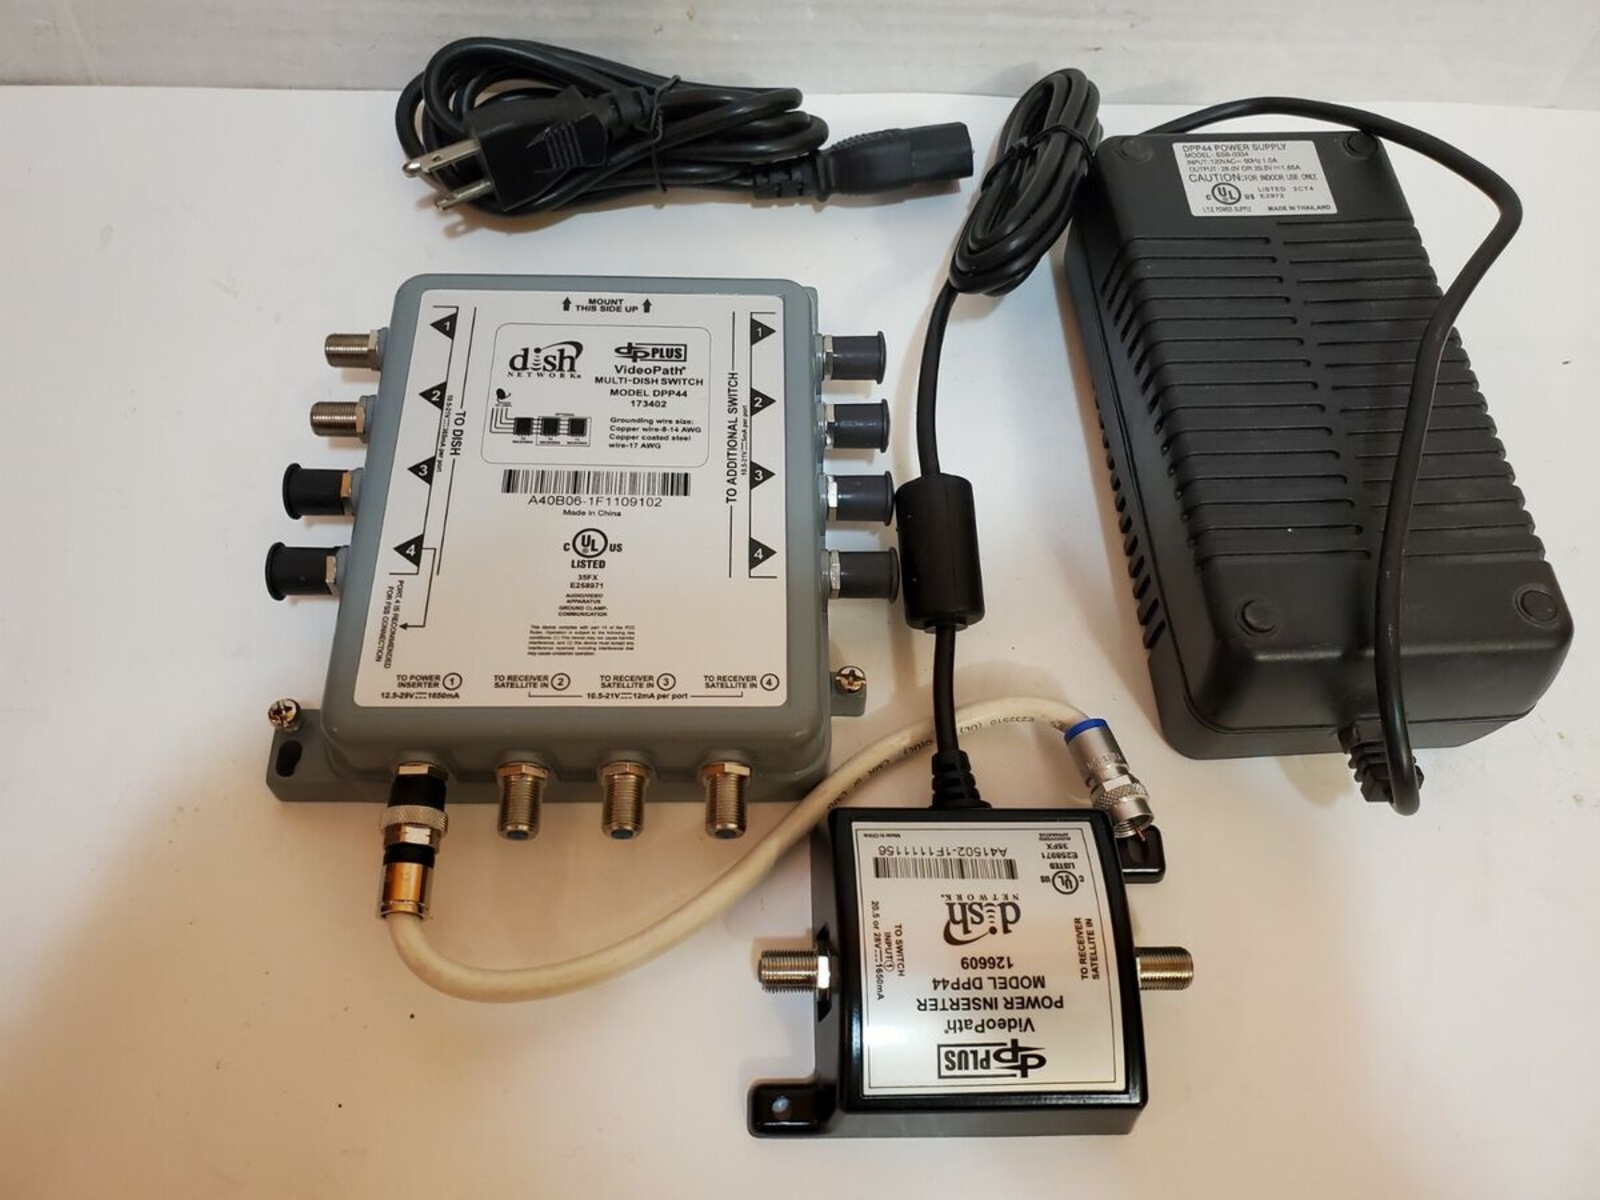
Step 1: Remove the LNB
The first step in repurposing your satellite dish as a TV antenna is to remove the LNB (Low-Noise Block Downconverter). The LNB is the device that receives the satellite signals and converts them into a format that can be transmitted to your satellite receiver.
To remove the LNB, follow these steps:
- Locate the LNB on the satellite dish. It is typically attached to the end of the arm extending from the center of the dish.
- Using a wrench or pliers, carefully loosen and remove any bolts or screws securing the LNB to the arm of the satellite dish.
- Gently disconnect the coaxial cable that is connected to the LNB. This cable is responsible for transmitting the satellite signals to your receiver.
- Once the LNB is detached from the satellite dish, set it aside for future use or discard it if you no longer need it.
Removing the LNB is an essential step in repurposing the satellite dish for use as a TV antenna. By removing the LNB, we eliminate the device that is specific to satellite signal reception and prepare the dish to capture over-the-air TV signals instead.
With the LNB removed, you’re now ready to move on to the next step: mounting the satellite dish in the desired location.
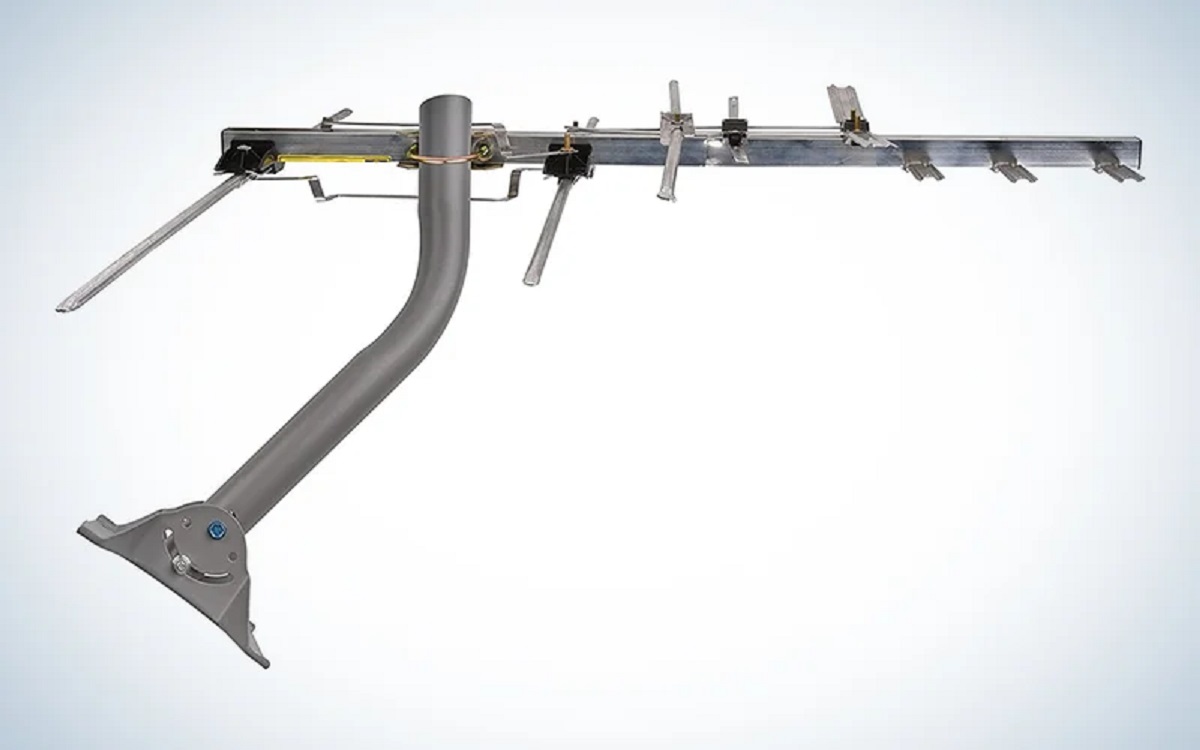
Step 2: Mount the Satellite Dish
Once you have successfully removed the LNB from the satellite dish, the next step is to mount the dish in the desired location. The mounting process will vary depending on where you plan to install the dish, such as on a rooftop, exterior wall, or a standalone pole.
Follow these steps to mount the satellite dish:
- Choose a location: Select a suitable location for mounting the satellite dish. Look for an area that has a clear line of sight to the sky and minimal obstructions, such as trees or buildings, that may interfere with signal reception.
- Secure the mounting brackets: Use appropriate mounting brackets and screws to securely attach the satellite dish to the chosen surface. Ensure that the dish is level and firmly anchored to prevent vibrations or movement.
- Aim the dish: Adjust the angle and direction of the satellite dish. You may refer to satellite dish alignment tools or consult online resources to determine the optimal pointing angle for your geographical location. Align the dish towards the nearest TV transmitter tower.
- Tighten all connections: Check all connections, including the mounting brackets and screws, to ensure they are properly tightened. This will help to maintain stability and ensure the satellite dish remains securely mounted.
Mounting the satellite dish correctly is crucial for optimal TV signal reception. A stable and accurately aligned dish will improve the chances of capturing strong over-the-air channels.
Once you have securely mounted the satellite dish, you can proceed to the next step: installing a balun.
Step 3: Install Balun
After mounting the satellite dish in the desired location, the next step in repurposing it as a TV antenna is to install a balun. The balun (short for balanced-unbalanced) is a device that helps match the impedance of the coaxial cable to that of the TV antenna. This enables the efficient transmission of signals and improves the overall performance of the TV antenna.
Follow these steps to install the balun:
- Locate the point where the coaxial cable will be connected to the satellite dish. This is usually at the back or side of the dish.
- Connect one end of the coaxial cable to the balun. The coaxial cable typically has a threaded connector that can be screwed onto the balun securely.
- Connect the other end of the coaxial cable to the connection point on the satellite dish. Ensure that it is firmly attached to guarantee a reliable connection.
- Position the balun close to the satellite dish, ensuring it is securely fastened and protected from the elements.
The installation of the balun is crucial in maintaining the integrity of the signal transmission and reception. It helps to eliminate impedance mismatches and signal loss, resulting in better overall performance of the repurposed satellite dish as a TV antenna.
With the balun installed, you’re ready to move on to the next step: connecting the coaxial cable.
Step 4: Connect the Coaxial Cable
Once the balun is securely installed, the next step in repurposing your satellite dish as a TV antenna is to connect the coaxial cable. The coaxial cable will be responsible for carrying the TV signals captured by the antenna to your television.
Follow these steps to connect the coaxial cable:
- Locate the connection point on your TV or TV tuner where the coaxial cable will be connected. This is typically labeled as “RF In” or “Antenna In”.
- Attach the other end of the coaxial cable, which is connected to the balun, to the RF In or Antenna In port on your TV or TV tuner. Make sure it is securely fastened to ensure a stable connection.
- Perform a quick visual check to ensure that all connections are properly made and tightened.
Connecting the coaxial cable is a crucial step in the process as it establishes the direct link between the repurposed satellite dish and your TV. This connection allows the TV to receive the over-the-air signals captured by the dish and display them on your screen.
With the coaxial cable securely connected, you’re ready to move on to the next step: positioning and aligning the dish for optimal reception.
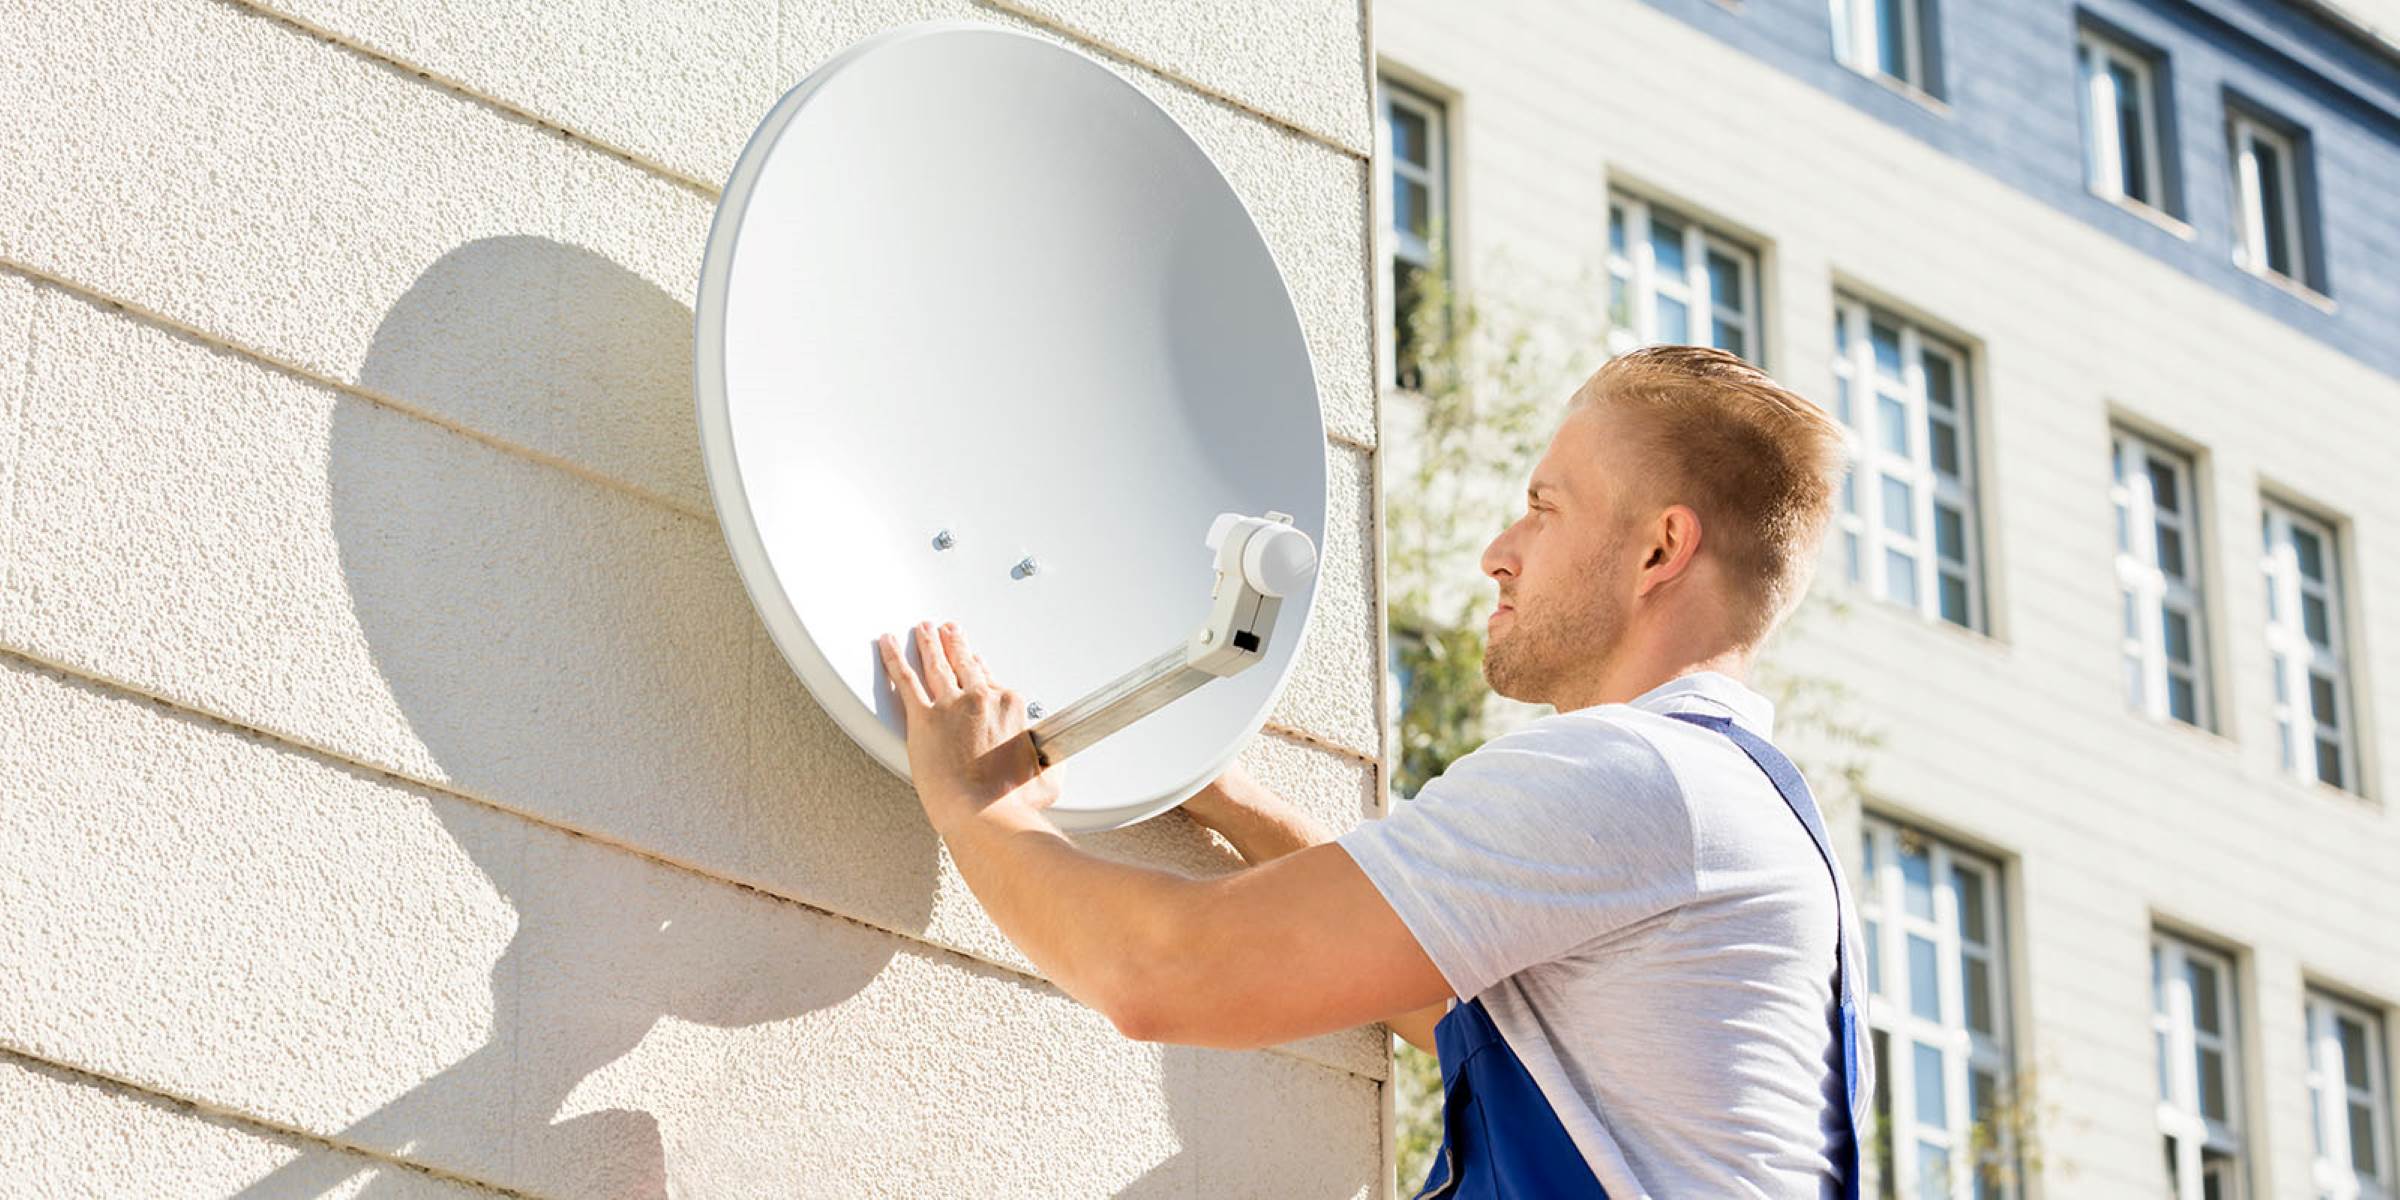
Step 5: Position and Align the Dish
After connecting the coaxial cable, the next step in repurposing your satellite dish as a TV antenna is to position and align the dish for optimal signal reception. Proper positioning and alignment are crucial in ensuring the best possible reception of over-the-air TV channels.
Follow these steps to position and align the dish:
- Refer to an online TV signal coverage map or use a TV signal strength meter to determine the direction of the nearest TV transmitter tower.
- Adjust the azimuth angle of the satellite dish to point it in the direction of the transmitter tower. The azimuth angle refers to the left or right rotation of the dish when viewed from the front.
- Adjust the elevation angle of the satellite dish to achieve the correct vertical tilt. The elevation angle refers to the up or down tilt of the dish when viewed from the side.
- Make small adjustments to the azimuth and elevation angles while periodically checking the signal strength on your TV or TV tuner. Aim for the highest signal strength possible.
- Secure the dish in its final position once you have achieved the optimal signal reception. Use the mounting brackets and screws to ensure it remains stable.
Take your time during this step to find the best possible position and alignment for your repurposed satellite dish. Slight adjustments can make a significant difference in signal strength and reception quality.
Once the dish is properly positioned and aligned, you’re ready for the final step: scanning for channels on your TV or TV tuner.
Step 6: Scan for Channels
With the repurposed satellite dish positioned and aligned, the final step is to scan for channels on your TV or TV tuner. This process will allow your device to detect and store all available over-the-air channels that can be received by the dish.
Follow these steps to scan for channels:
- On your TV or TV tuner remote, access the menu or settings options.
- Look for the channel scan or auto-tune feature and select it.
- Choose the “Antenna” or “Air” option to scan for over-the-air channels.
- Start the scan process and wait for your device to search and detect the available channels.
- Once the scan is complete, review the list of channels that were found.
During the channel scan, your TV or TV tuner will search for signals received by the repurposed satellite dish. It will identify and store the available over-the-air channels in its memory, allowing you to easily access them for future viewing.
After the scan is complete, you can explore the newly discovered channels and enjoy a wide range of free, over-the-air programming without the need for a satellite subscription.
Congratulations! You have successfully repurposed your satellite dish into a TV antenna, giving you access to a variety of over-the-air channels.
Conclusion
Repurposing a satellite dish into a TV antenna can provide you with access to free, over-the-air channels and allow you to cut the cord with your satellite provider. By following the steps outlined in this guide, you can transform your satellite dish into a powerful TV antenna and enjoy a wide range of programming without the monthly subscription fees.
Throughout the process, it’s important to keep in mind that the success of your repurposed TV antenna depends on various factors such as your location, the distance to TV transmitter towers, and the presence of any obstructions that may affect signal reception. While you may encounter some challenges along the way, with careful positioning, alignment, and the use of additional accessories like signal boosters, you can maximize your chances of capturing strong over-the-air channels.
Remember to perform periodic checks and adjustments to ensure the continued performance of your repurposed TV antenna. Space weather conditions or changes in your surroundings may require occasional realignment to maintain optimal signal reception.
By repurposing your satellite dish, you not only save money but also gain the flexibility to explore a range of over-the-air channels. From local news and sports to popular TV shows and movies, you can enjoy a diverse selection of programming at no additional cost.
We hope this guide has been helpful in guiding you through the process of repurposing your satellite dish into a TV antenna. Start enjoying the benefits and freedom of over-the-air programming today!