Introduction
Transferring photos from your tablet to your computer is a common task that many tablet owners need to do. Whether you want to free up space on your tablet or simply want to have a larger screen to view and edit your photos, transferring them to your computer is a convenient solution. Fortunately, the process of transferring photos from your tablet to your computer is straightforward and can be done in just a few simple steps.
In this article, we will guide you through the process of transferring photos from your tablet to your computer. We will provide you with step-by-step instructions to ensure a smooth and hassle-free experience. By following these steps, you’ll be able to quickly and easily transfer your photos to your computer for safekeeping, editing, or sharing with others.
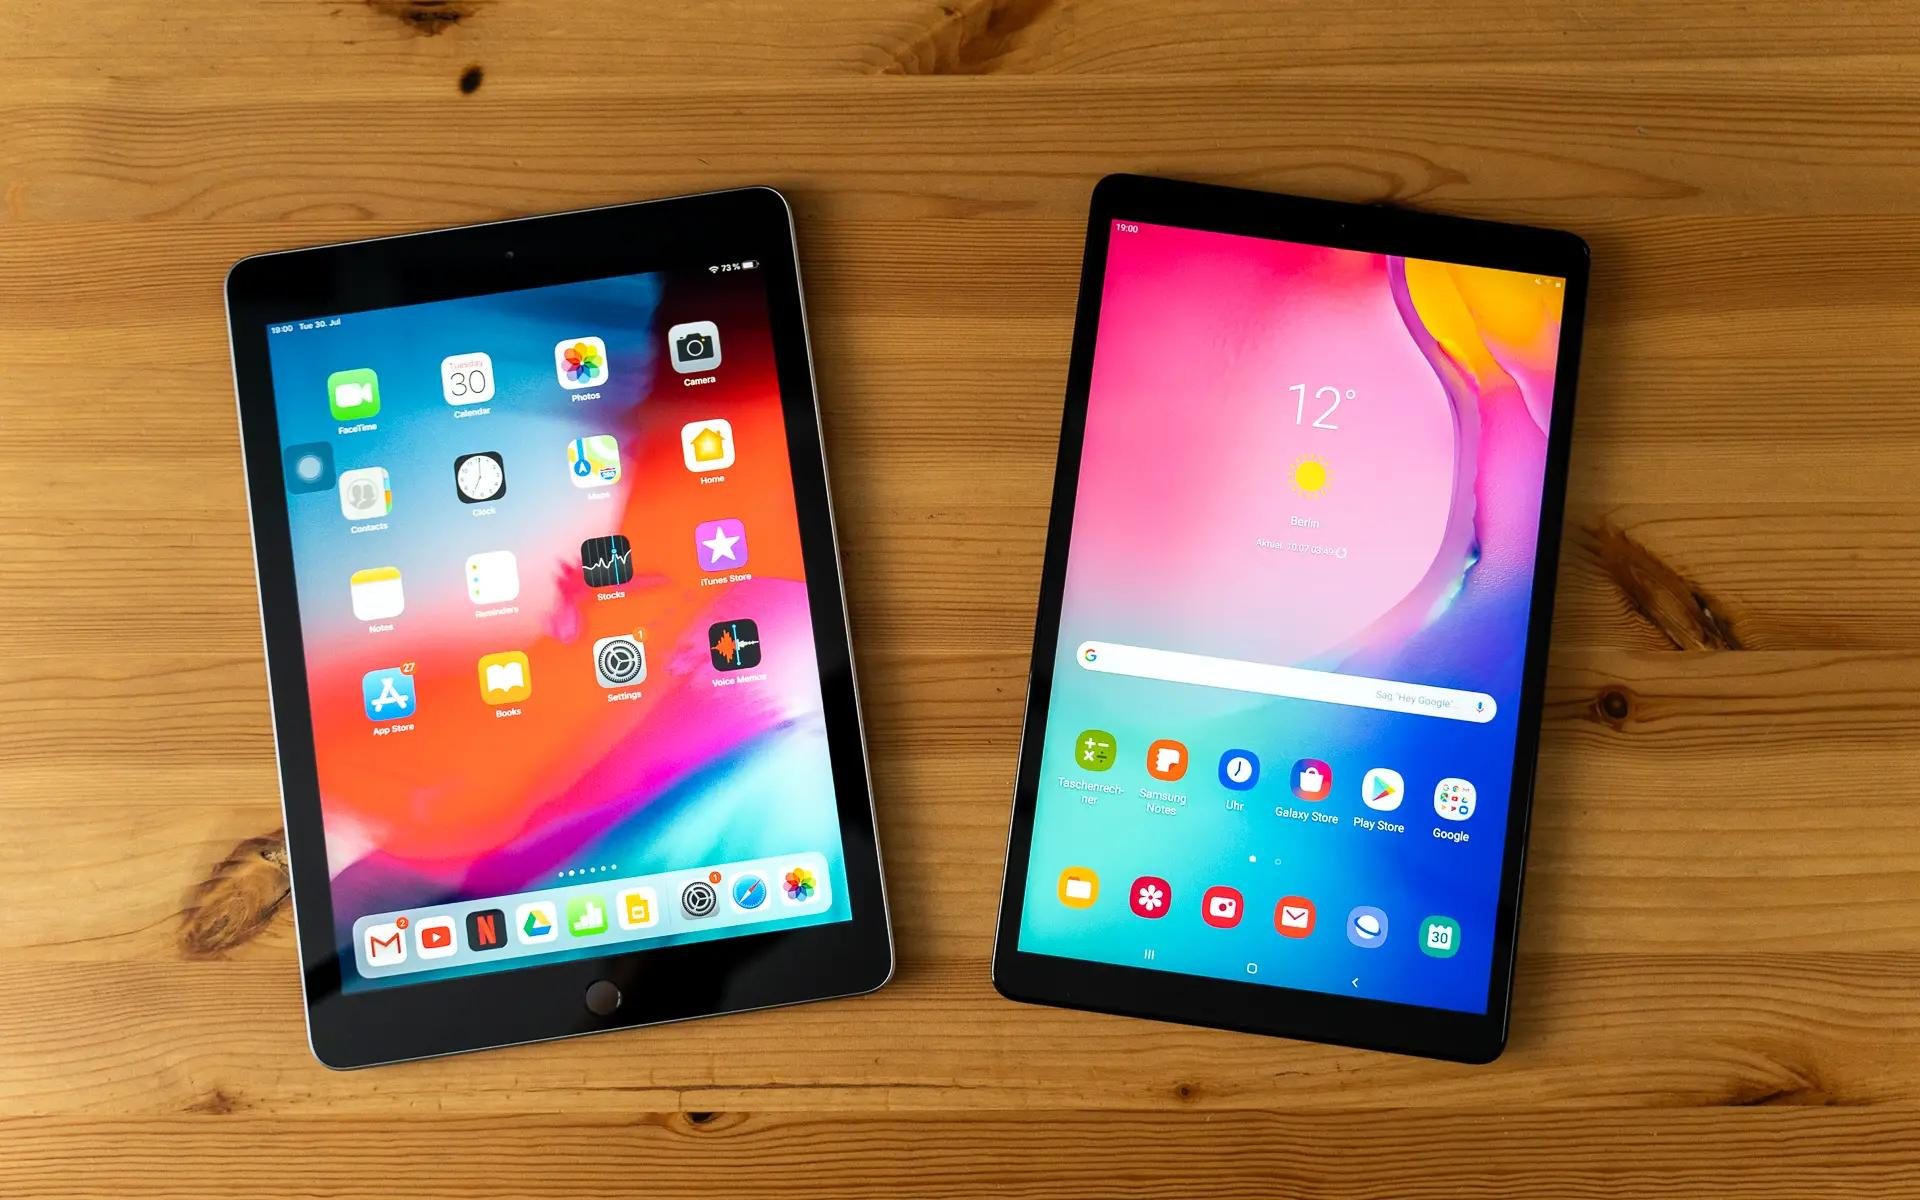
Whether you’re using an Android, iOS, or Windows tablet, the process is relatively similar. The main difference lies in the specific software and settings unique to each platform. Rest assured, we will cover the methods for all major tablet platforms, so regardless of the device you have, you’ll be able to follow along and transfer your photos with ease.
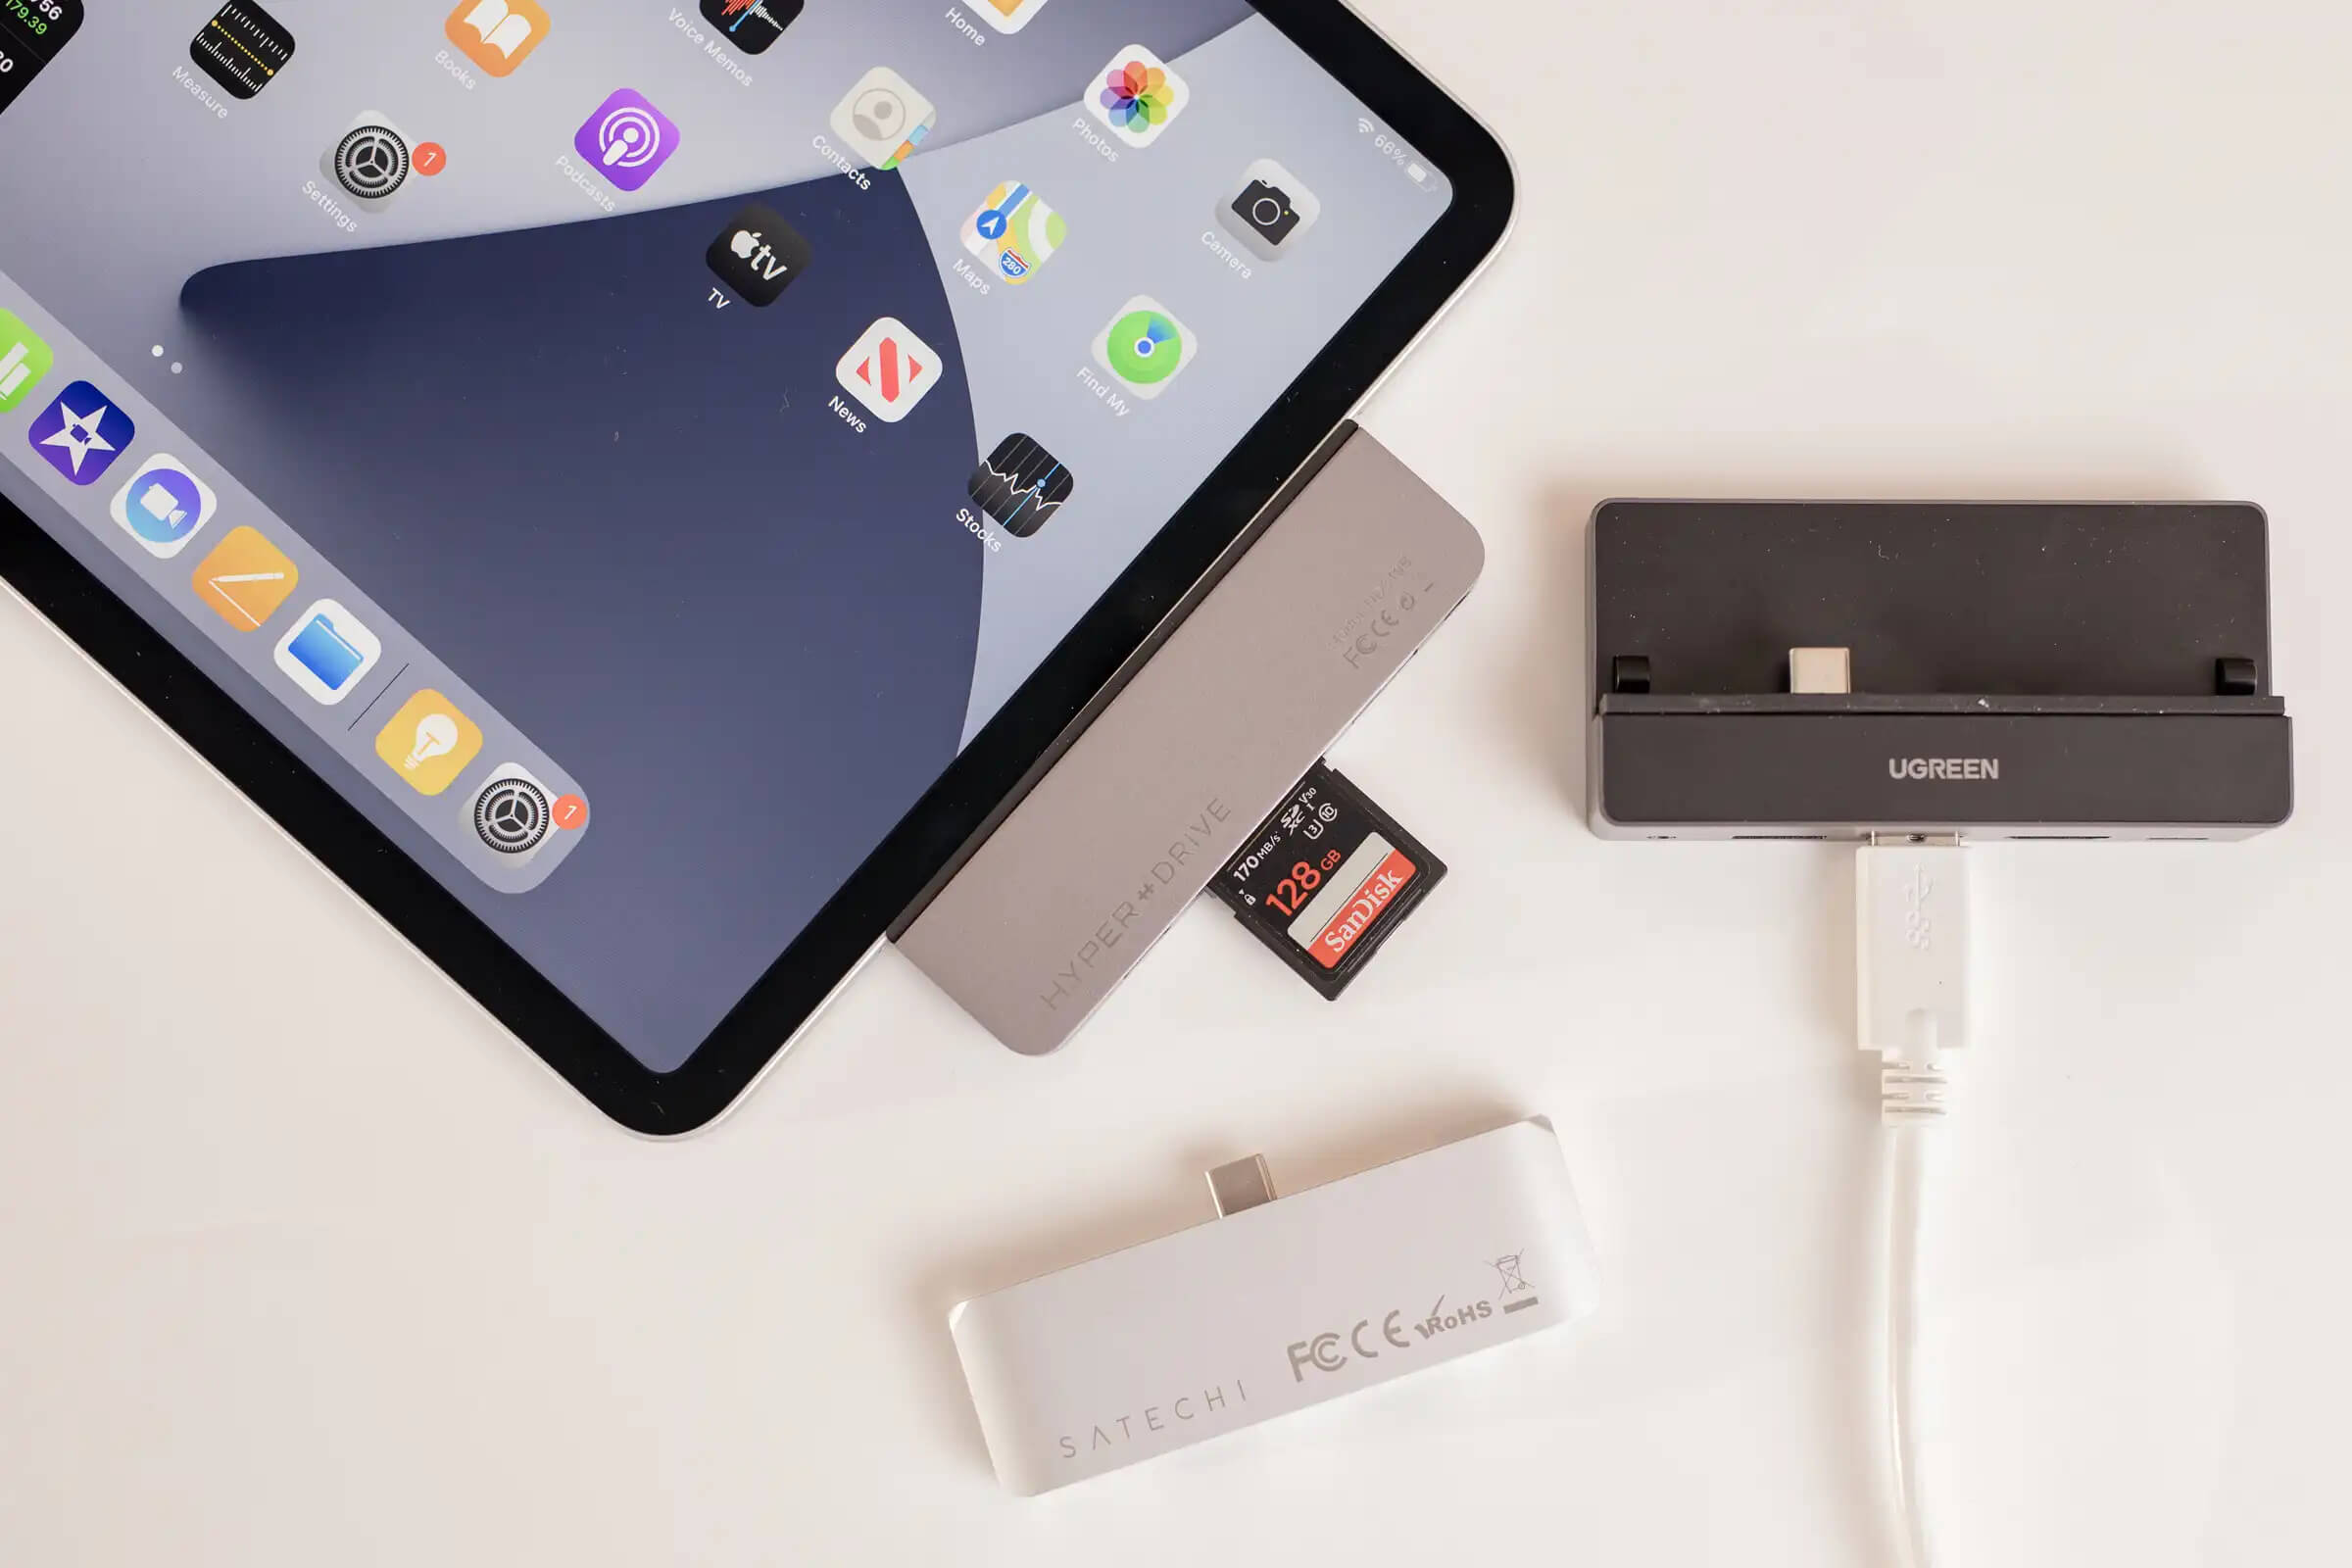
Before we dive into the step-by-step instructions, make sure you have a USB cable or a wireless connection available to connect your tablet to your computer. Depending on the type of tablet you have, you may need a specific USB cable or accessory, such as a lightning cable for iOS devices or a USB-C cable for newer Android devices. Once you have the necessary cables and connections ready, let’s get started with the first step of the process.
Step 1: Connect your tablet to your computer
The first step in transferring photos from your tablet to your computer is to establish a physical connection between the two devices. This can be done through a USB cable or wirelessly, depending on the capabilities of your tablet and computer.
If you prefer a wired connection, locate the appropriate USB cable for your tablet and connect one end to the USB port on your tablet, and the other end to an available USB port on your computer. Make sure both devices are powered on and unlocked before proceeding.
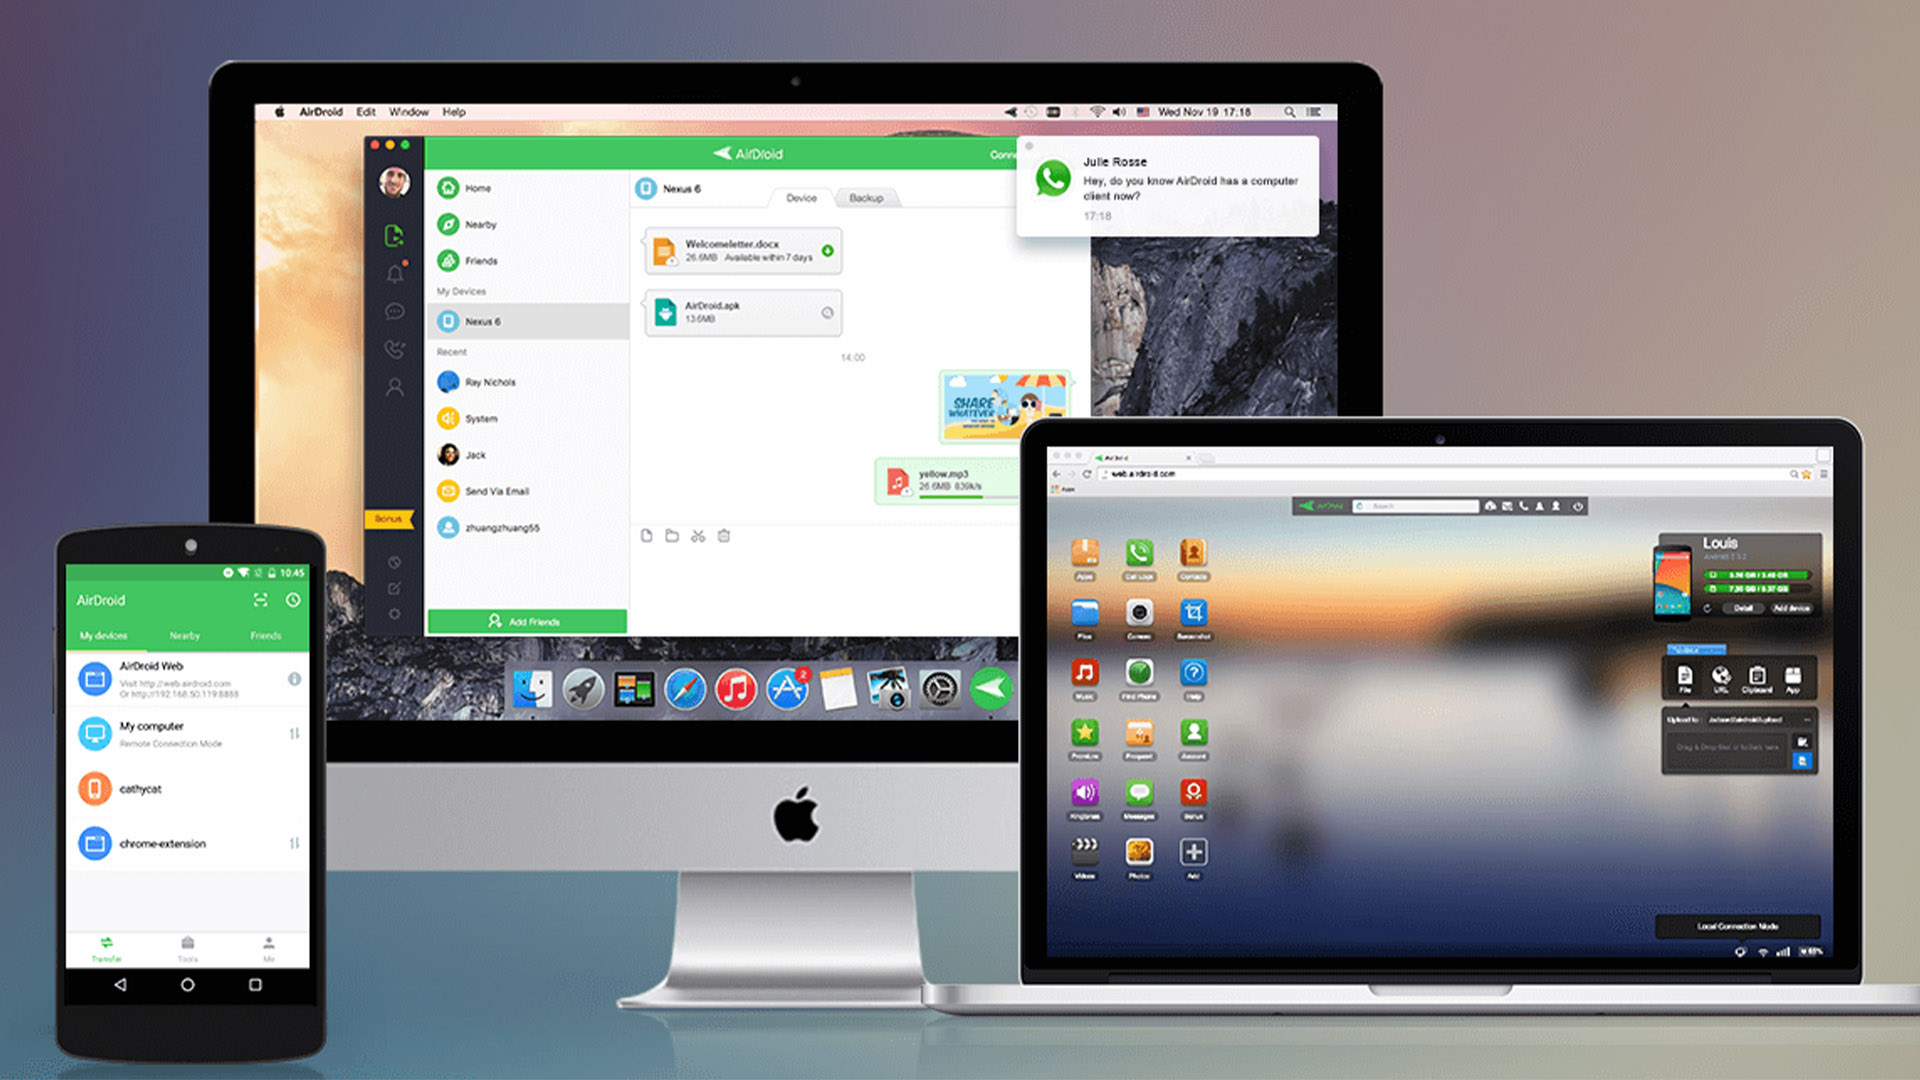
If your tablet and computer support wireless connectivity, ensure that both devices are connected to the same Wi-Fi network. On your tablet, navigate to the Settings menu and find the option for Wi-Fi. Tap on the network name to connect, and verify that the connection is successful. On your computer, open the Wi-Fi settings and make sure it is connected to the same network as your tablet.
Regardless of the connection method you choose, it may take a few moments for your tablet and computer to recognize each other. Be patient and allow them some time to establish a stable connection.
Once the physical or wireless connection is established, your tablet and computer should be ready to communicate with each other. Now, it’s time to proceed to the next step in transferring your photos.
Step 2: Open the File Manager on your tablet
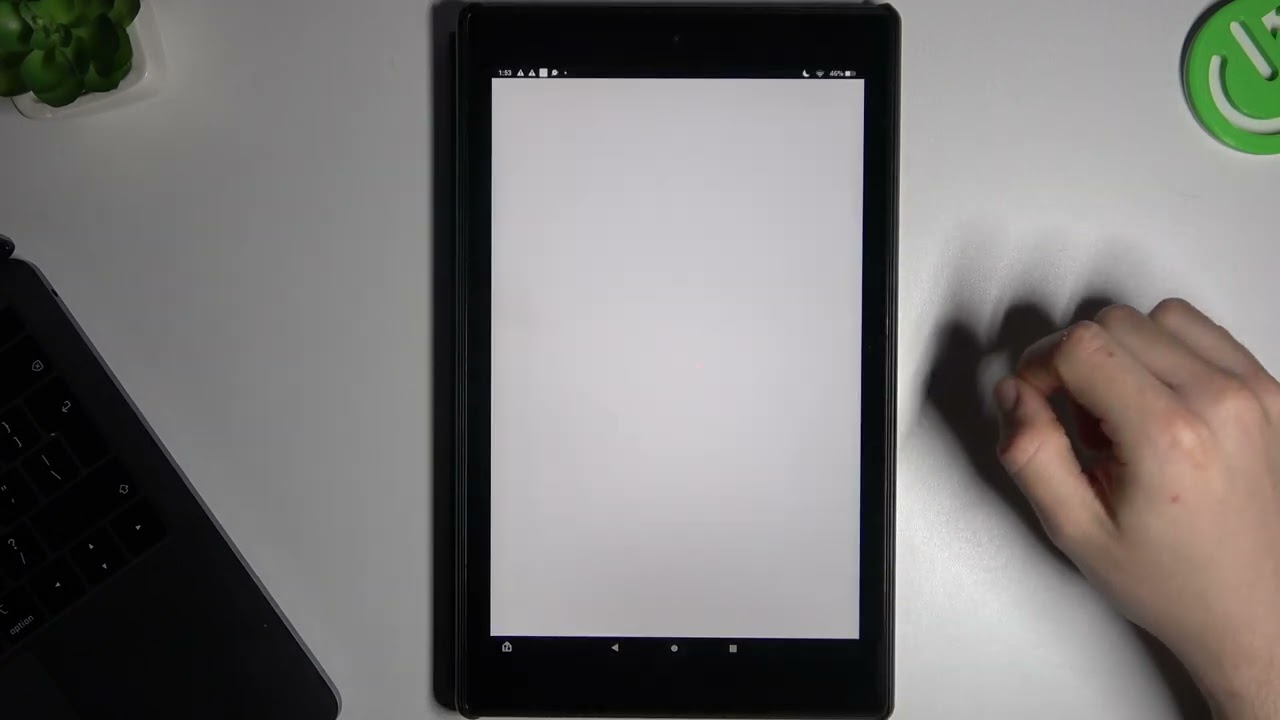
After successfully connecting your tablet to your computer, the next step is to open the File Manager on your tablet. The File Manager is an application that allows you to navigate and manage files stored on your device.
The method to open the File Manager may vary depending on the tablet’s operating system. For Android devices, look for an app labeled “File Manager” or “My Files” in your app drawer or home screen. Tap on the icon to launch the File Manager.
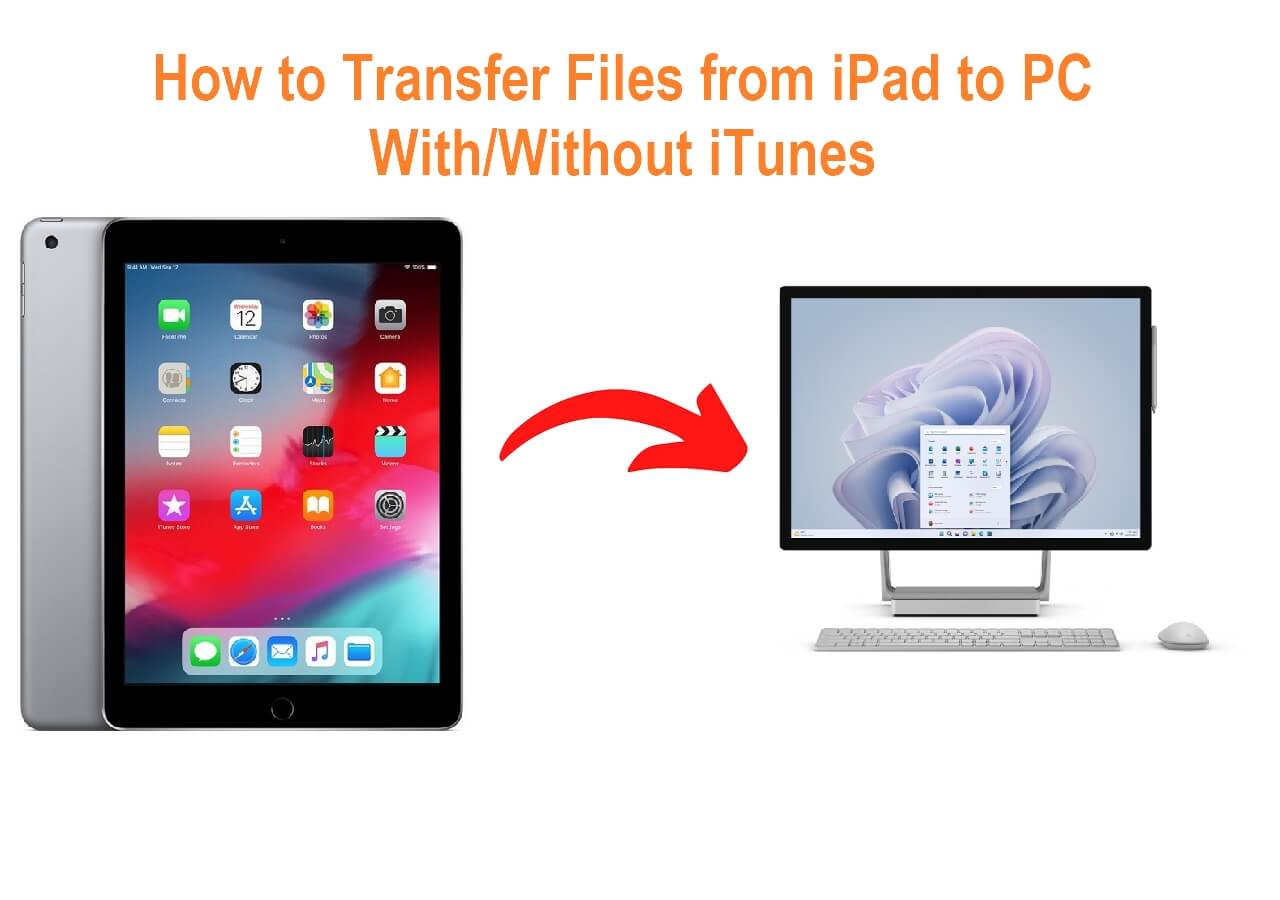
If you’re using an iOS device, the File Manager is called “Files” and can be found on your home screen or in the app library. Tap on the “Files” app to open it.
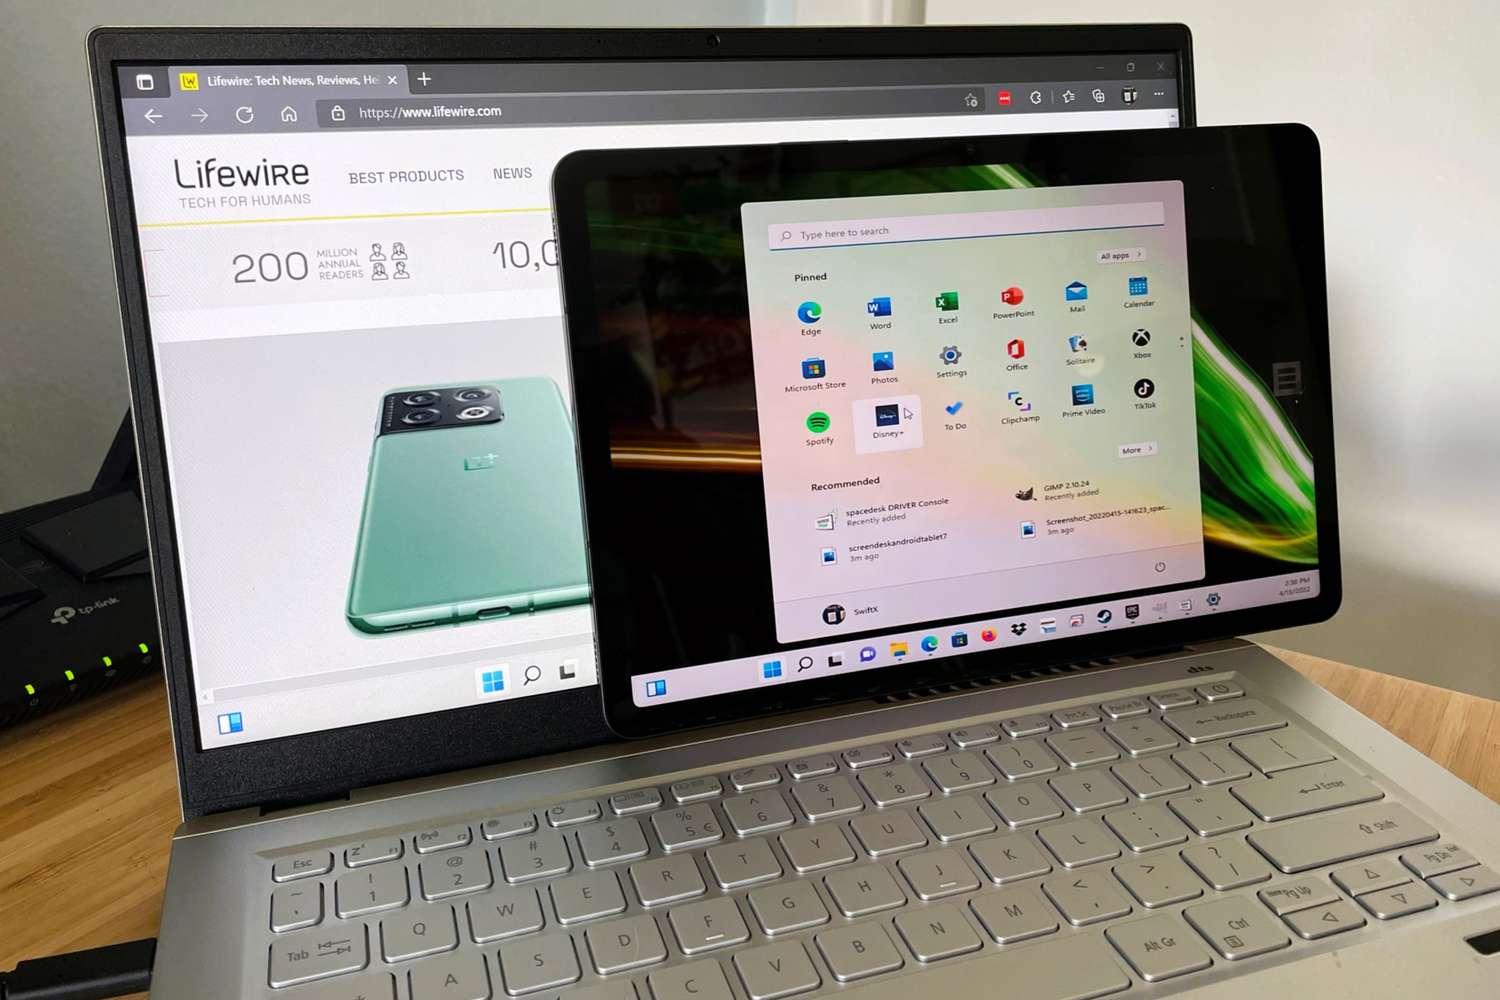
For Windows tablets, the built-in File Explorer serves as the File Manager. You can access it by clicking on the folder-shaped icon located on the taskbar at the bottom of the screen.
Once you have opened the File Manager on your tablet, you’ll be presented with a user interface that displays the files and folders stored on your device. Take a moment to familiarize yourself with the layout and navigation options.
Now that you have successfully opened the File Manager on your tablet, you are ready to proceed to the next step and locate the photos you want to transfer.
Step 3: Locate the photos you want to transfer
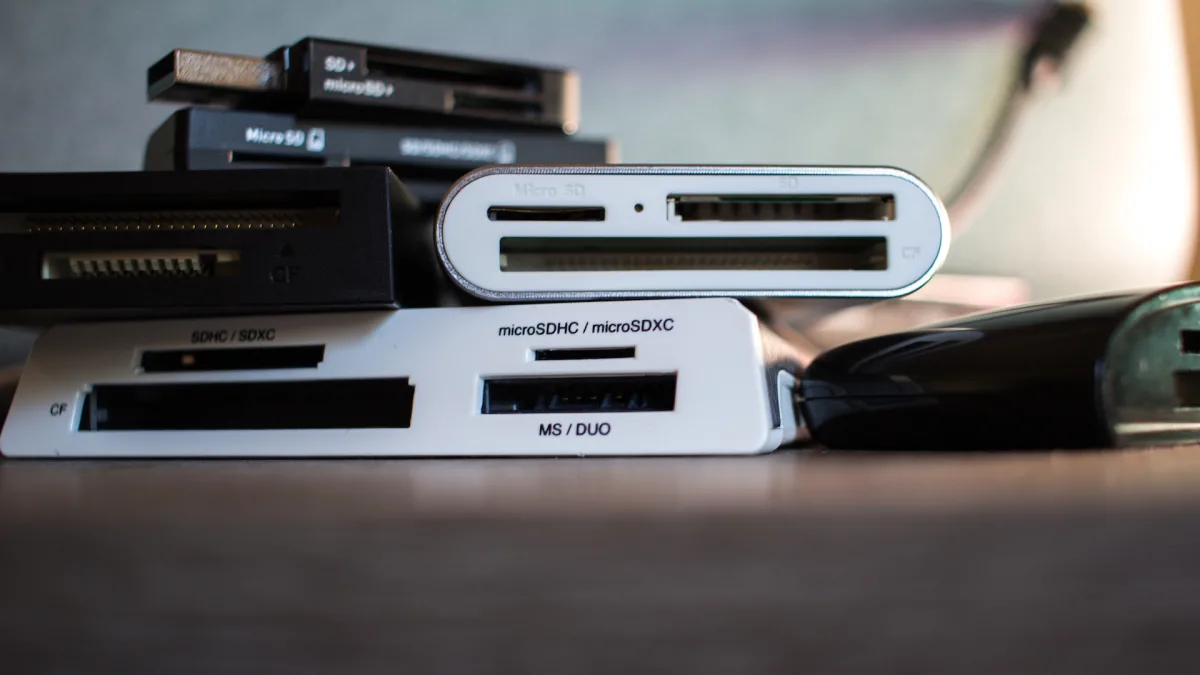
With the File Manager open on your tablet, it’s time to locate the photos that you want to transfer to your computer. The exact location of the photos may differ depending on the device and how you have organized your files.
In the File Manager, you will typically see a list of folders or directories. If you have stored your photos in a specific folder, navigate to that folder by tapping on it. If your photos are scattered across multiple folders, you may need to explore each folder individually to find the desired photos.
Most devices have a default folder where photos taken with the device’s camera are stored. Look for a folder named “DCIM” or “Camera” as these are commonly used for storing camera photos. You may also find other folders where screenshots, downloaded images, or saved images from apps are stored.
Once you have located the folder containing the photos you want to transfer, tap on it to open it. You will now see a list of the photo files in that folder, along with any subfolders if applicable. Take your time to browse through the files and identify the specific photos you wish to transfer.
If you are having difficulty locating the photos or if you have stored them in a different location, consider using the search functionality within the File Manager. Look for a search icon or a search bar in the top or side menu of the File Manager. Enter keywords or file extensions related to your photos and initiate the search. The File Manager will then display any matching results, making it easier for you to locate the desired photos.
Once you have found the photos you want to transfer, proceed to the next step to select them for the transfer process.
Step 4: Select the photos you want to transfer
Now that you have located the photos you want to transfer, it’s time to select them for the transfer process. Depending on your tablet’s operating system and File Manager, there are a few different ways you can select multiple photos at once.
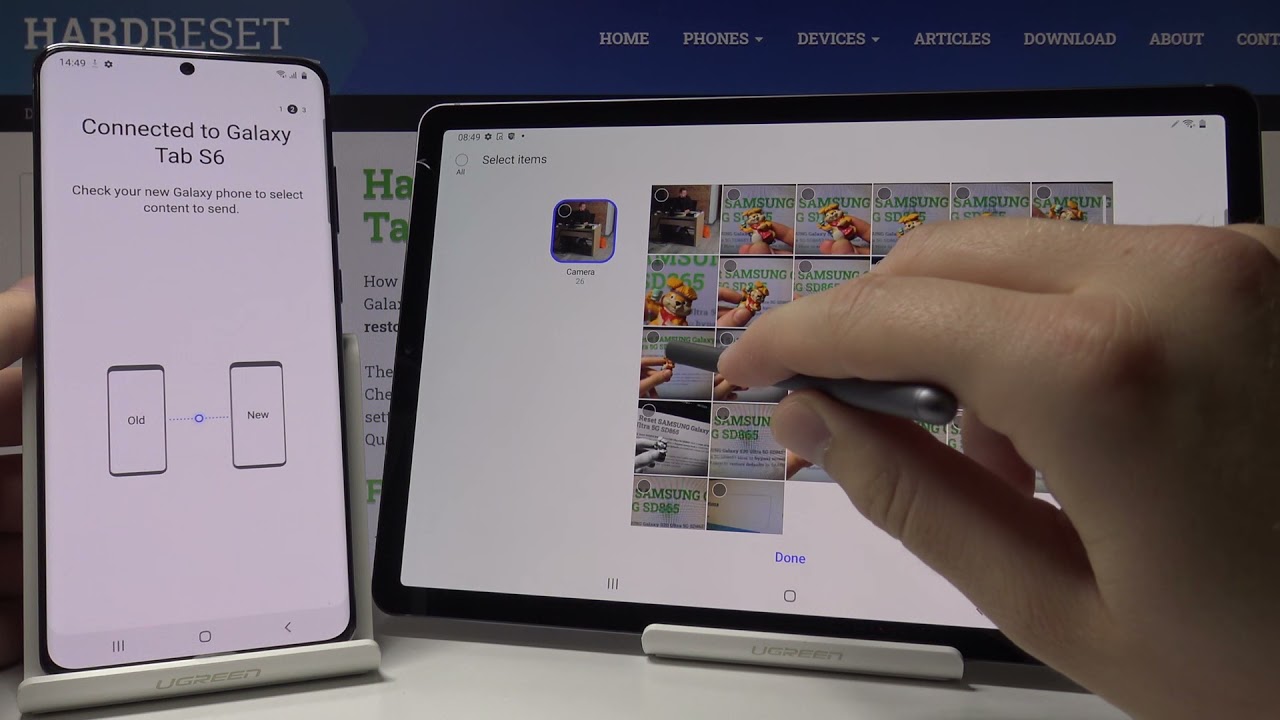
If you’re using an Android tablet, you can typically select multiple photos by long-pressing on one photo to highlight it, and then tapping on the other photos you want to include in the selection. You’ll notice that selected photos are usually marked with a checkmark or a highlight. Some File Managers also provide options to select all photos in a folder with a single tap.
For iOS devices, tap on the “Select” button in the top-right corner of the screen to enter selection mode. Then, tap on each photo you want to include in the selection. You’ll see a blue checkmark appear on selected photos. To select multiple photos at once, you can swipe your finger across the screen to quickly select multiple contiguous photos.
In Windows tablets, you can use the left mouse button to click and drag a selection box around the photos you want to transfer. Alternatively, you can hold down the Ctrl key on your keyboard and click on each individual photo to include them in the selection.
Some File Managers also offer additional selection options, such as selecting all photos in a folder, deselecting specific photos from the selection, or selecting photos based on certain criteria like date or file type. Explore the options provided in your File Manager to make the selection process as efficient as possible.
Once you have finished selecting the photos you want to transfer, move on to the next step to copy the selected photos.
Step 5: Copy the selected photos
Now that you have selected the photos you want to transfer, it’s time to copy them from your tablet to your computer. The specific method for copying the photos may vary depending on the tablet’s operating system and the File Manager you are using.
In most File Managers, you can find a menu or toolbar at the top or bottom of the screen with various options. Look for an option that resembles “Copy” or an icon with two overlapping rectangles to initiate the copying process.
If you’re using an Android tablet, you may see a three-dot menu icon or an options button that provides more actions. Tap on it and look for the “Copy” option in the menu that appears. Some File Managers also allow you to directly access the copying option by long-pressing on the selected photos.
For iOS devices, tap on the “Share” button, which is represented by a square with an upward arrow. From the sharing options, look for “Copy” or “Save to Files” to initiate the copying process. You may need to navigate to the desired location in the Files app before proceeding.
In Windows tablets, you can typically find a “Copy” option in the right-click menu when you select the photos. Alternatively, you can use the “Copy” button or the keyboard shortcut (Ctrl + C) to initiate the copying process.
After selecting the “Copy” option, the File Manager will create a duplicate of the selected photos and store them in the clipboard. The photos are now ready to be transferred to your computer.
Now, let’s move on to the next step and transfer the copied photos to your computer.
Step 6: Paste the photos on your computer
With the selected photos copied to the clipboard on your tablet, it’s time to paste them onto your computer. Depending on your computer’s operating system, there are a few different methods to paste the photos.
If you’re using a Windows computer, open the File Explorer by clicking on the folder-shaped icon located on the taskbar. Navigate to the desired location on your computer where you want to transfer the photos. Right-click on an empty space in the destination folder and select the “Paste” option from the context menu. The selected photos will then be transferred from the clipboard to your computer.
For macOS systems, open the Finder and navigate to the desired location on your computer. Right-click on an empty space in the destination folder and select the “Paste Item” option from the context menu. Alternatively, you can use the keyboard shortcut (Command + V) to paste the photos onto your computer.
If you’re using a Linux computer, the process may vary depending on the distribution and file manager you are using. In general, open the file manager and navigate to the desired location. Right-click on an empty space and select the “Paste” option from the context menu. The selected photos will then be pasted into the folder you selected.
After selecting the “Paste” option, the File Manager on your computer will start transferring the photos from your tablet. The duration of the transfer will depend on the size of the selected files and the speed of your connection.
Once the transfer is complete, you will see the copied photos appear in the destination folder on your computer. You can now access and manage the transferred photos just like any other file on your computer.
Congratulations! You have successfully pasted the photos from your tablet onto your computer. Now, you can disconnect your tablet from your computer and enjoy your transferred photos.
Step 7: Disconnect your tablet from your computer
Now that you have successfully transferred the photos from your tablet to your computer, it’s time to disconnect your tablet from your computer. Properly disconnecting your devices ensures that no data is lost or corrupted during the process.
If you used a USB cable to connect your tablet, safely disconnect it by following these steps:
- On your computer, locate the system tray or taskbar at the bottom-right corner of the screen.
- Look for the “Safely Remove Hardware” or “Eject” icon, which typically resembles a USB plug or an arrow pointing towards a USB port.
- Click on the “Safely Remove Hardware” or “Eject” icon and select your tablet from the list of connected devices.
- Wait for the prompt that indicates it is safe to remove the USB cable. Once you see this message, you can safely unplug the cable from both your tablet and your computer.
If you established a wireless connection between your tablet and your computer, you can disconnect your tablet by disabling the Wi-Fi connection or switching to a different network.
While disconnecting your tablet from your computer, be sure to handle the devices gently and avoid abruptly pulling out any cables. This will help prevent any accidental damage to the devices or their ports.
Once you have safely disconnected your tablet from your computer, you can power off your tablet or continue using it for other purposes.
With your tablet safely disconnected, you have successfully completed the process of transferring photos from your tablet to your computer. Your photos are now available on your computer for further editing, organizing, or sharing.
Remember to properly store and back up your photos on your computer to ensure their safety and easy access in the future. Regularly backing up your photos is highly recommended to prevent any loss of valuable memories.
Thank you for following this step-by-step guide to transfer photos from your tablet to your computer. Enjoy your transferred photos and the convenience of having them readily available on your computer!
Conclusion
Transferring photos from your tablet to your computer is a straightforward process that allows you to conveniently access, manage, and backup your captured memories. Whether you own an Android, iOS, or Windows tablet, the steps outlined in this guide can be easily adapted to your device’s specific operating system and file management tools.
By following the step-by-step instructions provided, you can connect your tablet to your computer, open the File Manager, locate and select the desired photos, copy them to the clipboard, and then paste them onto your computer. The process ensures a seamless and efficient transfer of your photos, enabling you to free up space on your tablet and have a larger screen for viewing and editing purposes.
Remember to handle your devices with care and safely disconnect your tablet from your computer to avoid any potential data loss or damage. Regularly backing up your photos on your computer or an external storage device is also recommended to safeguard your precious memories.
Now that you have successfully transferred your photos, you can enjoy the convenience of organizing and sharing them from your computer. Whether you’re editing your photos, creating albums, or sharing them with friends and family, having them easily accessible on your computer enhances the overall photo management experience.
We hope this guide has been helpful in assisting you with transferring photos from your tablet to your computer. Remember that the specific steps and features may vary depending on your devices and operating systems, so adapt accordingly. Enjoy your transferred photos and make the most out of your digital memories!