Introduction
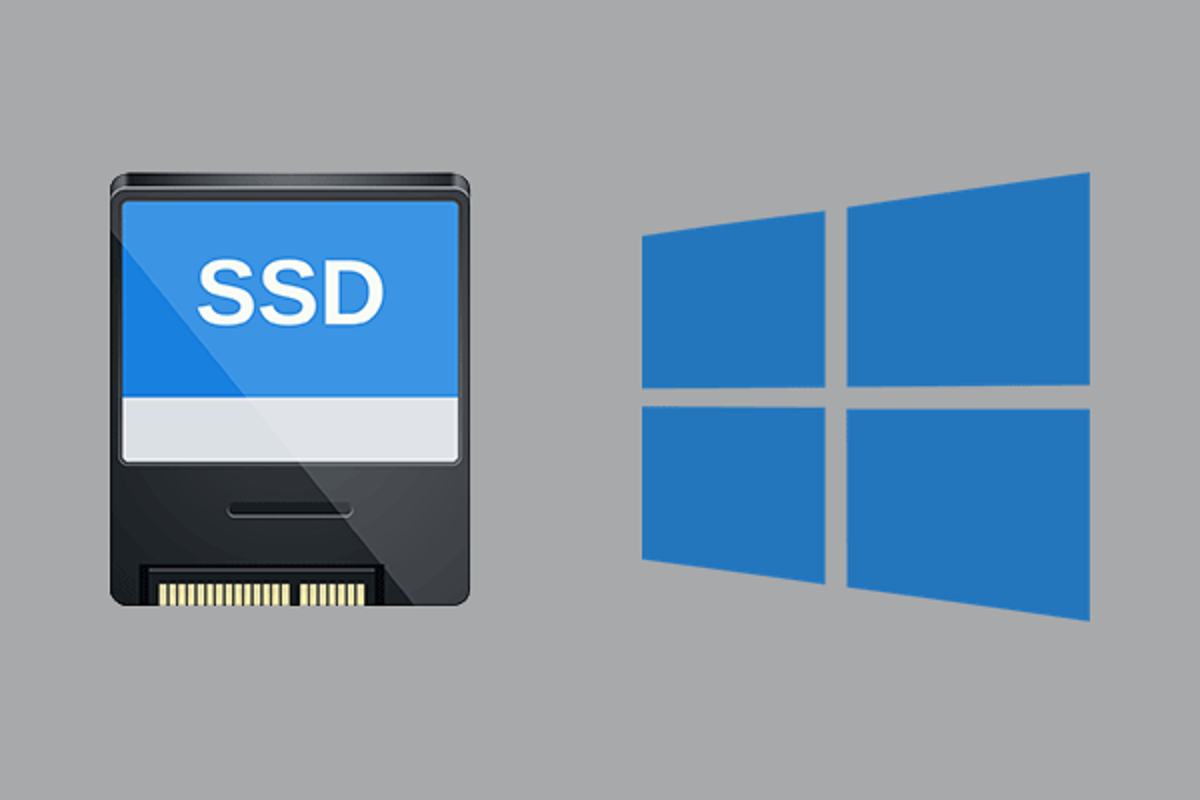
Welcome to this guide on how to transfer your operating system (OS) to a new solid-state drive (SSD). Upgrading to an SSD can greatly enhance your computer’s performance by providing faster boot times, improved responsiveness, and increased file transfer speeds. However, the process of transferring your OS to an SSD can be daunting if you’re not familiar with it. That’s where this guide comes in.
In this article, we will walk you through the steps required to successfully transfer your OS to a new SSD. We’ll cover all the necessary preparations, such as backing up your data and gathering the required tools. Then, we’ll delve into the process of cloning your OS onto the SSD and configuring it as the boot drive. Finally, we’ll discuss how to verify the transfer and test the functionality of the SSD.
Whether you’re upgrading your current computer or building a new system, this guide will provide you with the knowledge and steps necessary to seamlessly transfer your OS to a new SSD. By following these instructions, you’ll be able to enjoy the benefits of improved performance and efficiency that come with using a solid-state drive.
Keep in mind that the process of transferring your OS to an SSD may vary slightly depending on your computer’s operating system and the specific tools you use. This guide aims to provide you with a general overview and step-by-step instructions that can be adapted to your specific situation.
Now, let’s dive into the details and get started with the process of transferring your OS to a new SSD!
Understanding SSD and Operating System
Before we begin the process of transferring your operating system (OS) to a new solid-state drive (SSD), it’s essential to have a basic understanding of both SSDs and the OS. This understanding will help you comprehend the benefits of upgrading to an SSD and navigate through the transfer process more effectively.
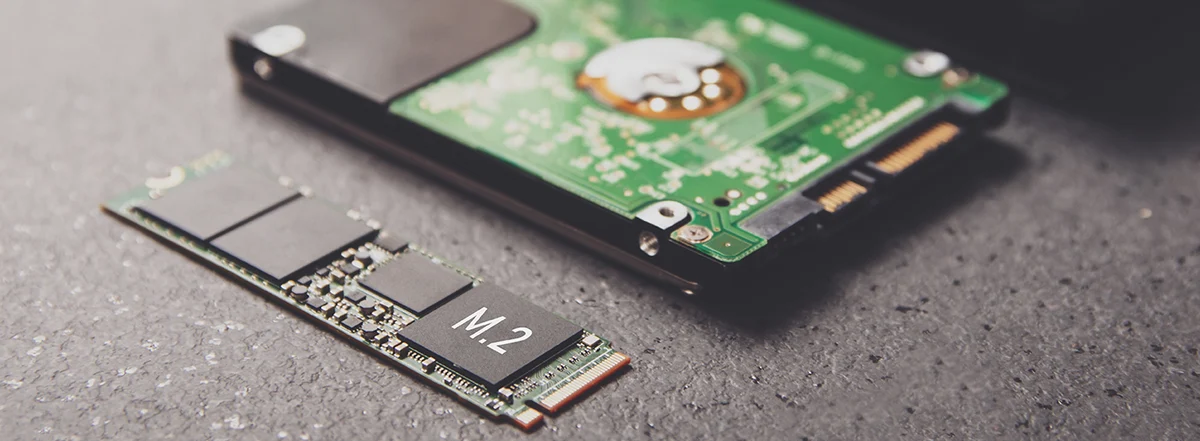
An SSD is a type of storage device that uses flash memory to store data, as opposed to traditional hard disk drives (HDDs) that rely on spinning disks. The absence of moving parts in SSDs makes them significantly faster, quieter, and more reliable than HDDs. They can provide a significant boost to overall system performance by reducing boot times, speeding up file transfers, and enhancing the responsiveness of your applications.
The operating system, on the other hand, is the software that manages a computer’s hardware and software resources. It acts as an intermediary between the user and the computer’s hardware, enabling you to interact with the computer and run various applications. Common operating systems include Windows, macOS, and Linux.
Now, why would you want to transfer your OS to an SSD? The primary reason is the significant performance boost an SSD offers compared to an HDD. With an SSD as your primary storage device, your computer will boot up faster, programs will launch quickly, and your overall computing experience will feel snappier.
It’s important to note that transferring your OS to an SSD is not the same as simply reinstalling the operating system on the new drive. Transferring the OS allows you to retain your existing settings, files, and programs, ensuring a seamless transition without the need to reinstall everything from scratch.
Another crucial consideration is the size of the SSD you choose. Make sure that it has enough storage capacity to accommodate your operating system, applications, and files. It’s advisable to opt for an SSD with ample space so that you don’t run out of storage quickly. However, if you have a limited budget, you can prioritize installing only the OS and frequently used applications on the SSD while keeping larger files and less frequently used programs on a secondary hard drive.
Now that you have a clear understanding of SSDs and operating systems, you’re ready to proceed with the next steps: backing up your data and gathering the necessary tools. So, let’s move on to the next section and ensure that your data is safe before we proceed with the transfer process.
Backup Your Data and Prepare Tools
Before transferring your operating system (OS) to a new solid-state drive (SSD), it is crucial to back up your data to ensure that nothing is lost during the process. Additionally, gathering the necessary tools will help facilitate a smooth transfer. Let’s discuss these steps in detail.
First and foremost, backing up your data is essential to protect your files and ensure that you have a copy in case of any unforeseen issues during the transfer process. There are several backup methods you can use:
- External Hard Drive: Connect an external hard drive or a USB flash drive to your computer and manually copy your important files to the external storage device. This can be done through the file explorer or using backup software.
- Cloud Storage: Utilize cloud storage services such as Google Drive, Dropbox, or OneDrive to upload your files securely to the cloud. This allows you to access your files from any device and provides an extra layer of protection.
- Disk Imaging Software: Consider using disk imaging software that creates a mirror image of your entire hard drive or specific partitions. This method ensures a complete backup, including your OS, applications, and settings.
Choose the backup method that best suits your needs and preferences. It is crucial to verify the integrity of your backup before proceeding with the OS transfer.
Next, gather the necessary tools to perform the transfer. Here are the tools you’ll typically need:
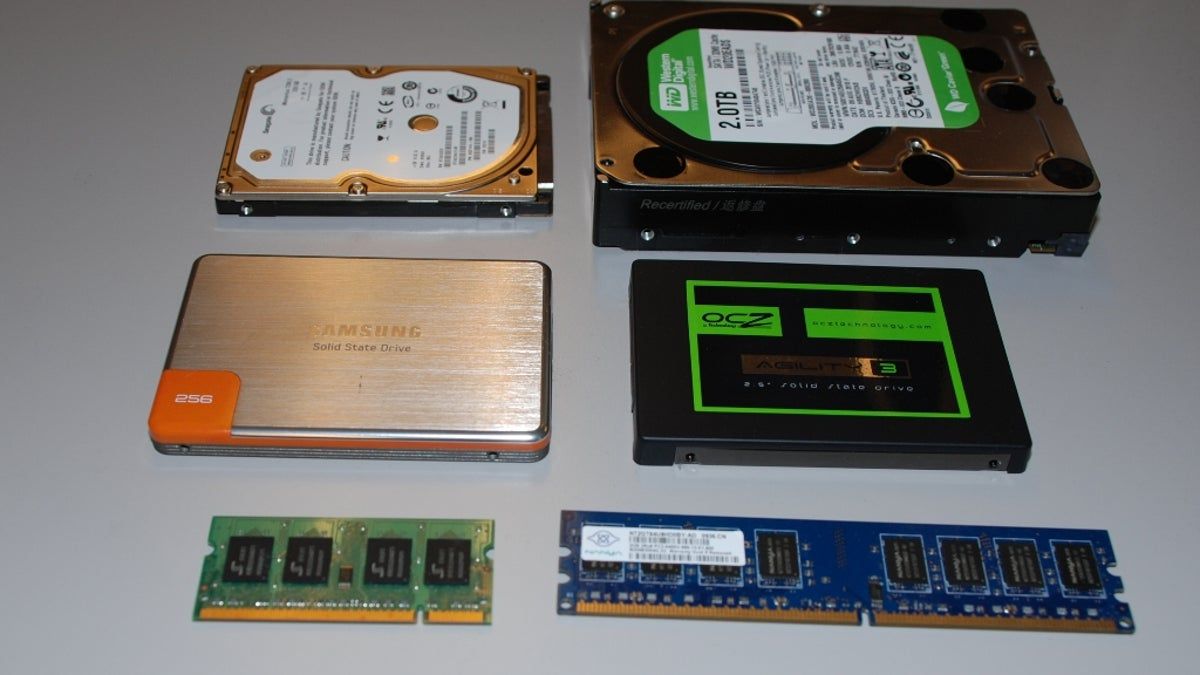
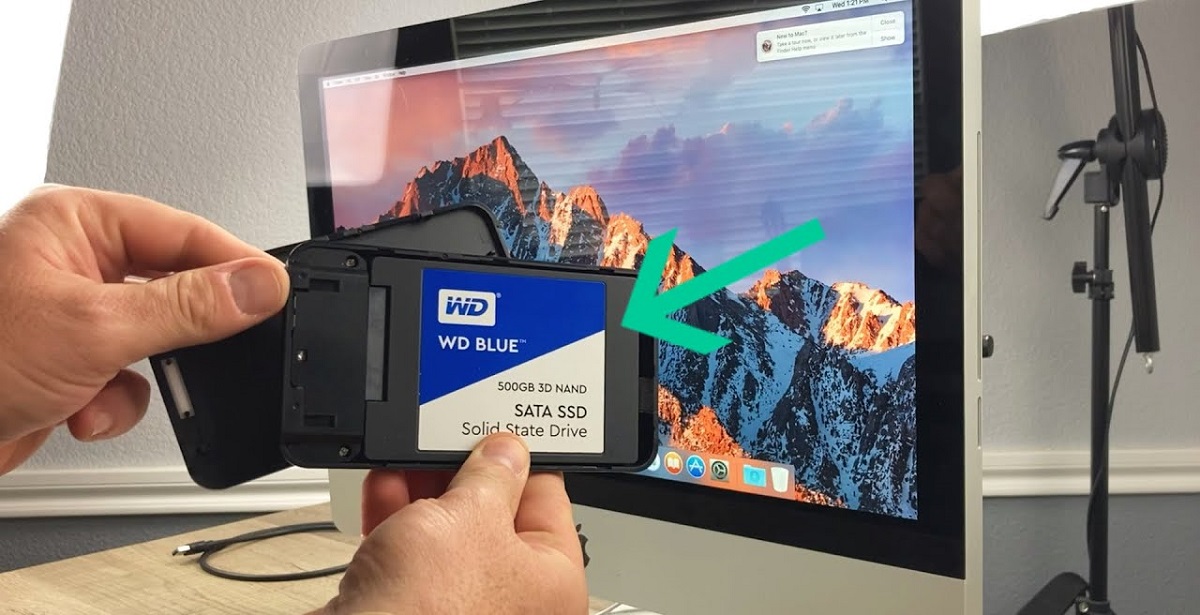
- SSD: Purchase a new SSD of sufficient storage capacity to accommodate your OS, applications, and desired files.
- SATA-to-USB Adapter: If you don’t have an available SATA port on your computer, you’ll need an adapter to connect the SSD to your computer via USB.
- Cloning Software: Choose a reliable cloning software that enables you to clone your existing OS from the current hard drive to the new SSD. Some popular options include Acronis True Image, Macrium Reflect, and Clonezilla.
- Screwdriver: Depending on your computer’s design, you may need a screwdriver to remove the existing hard drive and install the SSD.
Ensure that you have all the necessary tools before proceeding with the transfer process. Having everything ready will save you time and potential frustration during the OS transfer.
With your data backed up and the necessary tools in hand, you are now prepared to clone your OS to the new SSD. The next section will guide you through the cloning process, so let’s proceed accordingly.
Cloning OS to SSD
Now that you have backed up your data and gathered the necessary tools, it’s time to begin the process of cloning your operating system (OS) to the new solid-state drive (SSD). Cloning allows you to make an exact copy of your existing OS and transfer it to the SSD, preserving all your settings, files, and applications.
Here’s a step-by-step guide on how to clone your OS to the SSD:
- Connect the SSD: If you are using a SATA-to-USB adapter, connect the SSD to your computer using the adapter. If you have an available SATA port inside your computer, connect the SSD directly to that port.
- Open the Cloning Software: Launch the cloning software you have chosen. The interface may vary depending on the software, but the overall process should be similar.
- Select the Source Drive: Choose the existing hard drive that contains your OS as the source drive. It should be listed in the cloning software.
- Select the Destination Drive: Choose the new SSD as the destination drive where you want to clone your OS. Ensure that you select the correct drive to prevent any data loss.
- Configure Cloning Options: Depending on the cloning software, you may have the option to adjust certain settings. Review the options available and select the desired ones. In most cases, the default settings will suffice.
- Start the Cloning Process: Begin the cloning process by clicking “Start” or a similar button in the cloning software. The software will start copying the OS from the source drive to the destination SSD.
- Wait for the Cloning Process to Complete: The cloning process may take some time, depending on the size of the OS and the speed of your drives. Be patient and avoid interrupting the process.
- Review the Cloning Results: Once the cloning process is complete, the software will provide a summary of the cloning results. Check for any errors or warnings. In case of any issues, consult the cloning software’s documentation or support.
After successfully cloning your OS to the SSD, you now have an exact copy of your existing system on the new drive. However, you can’t simply swap the drives and expect everything to work perfectly. The next section will cover the steps to partition and format the SSD, so let’s continue with that.
Partitioning and Formatting the SSD
After cloning your operating system (OS) to the new solid-state drive (SSD), the next step is to partition and format the SSD to prepare it for use. Partitioning involves dividing the SSD into logical sections, while formatting involves preparing the SSD’s file system for data storage. Let’s explore these steps in detail:
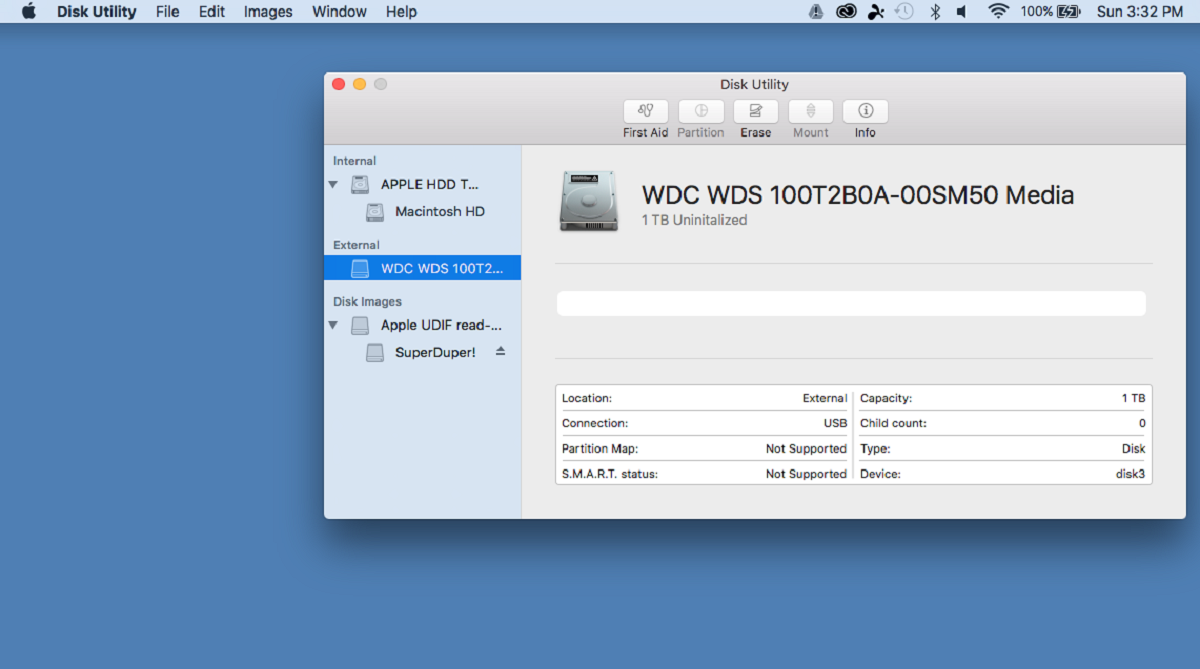
- Access Disk Management: On Windows, you can access Disk Management by right-clicking on the Start button, selecting “Disk Management” from the menu. On macOS, open “Disk Utility” from the Utilities folder in the Applications folder.
- Identify the SSD: Locate the SSD in the disk management tool. It should be listed as a new drive without any partitions or formatting.
- Create a Partition: Right-click on the unallocated space of the SSD and select “New Simple Volume” or a similar option. Follow the on-screen instructions to create a partition with the desired size.
- Format the Partition: Right-click on the newly created partition and select “Format.” Choose a file system for the SSD, such as NTFS for Windows or APFS for macOS. You can also assign a drive letter or a mount point.
- Confirm the Format: Review the format options and click “OK” or “Format” to proceed. Be aware that formatting will erase any existing data on the SSD, so make sure you have a backup.
- Wait for the Format to Complete: The formatting process may take some time, depending on the size of the SSD. Allow the process to finish without interruption.
Once the partitioning and formatting are complete, your SSD is ready to be used. It is now recognized as a separate drive with a file system and is capable of storing data.
Keep in mind that if you plan to use the SSD as the primary boot drive, you may need to set it as the default boot device in your computer’s BIOS or UEFI settings. Consult your computer’s documentation or the manufacturer’s website for instructions specific to your system.
Now that you have successfully partitioned and formatted the SSD, the next step is to set it as the boot drive. This will ensure that your computer boots from the new SSD and utilizes its improved performance. Continue reading the next section to understand the process of setting the SSD as the boot drive.
Setting the SSD as the Boot Drive
After partitioning and formatting the newly cloned solid-state drive (SSD), the next crucial step is to set it as the boot drive. By doing this, you ensure that your computer starts up from the SSD and harnesses its improved speed and performance. Follow the steps below to set the SSD as the boot drive:
- Access BIOS or UEFI Settings: Restart your computer and enter the BIOS or UEFI settings. The specific key to press may vary depending on your computer’s manufacturer, but commonly used keys are F2, Del, or Esc. Consult your computer’s manual or manufacturer’s website if unsure.
- Navigate to Boot Options: Once inside the BIOS or UEFI settings, look for the “Boot” or “Boot Options” section. Use the arrow keys to navigate to the boot options menu.
- Change the Boot Order: In the boot options, locate the boot order or boot priority settings. You will see a list of available drives or devices. Rearrange the boot order by moving the SSD to the top of the list.
- Save and Exit: Once you have set the SSD as the top priority boot device, save the changes in the BIOS or UEFI settings. The key to save and exit the settings is typically F10 or a similar key. Confirm the changes and exit the settings.
- Restart the Computer: Restart your computer to allow the changes to take effect. The computer will now boot from the SSD as the primary drive, providing faster startup times and improved overall performance.
After the restart, your computer should start up from the newly installed SSD. To confirm this, you can check the system information in your operating system’s settings or use third-party tools to verify that the SSD is recognized as the boot drive.
If you encounter any difficulties during the setup process or your computer fails to boot from the SSD, double-check the BIOS or UEFI settings and ensure that the SSD is correctly prioritized as the boot device. Additionally, consult your computer’s manual or the manufacturer’s support resources for further assistance.
With the SSD successfully set as the boot drive, your computer is now ready to take advantage of the improved performance and responsiveness provided by the solid-state drive. In the next section, we’ll cover how to verify the transfer and test the functionality of the SSD to ensure a successful OS transfer.
Verifying the Transfer and Testing
After completing the process of transferring your operating system (OS) to the new solid-state drive (SSD) and setting it as the boot drive, it’s essential to verify the transfer and test the functionality of the SSD. This step ensures that the transfer was successful and that the SSD is working correctly. Here are some actions you can take to verify and test:
- Check System Information: Open the system information utility in your operating system and verify that the SSD is correctly detected as the primary drive and that the OS is installed on it.
- Run System Performance Tests: Use benchmarking software to run tests on your computer’s performance and compare the results to pre-transfer benchmarks. This will help assess the speed and responsiveness improvements achieved with the new SSD.
- Monitor Drive Health: Install and run SSD health monitoring tools to keep an eye on the SSD’s health, temperature, and other performance indicators. This helps ensure the longevity and reliability of the SSD.
- Test Boot Times: Restart your computer and note the boot times. Compare them to the boot times before the OS transfer. You should notice a significant improvement in startup speed with the SSD as the boot drive.
- Perform File Transfer Tests: Copy large files or folders from one location to another on your SSD to check the transfer speeds. The transfer should be much faster compared to a traditional hard drive.
- Launch Applications: Open commonly used applications and observe their launch times. Applications should load faster and operate more smoothly with the improved storage performance.
By verifying the successful transfer and testing the SSD, you can ensure that your computer is utilizing the new drive effectively and enjoying the enhanced performance provided by the SSD. Monitoring the SSD’s health and performance over time is also crucial to address any potential issues promptly and maintain optimal performance.
In the event that you encounter any difficulties or inconsistencies during the verification and testing process, it is advisable to refer to the documentation of your OS, the SSD manufacturer’s support resources, or consult technical forums for further assistance.
Congratulations! You have successfully transferred your operating system to a new SSD, set it as the boot drive, and verified its functionality. Your computer should now benefit from faster boot times, improved application performance, and increased overall responsiveness. Enjoy the enhanced computing experience!
Conclusion
Congratulations on successfully transferring your operating system (OS) to a new solid-state drive (SSD)! By following the steps outlined in this guide, you have upgraded your computer’s storage to a faster and more efficient SSD, improving overall performance and responsiveness.
We began by understanding the benefits of using an SSD and the importance of backing up your data before initiating the transfer process. We then discussed the necessary tools and software needed for a smooth OS transfer. The cloning process was explained in detail, allowing you to create an exact copy of your existing OS on the new SSD.
After cloning, we walked through the steps of partitioning and formatting the SSD, ensuring it was ready for use. Setting the SSD as the boot drive was the next crucial step, allowing your computer to start up from the SSD and harness its improved speed.
To finalize the transfer, we emphasized the importance of verifying the transfer and testing the functionality of the SSD. This involved checking system information, running performance tests, monitoring drive health, and testing boot times and file transfers. By performing these tests, you can ensure that the transfer was successful and that the SSD is functioning optimally.
With the successful transfer and functional SSD, your computer is now equipped with faster startup times, quicker application launches, and improved overall performance. Take full advantage of the benefits provided by the SSD to enhance your computing experience.
Remember to regularly monitor the health of your SSD to ensure its longevity and reliability. Keep backup copies of your important data to prevent any potential data loss in the future.
If you encountered any difficulties during the transfer process or have any ongoing concerns with your SSD, consult the resources provided by your OS and SSD manufacturer for further assistance.
Thank you for following this guide, and happy computing with your new SSD!