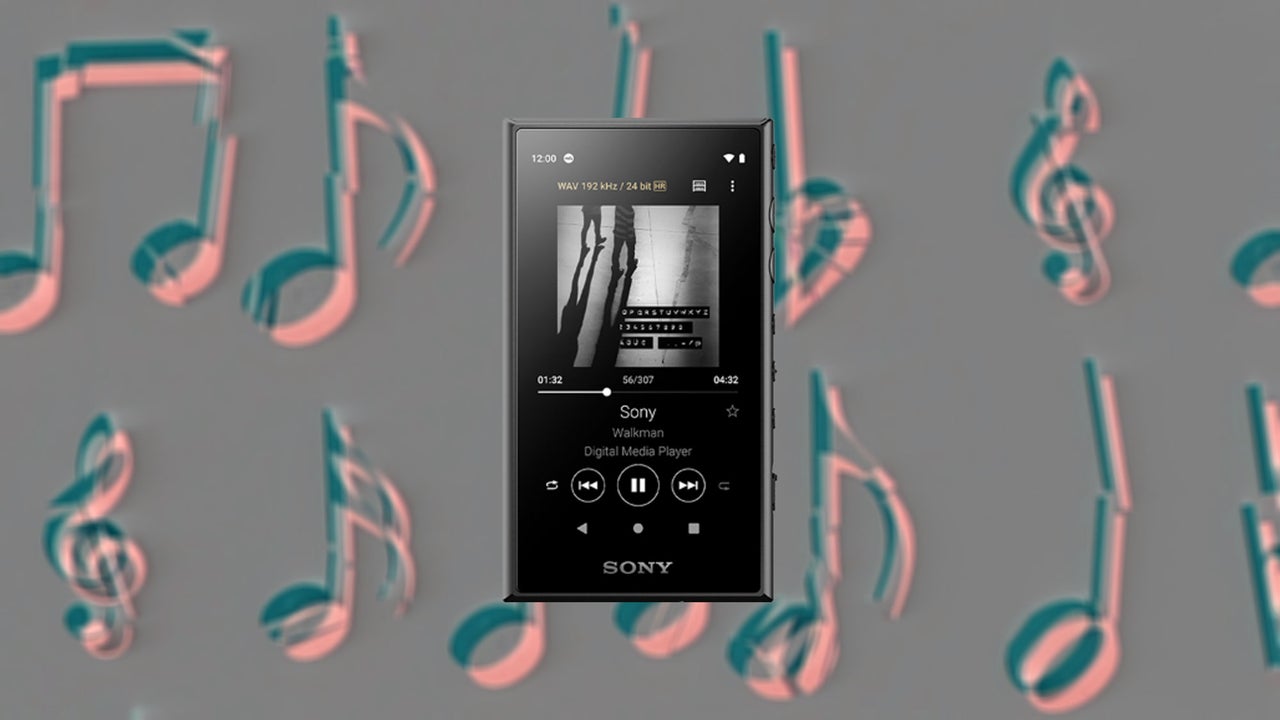
Introduction
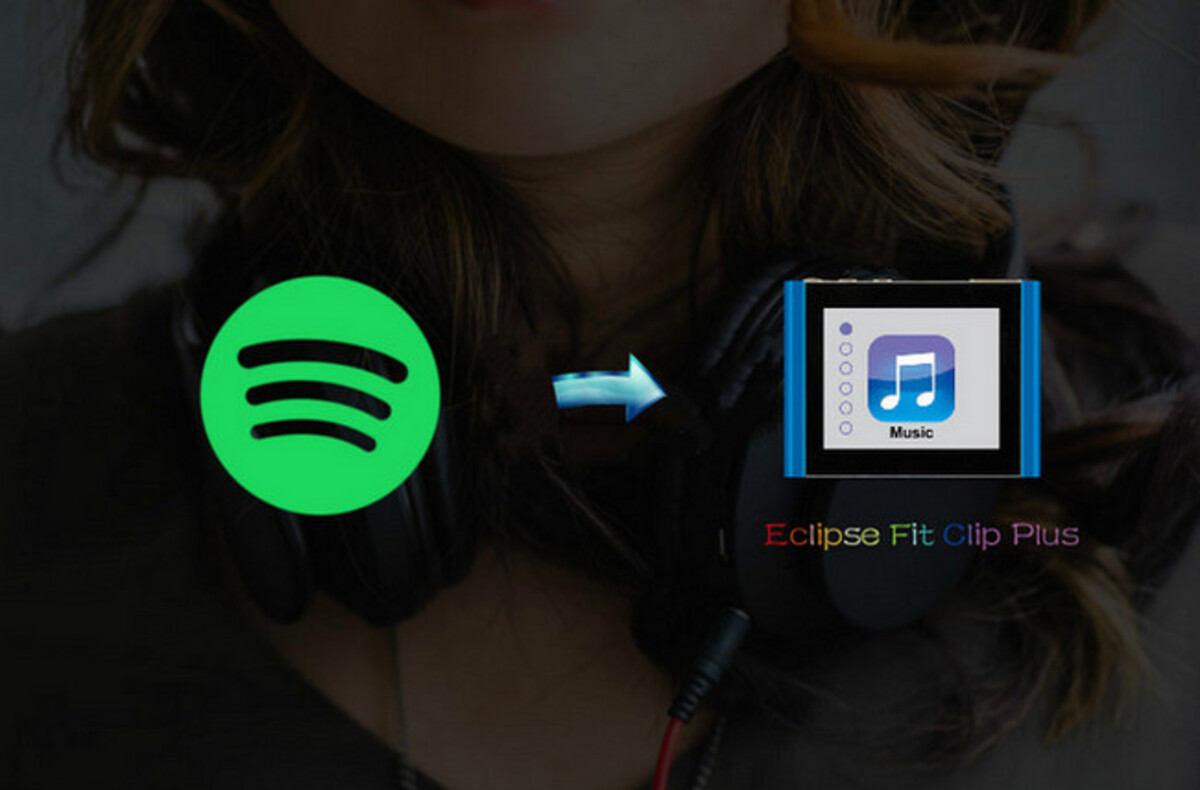
Welcome to the world of portable music! If you’re an avid music lover and own an MP3 player, you may be wondering how to transfer your favorite tunes from Amazon Music to your device. Well, you’ve come to the right place! In this guide, we will walk you through the step-by-step process of transferring music from Amazon Music to your MP3 player.
Amazon Music offers a vast library of songs, albums, and playlists that you can enjoy on various devices, including your computer, smartphone, and tablet. However, if you want to take your music on the go and listen to it on your MP3 player, you’ll need to follow a few simple steps to make it happen.
Transferring music from Amazon Music to your MP3 player allows you to enjoy your favorite tracks anytime, anywhere, without relying on an internet connection. Whether you’re going for a run, embarking on a road trip, or simply relaxing at home, having your favorite tunes readily available on your MP3 player adds an extra level of convenience and enjoyment to your music listening experience.
In this guide, we’ll be covering the process of transferring music from Amazon Music to your MP3 player, using the Amazon Music app and your computer as intermediaries. Don’t worry if you’re not tech-savvy; we’ll explain each step in detail, making it easy for anyone to follow along.
So, are you ready to bring your favorite music with you wherever you go? Let’s dive into the step-by-step process of transferring music from Amazon Music to your MP3 player!
Step 1: Download and Install Amazon Music App
The first step in transferring music from Amazon Music to your MP3 player is to download and install the Amazon Music app on your computer. The Amazon Music app allows you to access and manage your music library, making it easier to transfer your favorite songs to your MP3 player.
Here’s how you can download and install the Amazon Music app:
- Open your preferred web browser and visit the official Amazon Music website.
- Look for the “Download” or “Get the app” button and click on it.
- Choose the appropriate version of the app for your operating system (Windows or macOS) and click on the download link.
- Once the download is complete, locate the installer file on your computer and double-click on it to begin the installation process.
- Follow the on-screen instructions to complete the installation. Make sure to read and accept any terms or agreements if prompted.
- After the installation is complete, launch the Amazon Music app.
- If you already have an Amazon account, sign in with your email address and password. If you don’t have an account, you can create one for free.
Once you’ve successfully downloaded and installed the Amazon Music app and signed in to your account, you’re ready to proceed to the next step.
By downloading and installing the Amazon Music app, you gain access to a wide range of features, including the ability to stream and download music, create playlists, and discover new artists and genres. The app provides a seamless and user-friendly interface, making it convenient to navigate and manage your music collection.
In the next step, we’ll guide you through signing in to your Amazon Music account to access your music library.
Step 2: Sign in to Your Amazon Music Account
Once you have downloaded and installed the Amazon Music app, the next step in transferring music from Amazon Music to your MP3 player is to sign in to your Amazon Music account. By signing in, you will gain access to your personalized music library and be able to manage your songs, albums, and playlists.
Here’s how you can sign in to your Amazon Music account:
- Launch the Amazon Music app on your computer.
- If you’re not already signed in, you will see a login screen. Enter your email address and password associated with your Amazon Music account.
- Click on the “Sign In” button.
If you don’t have an Amazon Music account yet, don’t worry! You can create one for free by clicking on the “Create your Amazon account” or “Sign up” link on the login screen. Follow the instructions to set up your account, and then sign in using the newly created credentials.
Once you have successfully signed in to your Amazon Music account, you will be able to access your music library, browse through your purchased or uploaded songs, and discover new music. This step ensures that you have proper access to your collection, allowing you to choose and transfer the music you desire.
Signing in to your Amazon Music account not only gives you access to your purchased music, but it also provides additional benefits like personalized recommendations based on your listening history and preferences. It creates a seamless connection between your music library and the Amazon Music app, making it easier to manage and enjoy your favorite tracks.
Now that you’re signed in to your Amazon Music account, you’re ready to move on to the next step, where we’ll guide you through selecting the music you want to transfer to your MP3 player.
Step 3: Choose the Music You Want to Transfer
Now that you’re signed in to your Amazon Music account, it’s time to choose the music you want to transfer to your MP3 player. Amazon Music offers a vast selection of songs, albums, and playlists, making it easy to find your favorite tracks and create a personalized music collection.
Here’s how you can choose the music you want to transfer:
- Once you’re logged in to the Amazon Music app, you will be presented with your music library. Here, you can browse through your purchased or uploaded music, as well as any playlists you have created.
- To select individual songs or albums, simply browse through the available options and click on the ones you want to transfer. You can use the search bar or filter options to find specific songs or artists.
- If you’d like to transfer entire playlists to your MP3 player, locate the playlist in your library and click on it. You will see a list of all the songs in the playlist. To select the entire playlist, click on the three dots icon and choose the “Download” or “Add to Library” option.
- If you have a specific genre or mood in mind, you can explore the Amazon Music app’s browse feature. It allows you to discover new music based on genres, playlists curated by experts, and personalized recommendations.
- As you select the music you want to transfer, you will notice that the selected songs or albums are added to your download queue. This queue represents the music that will be downloaded to your computer.
Remember, the number of songs you can transfer may depend on the storage capacity of your MP3 player. Be mindful of the available space when selecting the music you want to transfer.
By choosing the music you want to transfer, you are curating a personalized collection that can be enjoyed on your MP3 player. Whether it’s your favorite tracks, albums, or playlists, selecting the right music sets the stage for an enjoyable music listening experience on the go.
In the next step, we’ll guide you through downloading the selected music for offline listening, making it ready for transfer to your MP3 player.
Step 4: Download the Music for Offline Listening
With your selected music in place, it’s time to download it for offline listening. This step ensures that the chosen songs, albums, or playlists are saved on your computer and ready to be transferred to your MP3 player.
Here’s how you can download the music for offline listening:
- In the Amazon Music app, navigate to your music library or the playlist that contains the selected songs.
- Locate the songs, albums, or playlists you want to download, and click on the three dots icon next to them.
- In the menu that appears, select the “Download” or “Add to Library” option. This will initiate the download process.
- The app will start downloading the selected music to your computer. You can monitor the progress of the downloads through the app’s download manager or status bar.
- Once the downloads are complete, the music will be available for offline listening within the Amazon Music app.
Downloading the music for offline listening ensures that you have access to your favorite tracks even when you don’t have an internet connection. This is especially useful when you want to listen to music on your MP3 player while on the go, where a stable internet connection may not be available.
It’s important to note that the downloaded music will be stored on your computer’s local storage and not directly on your MP3 player. In the next step, we’ll guide you through locating the downloaded music files on your computer, as they will be needed for the actual transfer to your MP3 player.
Step 5: Locate the Downloaded Music Files
Now that you have successfully downloaded the music for offline listening, it’s time to locate the downloaded music files on your computer. This step is crucial as it allows you to access the saved music files and transfer them to your MP3 player.
Here’s how you can locate the downloaded music files:
- Open the Amazon Music app on your computer, and navigate to the settings or preferences menu.
- Look for the “Download” or “Storage” settings. This is where you can find the default location where the downloaded music files are saved.
- In the settings or preferences, you will find the “Download Location” or “Storage Location” option. Click on it to reveal the file path where the music files are stored.
- Remember or make a note of the file path, as you will need to navigate to this location on your computer to locate the downloaded music files.
- Open your computer’s file explorer or finder, and navigate to the file path you identified in the previous step.
- Within this folder, you should see the downloaded music files. They are usually stored in a format compatible with MP3 players.
Locating the downloaded music files allows you to have direct access to the files that you will be transferring to your MP3 player. By knowing the file path and finding the stored files on your computer, you can easily copy and transfer them to your MP3 player in the upcoming step.
It’s important to note that the file path may differ depending on your computer’s operating system and the settings you have configured in the Amazon Music app. If you have customized the download location, make sure to check the corresponding settings in the app to find the correct location of the downloaded music files.
With the downloaded music files in your sights, we can now move on to the next step, where we’ll guide you through connecting your MP3 player to your computer in preparation for the transfer.
Step 6: Connect your MP3 Player to the Computer
Now that you have located the downloaded music files on your computer, it’s time to connect your MP3 player to the computer. This step enables the transfer of the downloaded music files to your MP3 player, allowing you to enjoy your favorite songs on the go.
Here’s how you can connect your MP3 player to the computer:
- Using a USB cable, connect one end of the cable to the USB port on your computer.
- Take the other end of the USB cable and connect it to the corresponding USB port on your MP3 player.
- Once connected, your computer should detect the MP3 player and install any necessary drivers or software.
- If prompted on your MP3 player’s screen, choose the option that allows the device to connect to the computer or enter the appropriate mode for file transfer.
- On your computer, open the file explorer or finder, and you should see your MP3 player listed as an external device or storage.
- Click on your MP3 player’s name or icon to access its storage.
By successfully connecting your MP3 player to the computer, you establish a direct connection between the two devices. This connection is essential for the upcoming transfer of the downloaded music files from your computer to your MP3 player.
Keep in mind that the steps to connect your MP3 player may vary depending on the specific model and manufacturer. Consult the user manual or website for your MP3 player if you encounter any difficulties in establishing the connection.
Now that your MP3 player is connected to the computer, you’re ready to move on to the final step of transferring the music files to your MP3 player. In the next step, we’ll guide you through transferring the downloaded music files from your computer to your MP3 player.
Step 7: Transfer Music Files to MP3 Player
With your MP3 player connected to the computer, it’s time to transfer the downloaded music files from your computer to your MP3 player. This final step completes the process of transferring music from Amazon Music to your MP3 player, allowing you to enjoy your favorite tunes on your portable device.
Here’s how you can transfer the music files to your MP3 player:
- Locate the folder on your computer where you saved the downloaded music files from Amazon Music.
- Select the music files you want to transfer. You can select multiple files by holding down the Ctrl or Command key while clicking on the files.
- Copy the selected music files by right-clicking on them and choosing the “Copy” option, or by using the Ctrl+C or Command+C keyboard shortcut.
- Go back to the file explorer or finder window that displays your MP3 player’s storage.
- Paste the copied music files onto your MP3 player’s storage by right-clicking on an empty space within the storage window and choosing the “Paste” option, or by using the Ctrl+V or Command+V keyboard shortcut.
- Wait for the file transfer to complete. The time it takes will depend on the number and size of the music files being transferred.
- Once the transfer is complete, safely disconnect your MP3 player from the computer by either clicking on the “Eject” button next to the MP3 player’s name or using the “Safely Remove Hardware” function on your computer’s taskbar.
By following these steps, you have successfully transferred the downloaded music files from your computer to your MP3 player. The music should now be accessible on your MP3 player and ready for you to enjoy on the go.
It’s important to note that the specific instructions for transferring music files may vary depending on the model and brand of your MP3 player. Consult the user manual or the manufacturer’s website for detailed instructions specific to your device if needed.
Congratulations! You’ve completed the process of transferring music from Amazon Music to your MP3 player. Now, you can enjoy your favorite songs, albums, and playlists wherever you go, without the need for an internet connection.
Conclusion
Transferring music from Amazon Music to your MP3 player opens up a world of convenience and allows you to enjoy your favorite tunes on the go. By following the step-by-step process outlined in this guide, you can easily transfer music from Amazon Music to your MP3 player and create a personalized music collection that you can take with you wherever you travel.
We started by downloading and installing the Amazon Music app, followed by signing in to your Amazon Music account to access your music library. Then, we discussed how to choose the music you want to transfer and download it for offline listening. Locating the downloaded music files on your computer was the next step, ensuring that you could easily access them for the transfer process.
Connecting your MP3 player to the computer was an important step as it established the necessary connection for transferring the music files. Finally, we walked you through the process of transferring the downloaded music files from your computer to your MP3 player.
Now, with your MP3 player loaded with your favorite music, you have the freedom to enjoy your tunes anytime and anywhere. Whether you’re going for a run, embarking on a road trip, or simply relaxing at home, your MP3 player becomes your musical companion, providing a soundtrack for every moment.
Remember to consult the user manual or the manufacturer’s website for your specific MP3 player if you encounter any issues during the process. They will provide guidance tailored to your device and ensure a smooth and successful transfer.
So, go ahead and dive into the world of portable music with your newly transferred songs. Sit back, relax, and let the music take you on a journey!