Introduction:
Are you running out of storage space on your computer due to a large iPhoto library? One effective solution is to transfer your iPhoto library to an external hard drive. This can free up valuable space on your computer while still maintaining easy access to all your precious photos.
Transferring your iPhoto library to an external hard drive is a straightforward process that can be accomplished with just a few simple steps. In this article, we will guide you through the process, ensuring a smooth and seamless transfer of your iPhoto library.
Before we begin, it’s crucial to emphasize the importance of backing up your iPhoto library before making any changes. This ensures that you won’t lose any of your valuable photos in the process. Additionally, make sure that the external hard drive you intend to use has enough storage capacity to accommodate your iPhoto library.
So, if you’re ready to reclaim some space on your computer and transfer your iPhoto library to an external hard drive, let’s get started with the step-by-step process.
Step 1: Connect the external hard drive to your computer
The first step in transferring your iPhoto library is to connect the external hard drive to your computer. This will allow you to transfer the photos from your iPhoto library directly to the external storage.
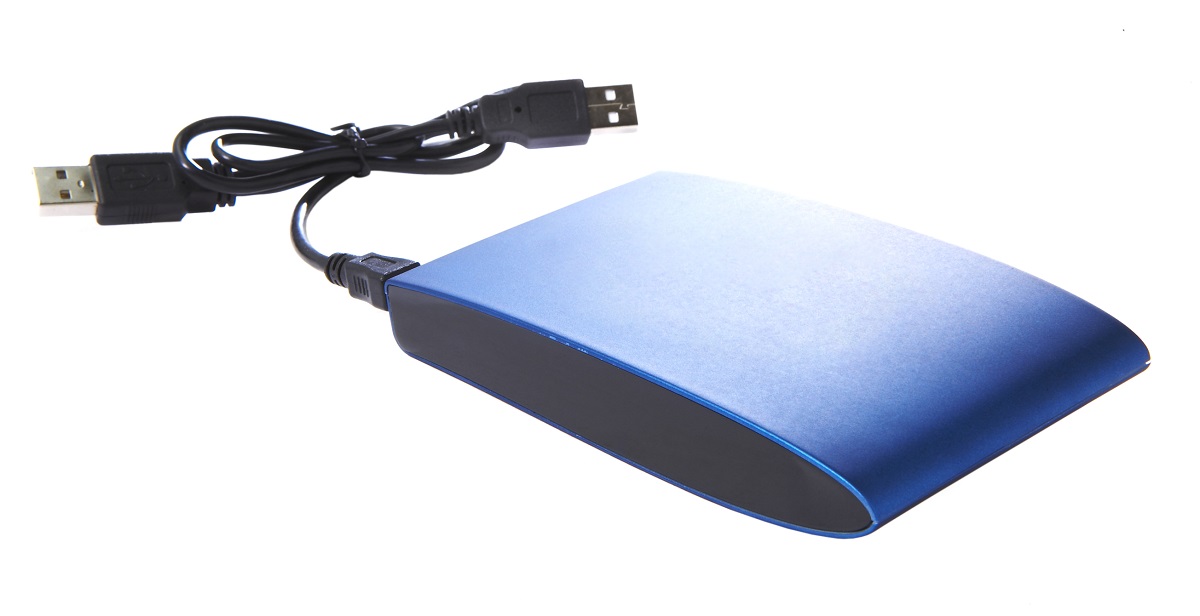
Start by locating an available USB or Thunderbolt port on your computer. Next, plug one end of the USB or Thunderbolt cable into the corresponding port on your computer.
Now, take the other end of the cable and connect it to the appropriate port on the external hard drive. Make sure the connection is secure and fully inserted.
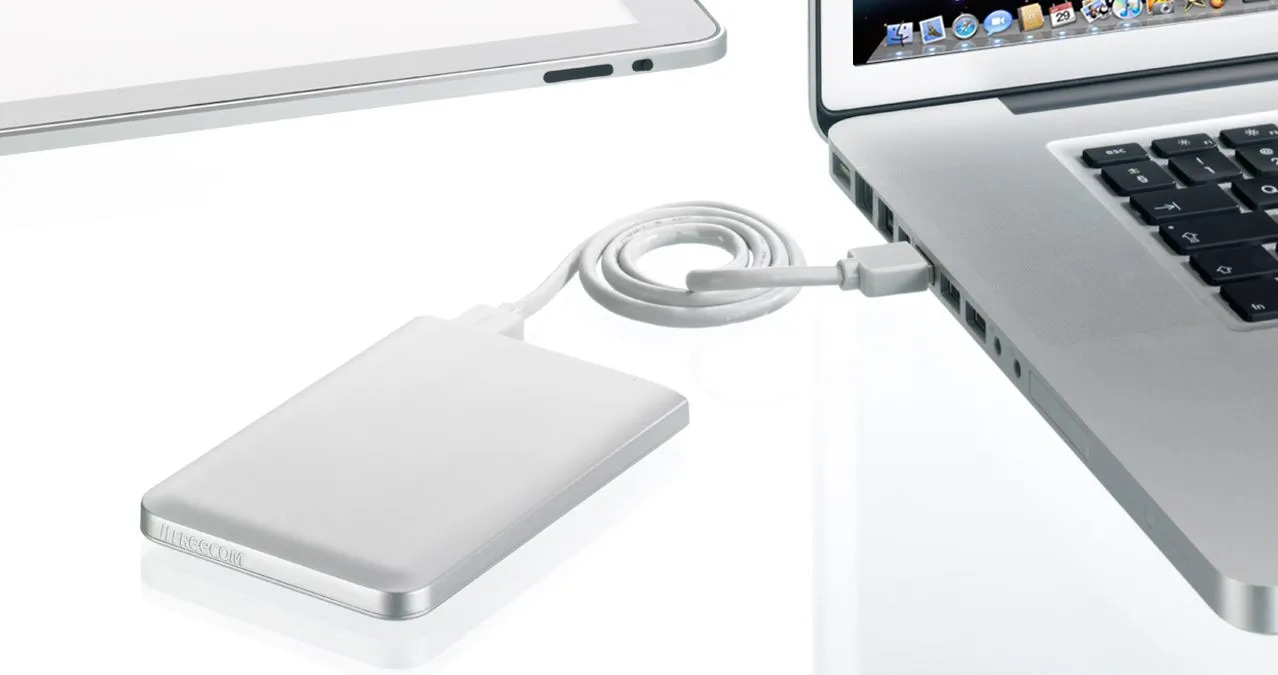
Once the external hard drive is properly connected to your computer, it should be recognized and appear as an additional storage device in your file explorer or desktop.
Keep in mind that the external hard drive you’re using should have enough space to accommodate your entire iPhoto library. It’s a good idea to check the available storage capacity on the external drive before proceeding to ensure it meets your needs.
Now that you have successfully connected the external hard drive to your computer, you are ready to move on to the next step and begin the actual transfer of your iPhoto library.
Step 2: Open iPhoto and select the photos you want to transfer
With the external hard drive connected to your computer, it’s time to open iPhoto and select the specific photos you want to transfer. This step allows you to choose which photos you want to move from your iPhoto library to the external storage.
Launch iPhoto from your Applications folder or Dock. Once opened, you should see your iPhoto library displayed in a grid view, showcasing all your photos.
Take some time to browse through your iPhoto library and locate the photos you wish to transfer. You can use the various organizational options in iPhoto, such as Events, Albums, or Faces, to help you find specific photos more easily.
To select multiple photos, hold down the Command key on Mac or the Control key on Windows and click on each photo you want to include in the transfer. Alternatively, you can select a range of photos by clicking on the first photo, holding down the Shift key, and then clicking on the last photo in the range.
If you want to transfer your entire iPhoto library, you can skip the selection process and proceed to the next step.
Double-check your selection to ensure you have chosen all the desired photos. Once you are satisfied with your selection, it’s time to move on to the next step and export the selected photos to the external hard drive.
Step 3: Export the selected photos to the external hard drive
Now that you have selected the photos you want to transfer from your iPhoto library, it’s time to export them to the external hard drive. This step ensures that the chosen photos are copied from your computer’s storage to the external storage device.
In the iPhoto menu bar, click on “File” and then select “Export” from the dropdown menu.
A new window will appear with various options for exporting your photos. Here’s what you need to do:
- Choose the location where you want to save the exported photos by clicking the “Export to:” dropdown menu. Select the external hard drive from the list of available storage options.
- Ensure that the file format is set to “Original” to maintain the highest quality of your photos during the transfer process.
- Leave the “File name” option as it is or customize it according to your preference.
- Select the desired image size for the exported photos. You can choose “Full Size” to maintain the original resolution or specify a custom size if needed.
- Choose whether you want to include metadata, such as the date, description, or location of the photos, by selecting the corresponding checkbox.
- Finally, click on the “Export” button. iPhoto will begin exporting the selected photos to the external hard drive.
Depending on the number and size of the photos being transferred, the export process may take some time. It’s important not to interrupt the process and allow it to complete to ensure a successful transfer of all your selected photos.
Once the export process is finished, you can proceed to the next step and confirm the transfer of your iPhoto library to the external hard drive.
Step 4: Confirm the transfer and wait for the process to complete
After exporting the selected photos to the external hard drive, it’s important to confirm the transfer and allow the process to complete. This step ensures that all the exported photos are successfully copied to the external storage, preserving your precious memories.
Once the export process is finished, you can check the progress and confirm that all the selected photos have been transferred to the external hard drive.
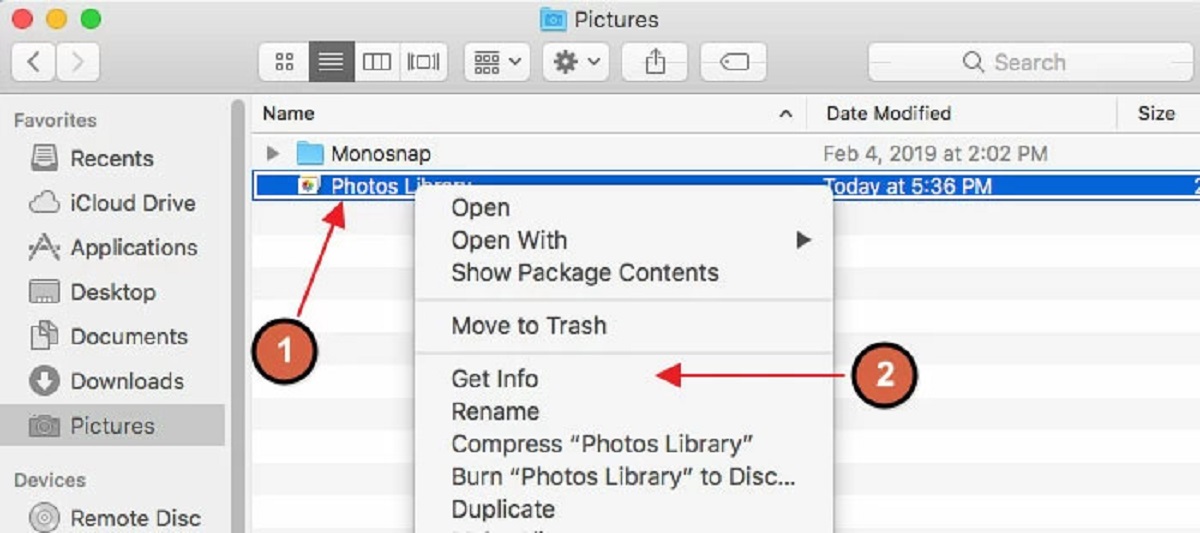
Navigate to the location on the external hard drive where you chose to save the exported photos. Open the folder or directory and verify that all the transferred photos are present.
Take a moment to compare the number of photos in the external storage with the original selection in iPhoto. The counts should match, indicating that the transfer was successful.
During this step, it’s crucial not to disconnect the external hard drive or interrupt the transfer process. Doing so may result in incomplete transfers or potential data loss. It’s best to be patient and let the process complete before proceeding to the next step.
The time it takes to transfer the photos will depend on their size and the speed of your computer and external hard drive. Larger files may take more time, so it’s important to allow the process to fully complete without interruptions.
Once you have confirmed that the transfer is complete and all your selected photos are successfully transferred to the external hard drive, you can proceed to the final step and verify the success of the transfer.
Step 5: Verify that the photos have been successfully transferred
After completing the transfer process, it’s important to verify that all the photos from your iPhoto library have been successfully transferred to the external hard drive. This final step ensures that you have a reliable backup of your cherished memories.
To verify the transfer, navigate to the location on the external hard drive where you saved the exported photos. Open the folder or directory and carefully inspect the files. Ensure that all the transferred photos are present and accounted for.
Check that the number of photos in the external storage matches the original selection you made in iPhoto. This confirms that all the photos have been successfully transferred without any loss or corruption.
Take the time to randomly sample some of the transferred photos and open them to ensure their quality and integrity. Look for any signs of distortion, loss of resolution, or other issues that may have occurred during the transfer process.
If you encounter any problems or missing photos, it’s important to have a backup of your iPhoto library to rectify the issue. This may involve repeating the transfer process or seeking technical assistance to recover the missing or damaged files.
Once you have thoroughly verified that all the photos are in good condition and have been successfully transferred, you can safely remove your iPhoto library from your computer’s internal storage. This will free up valuable space on your computer and ensure that the external hard drive becomes the primary storage location for your iPhoto library.
Remember to keep your external hard drive connected to your computer whenever you want to access your iPhoto library. Disconnecting the external storage may cause your iPhoto library to become inaccessible until you reconnect the external hard drive.
Congratulations! You have now successfully transferred your iPhoto library to an external hard drive, providing you with additional storage space on your computer and a secure backup of all your precious photos.
Conclusion
Transferring your iPhoto library to an external hard drive is an effective way to free up space on your computer while ensuring the safety and accessibility of your cherished photos. By following the step-by-step process outlined in this article, you can confidently move your iPhoto library to external storage with ease.
Remember to always back up your iPhoto library before making any changes, and ensure that your chosen external hard drive has enough storage capacity for your entire library. Taking these precautions will help safeguard your valuable photos from potential loss or damage.
Through the process of connecting the external hard drive to your computer, selecting the photos you want to transfer, exporting them to the external storage, confirming the transfer, and verifying the success of the transfer, you can confidently complete the task of transferring your iPhoto library.
Once the transfer is complete and you have verified the success, you can enjoy the additional storage space on your computer and the convenience of accessing your photos from the external hard drive whenever needed. Remember to keep your external hard drive connected to ensure seamless access to your iPhoto library.
Now that you have successfully transferred your iPhoto library, you can continue capturing and organizing more precious memories without worrying about limited storage on your computer.
We hope this guide has been helpful in assisting you with transferring your iPhoto library to an external hard drive. Enjoy your newfound storage space and peace of mind knowing that your photos are safe and accessible!