Introduction
Transferring files from a PC to a Mac can seem like a daunting task, especially if you’re not familiar with the different operating systems. However, with the right methods, transferring files between these two platforms can be a breeze. Whether you’re switching to a Mac for the first time or just need to move files from one to the other, this article will guide you through various methods to transfer your files seamlessly.
It’s important to note that Mac computers use the macOS operating system, while PCs typically run on Windows. These operating systems have different file systems and may not be compatible with each other. Therefore, it’s essential to choose the right method of transferring files to ensure compatibility and avoid any loss of data.
In this article, we’ll explore four different methods to transfer files from a PC to a Mac. First, we’ll discuss using a USB flash drive, a simple and straightforward way to transfer files. Then, we’ll delve into using an external hard drive, which enables transferring larger files and folders. Next, we’ll explore the option of using a cloud storage service, providing a convenient way to access files from anywhere. Lastly, we’ll cover using file transfer software, which offers advanced features for managing and syncing files.
Each method has its advantages and may be more suitable depending on your specific needs. By the end of this article, you’ll be ready to transfer your files from your PC to your Mac effortlessly, allowing you to continue your work without missing a beat.
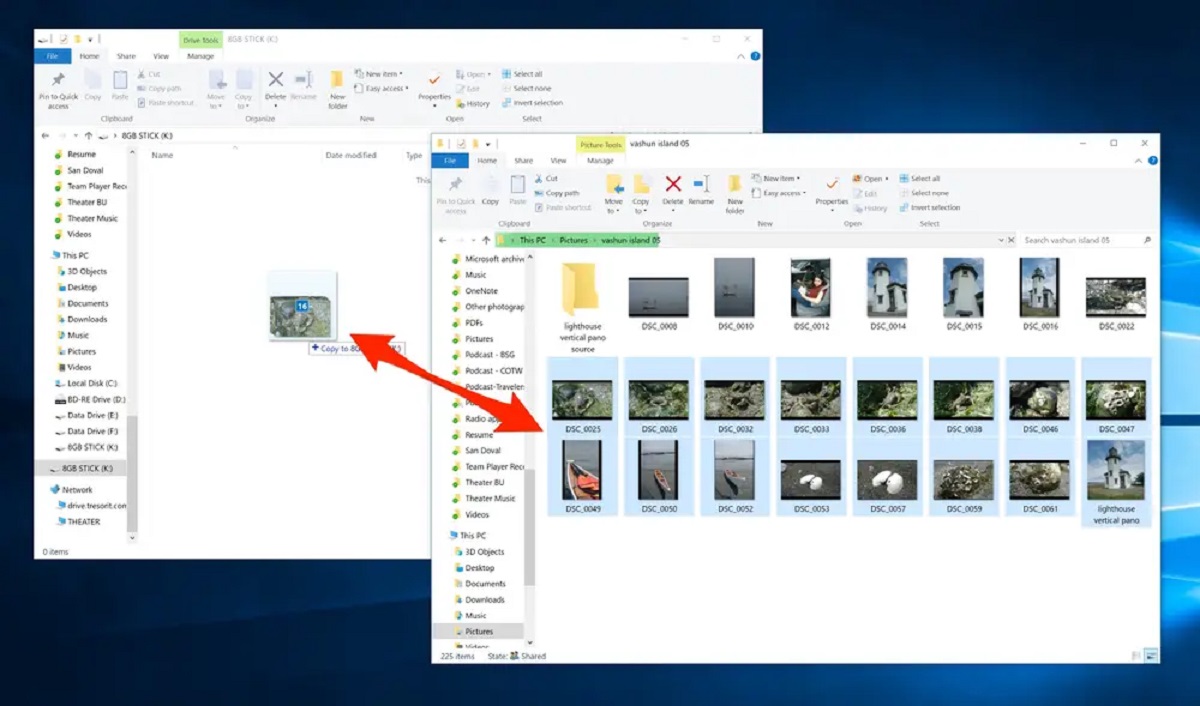
Method 1: Using a USB Flash Drive
Using a USB flash drive is one of the easiest and most common methods to transfer files from a PC to a Mac. Here’s a step-by-step guide to help you through the process:
- Insert the USB flash drive into your PC’s USB port.
- Locate the files you want to transfer on your PC. This can be done by navigating to the specific folders or using the search feature to find the files.
- Select the files you wish to transfer. You can do this by either holding the Ctrl key and clicking on individual files, or by using the Ctrl+A command to select all files in a particular folder.
- Once you have selected the files, right-click and choose “Copy” from the context menu.
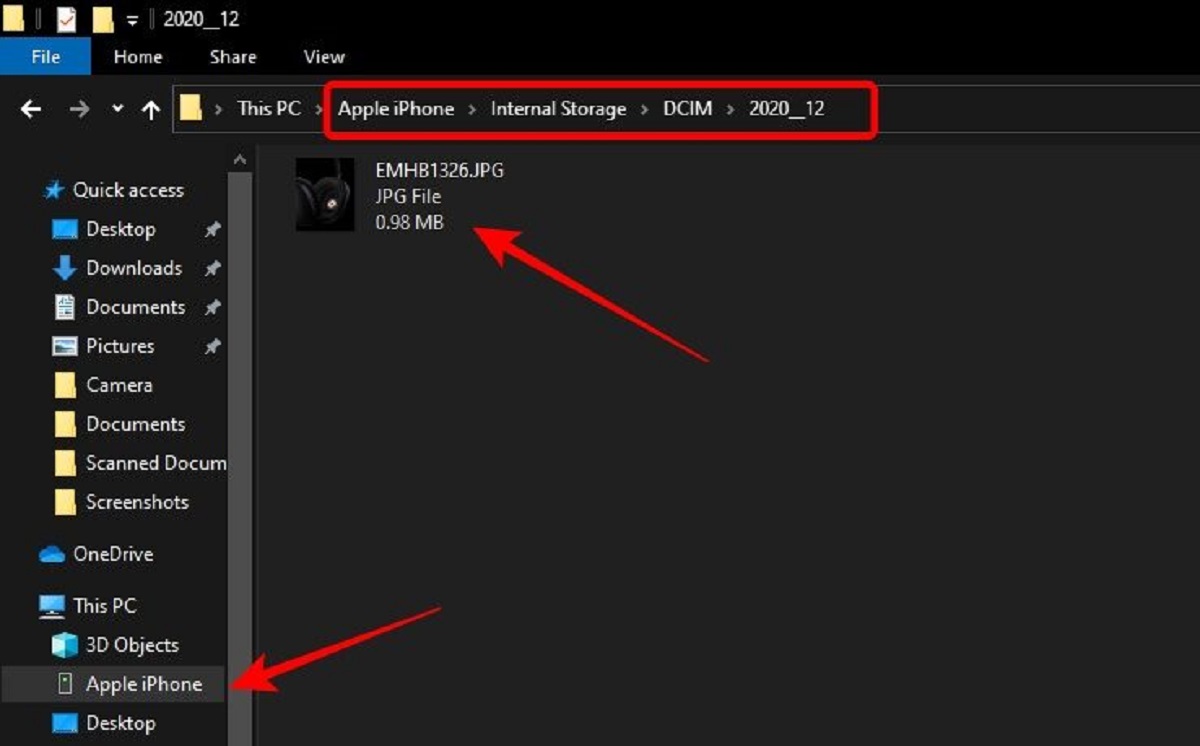
- Open the USB flash drive’s folder on your PC. This can typically be found under “My Computer” or “This PC” and will be labeled with the name of the flash drive.
- Right-click inside the USB flash drive’s folder and choose “Paste” from the context menu. This will copy the selected files onto the flash drive.
- Once the file transfer is complete, safely eject the USB flash drive from your PC by right-clicking on its icon and selecting the “Eject” option.
- Now, remove the USB flash drive from your PC and insert it into your Mac’s USB port.
- On your Mac, open a Finder window and locate the USB flash drive under the “Devices” section in the sidebar.
- Double-click on the USB flash drive’s icon to open it and view the copied files.
- To transfer the files from the USB flash drive to your Mac, simply drag and drop them into the desired location on your Mac’s hard drive.
Using a USB flash drive is a quick and efficient method to transfer files, especially if you only need to transfer a small number of files or relatively small file sizes. However, keep in mind that USB flash drives have limited storage capacity, so if you have a large number of files to transfer, you may need to consider alternative methods.
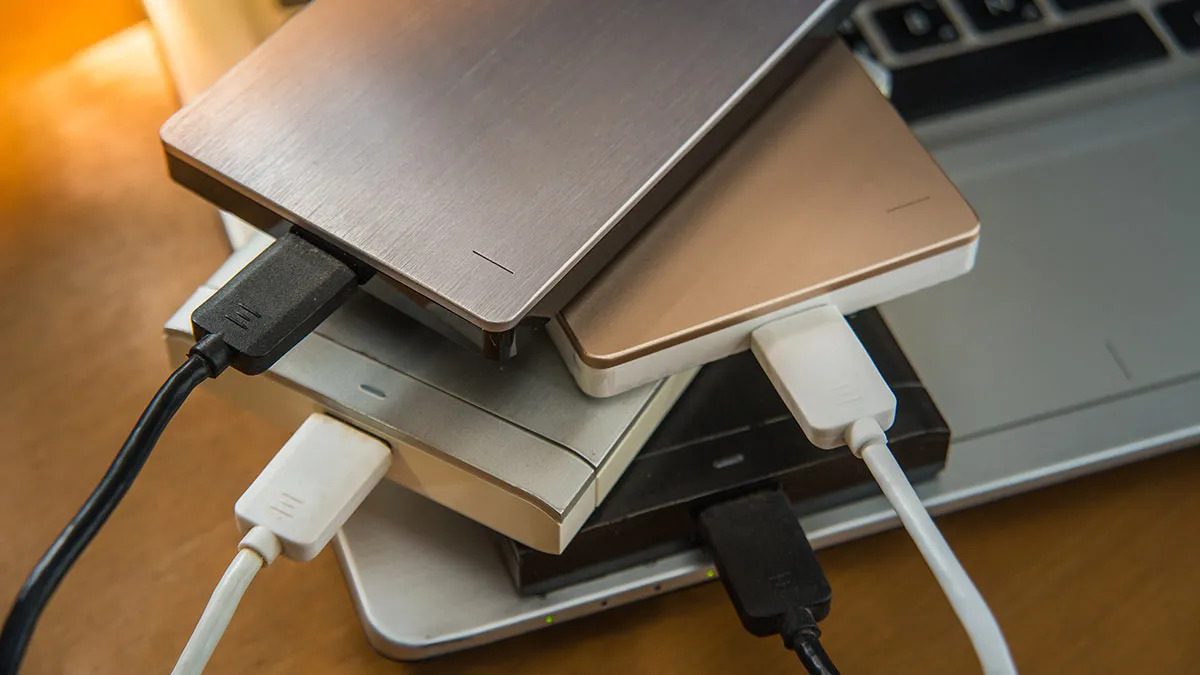
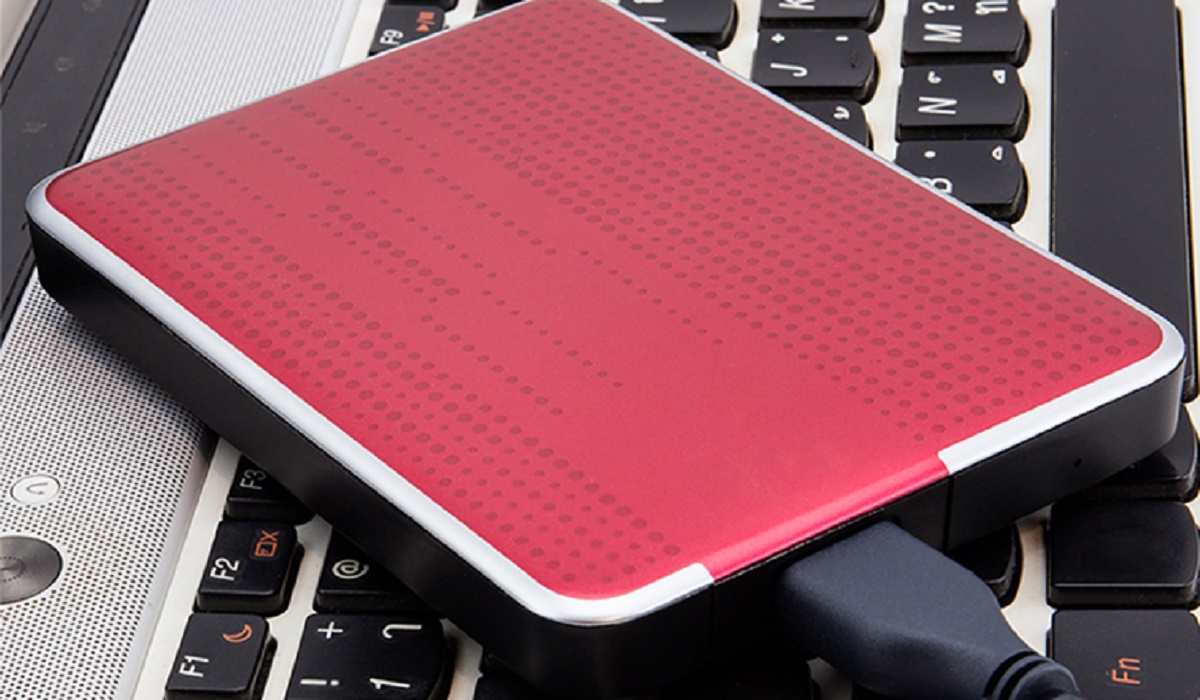
Method 2: Using an External Hard Drive
If you have a large number of files or need to transfer large file sizes from a PC to a Mac, using an external hard drive can be an ideal solution. Here’s a step-by-step guide to help you transfer files using this method:
- Connect the external hard drive to your PC using the provided USB cable or other appropriate connections.
- On your PC, locate the files you want to transfer. You can navigate to specific folders or use the search feature to find the files.
- Select the files you wish to transfer. Hold the Ctrl key and click on individual files or use the Ctrl+A command to select all files in a particular folder.
- Right-click on the selected files and choose “Copy” from the context menu.
- Open the external hard drive’s folder on your PC. This can typically be found by navigating to “My Computer” or “This PC” and selecting the appropriate drive.
- Right-click inside the external hard drive’s folder and choose “Paste” from the context menu. This will copy the selected files onto the external hard drive.
- Once the file transfer is complete, safely disconnect the external hard drive from your PC.
- Now, connect the external hard drive to your Mac using the provided USB cable or appropriate connections.
- On your Mac, open a Finder window and locate the external hard drive under the “Devices” section in the sidebar.
- Double-click on the external hard drive’s icon to open it and view the copied files.
- To transfer the files from the external hard drive to your Mac’s hard drive, simply drag and drop them into the desired location on your Mac.
Using an external hard drive allows you to transfer a large volume of files and larger file sizes efficiently. It provides ample storage capacity and faster data transfer speeds compared to a USB flash drive. However, keep in mind that the external hard drive needs to be formatted to be compatible with both PC and Mac systems. It is recommended to use a file system such as exFAT that can be read and written by both operating systems.
With this method, you can easily transfer your files from a PC to a Mac without the limitations of file size or quantity. It provides a convenient way to migrate all your important data and continue working seamlessly on your Mac.
Method 3: Using a Cloud Storage Service
If you want to access your files from anywhere, using a cloud storage service is an excellent option for transferring files from a PC to a Mac. Cloud storage allows you to store your files on remote servers and access them through the internet. Here’s a step-by-step guide on how to transfer files using a cloud storage service:
- Sign up for a cloud storage service, such as Dropbox, Google Drive, or OneDrive, on your PC.
- Download and install the cloud storage service’s application on your PC. These applications create a dedicated folder on your PC that syncs with your cloud storage account.
- Once installed, sign in to your cloud storage account on your PC’s application.
- Locate the files you want to transfer on your PC. This can be done by navigating to the specific folders or using the search feature to find the files.
- Drag and drop the files you wish to transfer into the dedicated folder created by the cloud storage application on your PC.
- The files will automatically sync with your cloud storage account, and you can access them from any device with an internet connection.
- Now, on your Mac, visit the cloud storage service’s website or download and install the appropriate application for Mac.
- Sign in to your cloud storage account on your Mac and locate the files you transferred.
- To download the files from the cloud storage to your Mac, simply select the files you want and choose the “Download” option.
- Once the files are downloaded to your Mac, you can access and work with them without an internet connection.
Using a cloud storage service provides the convenience of accessing your files from any device and ensures that your files are backed up and secure. It eliminates the need for physical storage devices and simplifies the process of transferring files between a PC and a Mac.
Remember to consider the storage capacity and any limitations of the cloud storage service, as well as the potential costs associated with using additional storage space beyond the free quota. Additionally, it’s important to have a stable internet connection to ensure smooth and efficient file transfers.
With a cloud storage service, you can transfer files seamlessly between a PC and a Mac, ensuring that your important data is readily available wherever you go.
Method 4: Using a File Transfer Software
If you’re looking for a more advanced and feature-rich method to transfer files from a PC to a Mac, using file transfer software is a great option. This method provides additional functionalities and customization options to streamline the transfer process. Here’s a step-by-step guide to using file transfer software:
- Research and choose a reliable file transfer software that supports both PC and Mac operating systems.
- Download and install the file transfer software on both your PC and Mac.
- Launch the software on your PC and set up a connection between your PC and Mac.
- Follow the software’s instructions to establish the connection, which may involve entering IP addresses or using a network discovery feature.
- Once the connection is established, you can browse the files on your PC directly from the software’s interface.
- Select the files you want to transfer and choose the destination folder on your Mac where you want the files to be saved.
- Initiate the file transfer process, and the software will transfer the selected files from your PC to your Mac.
- Monitor the transfer progress through the software’s interface and ensure that all files are successfully transferred.
- Once the transfer is complete, safely disconnect the PC and Mac from the file transfer software.
- On your Mac, navigate to the destination folder where the files were transferred to verify their presence.
File transfer software provides advanced features such as synchronization options, file filtering, and the ability to resume interrupted transfers. It is particularly useful when transferring large files or a significant number of files between a PC and a Mac.
It’s important to choose reputable file transfer software that guarantees secure and reliable transfers. Additionally, make sure to follow any setup and configuration instructions provided by the software to ensure a smooth transfer experience.
By using file transfer software, you can save time and effort by automating the transfer process and taking advantage of additional features to customize and optimize the file transfer from your PC to your Mac.
Conclusion
Transferring files from a PC to a Mac doesn’t have to be a complex or daunting task. With the right methods, you can seamlessly move your files and data to your new Mac or transfer files between the two platforms effortlessly.
In this article, we explored four different methods to transfer files from a PC to a Mac. First, we discussed the straightforward process of using a USB flash drive, which is ideal for transferring smaller file sizes and a small number of files.
Next, we delved into using an external hard drive, a more suitable option when dealing with large file sizes or a large quantity of files. The external hard drive provides ample storage capacity and faster data transfer speeds, making it a convenient choice for users with extensive data to transfer.
For those who prefer the flexibility of accessing their files from anywhere, using a cloud storage service is an excellent option. This method allows you to store your files remotely and access them through the internet on both your PC and Mac, ensuring seamless file transfer and accessibility.
If you require more advanced functionalities and customization options, using file transfer software is the way to go. This method provides additional features such as synchronization, file filtering, and resumed transfers, making it the ideal choice for users who regularly need to transfer files between their PC and Mac.
Each method offers unique advantages and is suitable for different transfer scenarios. It’s essential to consider the size and quantity of files you need to transfer, your access requirements, and any specific preferences you may have when choosing the most appropriate method.
By following the step-by-step guides provided for each method, you can confidently transfer your files from a PC to a Mac or vice versa. Whether you’re a new Mac user or simply need to migrate your files, these methods will help you seamlessly transition and continue your work with ease.