Introduction
Transferring files from your computer to an external hard drive is a simple and effective way to backup your important data, free up storage space, or keep your files accessible even when you’re on the go. Whether you’re a professional managing large work files or simply a casual user wanting to store your precious memories, learning how to transfer files to an external hard drive is an essential skill.
In this article, we’ll guide you through the step-by-step process of transferring files from your computer to an external hard drive. We’ll provide you with easy-to-follow instructions that work on both Windows and Mac operating systems. Whether you’re using a USB, Thunderbolt, or FireWire connection, these steps will help you quickly and efficiently move your files.
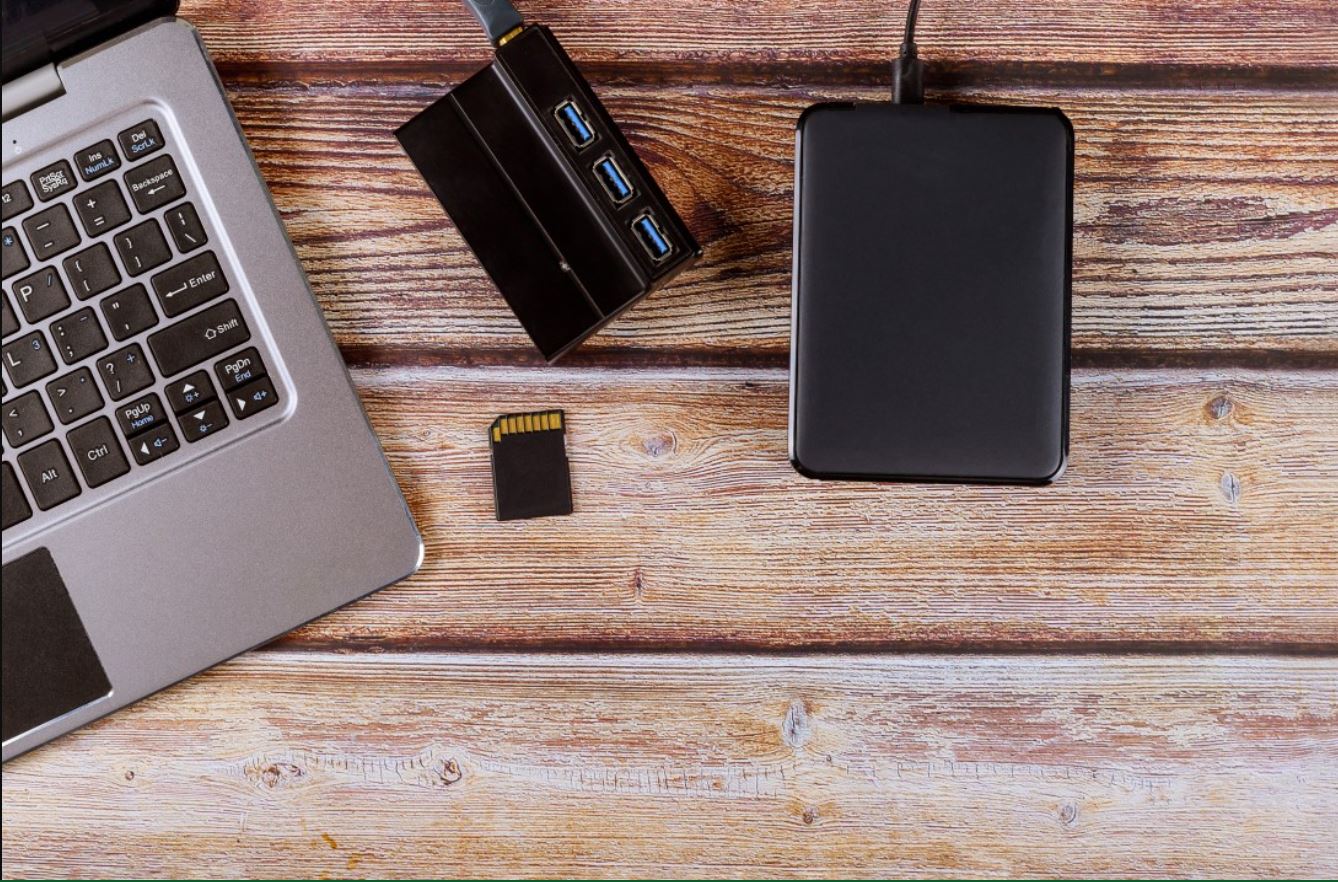
Before getting started, it’s important to note that external hard drives come in different sizes and brands. Make sure you have enough space on your external hard drive to accommodate the files you intend to transfer. Additionally, ensure that your external hard drive is properly formatted and compatible with your computer’s operating system.
Now that you’re ready, let’s dive into the steps involved in transferring files from your computer to an external hard drive. Following these steps will enable you to safely and securely transfer your files, giving you peace of mind and the convenience of easy access to your data whenever you need it.
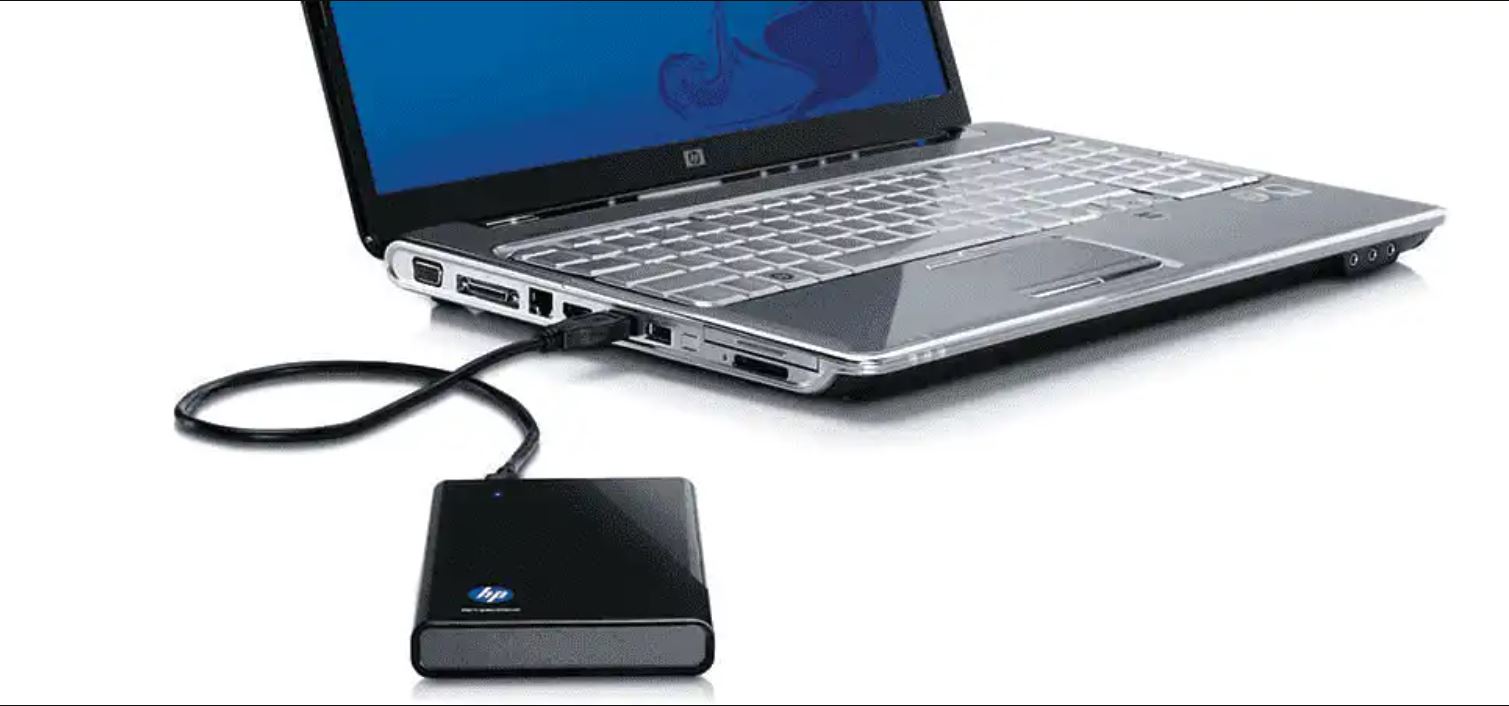
Step 1: Connect Your External Hard Drive to Your Computer
The first step in transferring files from your computer to an external hard drive is to establish a physical connection between the two devices. Here’s how you can do it:
1. Locate an available USB, Thunderbolt, or FireWire port on your computer. These ports are usually located on the sides or back of the computer tower, or on the sides of a laptop.
2. Connect one end of the appropriate cable (USB, Thunderbolt, or FireWire) into the corresponding port on your external hard drive.
3. Connect the other end of the cable into the appropriate port on your computer. Ensure that the connection is secure.
4. Once connected, your computer should detect the external hard drive and install any necessary drivers. This process may take a few moments.
5. To confirm that the connection is successfully established, navigate to the file explorer (Windows) or the finder (Mac) and look for the external hard drive in the list of drives or devices. You should see the external hard drive listed along with its assigned drive letter or name.
Congratulations! You have successfully connected your external hard drive to your computer. Now you’re ready to move on to the next step and start transferring your files.
Step 2: Locate and Open the File Explorer or Finder
Now that you have successfully connected your external hard drive to your computer, the next step is to locate and open the file explorer (Windows) or finder (Mac). These file management tools allow you to navigate through your computer’s files and folders and access the external hard drive. Here’s how you can do it:
For Windows users:
- Click on the “Start” button located on the bottom-left corner of your screen, or press the Windows key on your keyboard.
- In the search bar, type “File Explorer” and press Enter. The File Explorer window should open.
- On the left-hand side of the File Explorer window, you will see a list of drives and folders. Look for your external hard drive in the “Devices and drives” section. Click on it to select it.
- You will now see the contents of your external hard drive appear in the main window of File Explorer. You are now ready to proceed with selecting the files or folders you wish to transfer.
For Mac users:
- In the menu bar at the top of your screen, click on the “Finder” icon (looks like a blue face).
- A new Finder window will open. Look for your external hard drive in the left-hand sidebar under the “Devices” section. Click on it to select it.
- The contents of your external hard drive should now be displayed in the main Finder window. You can now proceed with selecting the files or folders you want to transfer.
Opening the file explorer or finder allows you to easily navigate your computer’s files and locate the external hard drive. Take a moment to familiarize yourself with the layout and features of the file explorer or finder before proceeding to the next step.
Step 3: Select the Files or Folders You Want to Transfer
Now that you have opened the file explorer (Windows) or finder (Mac), it’s time to select the files or folders you want to transfer to your external hard drive. Follow these simple steps to make your selections:
For Windows users:
- Navigate to the location on your computer where the files/folders are located. You can access different drives or folders by clicking on them in the left-hand sidebar of the file explorer.
- Click once on a file or folder to select it. To select multiple files or folders, hold down the Ctrl key on your keyboard and click on each item you want to include in the selection.
- If you want to select a range of files or folders, click on the first item in the range, hold down the Shift key, and then click on the last item in the range. All items in between will be selected.
For Mac users:
- Navigate to the location on your computer where the files/folders are located. You can access different drives or folders by clicking on them in the left-hand sidebar of the finder.
- Click once on a file or folder to select it. To select multiple files or folders, hold down the Command key on your keyboard and click on each item you want to include in the selection.
- If you want to select a range of files or folders, click on the first item in the range, hold down the Shift key, and then click on the last item in the range. All items in between will be selected.
Make sure to carefully review your selections and ensure that all the files and folders you want to transfer are included. Once you are satisfied with your selection, proceed to the next step to copy the selected files/folders to your external hard drive.
Step 4: Copy the Selected Files/Folders
Now that you have selected the files or folders you want to transfer to your external hard drive, it’s time to make a copy of them. Follow these steps to copy the selected files/folders:
For Windows users:
- Right-click on the selected files or folders. A context menu will appear.
- In the context menu, hover over the “Copy” option and click on it. This will copy the selected items to your computer’s clipboard.
For Mac users:
- With the selected files or folders, click on the “Edit” option in the menu bar at the top of the screen.
- In the dropdown menu, click on the “Copy” option. This will copy the selected items to your computer’s clipboard.
Copying the files/folders to your computer’s clipboard allows you to easily transfer them to your external hard drive. The next step will guide you on how to paste the copied files/folders to the external hard drive.
Step 5: Paste the Copied Files/Folders into the External Hard Drive
Now that you have copied the files or folders to your computer’s clipboard, it’s time to paste them into your external hard drive. Follow these simple steps to complete the transfer process:
For Windows users:
- Open the file explorer by following the steps mentioned in Step 2.
- Navigate to your external hard drive in the file explorer by clicking on it in the left-hand sidebar.
- Once you are inside the external hard drive, right-click on an empty space in the main window.
- In the context menu that appears, hover over the “Paste” option and click on it. This will start the process of pasting the copied files/folders into the external hard drive.
For Mac users:
- Open the finder by following the steps mentioned in Step 2.
- Navigate to your external hard drive in the finder by clicking on it in the left-hand sidebar.
- Once you are inside the external hard drive, click on an empty space in the main window.
- From the menu bar at the top of the screen, click on the “Edit” option.
- In the dropdown menu, click on the “Paste” option. This will initiate the process of pasting the copied files/folders into the external hard drive.
Depending on the size and number of files/folders being transferred, the pasting process might take some time. You can monitor the progress of the transfer using the progress bar or indicator provided by the file explorer or finder.
Once the transfer is complete, you can safely eject the external hard drive and disconnect it from your computer, as outlined in the next step.
Step 6: Monitor the Transfer Progress
When transferring large files or a significant number of files/folders, it’s beneficial to monitor the transfer progress to ensure that everything is being copied successfully. Here’s how you can keep track of the transfer progress:
For Windows users:
- During the copy process (Step 4), a progress dialog box will appear, displaying the transfer status and estimated time remaining.
- You can also monitor the progress by checking the progress indicator in the file explorer. It may appear as a progress bar or a moving indicator.
- Allow the transfer process to complete without interrupting it.
For Mac users:
- During the copy process (Step 4), a progress bar will appear in the finder window, displaying the transfer status and estimated time remaining.
- You can also monitor the progress by checking the progress indicator in the finder sidebar. It may appear as a progress bar or a spinning indicator.
- Let the transfer process finish without interruption.
It’s essential to be patient during the transfer process, especially with larger files or a significant amount of data. The duration of the transfer will depend on the size of the files/folders being copied and the speed of your computer and external hard drive.
Ensure that you do not interrupt the transfer by unplugging the external hard drive or shutting down your computer. Doing so may result in incomplete or corrupted file transfers.
Once the transfer is complete, you can move on to the final step and safely eject the external hard drive from your computer.
Step 7: Safely Eject the External Hard Drive
After successfully transferring your files to the external hard drive, it’s crucial to safely eject it from your computer to avoid data loss or corruption. Follow these steps to safely eject your external hard drive:
For Windows users:
- Locate the “Safely Remove Hardware” icon in the system tray, which is typically found in the bottom-right corner of the screen. It may appear as an icon with a USB plug or a green checkmark.
- Click on the “Safely Remove Hardware” icon to open a menu showing the connected devices.
- Select the external hard drive from the list of devices.
- Wait for a notification or confirmation message indicating that it is safe to remove the external hard drive. This message ensures that all read/write operations have been completed and the drive is no longer in use.
- Carefully disconnect the external hard drive from your computer.
For Mac users:
- Locate the external hard drive icon on your desktop or in the finder sidebar.
- Click and drag the external hard drive icon to the Trash icon in the dock.
- The Trash icon will change to an Eject icon, indicating that it is safe to remove the external hard drive.
- Disconnect the external hard drive from your computer.
It is important not to simply unplug the external hard drive without following the proper eject process. Improperly disconnecting the drive can lead to data loss or other issues. Always take the time to safely eject the external hard drive before physically removing it.
By following these steps, you can confidently transfer your files to an external hard drive and safely remove it from your computer, ensuring the integrity of your data and the longevity of your devices.
Conclusion
Transferring files from your computer to an external hard drive is a practical and secure way to backup, organize, and store your important data. Whether you’re dealing with large work files, personal documents, or cherished memories, the process of transferring files is straightforward and accessible to all computer users.
In this article, we have provided you with a step-by-step guide on how to transfer files from your computer to an external hard drive. We started by connecting the external hard drive to your computer and locating the file explorer (Windows) or finder (Mac) to access the files. Then, we guided you through selecting the files or folders you wanted to transfer, copying them, and pasting them into the external hard drive. We highlighted the importance of monitoring the transfer progress to ensure a successful transfer and emphasized the need to safely eject the external hard drive before disconnecting it from your computer.
Remember, when transferring files, it’s vital to have enough space on your external hard drive and ensure compatibility with your computer’s operating system. Taking the time to properly prepare, execute, and complete the file transfer process will safeguard your valuable data and provide peace of mind.
Now that you have learned how to transfer files to an external hard drive, you can take advantage of this method to free up storage space, create backups, and keep your files secure. Whether you’re a professional managing important work files or a casual user wanting to organize your digital life, transferring files to an external hard drive is a valuable skill to have.
So go ahead, connect your external hard drive, select those files, and safely transfer them to your external storage. Enjoy the convenience, security, and peace of mind that comes with managing your data effectively.