Introduction
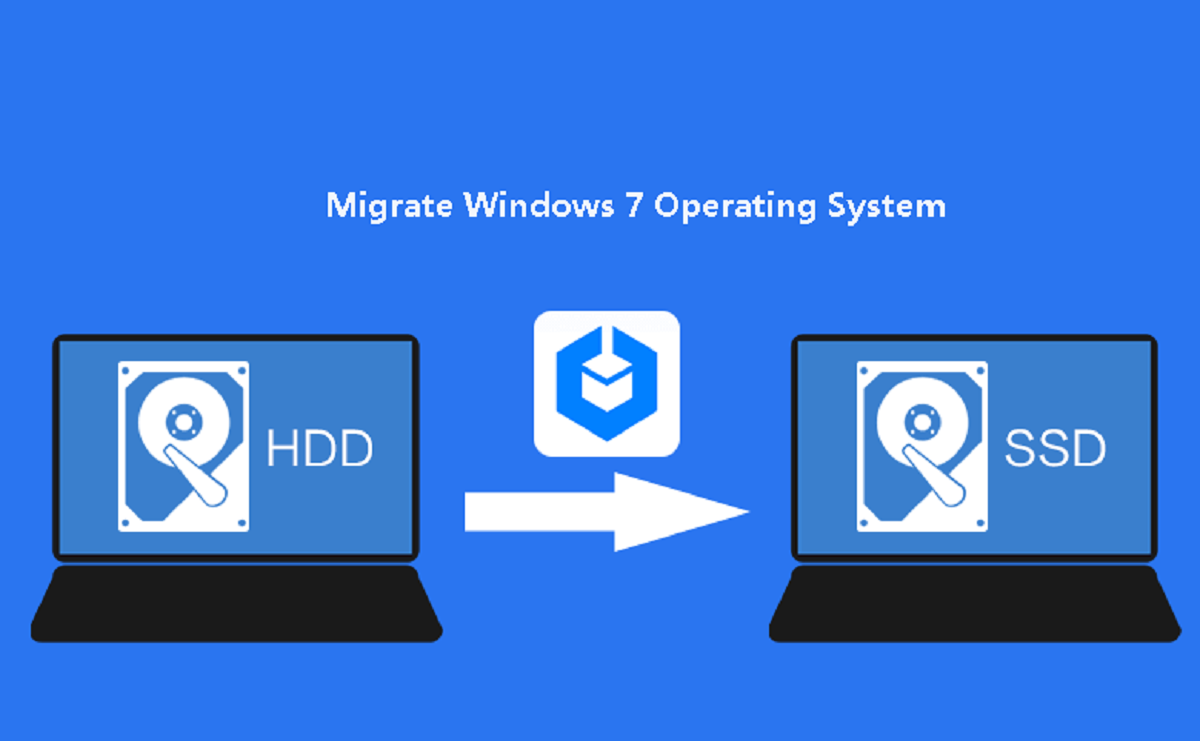
Welcome to our comprehensive guide on how to transfer your boot drive to a new SSD. As technology advances, upgrading to a faster and more reliable solid-state drive (SSD) has become increasingly popular. Whether you want to boost your system’s performance or simply need more storage capacity, transferring your boot drive to a new SSD can significantly improve your computer’s overall experience.
Migrating your boot drive to a new SSD may seem like a daunting task, but fear not – we have you covered. In this article, we will take you through the step-by-step process of transferring your boot drive to a new SSD, ensuring a smooth and hassle-free experience. By following these instructions, you’ll be up and running with your new SSD in no time.
Before we dive into the details, it’s important to note that this guide assumes you have a basic understanding of computer hardware and software. Additionally, be sure to back up your data before proceeding with this process to avoid any potential data loss. With that said, let’s get started!
We will walk you through each step of the process, from backing up your data to physically installing the new SSD and setting it as your boot drive. By the end of this guide, you’ll have a clear understanding of how to successfully transfer your boot drive to a new SSD, allowing you to enjoy the benefits of improved performance and reliability.
So, if you’re ready to elevate your computer’s performance and storage capabilities, let’s proceed to the next section to check the system requirements.
System Requirements
Before getting started with the process of transferring your boot drive to a new SSD, it’s essential to ensure that your system meets the necessary requirements. Here’s what you’ll need:
- A computer or laptop with a functioning operating system
- An existing boot drive that you want to transfer
- A new SSD with sufficient capacity to accommodate your existing boot drive data
- A compatible cloning software (such as Clonezilla, Macrium Reflect, or Acronis True Image)
- A SATA-to-USB adapter or an external hard drive enclosure (if you don’t have an available SSD slot)
- A screwdriver (if you need to physically install the new SSD)
- An internet connection (for downloading necessary software and drivers)
It is crucial to ensure that your new SSD is compatible with your system and that it has ample space to accommodate the data from your existing boot drive. Be aware that the size of your new SSD should be equal to or larger than the space occupied by your current boot drive.
Furthermore, it’s recommended to have a reliable power source and to disable any power-saving settings on your computer during the transfer process to avoid any interruptions or data corruption.
Additionally, make sure to have a backup of your important data stored on your existing boot drive. While the transfer process should not result in data loss, it is always better to be safe than sorry.
Now that you have familiarized yourself with the system requirements, let’s move on to the first step: backing up your data.
Step 1: Backup your data
Before you embark on transferring your boot drive to a new SSD, it is crucial to create a backup of all your important data. This step is essential to ensure that you have a copy of your files in case of any unforeseen issues during the transfer process. Here’s how you can back up your data:
- Identify the critical files: Determine which files and folders on your boot drive are essential to you. These may include documents, photos, videos, and any other personal or work-related files.
- Choose a backup method: Decide on a backup method that suits your needs. You can use an external hard drive, a cloud storage service, or even create a disk image using backup software.
- Copy your files: Once you have chosen a backup method, start copying the identified files to your chosen backup storage solution. Make sure to double-check that the files have been successfully copied.
- Verify the backup: After completing the backup process, it is essential to verify the integrity of your backup. This means checking that all the files you intended to back up are present and can be accessed without any issues.
By following these steps, you can ensure that your important data is safely backed up and ready to be restored once the transfer to the new SSD is complete. Remember, it is always better to be cautious and have a backup than risk losing your data during the transfer process.
Once you have successfully backed up your data, you can proceed to the next step: choosing the right SSD for your needs.
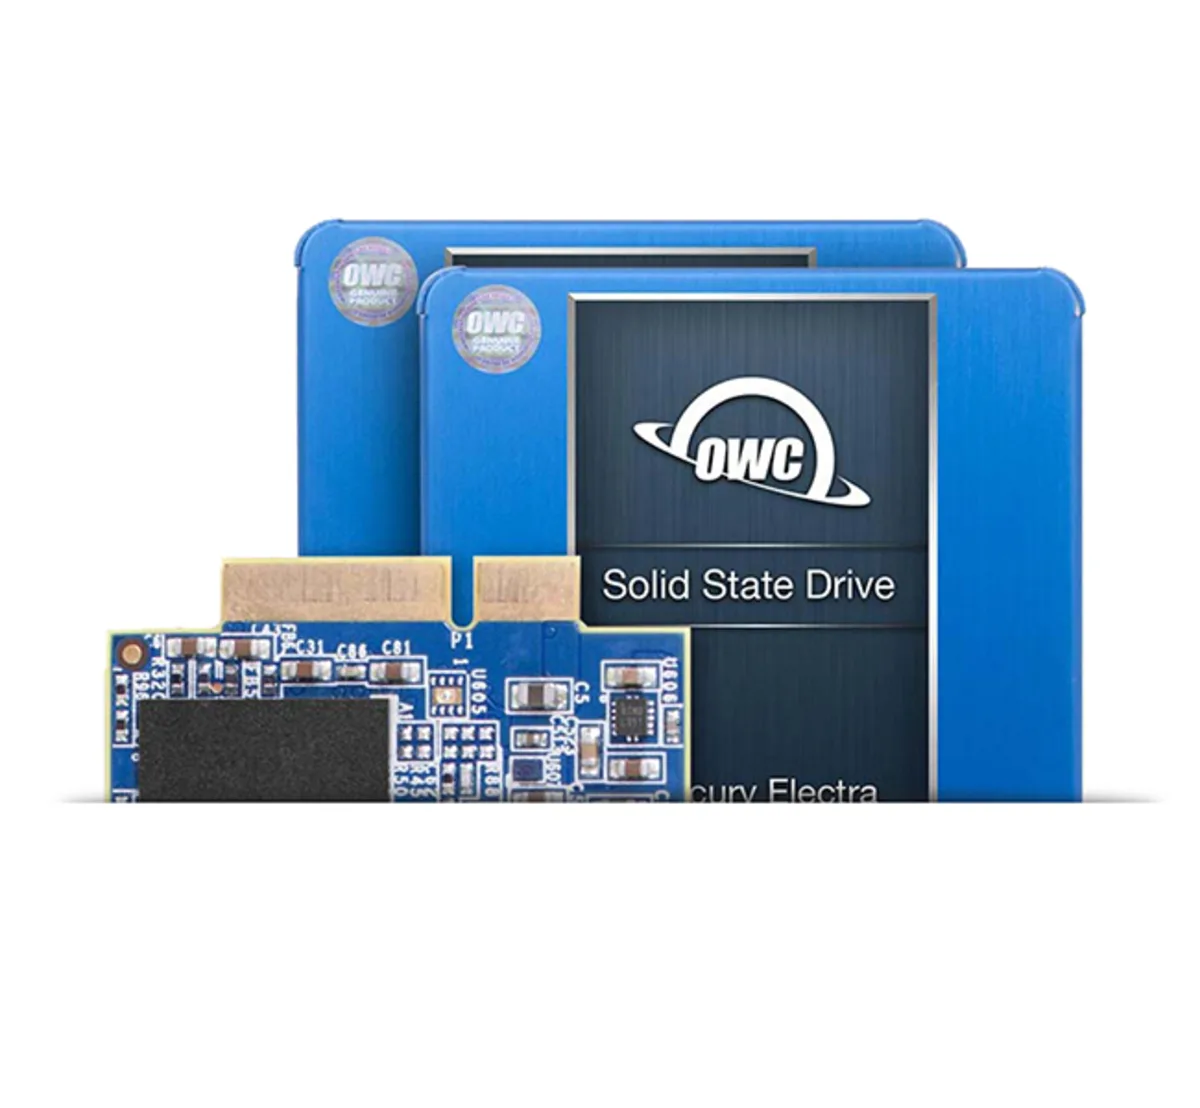
Step 2: Choose the right SSD
Choosing the right SSD for your system is crucial to ensure compatibility and maximize performance. With a wide variety of options available in the market, here are some factors to consider when selecting the right SSD for your needs:
- Capacity: Consider your storage requirements and choose an SSD with sufficient capacity to accommodate your existing boot drive data. It is recommended to select a larger capacity SSD if you have plans for future expansion.
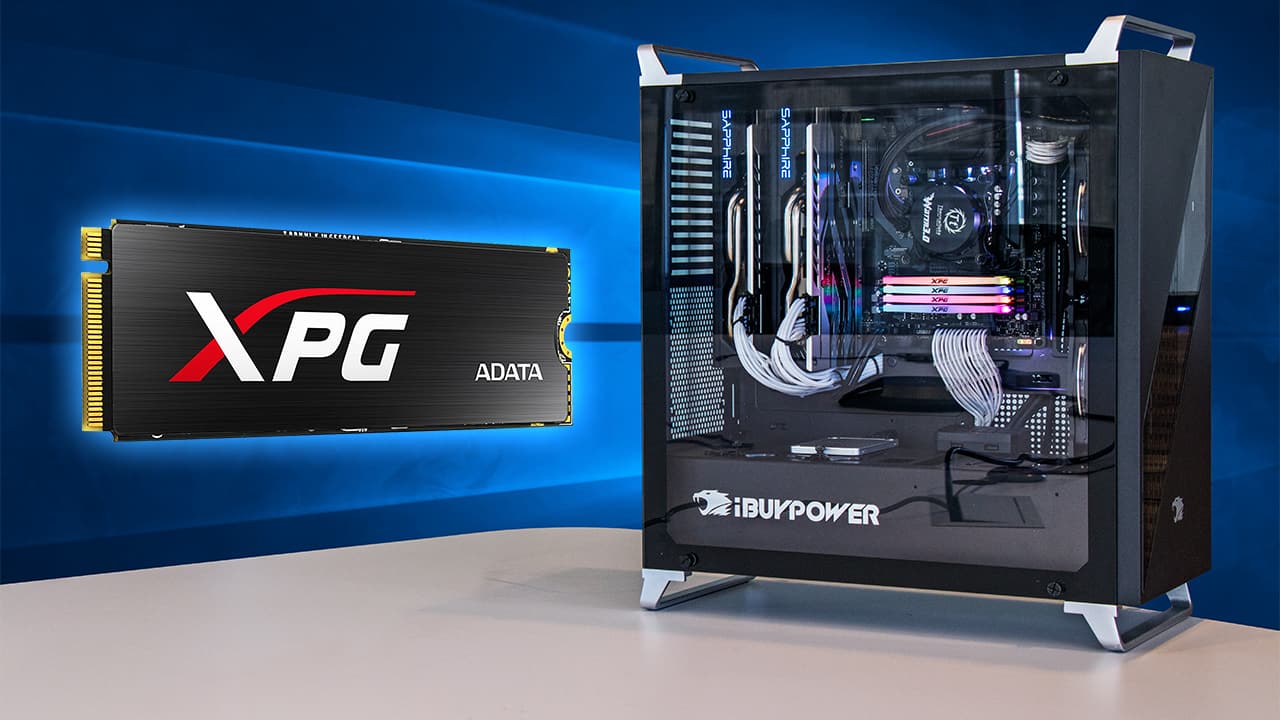
- Interface: Check the interface compatibility of your system. Most modern systems use SATA III or M.2 interfaces, so make sure to choose an SSD with the appropriate interface for your system.
- Performance: Look for an SSD with fast read and write speeds to enhance overall system performance. Pay attention to specifications like sequential read/write speeds and random read/write speeds for a better understanding of performance capabilities.
- Reliability: Opt for a reputable brand and reliable SSD model to ensure durability and longevity. Read reviews and check the warranty period provided by the manufacturer to get an idea of the SSD’s reliability.
- Price: Compare the prices of different SSD options to find one that fits within your budget. Consider the balance between performance, capacity, and price to make an informed decision.
By considering these factors, you can narrow down your choices and select an SSD that meets your requirements. It is always recommended to do some research and read reviews to gather insights into the performance and reliability of different SSD models.
Once you have chosen the right SSD, you are ready to move on to the next step: cloning your boot drive to the new SSD.
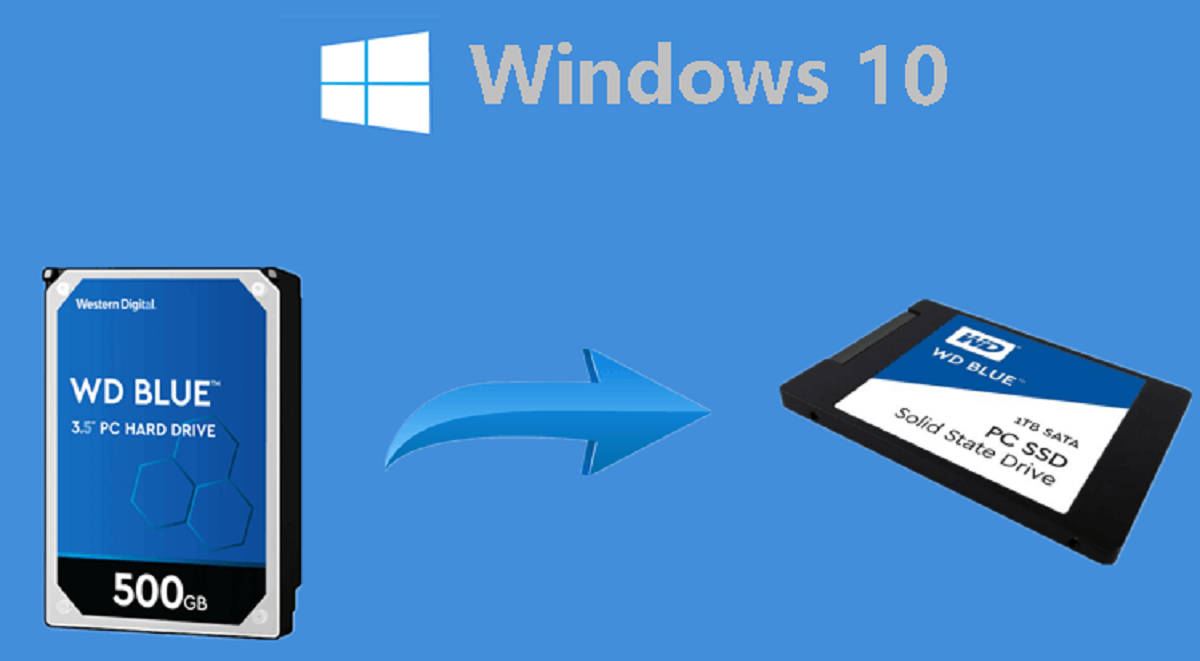
Step 3: Clone your boot drive
Cloning your boot drive is the process of creating an exact replica of your existing boot drive onto the new SSD. This ensures that all your files, settings, and operating system are transferred seamlessly. Follow these steps to clone your boot drive:
- Select a cloning software: Choose a reliable cloning software that supports boot drive cloning. Some popular options include Clonezilla, Macrium Reflect, and Acronis True Image. Download and install the chosen software on your computer.
- Connect the new SSD: If your new SSD is external, connect it to your computer using a SATA-to-USB adapter or an external hard drive enclosure. If it is internal, ensure that it is properly installed in your system.
- Launch the cloning software: Open the cloning software and select the option to clone your boot drive.
- Select the source and target drives: Choose your existing boot drive as the source and the new SSD as the target for the cloning process. Double-check the selection to avoid any accidental data loss.
- Configure cloning settings: Depending on the software you are using, you may have customization options like choosing to clone the entire drive or specific partitions, resizing partitions, or aligning the SSD for optimal performance. Adjust these settings as per your preferences.
- Initiate the cloning process: Start the cloning process and wait for it to be completed. This may take some time, depending on the size of your existing boot drive.
- Verify the cloned data: Once the cloning process is finished, verify the cloned data on the new SSD. Ensure that all your files, settings, and the operating system have been successfully transferred.
It is essential to note that during the cloning process, all data on the target SSD will be overwritten. Therefore, make sure you have a backup of your important data before proceeding with the cloning process.
With the successful cloning of your boot drive onto the new SSD, you are ready for the next step: physically installing the new SSD into your system.
Step 4: Physically install the new SSD
In this step, you will physically install the new SSD into your computer. The process may vary slightly depending on the type of computer or laptop you have, but the general steps are as follows:
- Power off your computer: Before working with any hardware components, ensure that your computer is fully powered off and unplugged from the power source.
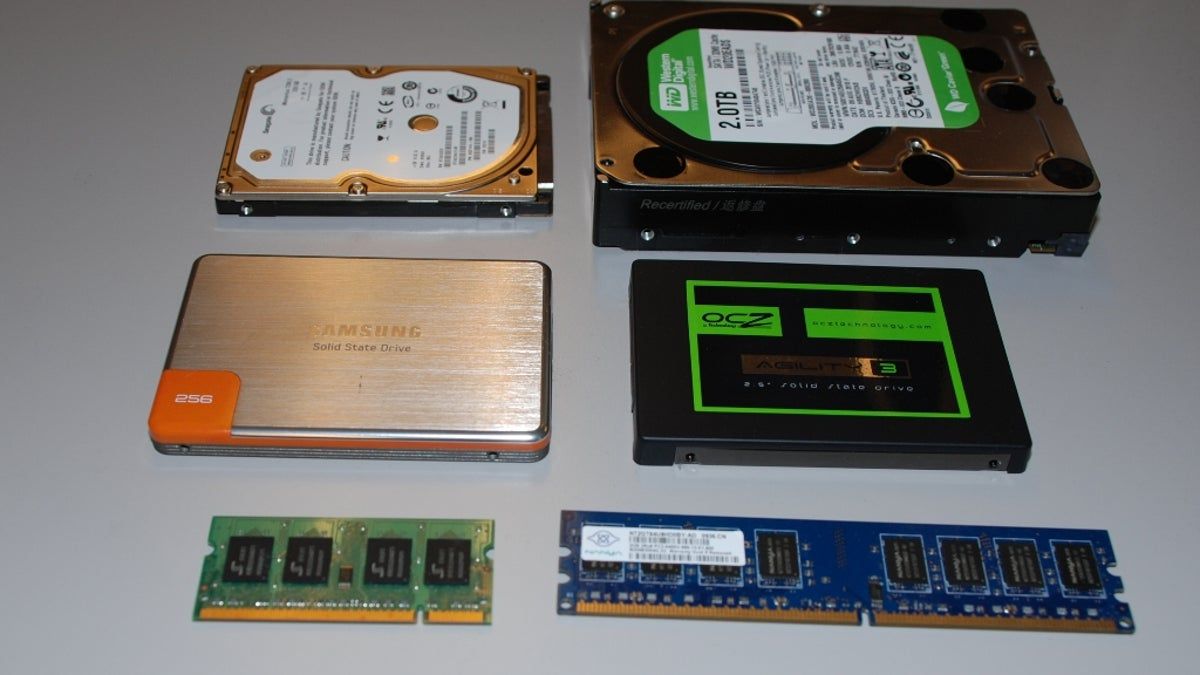
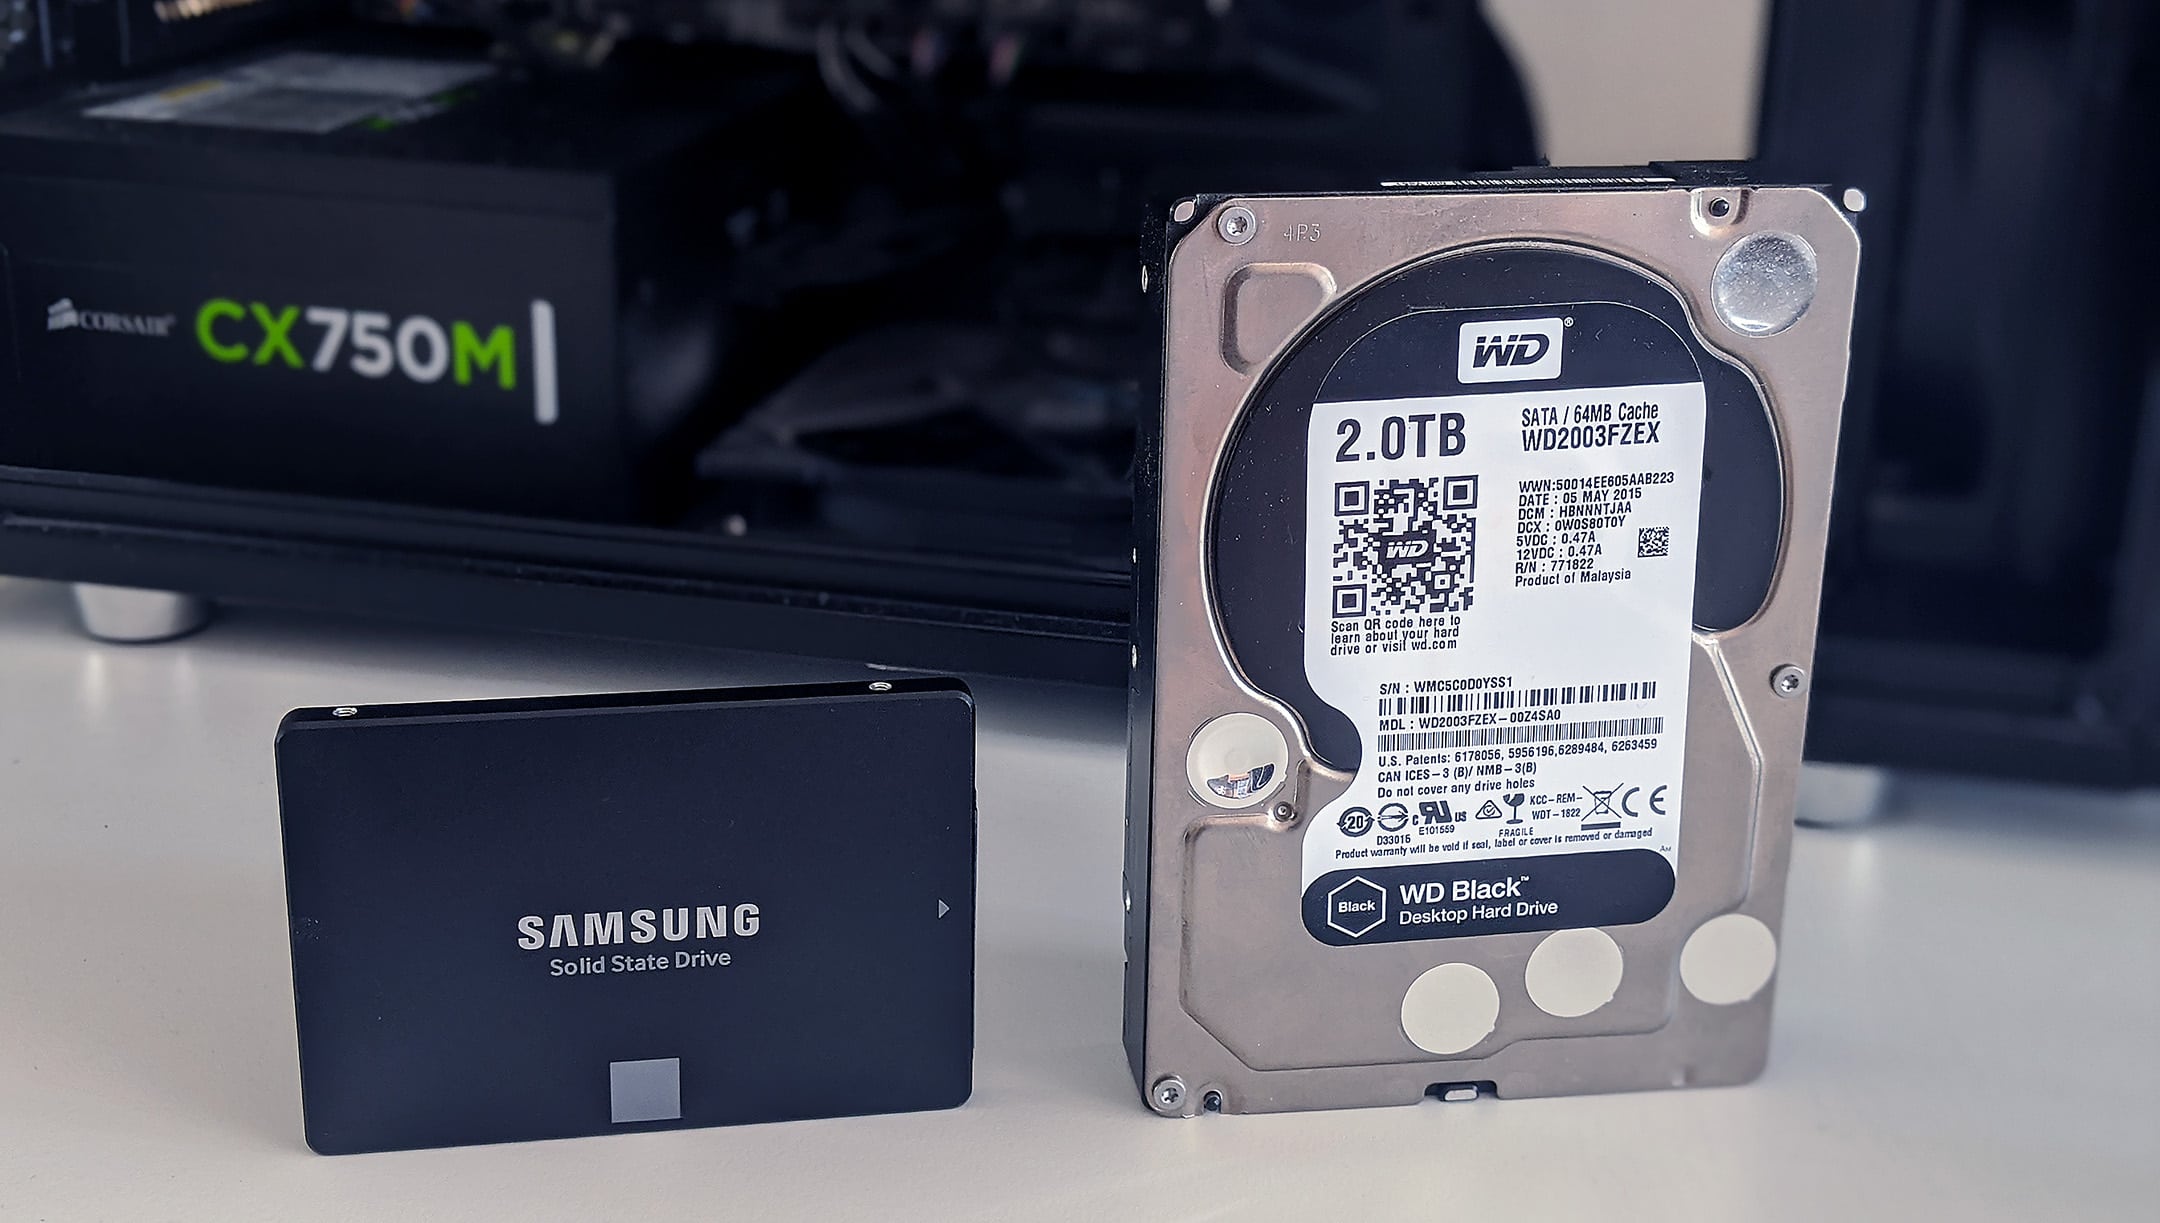
- Locate the existing boot drive: Identify the location of your existing boot drive, which is usually a 2.5-inch or 3.5-inch drive bay. It may also be an M.2 slot, depending on your system.
- Prepare the new SSD: If your new SSD is in an external enclosure, remove it and get the bare drive ready for installation. If it is an internal SSD, ensure that it is in a compatible form factor (2.5-inch, 3.5-inch, or M.2) and remove any protective covers or adapters.
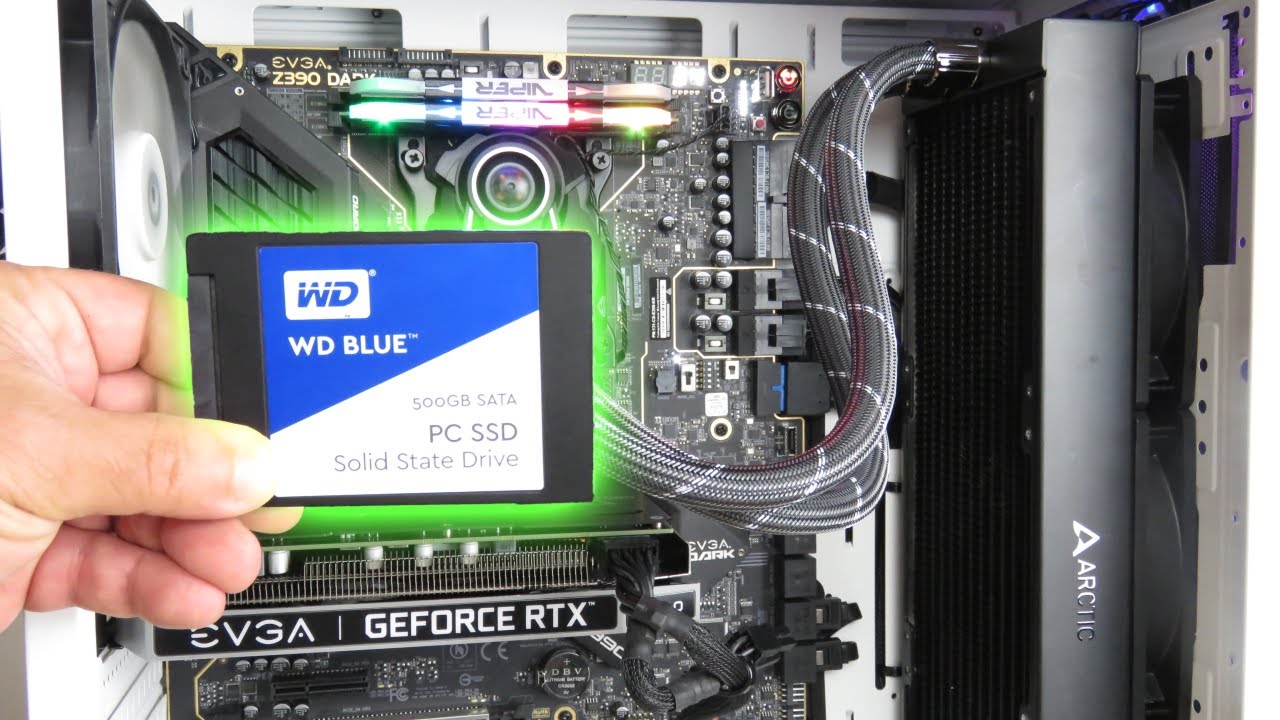
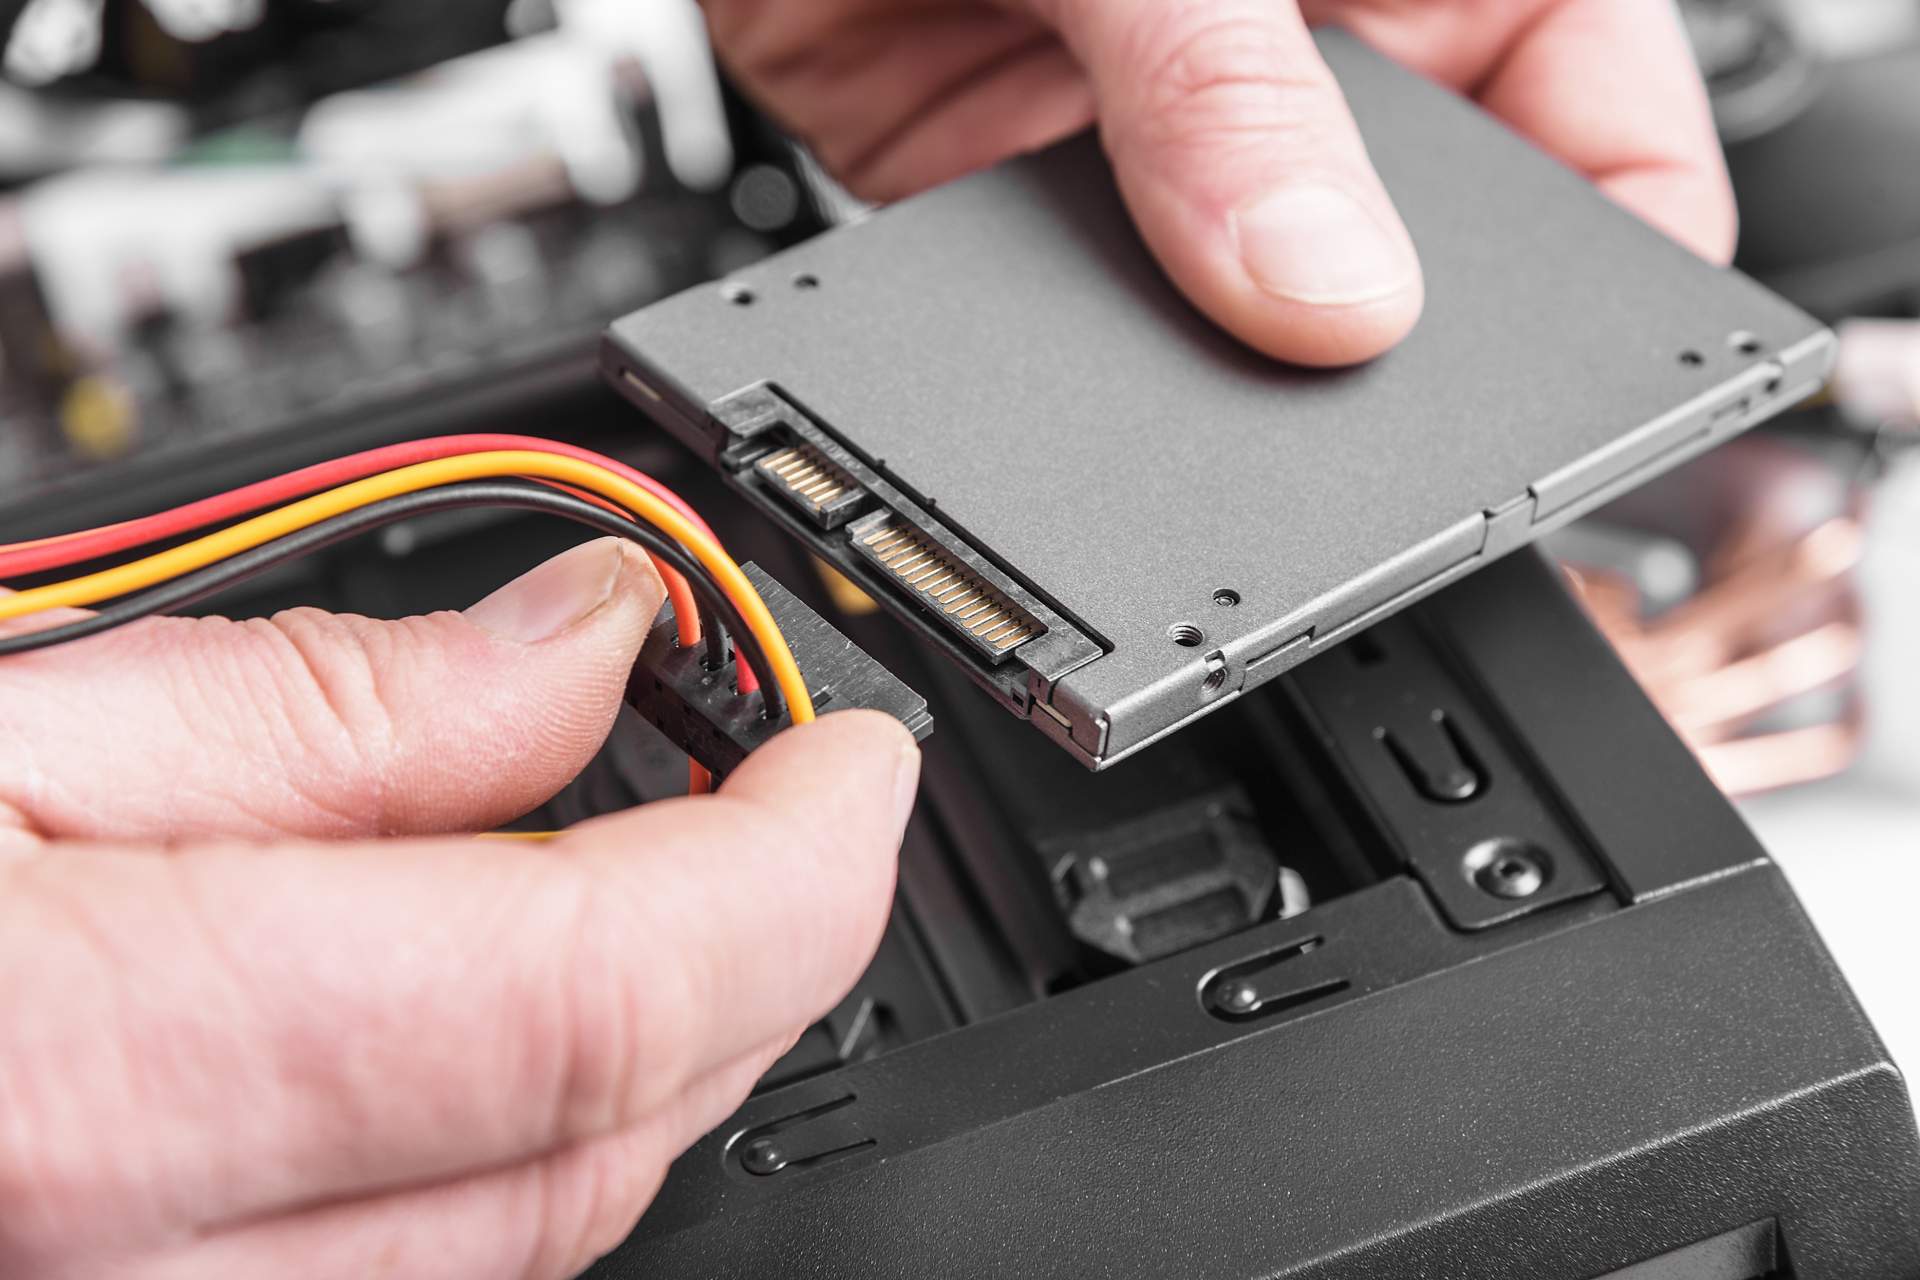
- Install the new SSD: Carefully insert the new SSD into the appropriate drive bay or slot. If it is a 2.5-inch or 3.5-inch drive, use screws to secure it in place. If it is an M.2 drive, gently insert it into the slot at a slight angle and then secure it with the provided screw.
- Connect the cables: Ensure that the new SSD is properly connected to the system’s power cable and data cable. For a 2.5-inch or 3.5-inch drive, use the SATA power cable and SATA data cable. For an M.2 drive, it will connect directly to the M.2 slot on your motherboard.
- Double-check the connections: Before closing your computer’s case or securing any panels, double-check that all connections are secure and properly aligned.
- Reassemble and power on: Put your computer back together, making sure all screws and panels are securely in place. Finally, connect your computer to the power source, turn it on, and verify that the new SSD is detected in the system.
It is important to note that these steps are general guidelines, and the process may differ depending on your specific computer model. Consult your computer’s manual or manufacturer’s website for detailed instructions if needed.
With the new SSD successfully installed, you are now ready for the next step: verifying the new SSD.
Step 5: Verify the new SSD
Once you have physically installed the new SSD into your computer, it is essential to verify that it is being recognized and functioning correctly. Verifying the new SSD ensures that it is ready to be set as the boot drive for your system. Here’s how you can verify the new SSD:
- Power on your computer: Turn on your computer and allow it to boot up fully.
- Access the BIOS or UEFI: During the boot-up process, you will need to access the BIOS or UEFI settings of your system. This is typically done by pressing a specific key, such as Del, F2, or F12, depending on your computer model. Refer to your computer’s manual or the manufacturer’s website for the exact key sequence.
- Navigate to the boot settings: Once inside the BIOS or UEFI settings, navigate to the boot settings tab or menu. Look for the list of available boot devices.
- Verify the new SSD: In the list of boot devices, ensure that the new SSD is detected and listed as an option. It may be labeled with the manufacturer’s name or the model number of the SSD.
- Set the new SSD as the first boot device: If the new SSD is not already set as the first boot device, select it from the list and move it to the top. This will ensure that your system boots from the new SSD.
- Save and exit the BIOS or UEFI: Once you have set the new SSD as the first boot device, save the changes and exit the BIOS or UEFI settings. This will prompt your system to restart.
- Verify successful boot: After restarting your computer, observe the boot process. It should now boot from the new SSD. If the boot process is successful and you can access your operating system, it means that the new SSD has been verified and is functioning correctly.
If, during the verification process, you encounter any issues or the new SSD is not detected, double-check the connections, ensure that the drive is properly installed, and consult your system’s manual or the manufacturer’s website for troubleshooting guidance.
With the new SSD verified and functioning correctly, you are now ready for the final step: setting the new SSD as the boot drive for your system.
Step 6: Set the new SSD as the boot drive
Now that you have successfully installed and verified the new SSD, it’s time to set it as the boot drive for your system. By setting the new SSD as the boot drive, your computer will prioritize it for the operating system and improve overall performance. Here’s how you can set the new SSD as the boot drive:
- Restart your computer: If your system is still powered on, restart it to access the BIOS or UEFI settings.
- Access the BIOS or UEFI: During the boot-up process, enter the BIOS or UEFI settings by pressing the designated key. The key to access the settings may vary (e.g., Del, F2, F12), so refer to your computer’s manual or the manufacturer’s website for the correct key sequence.
- Navigate to the boot settings: Once in the BIOS or UEFI settings, locate the boot settings tab or menu.
- Choose the new SSD as the primary boot device: In the boot settings, select the new SSD as the primary boot device. Usually, you can do this by rearranging the boot order or selecting the SSD directly from the list of available devices.
- Save and exit the BIOS or UEFI: After setting the new SSD as the primary boot device, save the changes and exit the BIOS or UEFI settings. This will trigger a system restart.
- Ensure successful boot from the new SSD: Upon restarting, your computer should now boot from the new SSD. Ensure that the operating system loads successfully, and you have access to your files.
- Optional: Format the old boot drive: If desired, you can format the old boot drive to free up space and prevent any confusion. However, exercise caution and double-check that you have backed up all important data before formatting.
Congratulations! You have successfully set the new SSD as the boot drive for your system. Your computer should now benefit from improved performance and faster boot times.
If you encounter any issues during the process or your computer fails to boot from the new SSD, double-check the connections, ensure that the drive is properly installed, and review your system’s documentation for troubleshooting steps.
With the new SSD now serving as your system’s boot drive, you have completed the transfer process. Enjoy the enhanced speed and reliability that the new SSD brings to your computer!
Conclusion
Congratulations! You have successfully transferred your boot drive to a new SSD. By following the steps outlined in this guide, you have upgraded your system’s performance, reliability, and storage capacity. Here’s a recap of the process:
- Backed up your data to ensure its safety throughout the transfer process.
- Selected the right SSD based on capacity, interface, performance, reliability, and price.
- Cloned your boot drive onto the new SSD using reliable cloning software.
- Physically installed the new SSD into your computer, making proper connections.
- Verified that the new SSD was recognized by your system in the BIOS or UEFI settings.
- Set the new SSD as the boot drive to prioritize it for the operating system.
By completing these steps, you have unlocked the full potential of your computer and can now enjoy faster boot times, improved system responsiveness, and increased storage space.
Throughout this process, it is always important to exercise caution, ensuring you have backups of your important data and following the manufacturer’s instructions for your specific hardware and software. If you encountered any issues, don’t hesitate to consult your system’s documentation or seek assistance from technical support.
Now that you have successfully transferred your boot drive to a new SSD, take a moment to appreciate the benefits it brings to your computing experience. Enjoy the speed, reliability, and enhanced performance as you continue to use your upgraded system.
Thank you for choosing our guide to help you through this process. We hope you found it informative and easy to follow. If you have any additional questions or need further assistance, don’t hesitate to reach out. Happy computing!