Why is grounding important in a PC case?
Grounding is a crucial aspect of any electronic device, and a PC case is no exception. It serves as a means to ensure the safe operation of the computer system and protect it from potential damage. Proper grounding helps to maintain a stable electrical connection, prevent electrical shocks, and minimize the risk of electrical fires.
One of the primary reasons grounding is important in a PC case is to provide a path for excess electrical charges to be safely dissipated. During normal operations, electrical devices can accumulate static charges, especially when components such as hard drives and memory modules are installed or replaced. Without proper grounding, these charges can build up and create a potentially dangerous situation.
Another key benefit of grounding in a PC case is the prevention of electrical noise or interference. Electrical noise can disrupt the performance and reliability of sensitive components such as the motherboard, graphics card, and CPU. Grounding helps to mitigate this interference by providing a solid reference point for electrical signals, ensuring proper functioning of the components and minimizing the risk of data corruption or system crashes.
Grounding in a PC case also plays a vital role in protecting the user from electrical shocks. In the event of a fault or surge in the electrical system, a grounded PC case helps to redirect the excess current safely to the ground, reducing the chances of the user coming into contact with the electrical potential and experiencing an electric shock.
Furthermore, grounding helps to safeguard the integrity of the data stored on the PC’s storage devices. Electrical surges or static electricity can cause data corruption or even permanent damage to the storage devices, leading to potential data loss. By grounding the PC case, these risks are significantly reduced, providing added protection to valuable data.
Overall, grounding is an essential aspect of PC case maintenance and safety. It ensures the proper functioning of the components, protects against electrical shocks, reduces the risk of data loss or corruption, and maintains the overall stability of the system. Regularly checking and maintaining the grounding in a PC case should be a priority for any computer user to ensure the longevity and reliability of their system.
Different components that require grounding
When it comes to grounding in a PC case, several components require proper grounding to ensure the safe and reliable operation of the system. These components include:
- Power Supply Unit (PSU): The PSU is responsible for converting AC power from the wall outlet into DC power that can be used by the computer components. It is crucial to ground the PSU properly to prevent electrical shocks and ensure the smooth flow of electricity throughout the system.
- Motherboard: The motherboard serves as the central hub of the PC, connecting all the components together. It is essential to ground the motherboard properly to maintain stable electrical connections and prevent the risk of electrical damage or interference.
- Graphics Card: The graphics card handles the rendering of images and videos on the computer. It requires proper grounding to ensure a stable power supply and prevent electrical noise that can affect the performance of the card.
- Hard Drive and Solid-State Drive (SSD): These storage devices store the operating system, applications, and data on the PC. Grounding is necessary to protect them from electrical surges that can corrupt or damage the stored information.
- CPU (Central Processing Unit): The CPU is the brain of the computer, responsible for executing instructions and performing calculations. Proper grounding of the CPU is essential to prevent electrical interference and ensure its uninterrupted operation.
- Memory Modules (RAM): RAM modules store temporary data that the CPU can access quickly. They require proper grounding to maintain their integrity and protect against electrical noise that can result in data corruption.
- Expansion Cards (e.g., sound cards, network cards): These cards provide additional functionality to the PC. It is crucial to ground them properly to ensure their proper operation and prevent electrical issues that can affect their functionality.
These are just a few examples of the different components that require grounding in a PC case. It is important to understand the grounding requirements of each component and ensure that they are properly connected and secured to the grounding points in the case. By doing so, you can help maintain the stability, performance, and safety of your computer system.
Types of grounding methods used in PC cases
Grounding in a PC case can be achieved through different methods, each serving the purpose of maintaining electrical stability and safety. Here are some of the common grounding methods used in PC cases:
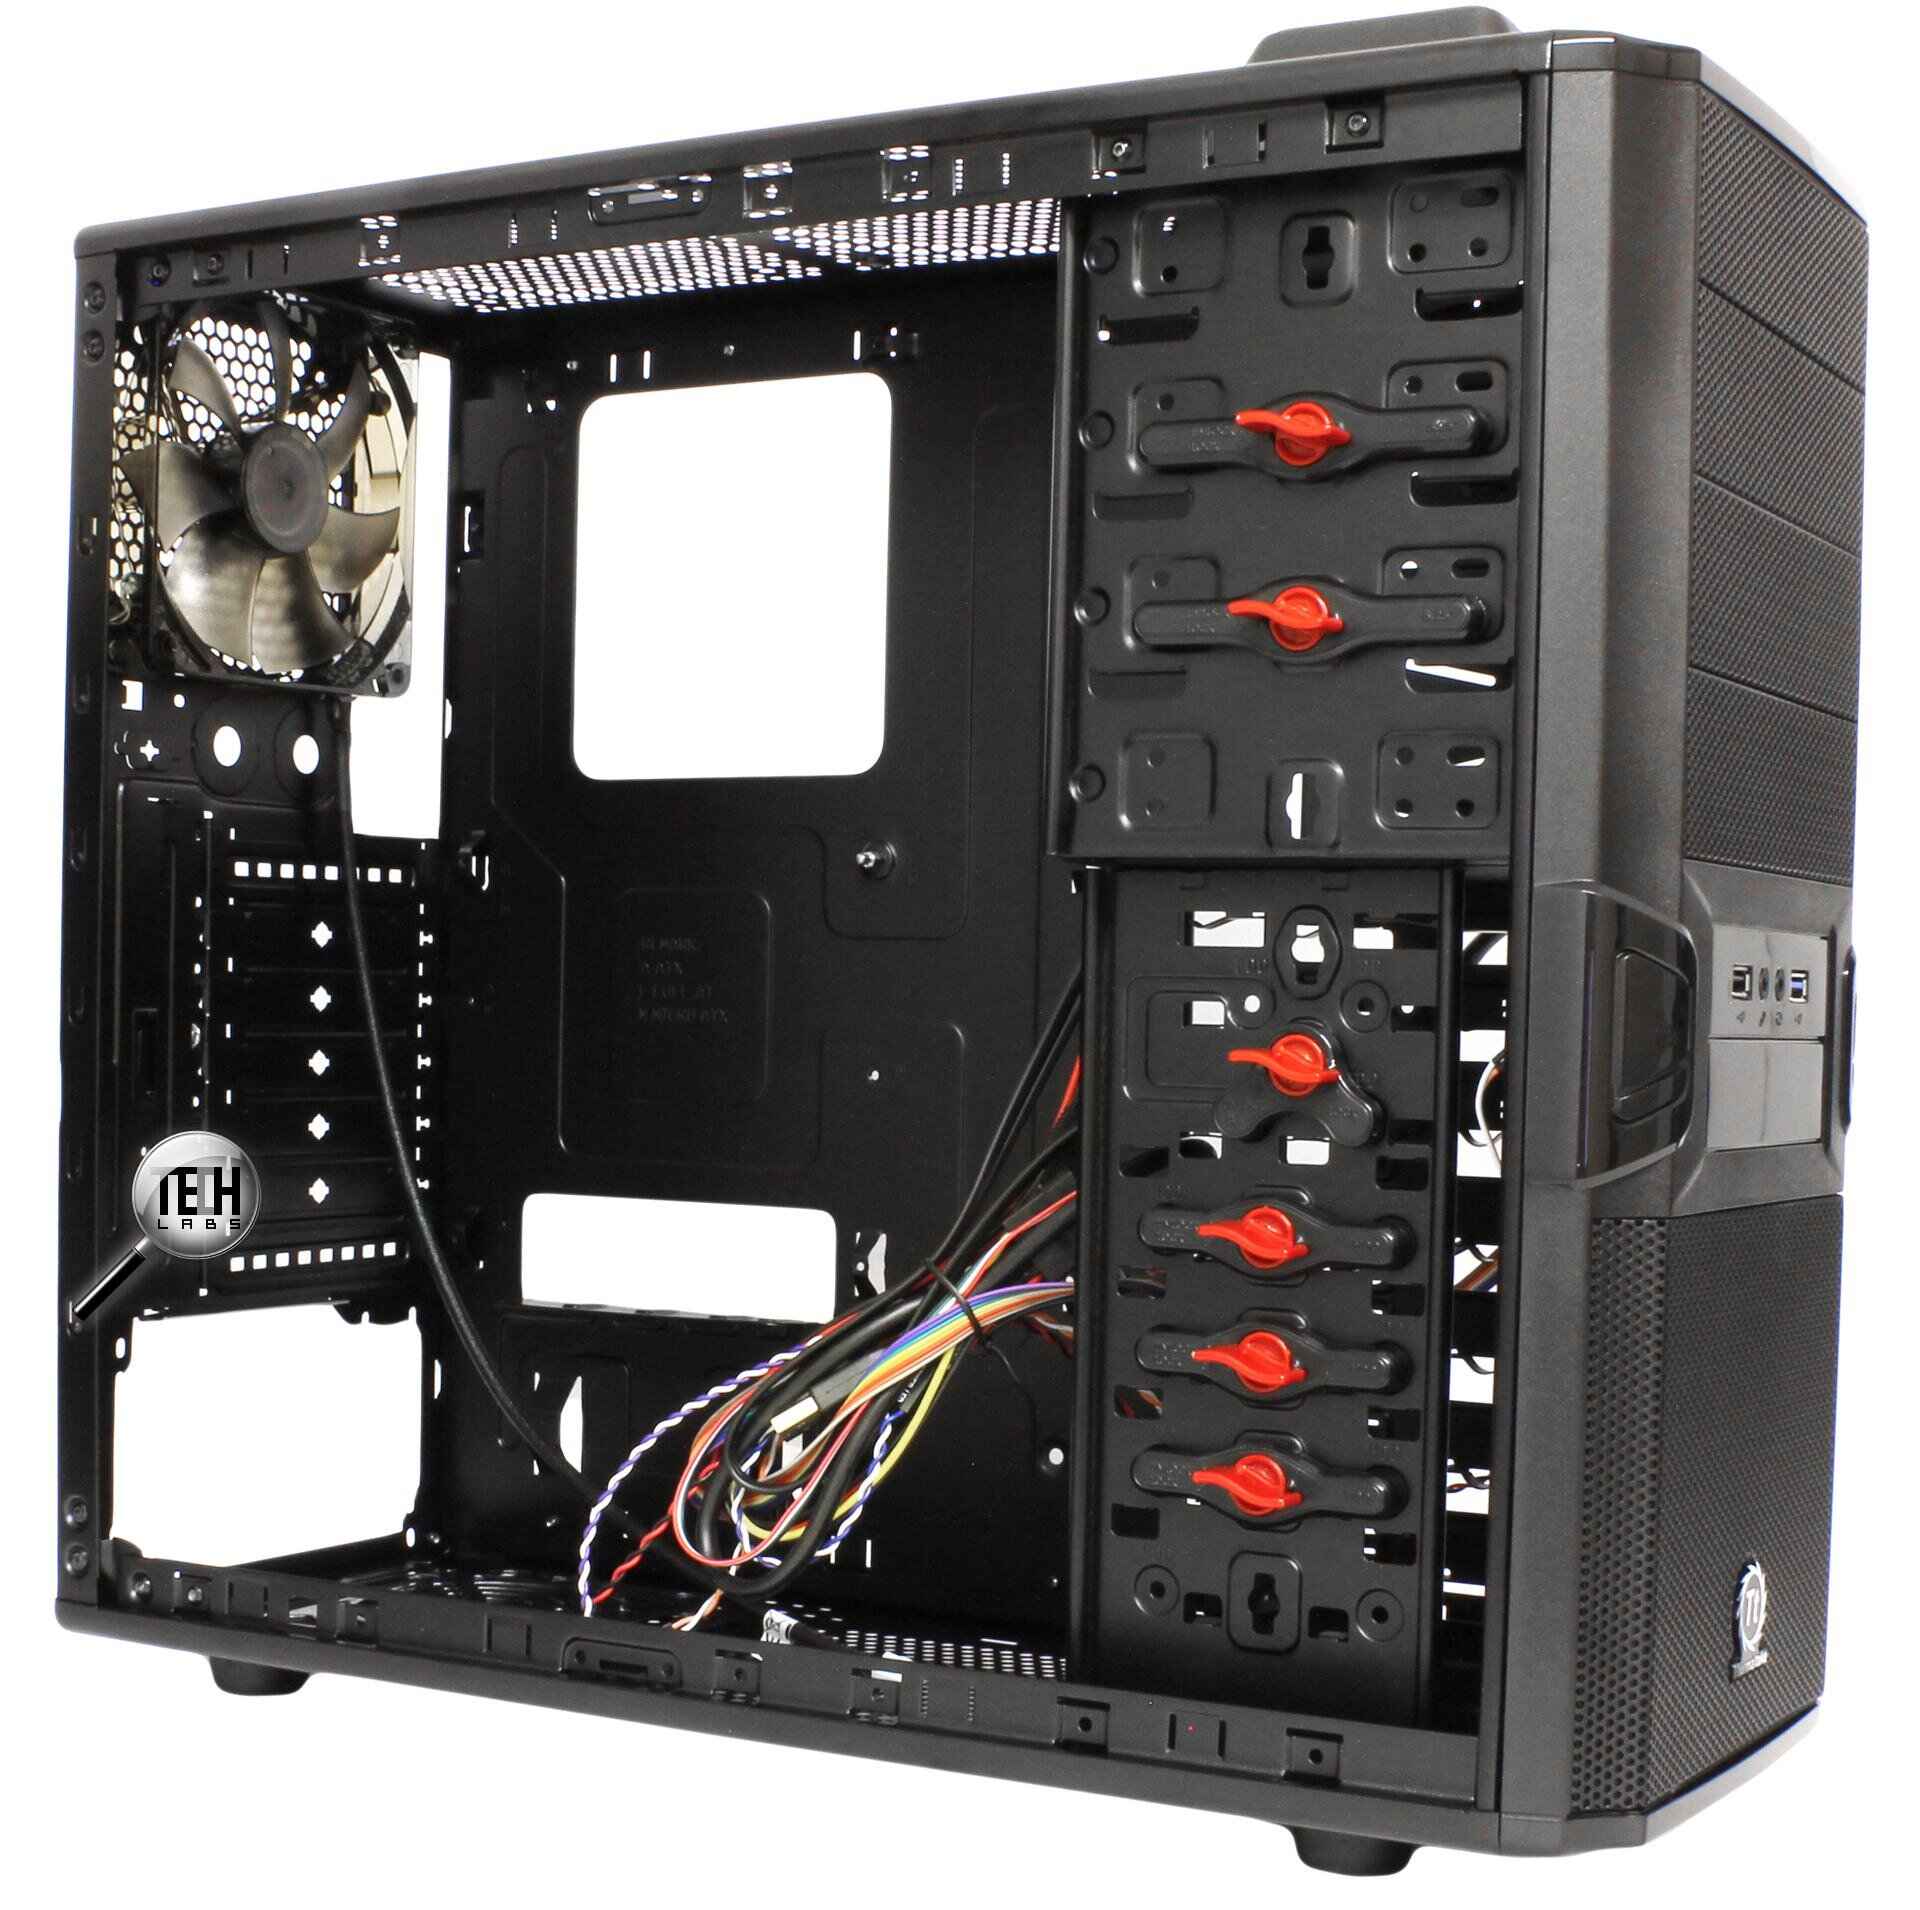
- Chassis Grounding: Chassis grounding is the most basic and commonly used method. It involves connecting the metal chassis of the PC case to a ground point, such as the grounding wire of a wall outlet or a dedicated grounding rod. This method ensures that any static charges or electrical surges are safely dissipated to the ground, protecting the components and the user.
- Power Supply Grounding: The power supply unit (PSU) typically has its own grounding mechanism. It is designed with a grounding wire that is connected to the grounding pin on the power cable. When the PSU is properly installed, the grounding wire establishes a direct connection between the PSU and the ground, providing an additional layer of protection against electrical issues.
- Grounding Straps: Grounding straps are often used by PC enthusiasts and professionals who frequently handle electronic components. These straps are worn on the wrist and are connected to a grounding point to prevent the buildup of static charges during handling. They help to maintain a consistent grounding connection and reduce the risk of damaging sensitive components.
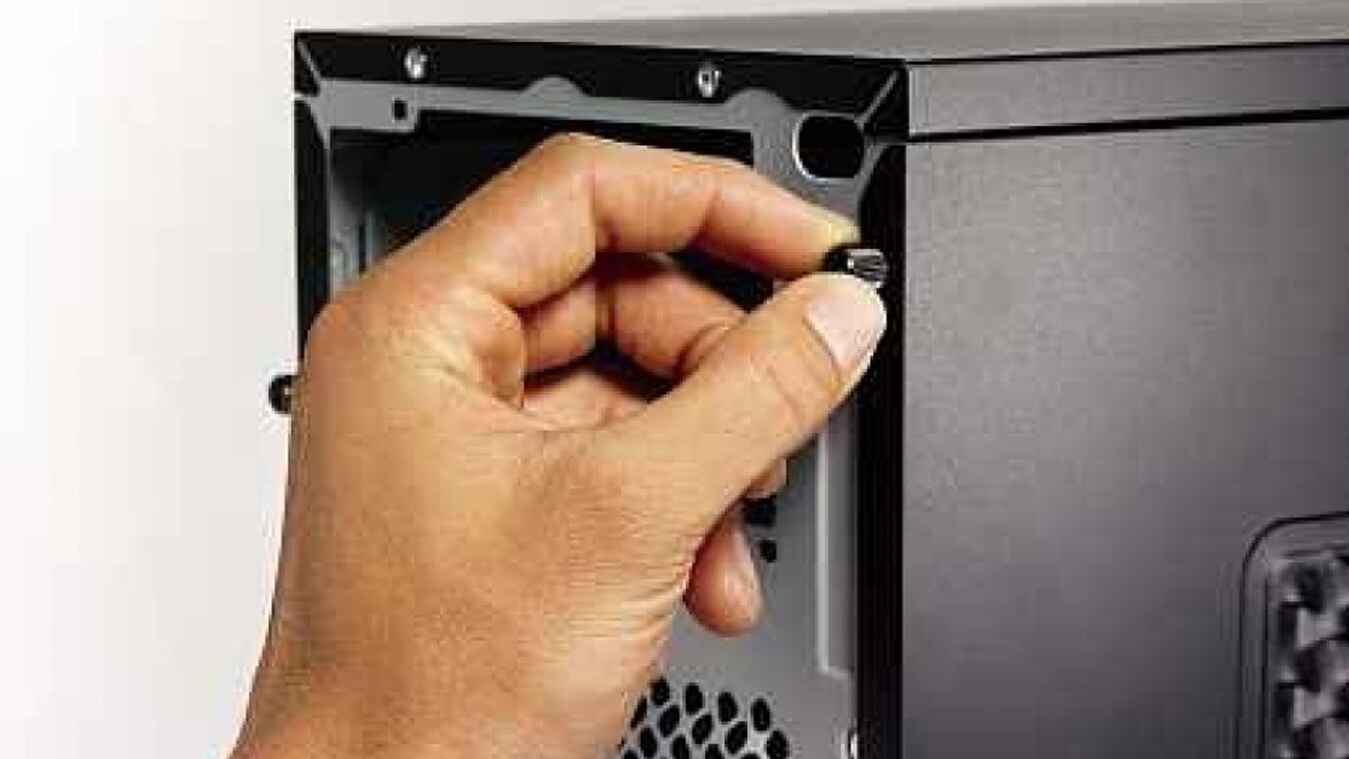
- Grounding Screws: Some PC cases have dedicated grounding screws that are strategically placed to provide a reliable grounding point for certain components. These screws are typically connected to the metal chassis of the case and can be used for grounding the motherboard, expansion cards, or other components that require a direct ground connection.
- Grounding Clips: Grounding clips are small metal clips or brackets that are used to provide additional grounding for specific components. These clips are often used in conjunction with grounding screws or other grounding points to ensure a solid electrical connection and prevent the buildup of static charges.
It’s important to note that the specific grounding methods used can vary depending on the PC case and the components being installed. It’s recommended to consult the manufacturer’s documentation or guidelines to ensure the correct grounding procedure is followed for your specific setup.
By implementing the appropriate grounding methods, you can create a safe and stable electrical environment within your PC case, minimizing the risk of electrical damage, data loss, and ensuring reliable performance of your computer system.
How to visually identify the ground on a PC case
Visual identification of the ground on a PC case is essential for ensuring proper grounding and maintaining the safety of the system. Here are some methods to help you identify the ground:
- Look for grounding symbols: Many PC cases feature grounding symbols or icons near the grounding points. These symbols typically consist of three horizontal lines with one line branching downwards, representing the connection to the ground. These symbols can be found near the mounting holes for the motherboard or near other grounding points throughout the case.
- Inspect the color coding: In some cases, the grounding points might be color-coded. The most common color for grounding points is green. Look for green-colored screws or connectors on the motherboard or other components. These green-coded elements are often connected to the ground and can help you visually identify the grounding points.
- Check for labeled ground points: Some PC cases have labeled ground points or markings that indicate their purpose. These labels can range from “GND” to “GROUND” or other similar designations. Look for these labels near the grounding points on the case or the motherboard to assist you in identifying the ground connections.
- Follow the manufacturer’s instructions: Each PC case may have different grounding methods and configurations. It is always advisable to consult the manufacturer’s instructions or user manual for specific guidance on identifying the ground in your PC case. The manual may provide clear illustrations or descriptions of the grounding points and how they should be connected.
- Use a multimeter: If you have a multimeter, you can use it to visually identify the ground on a PC case. Set the multimeter to measure continuity or resistance and touch one probe to a known ground, such as a metal part of the case, and use the other probe to test different points on the motherboard or other components. A reading of zero ohms or near zero indicates a proper ground connection.
It is crucial to ensure that the visual identification of the ground matches the recommended grounding methods for your specific PC case and components. Incorrect grounding can lead to electrical issues, system instability, and potential damage. If you are uncertain about the grounding points or connections, seek assistance from a professional or refer to the manufacturer’s guidelines for proper grounding procedures.
Tools needed to test the ground on a PC case
Testing the ground on a PC case is an important step to ensure a safe and reliable electrical environment for your computer system. To perform this test, you will need the following tools:
- Multimeter: A multimeter is an essential tool for testing the electrical characteristics of a PC case. It is used to measure voltage, resistance, and continuity. When testing the ground, you will primarily use the continuity or resistance mode to check the integrity of the ground connection.
- Alligator clips: Alligator clips are small clips with spring-loaded jaws that can be attached to the probes of a multimeter. These clips provide a secure and hands-free connection between the multimeter and the grounding points on the PC case.
- Gloves and safety glasses: When working with electronics and conducting tests, it is always a good practice to wear gloves and safety glasses. Gloves provide protection against electrical shock and prevent any static discharge, while safety glasses protect your eyes from any potential hazards that may arise during the testing process.
- Screwdriver or wrench: Depending on the PC case, you may need a screwdriver or wrench to remove panels or access specific components for testing. Make sure to use the appropriate tool size and type for your particular case.
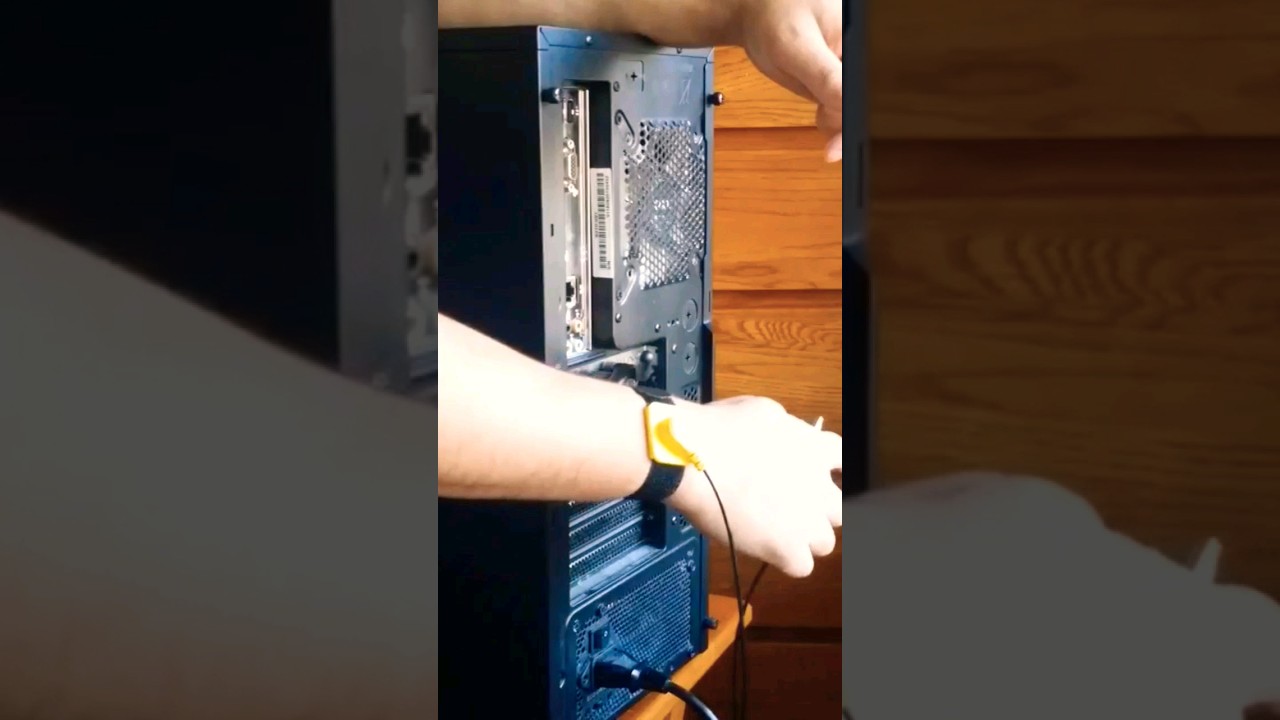
- Anti-static mat or wristband: To prevent any static discharge while testing the ground, it is recommended to work on an anti-static mat or wear an anti-static wristband. These accessories help to dissipate any static charges and protect sensitive components from potential damage.
With these tools, you can effectively test the ground on a PC case and ensure that the grounding connections are properly established. Remember to follow proper safety precautions and procedures when working with electrical components and handling tools to protect yourself and your equipment.
Step-by-step guide to testing the ground on a PC case
Regularly testing the ground on a PC case is essential to ensure the proper functioning and safety of your computer system. Here is a step-by-step guide to help you test the ground on a PC case:
- Prepare the tools and workspace: Gather all the necessary tools mentioned in the previous section and set up a clean and organized workspace. Ensure that you are working in a well-lit area with good ventilation.
- Put on safety gear: Wear anti-static gloves and safety glasses to protect yourself and the components from any potential hazards or damage during the testing process.
- Turn off and unplug the computer: Before conducting any tests, make sure to shut down the computer properly and unplug it from the power source. This is crucial to avoid any risk of electrical shock during the testing process.
- Ground yourself: Ground yourself by touching a metal part of the PC case or wearing an anti-static wristband. This helps to discharge any static electricity from your body and prevents any potential damage to the sensitive components.
- Select the multimeter mode: Set your multimeter to the continuity or resistance mode, depending on the options available on your particular model. This mode allows you to check the continuity or resistance between two points.
- Attach the alligator clips: Connect the alligator clips to the probes of the multimeter. Ensure they are securely attached, as they will make the testing process easier and more convenient by enabling hands-free probing.
- Identify the grounding points: Visually identify the grounding points on the PC case, such as the metal chassis or specific grounding screws. Refer to the manufacturer’s documentation or guidelines if needed.
- Test the grounding points: Place one of the alligator clips on a known ground connection, such as a metal part of the PC case. Then, touch the other alligator clip to the grounding point you want to test. If there is a good ground connection, you should see a reading of zero ohms or near zero on the multimeter, indicating continuity or a low resistance.
- Repeat the test for other grounding points: If there are multiple grounding points on the PC case, repeat the previous step for each point to ensure that all the grounding connections are working correctly.
- Document and address any issues: If you encounter any inconsistencies or abnormalities in the ground connections, document them and take the necessary steps to address the issues. This may involve double-checking the connections, cleaning the grounding points, or seeking professional assistance if required.
By following these steps, you can effectively test the ground on a PC case and ensure that all the grounding connections are secure and functional. Regular testing and maintenance of the ground will help maintain the safety, performance, and longevity of your computer system.
Common issues with grounding and how to fix them
While grounding is crucial for the safe and reliable operation of a PC case, there can be various issues that may arise. Here are some common grounding issues and steps to fix them:
- Loose or disconnected ground connections: One common issue is loose or disconnected ground connections. Over time, vibrations and movement can cause these connections to become loose. To fix this, carefully inspect all grounding points, screws, and connections. Tighten any loose screws or connectors and ensure a secure and tight connection for each ground point.
- Corroded or dirty grounding points: Corrosion or dirt buildup on grounding points can hinder the effectiveness of the ground connection. To fix this, use a soft brush or cloth to clean the grounding points. If there is corrosion, use a corrosion-resistant solution or a mixture of baking soda and water to clean the affected areas. Ensure that the points are fully clean and free from any debris before reattaching the connections.
- Inadequate grounding of components: Some components may require additional grounding beyond what is provided by the PC case. If you are experiencing issues with specific components, consider adding extra grounding points for them. This can be achieved by using grounding straps, clips, or screws that provide a direct connection to the ground. Consult the manufacturer’s documentation or guidelines for specific grounding recommendations for your components.
- Improper grounding methods: Using incorrect grounding methods can lead to inadequate or ineffective grounding. Ensure that you are following the proper grounding methods recommended by the manufacturer. Consult the user manual or documentation for specific instructions on grounding your PC case and components.
- Electrical interference: Electrical interference can disrupt the performance and stability of a PC system. To reduce interference, ensure that all cables and wires are properly shielded and routed away from high-power sources or electromagnetic fields. Consider using higher-quality cables and connectors that provide better shielding and insulation against electrical noise.
- Faulty grounding points or cables: In some cases, the grounding points or cables themselves may be faulty and require replacement. If you suspect a faulty grounding point or cable, consult a professional or contact the manufacturer for assistance in obtaining a suitable replacement.
- Consulting a professional: If you are experiencing persistent grounding issues or are unsure about any aspect of grounding, it is advisable to seek assistance from a professional technician or electrician. They can diagnose and address any complex grounding issues and ensure that the grounding is properly implemented.
Addressing these common grounding issues will help maintain a stable and safe electrical environment within your PC case. Regularly inspect and test the grounding connections to ensure their effectiveness and rectify any issues promptly to avoid potential damage to your computer system.
Importance of regular maintenance and checks for grounding
Regular maintenance and checks for grounding are essential for maintaining a safe and reliable electrical environment within a PC case. Here are several reasons why regular maintenance and checks are crucial:
- Ensuring safety: Regular maintenance and checks for grounding help ensure the safety of both the computer system and the users. Grounding prevents electrical shocks and minimizes the risk of electrical fires, providing a secure operating environment for the PC.
- Protecting components: Adequate grounding protects the sensitive electrical components of a PC from damage caused by static electricity, power surges, and electrical noise. Regular checks and maintenance of the grounding connections help identify and rectify any issues before they cause harm to the components.
- Preventing data loss: Improper grounding can lead to data loss or corruption, especially in storage devices like hard drives and SSDs. Regular maintenance and checks for grounding ensure a stable electrical environment, reducing the risk of data loss and protecting valuable information.
- Optimizing performance: Electrical interference caused by inadequate grounding can result in performance issues, system crashes, and data transfer errors. Regular checks on the grounding connections help maintain a clean and stable electrical signal, optimizing the performance and reliability of the PC system.
- Complying with safety regulations: In many regions, there are specific electrical safety regulations and codes that require proper grounding in electronic devices. Regular maintenance and checks ensure compliance with these regulations, protecting users and meeting legal requirements.
- Identifying and resolving issues: Regular maintenance and checks for grounding help create a proactive approach to identifying and resolving any grounding-related issues. This includes loose connections, corrosion, worn cables, or faulty grounding points. By addressing these issues promptly, further damage to the system can be prevented.
- Prolonging the lifespan of the system: A PC system that is properly grounded experiences fewer electrical problems, which can help extend the lifespan of the components. Regular maintenance and checks for grounding contribute to the overall longevity and reliability of the system.
By recognizing the importance of regular maintenance and checks for grounding, computer users can ensure the continued functionality, safety, and performance of their PC systems. It is recommended to include grounding checks as part of a routine maintenance schedule to maintain a reliable and secure computing environment.