Introduction
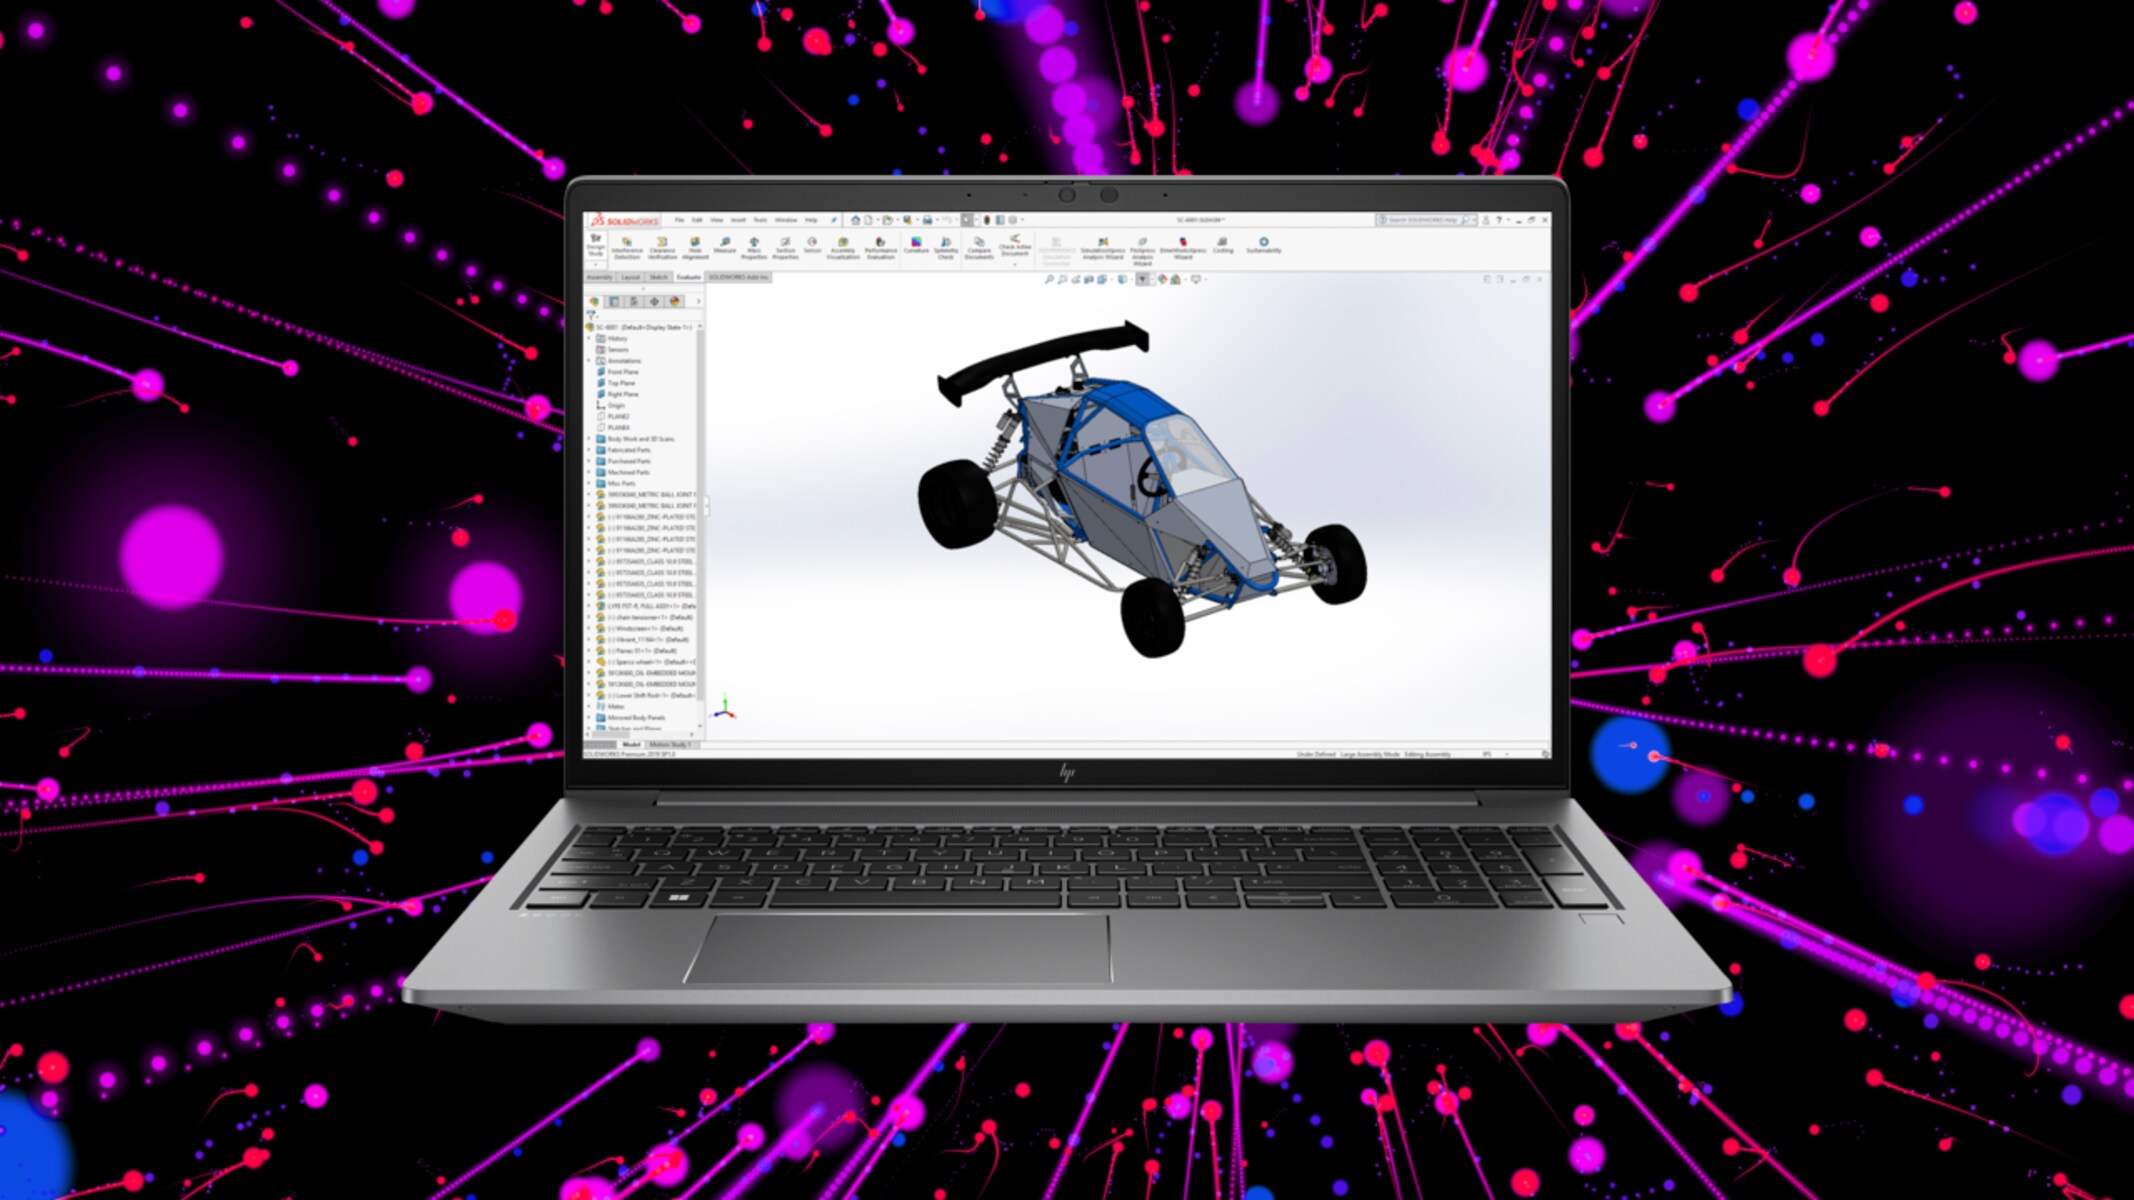
In this digital age, taking screenshots has become a common practice for various purposes, from capturing memorable moments in a game to sharing important information with colleagues. If you own an HP ZBook Workstation and want to learn how to take screenshots effortlessly, you’re in the right place.
HP ZBook Workstations are renowned for their exceptional performance and reliability, making them a popular choice among professionals in fields such as architecture, design, and engineering. These powerful machines are equipped with advanced features that enable users to maximize productivity and creativity.
There are several methods you can use to take screenshots on an HP ZBook Workstation, and we will explore them in this article. Whether you prefer using built-in tools or third-party software, we have you covered. By the end of this guide, you’ll be well-equipped to capture screenshots quickly and effortlessly on your HP ZBook Workstation.
While taking screenshots may seem like a simple task, it’s essential to familiarize yourself with the different methods available to ensure you choose the one that best suits your needs. Each method has its own advantages and may offer additional features that can enhance your screenshot-taking experience.
From utilizing the PrtScn key and Windows shortcuts to utilizing specialized tools like the Snipping Tool and the Windows Ink Workspace, we’ll cover all the bases. So, without further ado, let’s dive into the various methods for taking screenshots on an HP ZBook Workstation.
Method 1: Using the PrtScn Key
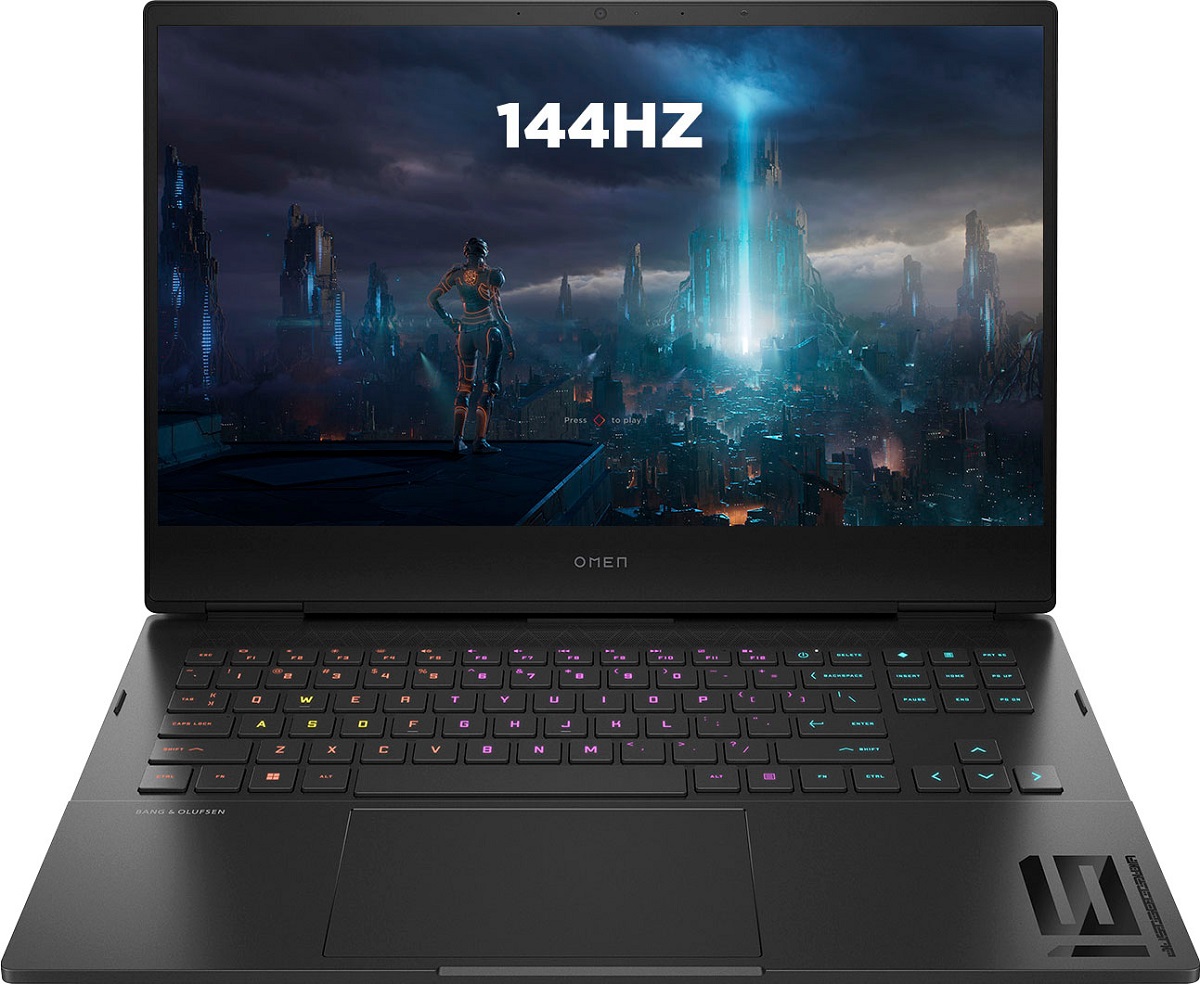
One of the simplest and most commonly used methods for taking screenshots on an HP ZBook Workstation is by using the PrtScn (Print Screen) key. This key is typically located in the top-right corner of the keyboard.
To capture the entire screen, press the PrtScn key once. You won’t receive any visual confirmation, but your screenshot has been saved to the clipboard.
If you want to capture only the active window, press the Alt + PrtScn keys simultaneously. This will take a screenshot of the currently active window and save it to the clipboard.
Once you have captured the screenshot using either of the above methods, you can open an image editing software, such as Microsoft Paint or Adobe Photoshop, and paste the screenshot from the clipboard into the program. From there, you can save the screenshot as an image file (e.g., JPG, PNG) and customize it as desired.
Please note that the PrtScn key captures the entire screen or active window and does not offer any advanced editing or annotation features. If you require additional functionality or prefer a more streamlined workflow, you may want to explore other methods mentioned in this guide.
The PrtScn key method is a quick and easy way to capture screenshots on your HP ZBook Workstation, making it a popular choice for many users. However, keep in mind that it can be limited compared to other methods, especially if you need to annotate or crop the screenshot before saving it.
Now that you understand how to use the PrtScn key to capture screenshots on your HP ZBook Workstation, let’s explore another method that offers more flexibility and features: using the Win + PrtScn key combination.
Method 2: Using the Win + PrtScn Key Combination
If you’re looking for a more convenient way to take screenshots on your HP ZBook Workstation, the Win + PrtScn key combination is an excellent option. This method allows you to capture the entire screen and automatically saves the screenshot to a designated folder.
To use this method, press the Windows key (Win) and the PrtScn key simultaneously. You may notice a brief dimming effect on the screen, indicating that the screenshot has been successfully captured.
The screenshot will be automatically saved in the Screenshots folder, which can be accessed by navigating to the Pictures directory on your computer. By default, the screenshot files are named “Screenshot” followed by a number that increments with each new screenshot.
This method is particularly useful if you need to take multiple screenshots, as it allows for a smooth and efficient workflow. Additionally, the automatic saving feature eliminates the need to manually paste the screenshot into an image editing software and then save it as a separate file.
Although the Win + PrtScn key combination is an excellent option for capturing screenshots on an HP ZBook Workstation, it’s essential to note that it captures the entire screen and does not offer any advanced editing or annotation features. If you require more flexibility or want to capture a specific area of the screen, you might want to explore other methods mentioned in this guide.
Now that you know how to use the Win + PrtScn key combination to take screenshots, let’s move on to another method that provides more customization options: using the Snipping Tool.
Method 3: Using the Snipping Tool
If you’re looking for a more precise way to capture specific areas of your screen on an HP ZBook Workstation, the Snipping Tool is an excellent tool to use. The Snipping Tool is a built-in screenshot utility available on Windows operating systems, including HP ZBook Workstations.
To open the Snipping Tool, you can either search for it using the Windows search bar or navigate to the Start menu, select “Windows Accessories,” and find the Snipping Tool in the list.
Once the Snipping Tool is open, you’ll see a small window with several options.
- Select the type of snip you want to take using the “New” drop-down menu. You can choose from four options: Free-form snip, Rectangular snip, Window snip, or Full-screen snip.
- After selecting the desired snip type, the screen will freeze, allowing you to drag the cursor to capture the specific area you want to screenshot.
- Release the mouse button to capture the snip. The snipped area will then appear in the Snipping Tool window, allowing you to annotate, save, or share the screenshot as needed.
The Snipping Tool provides several annotation tools, such as a pen, highlighter, and eraser, allowing you to emphasize or mark up specific parts of the screenshot. Additionally, you can save the snip as an image file, copy it to the clipboard, or directly share it through email or other applications.
This method is particularly useful when you need to capture a specific portion of your screen, such as a specific window, a particular section of a webpage, or an error message. The Snipping Tool offers more flexibility and customization options compared to the previous methods we discussed.
Now that you know how to use the Snipping Tool to take screenshots on your HP ZBook Workstation, let’s explore another method that leverages the Windows Ink Workspace for capturing and annotating screenshots.
Method 4: Using the Windows Ink Workspace
If you’re looking for a comprehensive method that integrates both capturing and annotating screenshots, the Windows Ink Workspace is a powerful tool to utilize on your HP ZBook Workstation. The Windows Ink Workspace provides a range of features, including the ability to sketch, draw, and annotate screenshots.
To access the Windows Ink Workspace, click on the taskbar icon that looks like a pen and a sheet of paper. If you don’t see the icon, you can right-click on the taskbar and select “Show Windows Ink Workspace button” to enable it.
Once you open the Windows Ink Workspace, you’ll find multiple tools at your disposal. To take a screenshot, click on the “Screen sketch” option. This will capture the entire screen and open the screenshot in a new window for annotation.
The Screen sketch feature allows you to use a range of annotation tools, such as pens, pencils, highlighters, and erasers, to mark up the screenshot. You can emphasize certain areas, add text, draw shapes, or even crop the image to focus on specific details.
After annotating the screenshot, you can save it as an image file, copy it to the clipboard, or share it directly through email or other applications. The Windows Ink Workspace provides a seamless workflow for capturing and annotating screenshots, making it an excellent choice for those who need advanced editing and customization options.
It’s worth mentioning that the Windows Ink Workspace is available on Windows 10 devices, including HP ZBook Workstations. However, if your workstation is running an older Windows operating system, this method may not be available.
Now that you’re familiar with using the Windows Ink Workspace to take and annotate screenshots, let’s explore another method that involves using third-party software for capturing and editing screenshots.
Method 5: Using Third-Party Software
If you’re looking for even more advanced features and customization options for capturing and editing screenshots on your HP ZBook Workstation, you may want to consider using third-party software. There are numerous third-party screenshot tools available that offer more functionality than the built-in options.
One popular third-party software for taking screenshots is Snagit. Snagit not only allows you to capture screenshots of your entire screen, a specific window, or a user-defined region but also offers a wide array of annotation tools and editing features.
With Snagit, you can easily add text, arrows, shapes, and other graphics to your screenshots. Additionally, it provides advanced editing features like resizing, cropping, and applying visual effects to enhance your screenshots.
Another option is Greenshot, which offers a lightweight and user-friendly interface. Greenshot allows you to capture screenshots, annotate them with text and shapes, and save them in various image formats. It also includes features like capturing scrolling windows and automatically saving screenshots to a designated folder.
When choosing third-party software for capturing screenshots, it’s important to consider your specific needs and preferences. Some additional popular options include LightShot, FastStone Capture, and PicPick.
While third-party software offers additional functionality and customization options, it’s important to note that it may require a separate installation and possibly incur a cost for premium versions. However, many third-party screenshot tools offer free versions with limited features that cater to basic screenshot needs.
Now that you’re acquainted with the option of using third-party software for taking screenshots on your HP ZBook Workstation, let’s move on to the concluding section of this guide.
Conclusion
Capturing screenshots on an HP ZBook Workstation is a simple yet essential task for various purposes. Throughout this guide, we have explored five different methods for capturing screenshots, each with its own advantages and features.
The PrtScn key method provides a quick and easy way to capture the entire screen or active window, while the Win + PrtScn key combination offers automatic saving and convenience. The Snipping Tool allows for more precision and annotation options, while the Windows Ink Workspace provides advanced tools for capturing and annotating screenshots. Lastly, using third-party software opens up a world of additional features and customization options.
When choosing a method to take screenshots, consider the specific requirements of your task. If you need basic functionality and quick captures, the built-in methods like the PrtScn key or Win + PrtScn key combination may suffice. If you require more advanced editing and annotation capabilities, the Snipping Tool or Windows Ink Workspace are excellent options. And if you want even more functionality, exploring third-party software like Snagit, Greenshot, or other similar tools can provide a wealth of options.
Remember, the choice ultimately comes down to personal preference and the specific needs of your workflow. Experiment with different methods and tools to find the one that best fits your requirements.
Now that you have a comprehensive understanding of various methods for capturing screenshots on an HP ZBook Workstation, you can confidently capture and annotate screenshots to enhance your productivity and communication.
So go ahead, start exploring the world of screenshots on your HP ZBook Workstation and unlock new ways to capture and share information with ease.


