Introduction
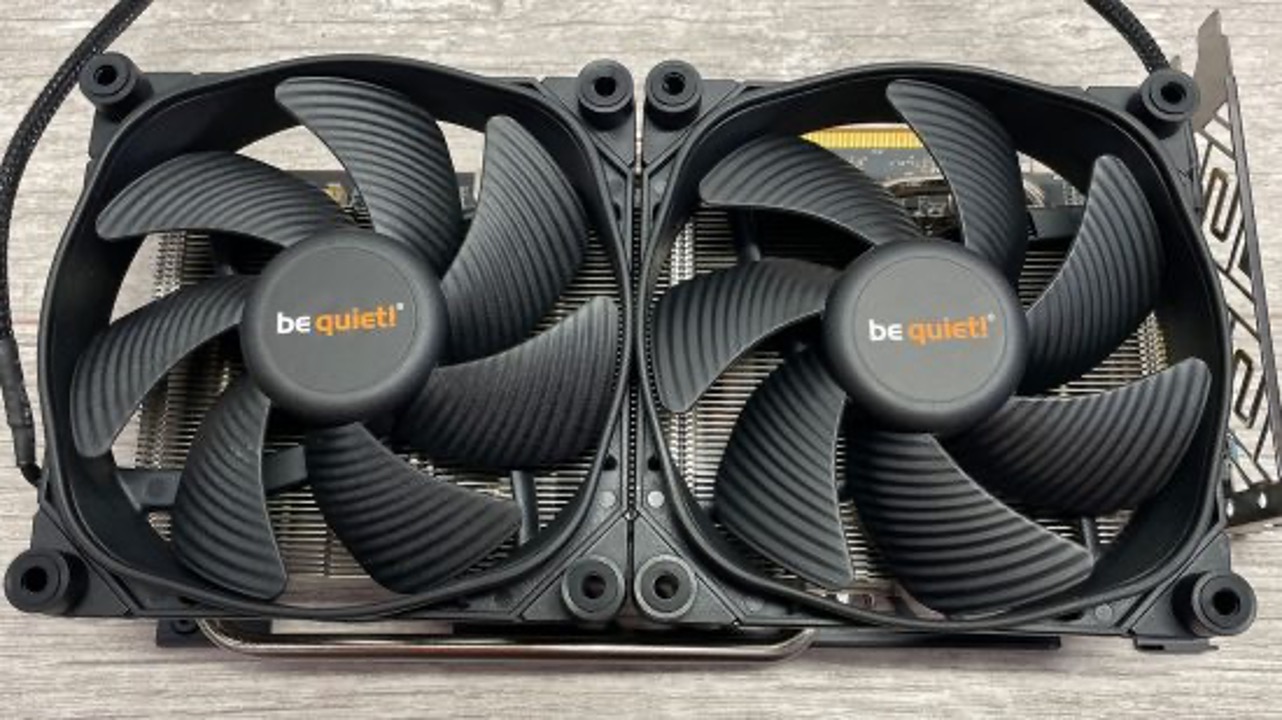
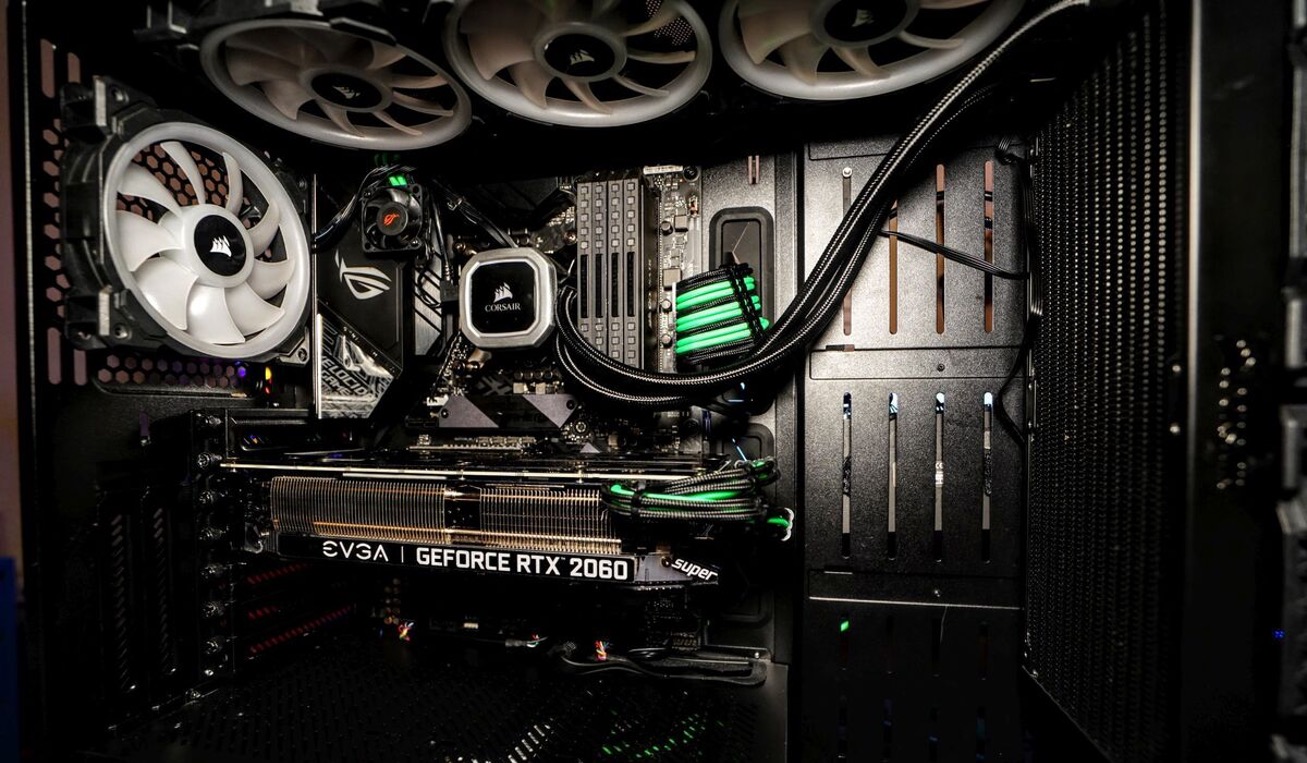
Having proper cooling in your computer case is essential for maintaining optimal performance and preventing hardware damage. Case fans play a crucial role in dissipating heat and maintaining a stable temperature inside the case. However, in some cases, you may find that the fans are running too fast or too loudly, causing unnecessary noise and potentially causing excessive wear and tear on the fan bearings.
Slowing down your case fans can help alleviate these issues. By reducing their speed, you can achieve a quieter operation while still maintaining adequate airflow to keep your components cool. In this article, we will explore various methods to slow down case fans, allowing you to strike a balance between cooling performance and noise levels.
Before diving into the different methods, it’s important to note that slowing down your case fans should be done with caution. Make sure you monitor your system temperatures to ensure they stay within safe limits, especially during heavy usage or overclocking. Additionally, different case fan models and configurations may have specific requirements or limitations when it comes to adjusting their speed. Always refer to the fan manufacturer’s guidelines for proper usage and compatibility.
Now, let’s explore the reasons why you might want to slow down your case fans and the methods you can use to achieve it.
Why would you want to slow down your case fans?
There are several reasons why you might want to consider slowing down your case fans:
- Noise reduction: One of the primary reasons for slowing down case fans is to reduce noise. High-speed fans can produce a considerable amount of noise, especially if you have multiple fans in your case. By lowering the fan speed, you can enjoy a quieter computing experience, whether you’re working or gaming.
- Energy conservation: Fans consume power to operate, and reducing their speed can help save energy. If you’re concerned about energy efficiency and want to lower your overall power consumption, slowing down your case fans can contribute to that goal.
- Increased fan lifespan: By running your case fans at a slower speed, you can help prolong their lifespan. High-speed operation can put more stress on the fan bearings and motor, potentially leading to premature failure. Slowing down the fans can reduce wear and tear, extending their overall durability.
- Better airflow optimization: In some scenarios, particularly if you have a well-ventilated case with efficient cooling components, you may find that your case fans are running at higher speeds than necessary. Slowing them down can help optimize the airflow inside your case by achieving a better balance between intake and exhaust, improving overall cooling efficiency.
- Fine-tuning performance: If you’re an enthusiast or a gamer who wants to have more control over their system, slowing down your case fans can be a way to fine-tune performance. By adjusting the fan speed, you can strike a balance between cooling efficiency and noise levels that suits your specific needs and preferences.
Regardless of your reasons for wanting to slow down your case fans, it’s important to remember that maintaining proper cooling is crucial. Always monitor your system temperatures to ensure they remain within safe limits, and consider the specific requirements and limitations of your hardware when adjusting fan speeds.
Methods to slow down case fans
There are several methods available to slow down your case fans and achieve a quieter and more controlled cooling experience. Let’s explore these methods:
- Adjusting fan speed in BIOS: Many modern motherboards offer the ability to adjust fan speed settings directly in the BIOS. By accessing the BIOS menu, you can navigate to the fan control section and modify the fan speed curves or set specific speed percentages. This method provides a convenient and reliable way to slow down your case fans without the need for additional hardware or software.
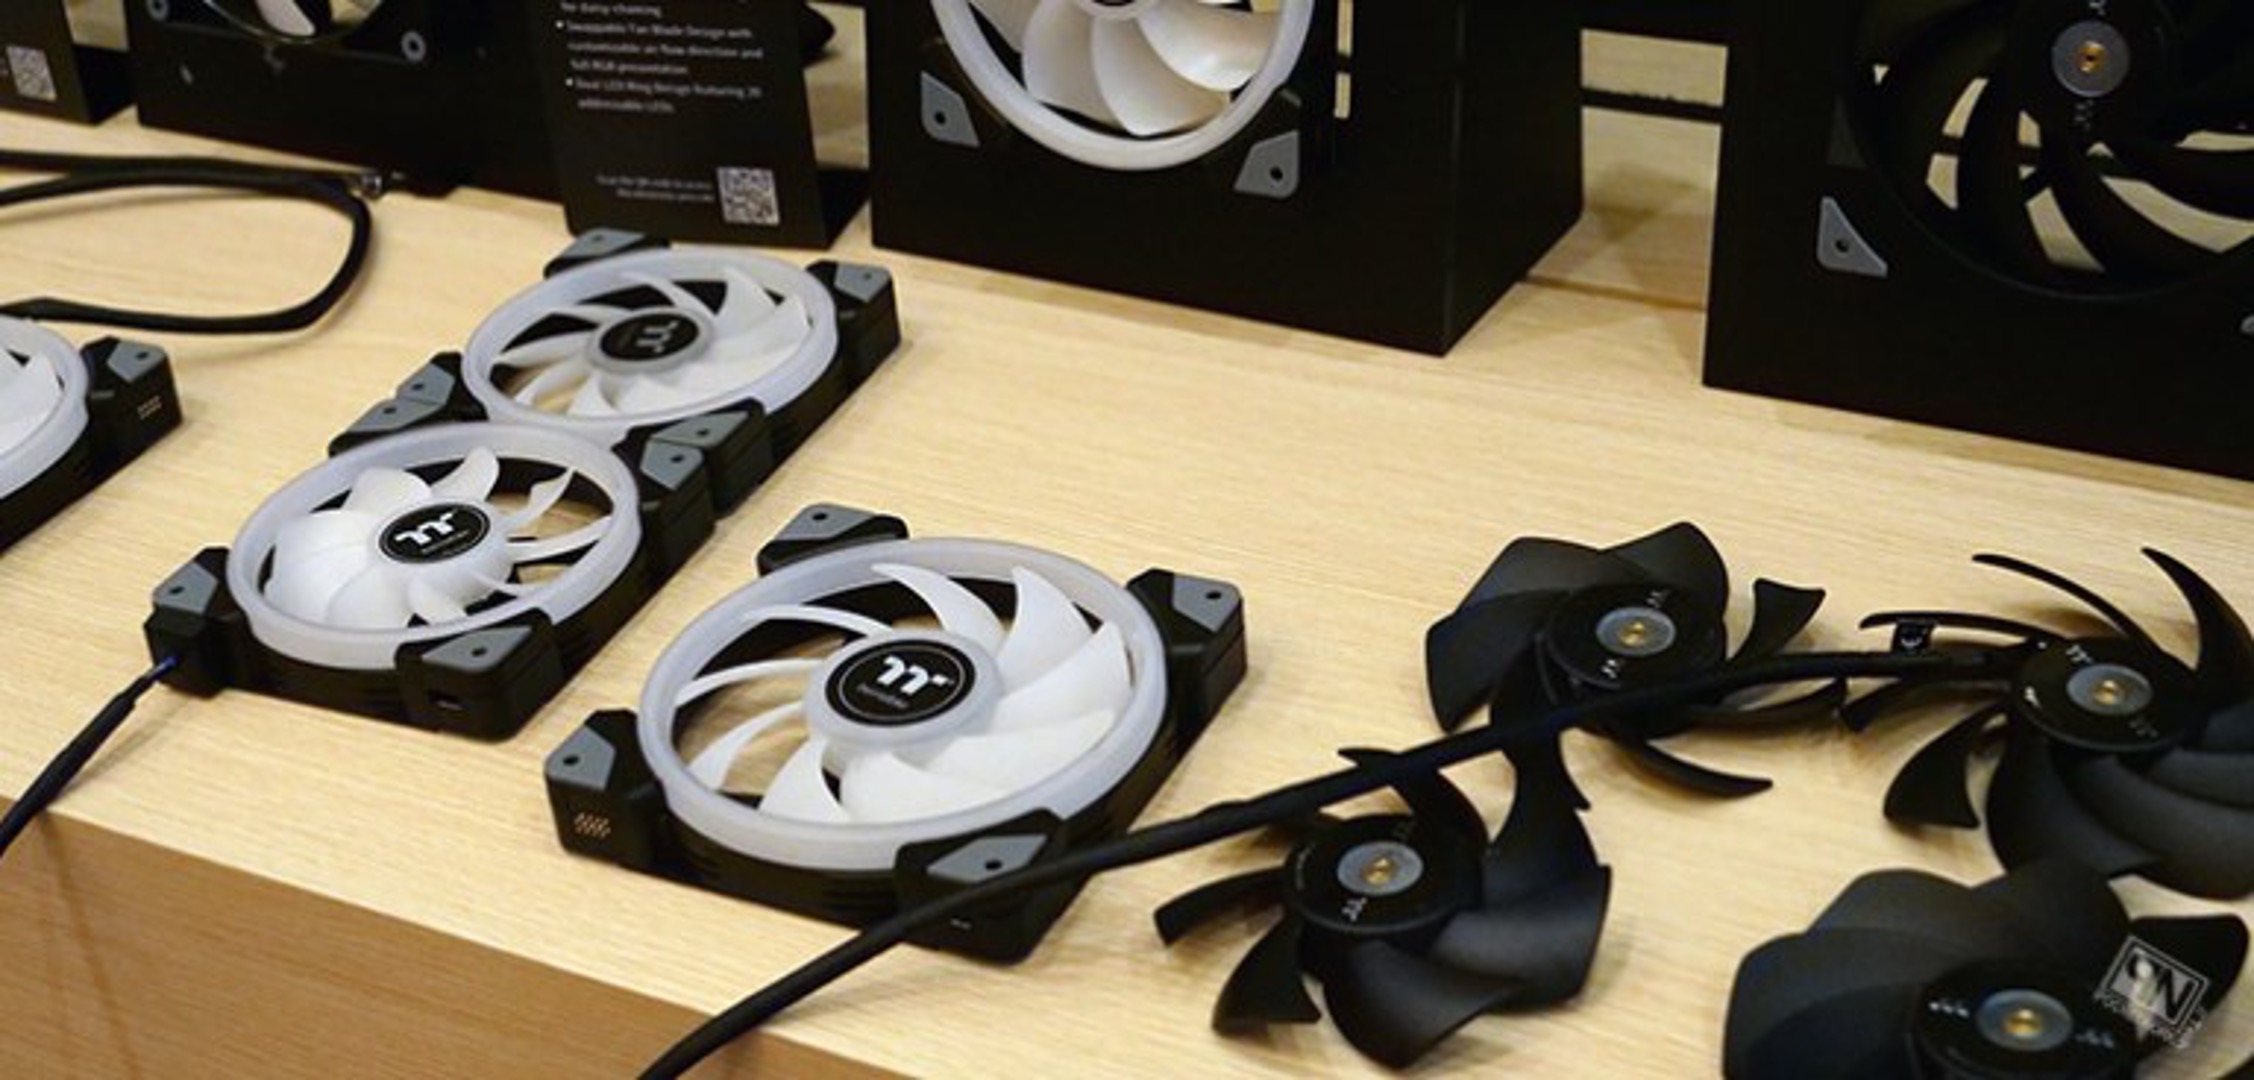
- Using a fan controller: Fan controllers are dedicated hardware devices that allow you to manually adjust the speed of your case fans. They usually feature knobs or buttons that let you increase or decrease the fan speed as desired. Fan controllers come in various forms, including those that can be installed in drive bays or external units that connect via USB. These devices offer precise control over fan speed and are ideal for users who want a physical interface for adjusting their case fans.
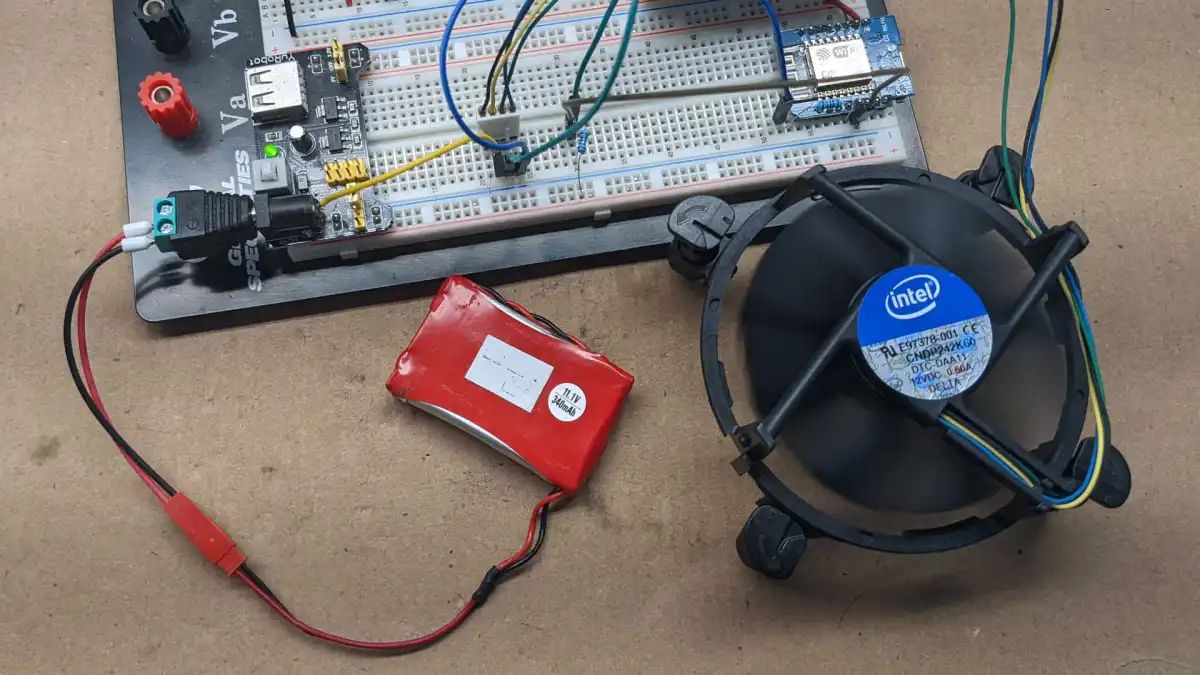
- Using fan speed reduction cables: Fan speed reduction cables, also known as fan extension cables or fan splitters, are simple and affordable solutions to slow down your case fans. These cables come with a built-in resistor that lowers the voltage supplied to the fan, reducing its speed. They typically connect between the fan and the motherboard or fan controller. However, it’s important to note that using these cables may reduce the overall voltage delivered to the fan, which can slightly decrease cooling performance.
- Installing resistor cables: Resistor cables work similarly to fan speed reduction cables, but they offer more flexibility in adjusting the fan speed. These cables come with multiple resistor options, allowing you to tailor the fan speed according to your preferences. By choosing the appropriate resistor combination, you can fine-tune the fan speed to achieve the desired level of cooling and noise reduction.
- Using software to control fan speed: Some motherboard manufacturers provide software utilities that allow you to control fan speed directly from your operating system. These applications, such as SpeedFan or MSI Afterburner, provide a graphical interface where you can adjust fan speed curves, monitor temperatures, and customize fan profiles. However, not all motherboards support this feature, so make sure to check if your motherboard is compatible with any available software options.
Experimenting with these methods will help you find the most suitable way to slow down your case fans based on your specific hardware configuration and personal preferences. Remember to find the right balance between noise reduction and cooling performance to maintain a well-functioning and efficient system.
Method 1: Adjusting fan speed in BIOS
One of the simplest and most effective methods to slow down your case fans is by adjusting their speed settings in the BIOS (Basic Input/Output System) of your motherboard. This method offers a reliable and convenient way to control your fans without the need for additional hardware or software.
To access the BIOS and modify the fan speed settings, you will typically need to reboot your computer and press a specific key (such as Del, F2, or F10) during the startup process to enter the BIOS menu. The exact key to access the BIOS varies depending on your motherboard manufacturer, so refer to the motherboard’s documentation or the manufacturer’s website for specific instructions.
Once inside the BIOS menu, navigate to the section related to fan control or hardware monitoring. The exact location and terminology may vary depending on your motherboard model. Look for options like “Fan Settings,” “Fan Control,” or “Hardware Monitor.”
Within the fan control settings, you will usually find options to adjust the fan speed curves or set specific speed percentages. Fan speed curves allow you to define how the fan speed changes based on system temperature. You can typically set different speeds at various temperature thresholds to achieve the desired balance between cooling performance and noise levels.
It’s important to note that not all motherboards have advanced fan control options in the BIOS. However, most modern motherboards offer at least basic fan speed adjustment capabilities. Refer to your motherboard’s manual or consult the manufacturer’s website to determine the specific fan control features available to you.
Once you have adjusted the fan speed settings to your preference, save the changes and exit the BIOS. The motherboard will then apply the new fan speed settings, and you will notice a difference in the operation of your case fans.
Always monitor your system temperatures after making changes to the fan speed settings to ensure they remain within safe limits. It may be necessary to fine-tune the fan speed curves over time to strike the perfect balance between cooling and noise reduction.
Adjusting fan speed in the BIOS provides a straightforward and effective method to slow down case fans and achieve a quieter computing experience. Experiment with different speed settings to find the optimal balance that suits your needs and hardware configuration.
Method 2: Using a fan controller
If you prefer a more hands-on approach to controlling your case fans, using a fan controller is an excellent option. A fan controller is a dedicated hardware device that allows you to manually adjust the speed of your fans, providing precise control over their operation.
Fan controllers come in various forms, including those that can be installed in drive bays or external units that connect via USB. They typically feature knobs, buttons, or sliders that allow you to increase or decrease the fan speed as desired. Some fan controllers even come with digital displays that show real-time fan speed and temperature readings.
To use a fan controller, you will need to install it in your computer case. If you have an available drive bay, you can choose a controller that fits directly into the bay and connects to your power supply and fans using the provided cables. Alternatively, if you prefer an external solution, you can opt for a USB fan controller that connects to your computer via a USB port.
Once installed, the fan controller allows you to adjust the fan speed manually. By turning the knobs, pushing buttons, or sliding controls, you can increase or decrease the fan speed to achieve the desired cooling performance and noise levels. This method gives you complete control over your case fans, allowing you to fine-tune their operation to suit your specific needs and preferences.
One advantage of using a fan controller is that it provides instantaneous adjustments to the fan speed. This allows you to respond quickly to changing system conditions or specific requirements during heavy usage or gaming sessions. Additionally, fan controllers typically provide power regulation to ensure a stable and consistent power supply to your fans.
Before purchasing a fan controller, make sure to check if it is compatible with your fan connectors. Fan controllers come in various configurations, supporting different types of fan connectors and voltage ranges. Therefore, ensure that the controller you choose is compatible with the fans you have installed in your case.
Using a fan controller is an excellent method to slow down your case fans and achieve a more controlled and personalized cooling experience. With precise fan speed adjustment at your fingertips, you can find the perfect balance between cooling performance and noise reduction.
Method 3: Using fan speed reduction cables
If you’re looking for a simple and affordable solution to slow down your case fans, using fan speed reduction cables can be a practical option. These cables, also known as fan extension cables or fan splitters, are designed to lower the voltage supplied to the fan, thereby reducing its speed.
Typically, fan speed reduction cables connect between the fan and either the motherboard fan header or a fan controller. The cable itself contains a built-in resistor that limits the voltage delivered to the fan. This reduction in voltage slows down the fan’s motor, resulting in a decrease in its rotational speed.
Using fan speed reduction cables is a straightforward process. Simply connect one end of the cable to the fan header on the motherboard or the fan controller, and the other end to the fan itself. The resistor within the cable will automatically lower the voltage and slow down the fan speed.
It’s important to note that using fan speed reduction cables may slightly reduce the overall voltage delivered to the fan. As a result, there might be a small decrease in cooling performance. However, this reduction is generally minimal and may not significantly impact the overall cooling efficiency of your system.
One advantage of using fan speed reduction cables is their affordability and ease of installation. They are inexpensive and readily available, making them a cost-effective method to slow down your case fans if your main concern is noise reduction.
When using fan speed reduction cables, it’s essential to ensure that the cables are compatible with the fan connectors you have in your case. Different fan cables have varying connector types and pin configurations, so make sure to choose cables that match your fans and the connectors on your motherboard or fan controller.
It’s worth mentioning that fan speed reduction cables are not suitable for all types of fans. Some fans, such as certain PWM (Pulse Width Modulation) fans, may not respond well to voltage reduction. Therefore, it’s important to check the compatibility of your fans with fan speed reduction cables before using them.
Using fan speed reduction cables is a simple and cost-effective method to slow down your case fans and reduce noise levels. By introducing a resistor into the fan’s power supply circuit, these cables provide an easy way to achieve a quieter computing experience without the need for additional hardware or software.
Method 4: Installing resistor cables
If you’re looking for more flexibility in adjusting the fan speed of your case fans, installing resistor cables can be an effective method. Resistor cables provide you with the option to fine-tune the fan speed according to your preferences while still achieving a quieter operation.
Resistor cables are similar to fan speed reduction cables but offer more versatility. These cables come with multiple resistor options, allowing you to choose the appropriate resistor combination based on the desired fan speed. By selecting the right resistor values, you can tailor the fan speed to strike the perfect balance between cooling performance and noise reduction.
The installation process for resistor cables is straightforward. Begin by connecting one end of the cable to the fan header on the motherboard or the fan controller. Then, attach the other end of the cable to the fan itself. Along the length of the cable, you will find different resistor options, usually labeled with different resistance values or color codes.
By selecting resistors with higher resistance values, you can decrease the voltage supplied to the fan, thereby slowing down its speed. Likewise, lower resistance values will allow more voltage to pass through, resulting in higher fan speeds. Experimenting with different resistor combinations will enable you to find the ideal balance between cooling performance and noise reduction.
It’s important to note that while resistor cables offer more control over fan speed, they still introduce a slight decrease in the overall voltage delivered to the fan. As a result, there may be a minor reduction in cooling performance compared to running the fan at its full speed. However, this decrease is typically negligible and will not significantly impact the overall cooling efficiency of your system.
When selecting resistor cables, ensure that they are compatible with the fan connectors in your case. There are different types of resistor cables available, designed to work with specific fan connectors and pin configurations. By choosing the right cables, you can easily integrate them into your system without any compatibility issues.
Overall, installing resistor cables offers a flexible and customizable method to slow down your case fans. By adjusting the resistance values, you can fine-tune the fan speed to achieve the ideal balance between cooling efficiency and noise reduction, allowing for a more personalized and tailored cooling experience.
Method 5: Using software to control fan speed
If you prefer a software-based approach to controlling your case fans, using specialized software can provide you with the ability to adjust fan speeds directly from your operating system. This method offers convenience and flexibility, allowing you to fine-tune your fan speeds without the need to access the BIOS or use additional hardware.
Several software applications are available for controlling fan speeds, depending on your motherboard manufacturer and compatibility. Some popular options include SpeedFan, MSI Afterburner, and Gigabyte EasyTune. These applications provide a graphical user interface where you can monitor temperatures, adjust fan speed curves, and customize fan profiles according to your preferences.
Using software to control fan speed typically involves the following steps:
- Install the appropriate software: Download and install the software compatible with your motherboard model and operating system.
- Launch the software: Open the software and familiarize yourself with the interface.
- Monitor temperatures: Most software applications provide real-time temperature readings for your system components. Use this feature to monitor the temperatures and ensure they remain within safe limits.
- Adjust fan speed curves: Fan speed curves determine how the fan speed changes based on system temperatures. Use the software’s interface to modify the fan speed curve according to your preferences. You can set specific speed percentages or adjust the curve slope to achieve the desired cooling performance and noise levels.
- Create custom fan profiles: Many software applications allow you to create custom fan profiles. This feature enables you to specify different fan speed settings for different scenarios, such as normal usage, gaming, or heavy workload. Creating custom profiles allows for automatic fan speed adjustments based on the configured triggers and thresholds.
Keep in mind that not all motherboards support software-based fan control. Ensure that your motherboard is compatible with the specific software application you plan to use.
Using software to control fan speed offers a user-friendly and convenient method to adjust your case fans’ operation. It provides the flexibility to fine-tune fan speeds according to your preferences and specific system requirements, all while remaining within the comfort of your operating system.
Remember to test and monitor your fans after making changes to ensure that your system’s temperatures remain within safe limits. Additionally, consult the software’s documentation or online forums for specific guidelines and troubleshooting tips related to fan control.
Conclusion
Slowing down your case fans can greatly enhance your computing experience by reducing noise levels, conserving energy, and extending the lifespan of your fans. We explored several methods to achieve this, each with its own advantages and considerations.
Adjusting fan speed in the BIOS provides a reliable and convenient way to control your case fans directly from your motherboard. It offers flexibility and customization options, allowing you to fine-tune fan speed curves for optimal cooling efficiency and noise reduction.
Using a fan controller gives you a hands-on approach to fan speed control, providing precise adjustments and real-time monitoring through dedicated hardware. Fan controllers enable you to quickly respond to changing system conditions and strike the perfect balance between cooling performance and noise levels.
Fan speed reduction cables offer a simple and affordable solution to slow down your case fans. These cables reduce the voltage supplied to the fan, resulting in decreased fan speed and noise levels. They are easy to install and provide immediate noise reduction benefits.
Resistor cables provide more control over fan speed by offering various resistor options. This method allows you to fine-tune fan speeds based on your preferences while still achieving a quieter operation. It provides flexibility and customization, allowing you to strike the perfect balance between cooling performance and noise reduction.
Using software to control fan speed offers convenience and flexibility, allowing you to adjust fan speeds directly from your operating system. With a graphical interface, you can monitor temperatures, modify fan speed curves, and create custom fan profiles to suit different scenarios and preferences.
When implementing any of these methods, always ensure that you monitor your system temperatures to prevent overheating. Experiment with different settings and find the optimal balance between cooling performance and noise reduction for your specific hardware configuration and personal preferences.
Choose the method that best suits your needs and hardware compatibility, and enjoy a quieter and more efficient computing experience with your slowed-down case fans.