Introduction
Are you looking for a way to sign out of iMessage? Whether you want to switch to a new device, temporarily disable iMessage, or simply take a break from constant notifications, knowing how to sign out is essential. In this article, we will guide you through the steps to sign out of iMessage on various Apple devices.
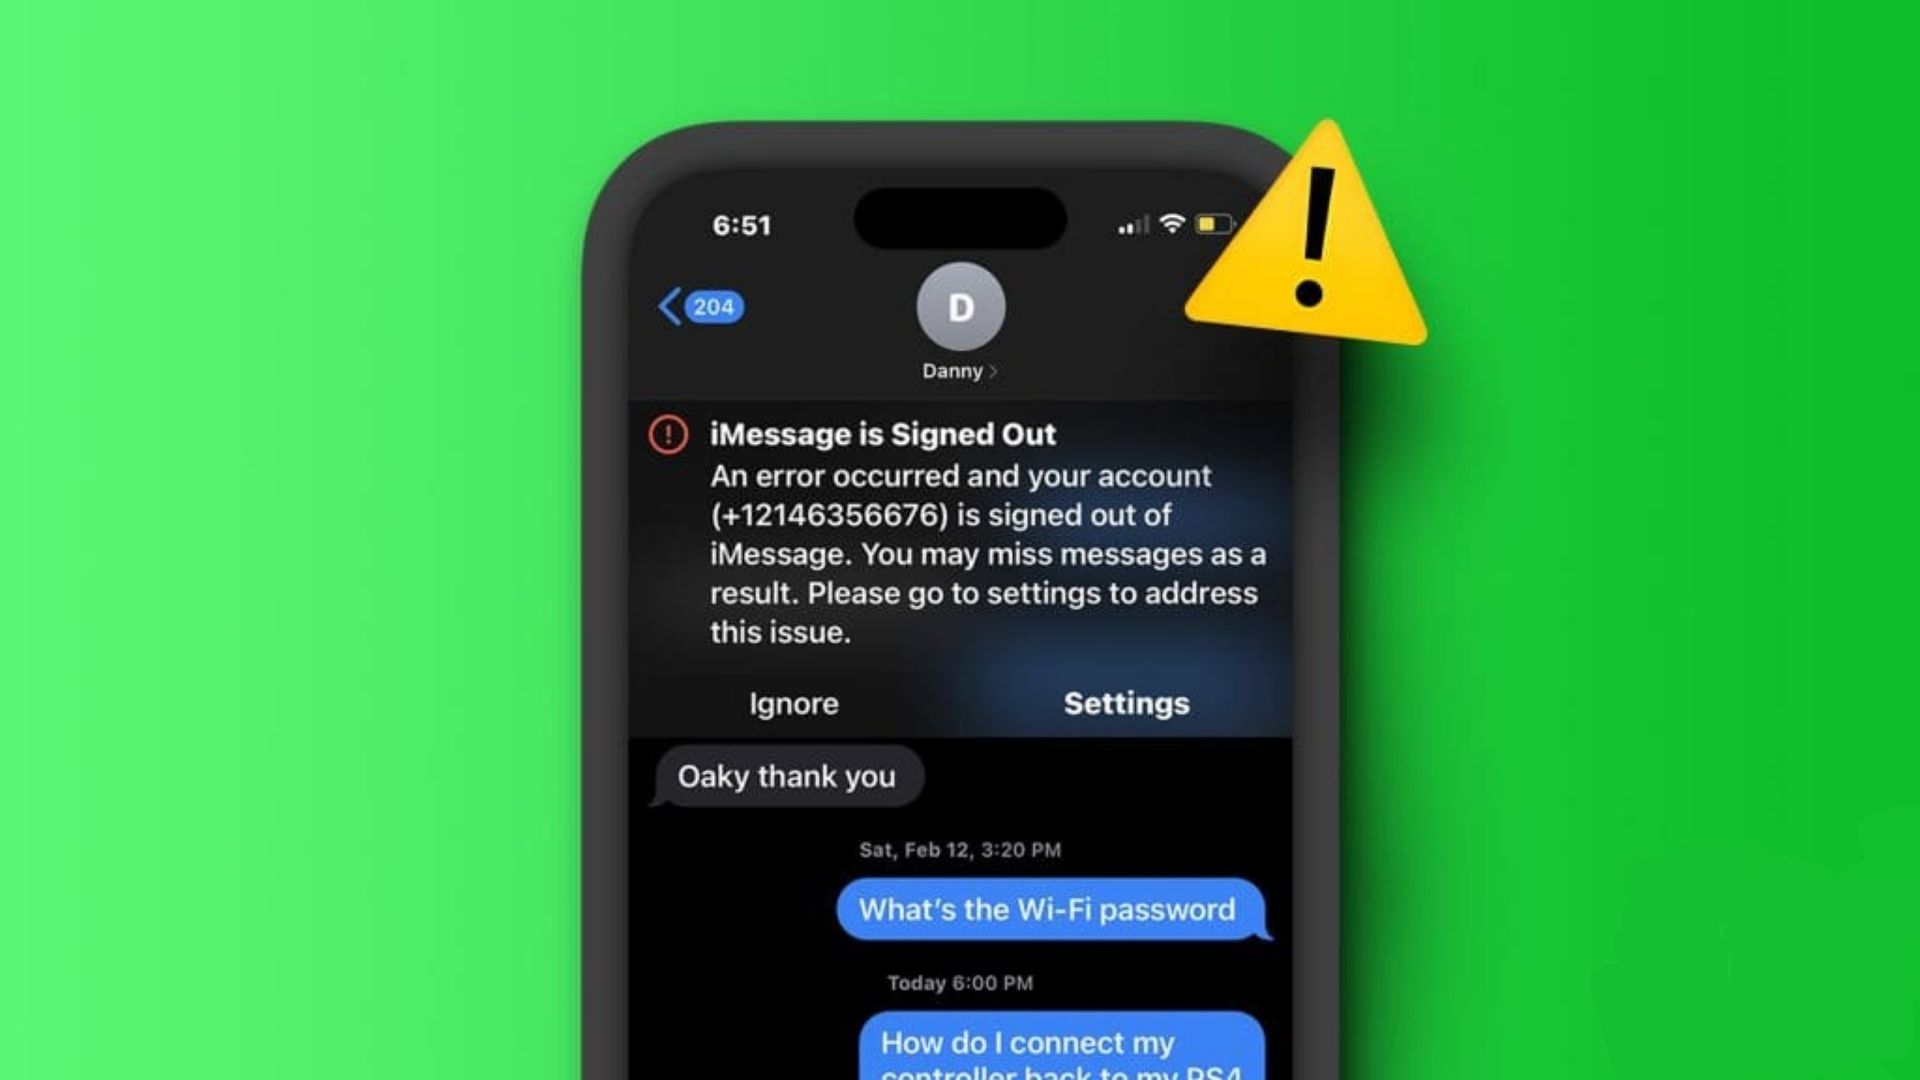
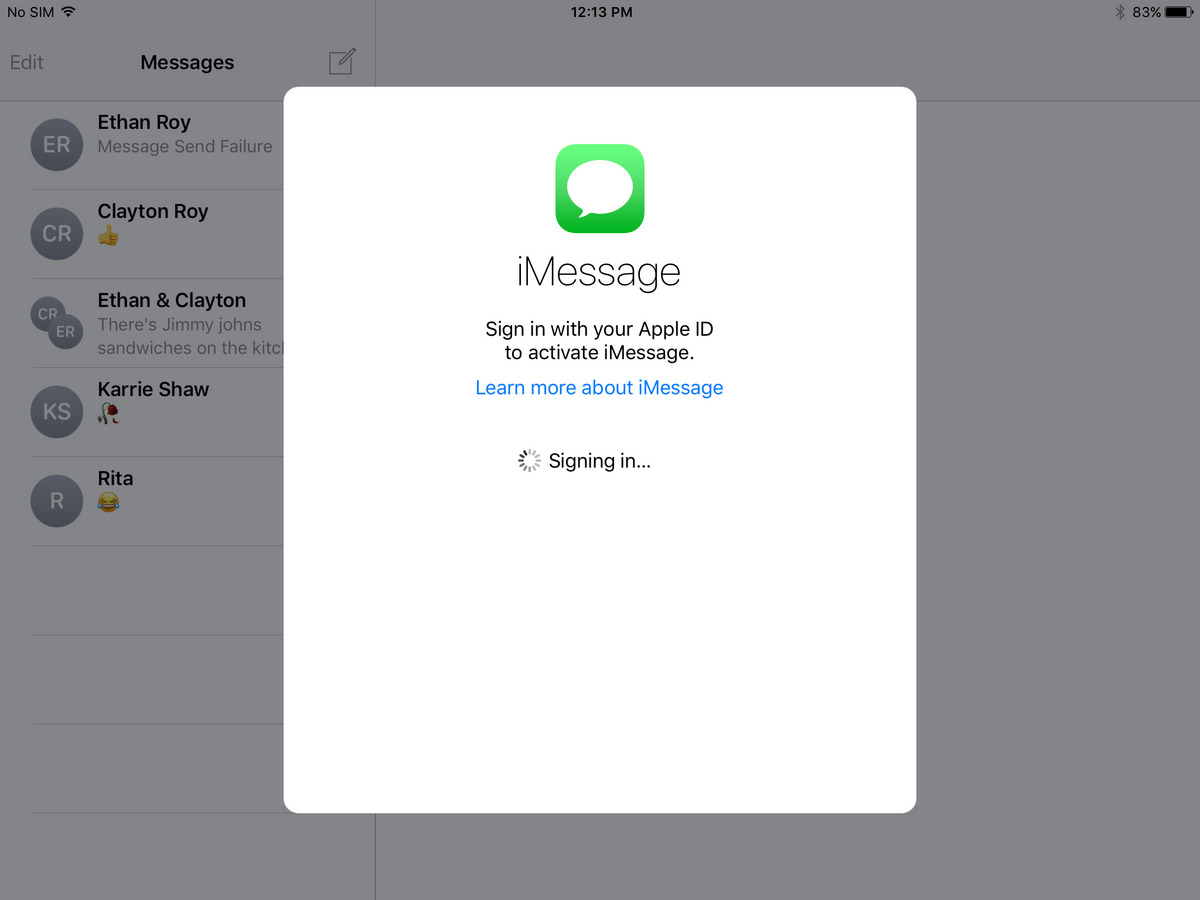
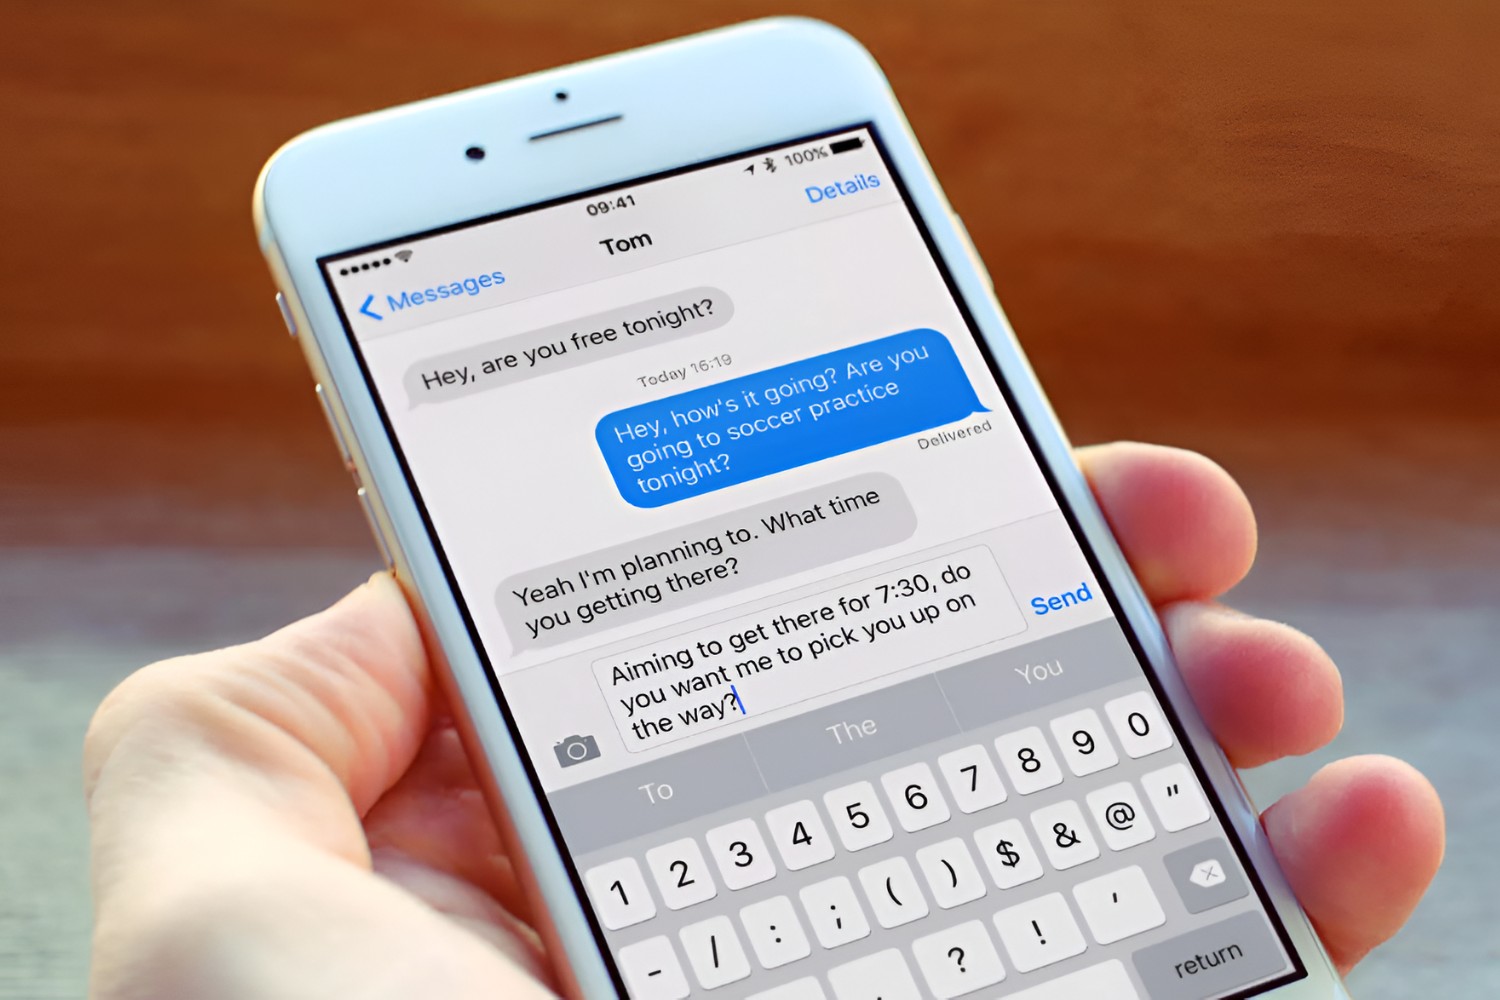
iMessage is Apple’s proprietary messaging service that allows iPhone, iPad, iPod Touch, Mac, and Apple Watch users to send and receive messages, photos, and videos over a Wi-Fi or cellular data connection. It offers a convenient and seamless way to communicate with other Apple users, but if you no longer need to use iMessage or want to switch to a different Apple ID, signing out is the way to go.
Signing out of iMessage ensures that your messages no longer sync across your devices, and you won’t receive iMessages or FaceTime calls on the device you sign out from. However, it’s important to note that signing out of iMessage will not delete your message history, and you can easily sign back in whenever you want to resume using iMessage.
In the following sections, we will explain step-by-step instructions for signing out of iMessage on specific Apple devices. Whether you own an iPhone, iPad, Mac, or Apple Watch, we have you covered. So, let’s dive right in and learn how to sign out of iMessage on your device.
Method 1: Signing Out of iMessage on iPhone or iPad
If you’re using an iPhone or iPad and want to sign out of iMessage, follow these steps:
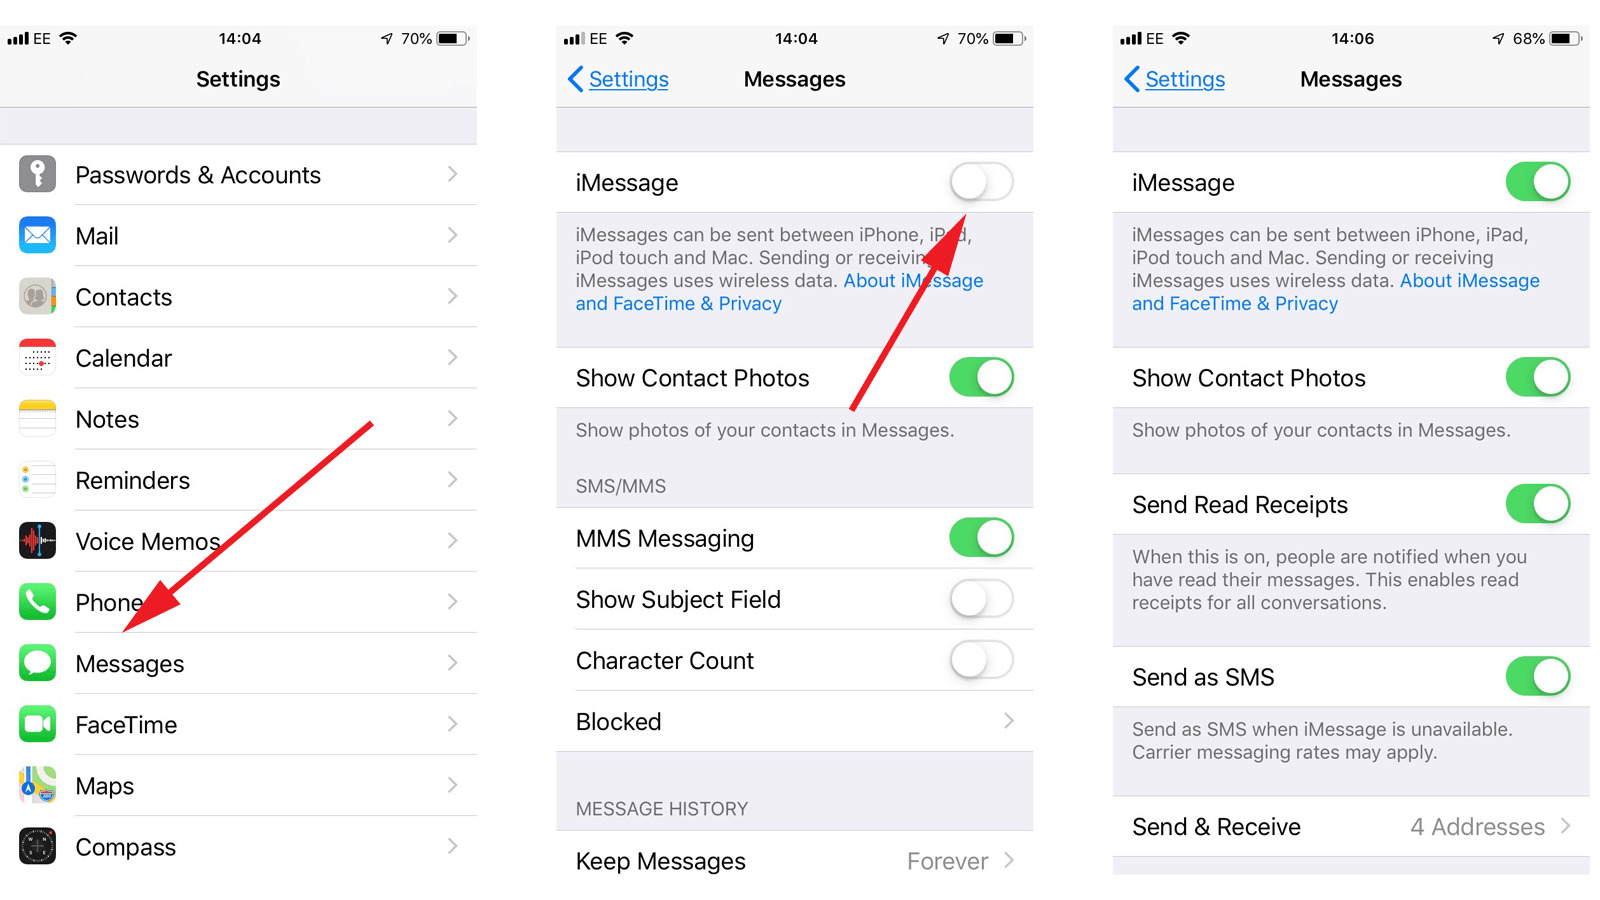
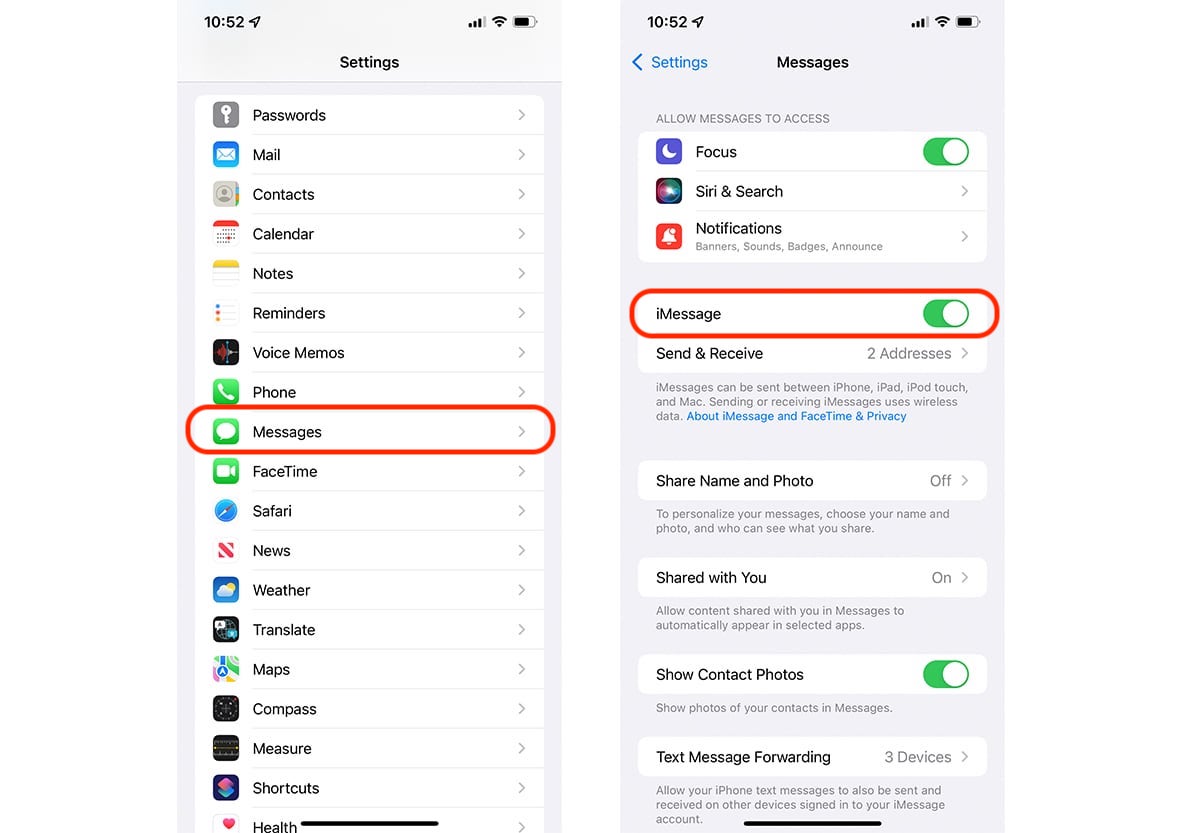
- Open the “Settings” app on your device. It can be identified by the gear icon.
- Scroll down and tap on “Messages”.
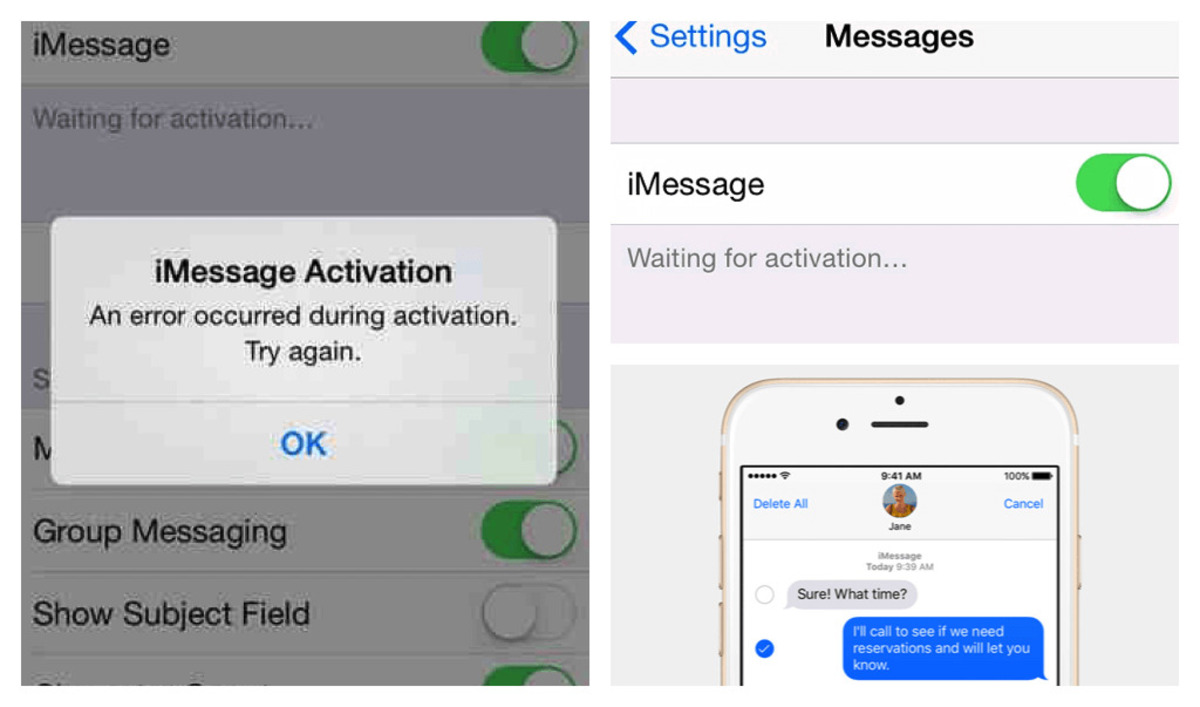
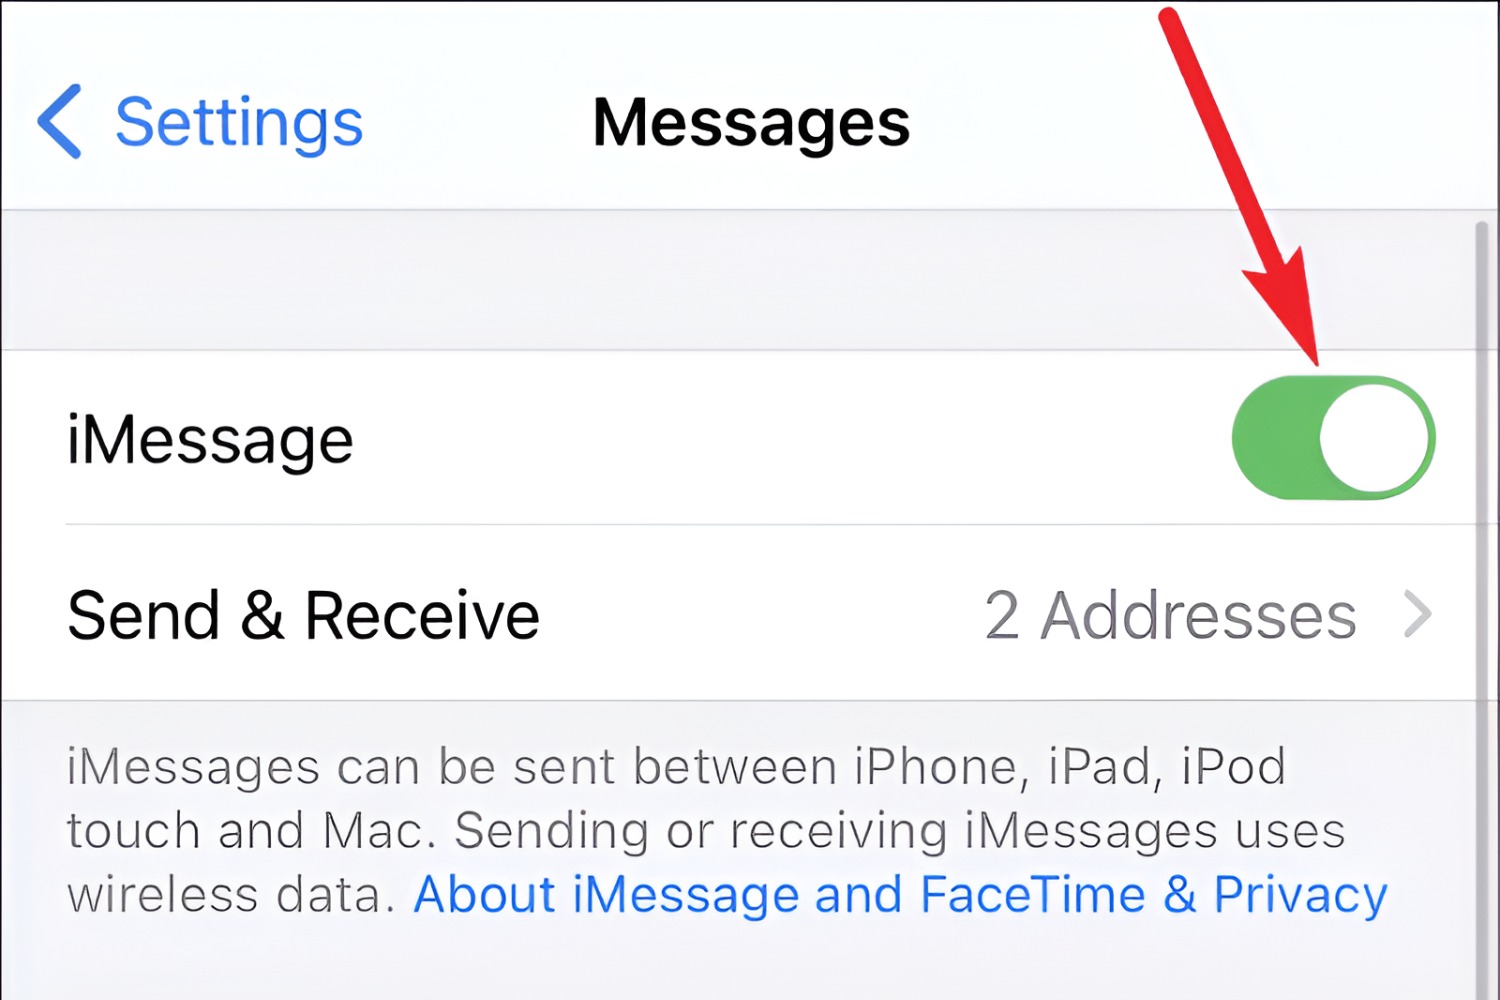
- In the Messages settings, locate and tap on “Send & Receive”.
- You’ll see your Apple ID at the top of the screen. Tap on it.
- A pop-up menu will appear displaying options related to your Apple ID. From this menu, tap on “Sign Out”.
- You may be prompted to enter your Apple ID password. Enter the password and tap “Turn Off” to confirm the sign out.
Once you’ve completed these steps, you will be signed out of iMessage on your iPhone or iPad. Keep in mind that this action only affects iMessage and not other Apple services associated with your Apple ID.
If you decide to sign back in, you can do so by following the same steps as above. Simply go to the “Messages” settings, tap on your Apple ID, and sign in with your Apple ID credentials.
Signing out of iMessage on your iPhone or iPad is a straightforward process that allows you to take a break from iMessage or switch to a different Apple ID easily. Next, let’s move on to how you can sign out of iMessage on a Mac.
Method 2: Signing Out of iMessage on Mac
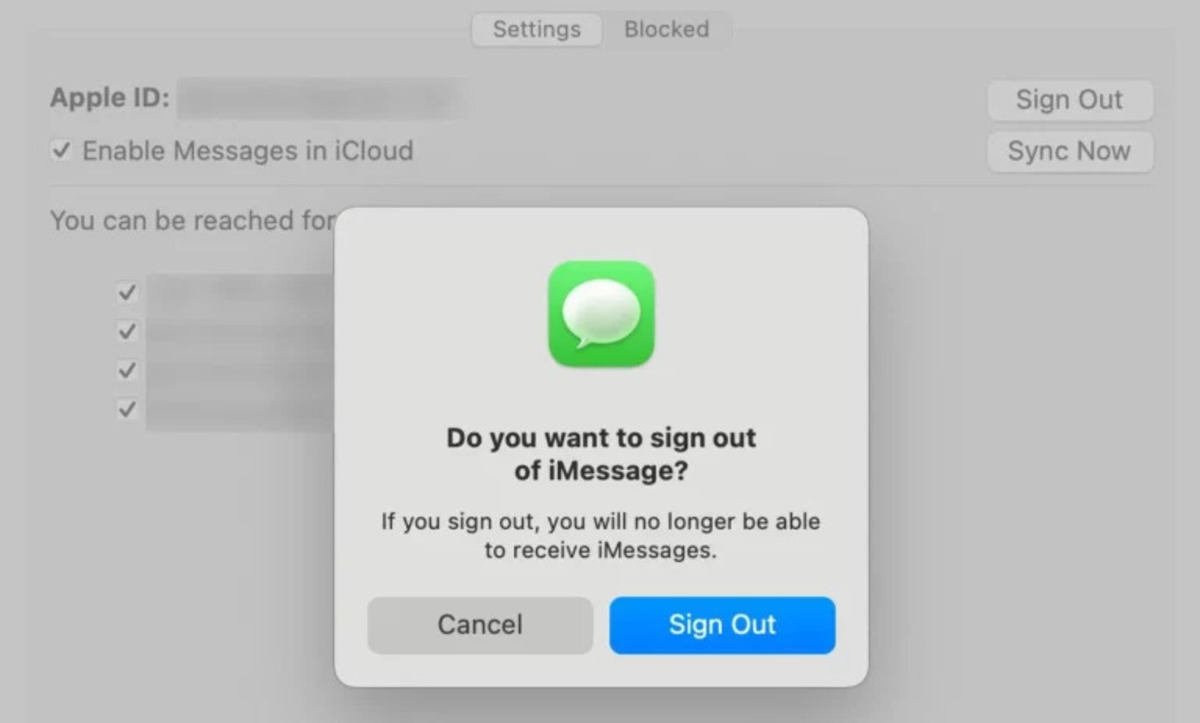
If you’re using a Mac and wish to sign out of iMessage, follow these steps:
- Launch the “Messages” app on your Mac. You can find it in the Applications folder or use Spotlight search to locate it quickly.
- In the menu bar at the top of the screen, click on “Messages” and then select “Preferences”.
- A new window will appear with various settings. Click on the “iMessage” tab.
- Under the iMessage settings, you will see your Apple ID. Click on the “Sign Out” button next to it.
- A confirmation dialog will appear asking if you want to sign out of iMessage. Click on “Sign Out” to proceed.
Once you’ve completed these steps, you will be signed out of iMessage on your Mac. This means you won’t receive iMessages or FaceTime calls on your Mac until you sign back in.
Keep in mind that signing out of iMessage on your Mac does not sign you out of iMessage on your other devices. Each device is managed separately, so you will need to sign out on each device if you want to disable iMessage completely.
If you later decide to sign back in to iMessage on your Mac, simply open the “Messages” app, go to “Preferences” again, and click on the “Sign In” button next to your Apple ID.
Now that you know how to sign out of iMessage on your Mac, let’s move on to the next method: signing out of iMessage on your Apple Watch.
Method 3: Signing Out of iMessage on Apple Watch
If you own an Apple Watch and want to sign out of iMessage, the process is slightly different. Follow these steps:
- On your Apple Watch, press the Digital Crown to access the App Grid.
- Tap on the “Settings” app, which is represented by a gear icon.
- Scroll down and tap on “Messages”.
- Under the Messages settings, tap on “iMessage”.
- Toggle the switch next to “iMessage” to the off position.
By turning off iMessage on your Apple Watch, you will be signed out of iMessage on that device. This means you will no longer receive iMessages or FaceTime calls on your Apple Watch.
If you want to sign back in to iMessage on your Apple Watch, simply follow the same steps and toggle the switch next to “iMessage” to the on position.
Keep in mind that signing out of iMessage on your Apple Watch does not sign you out on other devices, and you will still receive iMessages on your iPhone or other connected devices.
Now that you know how to sign out of iMessage on your Apple Watch, let’s move on to the final method: signing out of iMessage on iPod Touch.
Method 4: Signing Out of iMessage on iPod Touch
If you’re using an iPod Touch and want to sign out of iMessage, follow these steps:
- Open the “Settings” app on your iPod Touch. It can be identified by the gear icon.
- Scroll down and tap on “Messages”.
- In the Messages settings, tap on “Send & Receive”.
- You will see your Apple ID listed at the top of the screen. Tap on it.
- A pop-up menu will appear displaying options related to your Apple ID. From this menu, tap on “Sign Out”.
- You may be prompted to enter your Apple ID password. Enter the password and tap “Turn Off” to confirm the sign out.
Once you’ve completed these steps, you will be signed out of iMessage on your iPod Touch. This means you won’t receive iMessages or FaceTime calls on your iPod Touch until you sign back in.
If you decide to sign back in to iMessage on your iPod Touch, simply follow the same steps and tap on your Apple ID in the Messages settings. Enter your Apple ID password when prompted, and then tap “Turn On” to enable iMessage again.
It’s important to note that signing out of iMessage on your iPod Touch only affects iMessage on that specific device. You will still receive iMessages on other devices associated with your Apple ID, such as an iPhone or iPad.
Now that you know how to sign out of iMessage on your iPod Touch, you can easily switch between accounts or take a break from iMessage whenever you need to.
Conclusion
In this article, we have explored the different methods for signing out of iMessage on various Apple devices. Whether you’re using an iPhone, iPad, Mac, Apple Watch, or iPod Touch, the steps provided can help you seamlessly sign out of iMessage whenever necessary.
By signing out of iMessage, you can take a break from constant notifications, switch to a different Apple ID, or simply disable iMessage temporarily. It’s important to remember that signing out of iMessage on one device does not automatically sign you out on other devices. Each device is managed separately, so you will need to sign out on each specific device if you want to disable iMessage completely.
Moreover, signing out of iMessage does not delete your message history, so you can easily sign back in and resume using iMessage with all your previous conversations intact.
Whether you’re using an iOS device like an iPhone or iPad, a Mac computer, an Apple Watch, or an iPod Touch, the process of signing out of iMessage is relatively straightforward. Just follow the steps mentioned in the corresponding method for your device, and you’ll be signed out in no time.
We hope this guide has been helpful in explaining how to sign out of iMessage on different Apple devices. Now, you have the knowledge to manage your iMessage settings and take control of your communication preferences.
So go ahead, sign out of iMessage on the devices you choose, and enjoy the flexibility and peace of mind that comes with it!