Introduction
Welcome to the world of Amazon Music, a platform that offers a vast library of music and lets you create personalized playlists to suit your taste. Music brings people together, and sometimes you may want to share your favorite playlists with others. Whether you want to introduce someone to your carefully curated collection or create a collaborative playlist with friends, Amazon Music makes it easy to share your playlists with just a few simple steps.
In this guide, we will walk you through the process of sharing an Amazon Music playlist. Whether you are using the Amazon Music app on your mobile device or accessing it through the website, these steps will apply to both platforms.
Sharing a playlist allows you to spread the joy of music and discover new artists or songs together. Whether it’s a playlist for a road trip, a workout session, or a cozy night in, sharing music helps create connections and sparks conversations.
So, let’s dive in and learn how to share an Amazon Music playlist with your friends, family, or anyone who would appreciate your musical taste.
Step 1: Open the Amazon Music app or website
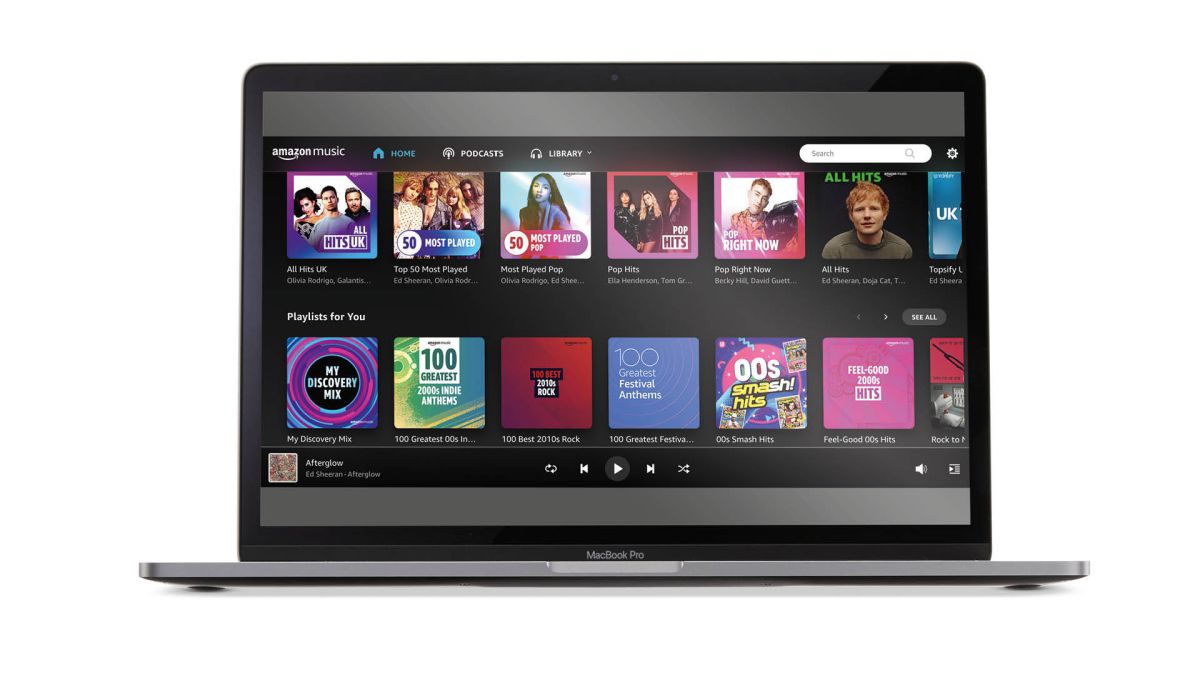
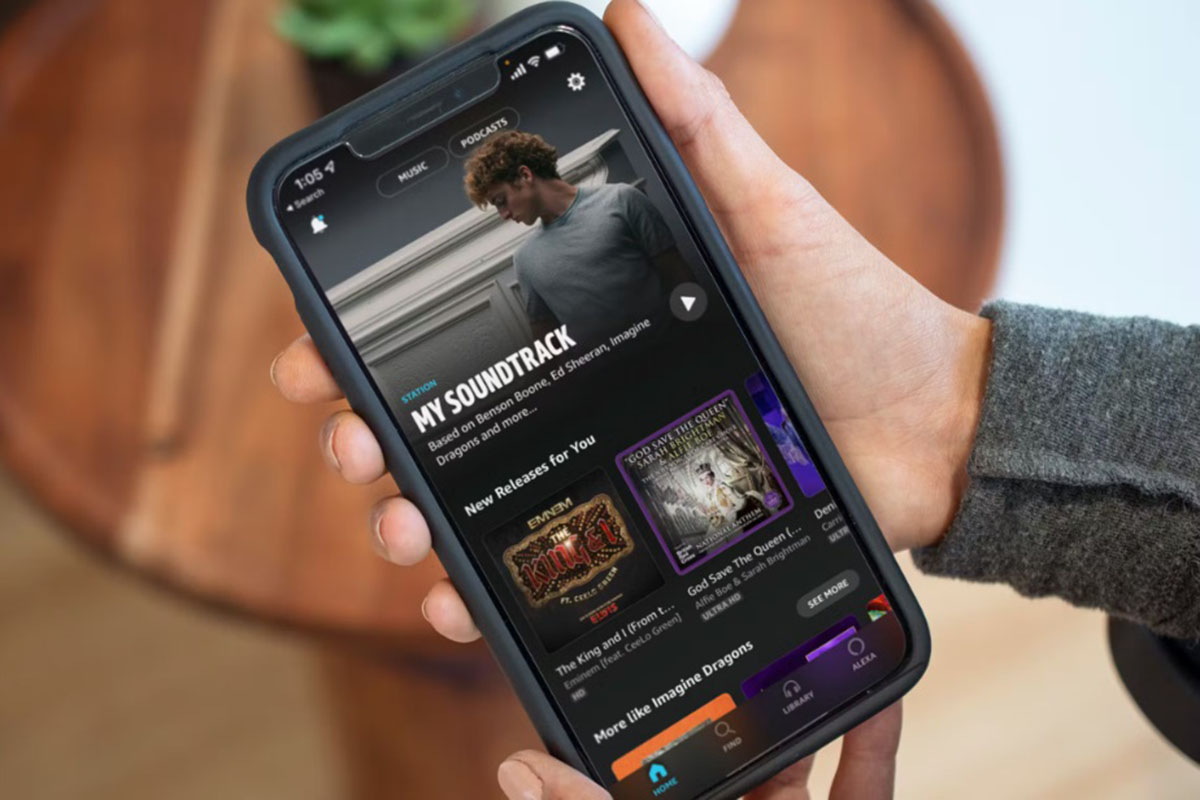
The first step to sharing an Amazon Music playlist is to open the Amazon Music app on your mobile device or access the Amazon Music website on your computer’s web browser.
If you are using the app, simply locate the Amazon Music icon on your device’s home screen or app drawer and tap on it to launch the application.
If you prefer to use the website, open your web browser and visit the Amazon Music website by entering “music.amazon.com” in the address bar.
Note that to access Amazon Music, you will need to have an active Amazon account. If you don’t have one, you can easily create a new account for free.
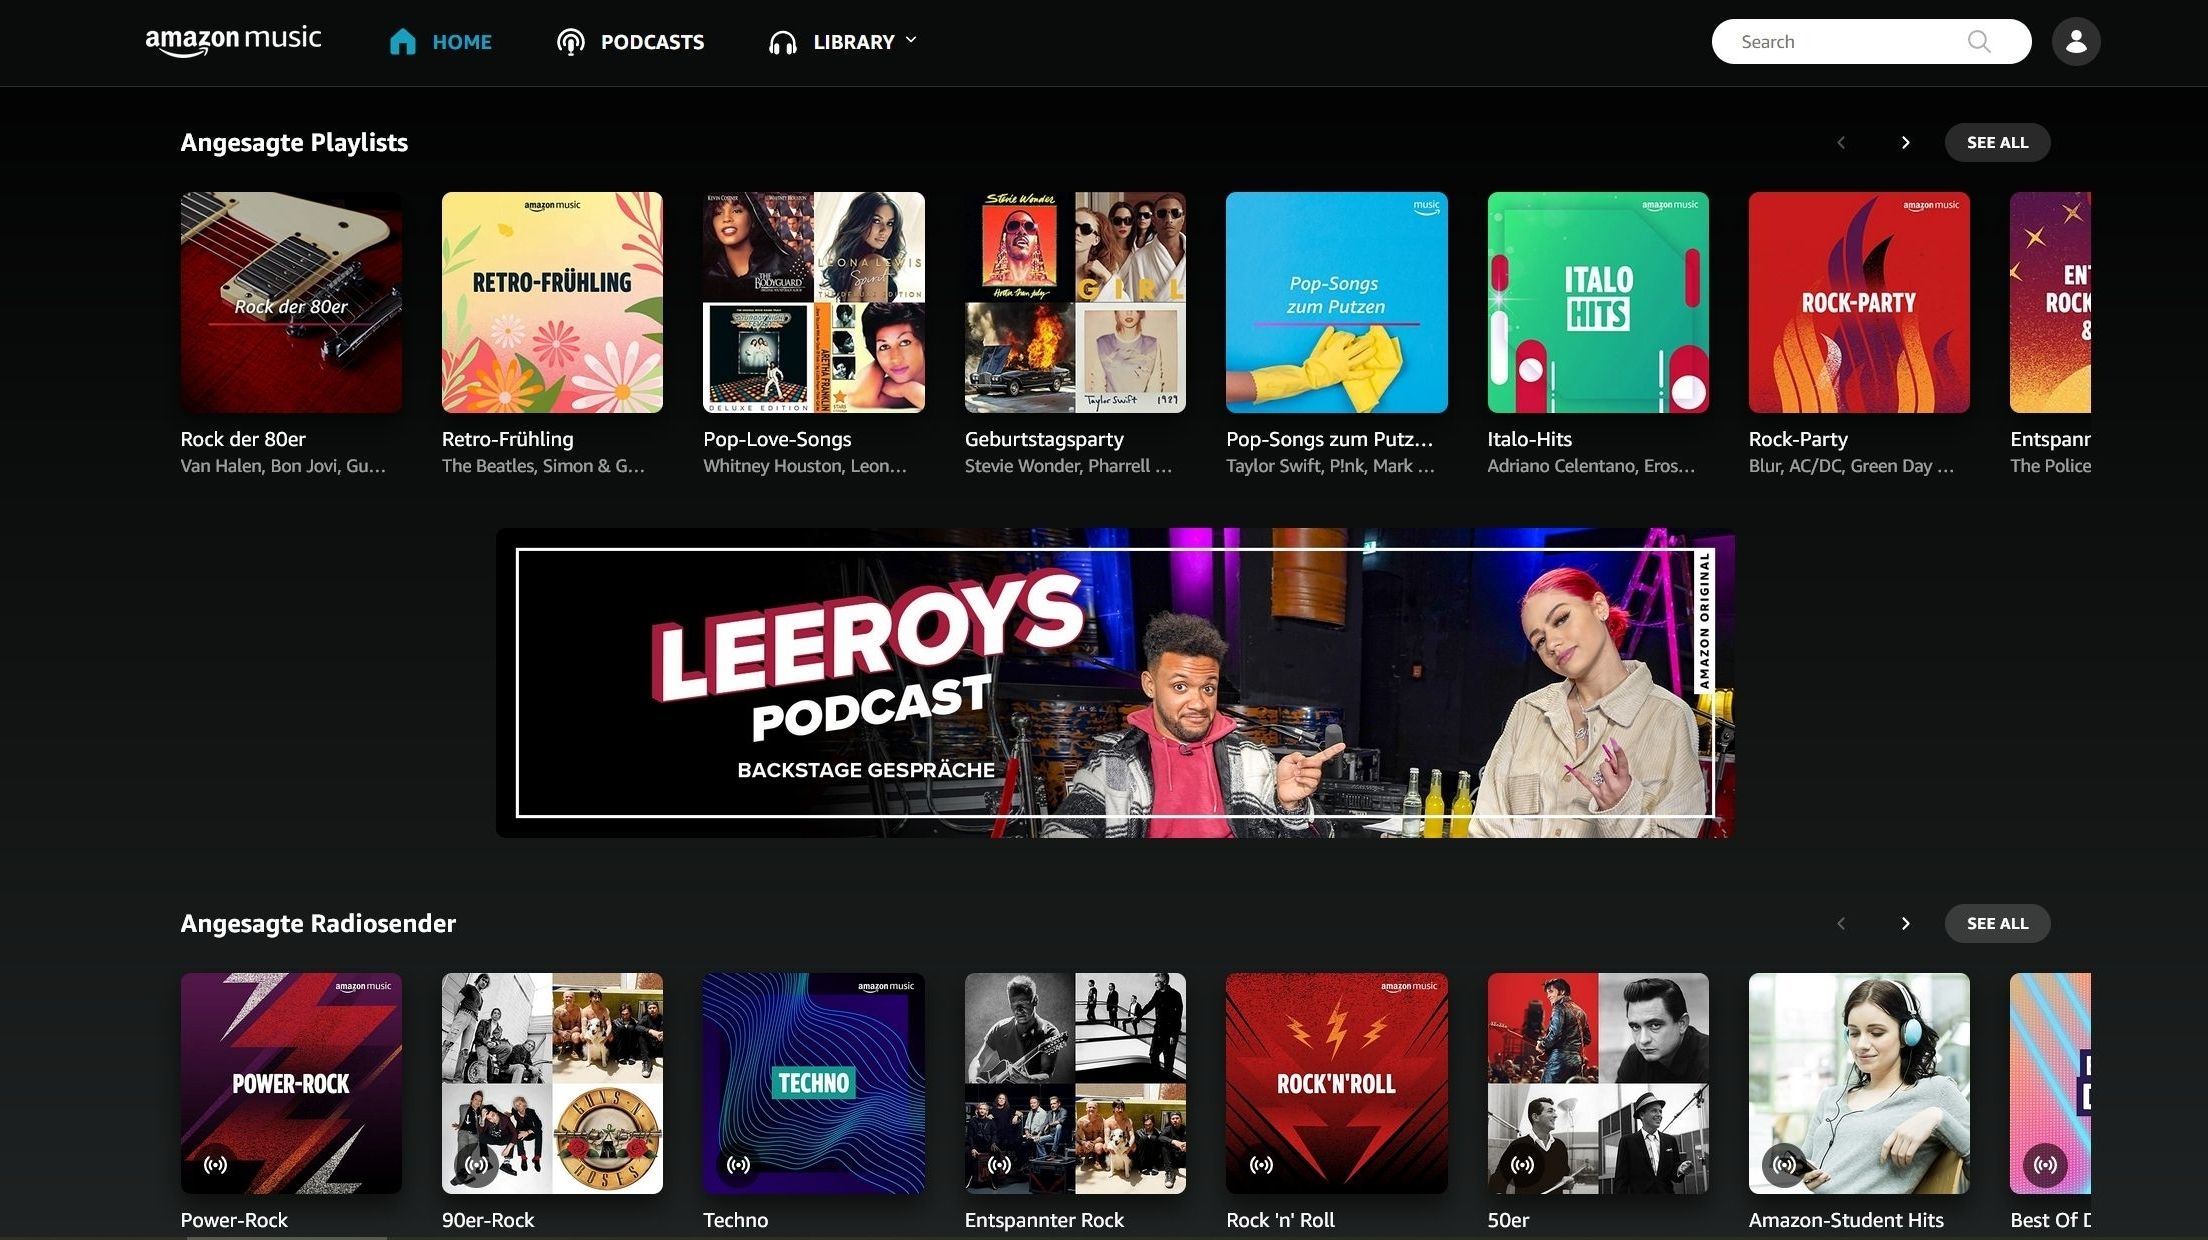
Once you have opened the Amazon Music app or website, you will be greeted with a homepage that showcases various music recommendations, playlists, and genres. Take a moment to familiarize yourself with the layout and navigation options, as they may vary slightly depending on the version you are using.
Now that you have successfully accessed the Amazon Music app or website, you are ready to move on to the next step and select the playlist you want to share.
Step 2: Select the playlist you want to share
After opening the Amazon Music app or website, it’s time to choose the playlist that you want to share with others. Whether it’s a playlist you’ve created yourself or a curated playlist from Amazon Music’s vast library, the process remains the same.
In the navigation menu or homepage of the Amazon Music app, look for the “Playlists” tab. This tab typically contains all the playlists that you have created or added to your library, as well as some recommended playlists.
If you are using the Amazon Music website, you can usually find the “Playlists” option in the top menu or sidebar of the webpage. Simply click on the “Playlists” tab to access your playlists.
Browse through your list of playlists and find the one you want to share. You can identify your playlists by the names you’ve given them, any custom covers you’ve set, or any tags or descriptions you may have added. If you’re having trouble finding a specific playlist, you can use the search bar to quickly locate it.
Once you’ve located the playlist you want to share, click on it to open the playlist details page. Here, you can view all the songs in the playlist, as well as any additional information such as the total duration and the date it was created.
Take a moment to review the playlist and make sure it’s the one you want to share. You can also make any last-minute edits to the playlist if needed, such as adding or removing songs.
Now that you have selected the playlist you want to share, it’s time to move on to the next step and learn how to share it with others.
Step 3: Click on the three dots icon
Once you have selected the playlist you want to share in the Amazon Music app or website, it’s time to access the options menu for that playlist. To do this, you will need to locate and click on the three dots icon associated with the playlist.
In the Amazon Music app, the three dots icon is typically located next to the playlist’s title or under the “More Options” section. It signifies that there are additional actions you can take with the playlist.
If you are using the Amazon Music website, you can usually find the three dots icon next to the playlist title or within a dropdown menu labeled “Options”. Look for this icon to access the playlist’s menu.
Clicking on the three dots icon will bring up a menu with various options related to the playlist. These options can include editing the playlist, adding it to your favorites, downloading it for offline listening, and of course, sharing the playlist.
Take a moment to explore the other options available in this menu and familiarize yourself with their functionalities. While sharing the playlist is our main focus, you may find some additional features that enhance your overall Amazon Music experience.
When you’re ready to proceed with sharing the playlist, continue to the next step to learn how to choose the “Share Playlist” option from the menu.
Step 4: Choose the “Share Playlist” option
After clicking on the three dots icon associated with the playlist in the Amazon Music app or website, a menu with various options will appear. Among these options, you need to select the “Share Playlist” option to proceed with sharing the playlist.
In the Amazon Music app, you can usually find the “Share Playlist” option listed in the menu that appears after clicking on the three dots icon. It may be located towards the bottom of the menu, or you may need to scroll down to find it.
If you are using the Amazon Music website, look for the “Share Playlist” option within the dropdown menu that appears after clicking on the three dots icon. It may be listed as one of the first options in the menu.
Clicking on the “Share Playlist” option will open up a new window or dialog box that provides you with different methods to share the playlist with others.
Before moving on to the next step, take a moment to ensure that you have selected the correct playlist and that you are ready to share it. Double-check the playlist’s title, cover, and contents to make sure everything is as you intended.
Now that you have chosen the “Share Playlist” option, let’s proceed to the next step and explore the different sharing methods available to you.
Step 5: Select your sharing method
After selecting the “Share Playlist” option in the Amazon Music app or website, you will be presented with a variety of methods to share the playlist with others. These methods allow you to choose the most convenient and suitable way to share the playlist based on your preferences and the preferences of the recipients.
Here are some common sharing methods you may encounter:
- Share via direct link: In this method, Amazon Music provides you with a unique URL link that you can copy and share through various channels such as messaging apps, social media platforms, or email. When someone clicks on this link, it will take them directly to the playlist in Amazon Music, where they can listen to it.
- Share via social media: If you are an avid user of social media platforms, you may have the option to directly share the playlist to your preferred social media accounts. This allows you to share the playlist with your followers or friends on platforms such as Facebook, Twitter, or Instagram.
- Share via messaging apps: If you prefer to share the playlist privately with specific individuals, some sharing methods may include options to share the playlist directly through messaging apps like WhatsApp, Messenger, or iMessage. This allows for a more personal and direct communication of the playlist.
- Share via email: If you want to send the playlist to someone via email, certain sharing methods may allow you to compose an email directly from the app or website. The recipient will receive the email with a direct link to the playlist.
Choose the sharing method that best suits your needs and the preferences of the recipients. Consider factors such as privacy, accessibility, and ease of use when making your selection.
Once you have selected the desired sharing method, follow the prompts or instructions provided by the app or website to proceed with sharing the playlist. This may involve entering recipients’ email addresses, selecting social media platforms, or confirming the sharing settings.
Now that you have chosen your sharing method, let’s move on to the final step and learn how to share the playlist with others!
Step 6: Share the playlist with others
After selecting your preferred sharing method in the Amazon Music app or website, it’s time to share the playlist with others. The specific steps for sharing will vary depending on the method you have chosen, but here are some general guidelines to help you along the way:
- Share via direct link: If you have opted to share the playlist through a direct link, simply copy the provided URL and paste it into the desired platform or channel. This could be a messaging app, social media platform, or even in an email. Recipients can then click on the link to access the playlist in Amazon Music.
- Share via social media: If you have decided to share the playlist directly on a social media platform, you will usually be prompted to log in to your account and authorize access. Follow the on-screen instructions to post the playlist on the desired platform. Your followers or friends will then be able to see and listen to the playlist through the platform.
- Share via messaging apps: For sharing the playlist through messaging apps, you will typically be prompted to select the app or platform you want to use. Follow the instructions to choose the desired messaging app and select the recipients. Enter their contact details or select them from your contact list and send the playlist. The recipients will receive a message with the playlist link.
- Share via email: When sharing the playlist via email, the app or website will typically provide you with an email composition form. Fill in the recipient’s email address, add a personal message if desired, and send the email. The recipient will receive an email with the playlist link.
Remember to review what you are sharing before sending it out. Double-check the correct link, ensure that the sharing settings are as you intended, and consider any additional message or context you may want to include when sharing the playlist.
Once you have successfully shared the playlist, recipients will be able to access it through the provided link or platform. They can listen to the playlist, save it to their own library, and enjoy the music you have shared with them.
Congratulations! You have now completed the process of sharing an Amazon Music playlist with others. Whether it’s introducing someone to new music, collaborating with friends on a playlist, or simply spreading musical joy, sharing playlists is a wonderful way to connect through the universal language of music.
Now go ahead and share your favorite playlists with the world!
Conclusion
Sharing an Amazon Music playlist is a fantastic way to connect with others and spread the joy of music. Whether you’re looking to introduce someone to your favorite songs or create a collaborative playlist with friends, Amazon Music provides a seamless platform for sharing your musical taste.
In this guide, we’ve explored the step-by-step process of sharing an Amazon Music playlist. From opening the app or website to selecting the playlist, choosing the sharing method, and sharing it with others, each step is crucial in ensuring a smooth and successful sharing experience.
Remember to familiarize yourself with the options menu, find the “Share Playlist” option, and select the sharing method that suits your preferences and the preferences of the recipients. Whether it’s through direct links, social media platforms, messaging apps, or email, choose the method that allows you to share your playlist effortlessly.
By embracing the power of music and sharing it with others, you have the opportunity to create connections, spark conversations, and discover new artists and songs together.
Now that you have learned how to share an Amazon Music playlist, it’s time to unleash your musical passion and start sharing your favorite playlists with friends, family, and anyone who appreciates great music. Don’t hesitate to explore different genres, create unique themed playlists, and let your love for music shine through.
So, open up the Amazon Music app or website, select that carefully curated playlist, and share the gift of music with others. Let the beats, melodies, and lyrics bring joy, inspiration, and connection to everyone who listens.