Introduction
Welcome to the world of content creation and capturing gameplay moments with the Elgato Capture Card. If you’re a gamer, YouTuber, or aspiring content creator, having a reliable capture card is essential to record and stream your gameplay with ease. The Elgato Capture Card is a hardware device that allows you to capture and record high-quality gameplay footage from your gaming console or PC.
Whether you’re looking to showcase your gaming skills, create video tutorials, or stream live gameplay on platforms like Twitch or YouTube, the Elgato Capture Card is a game-changer. It enables you to capture gameplay in stunning 1080p or even 4K resolution, ensuring professional-quality videos that will engage your audience.
But getting started with the Elgato Capture Card might seem a little daunting at first. In this guide, we will walk you through the setup process step by step, making it easy for you to get up and running in no time.
Before we dive into the setup process, let’s take a closer look at why you need an Elgato Capture Card and the system requirements you need to meet.
What is the Elgato Capture Card?
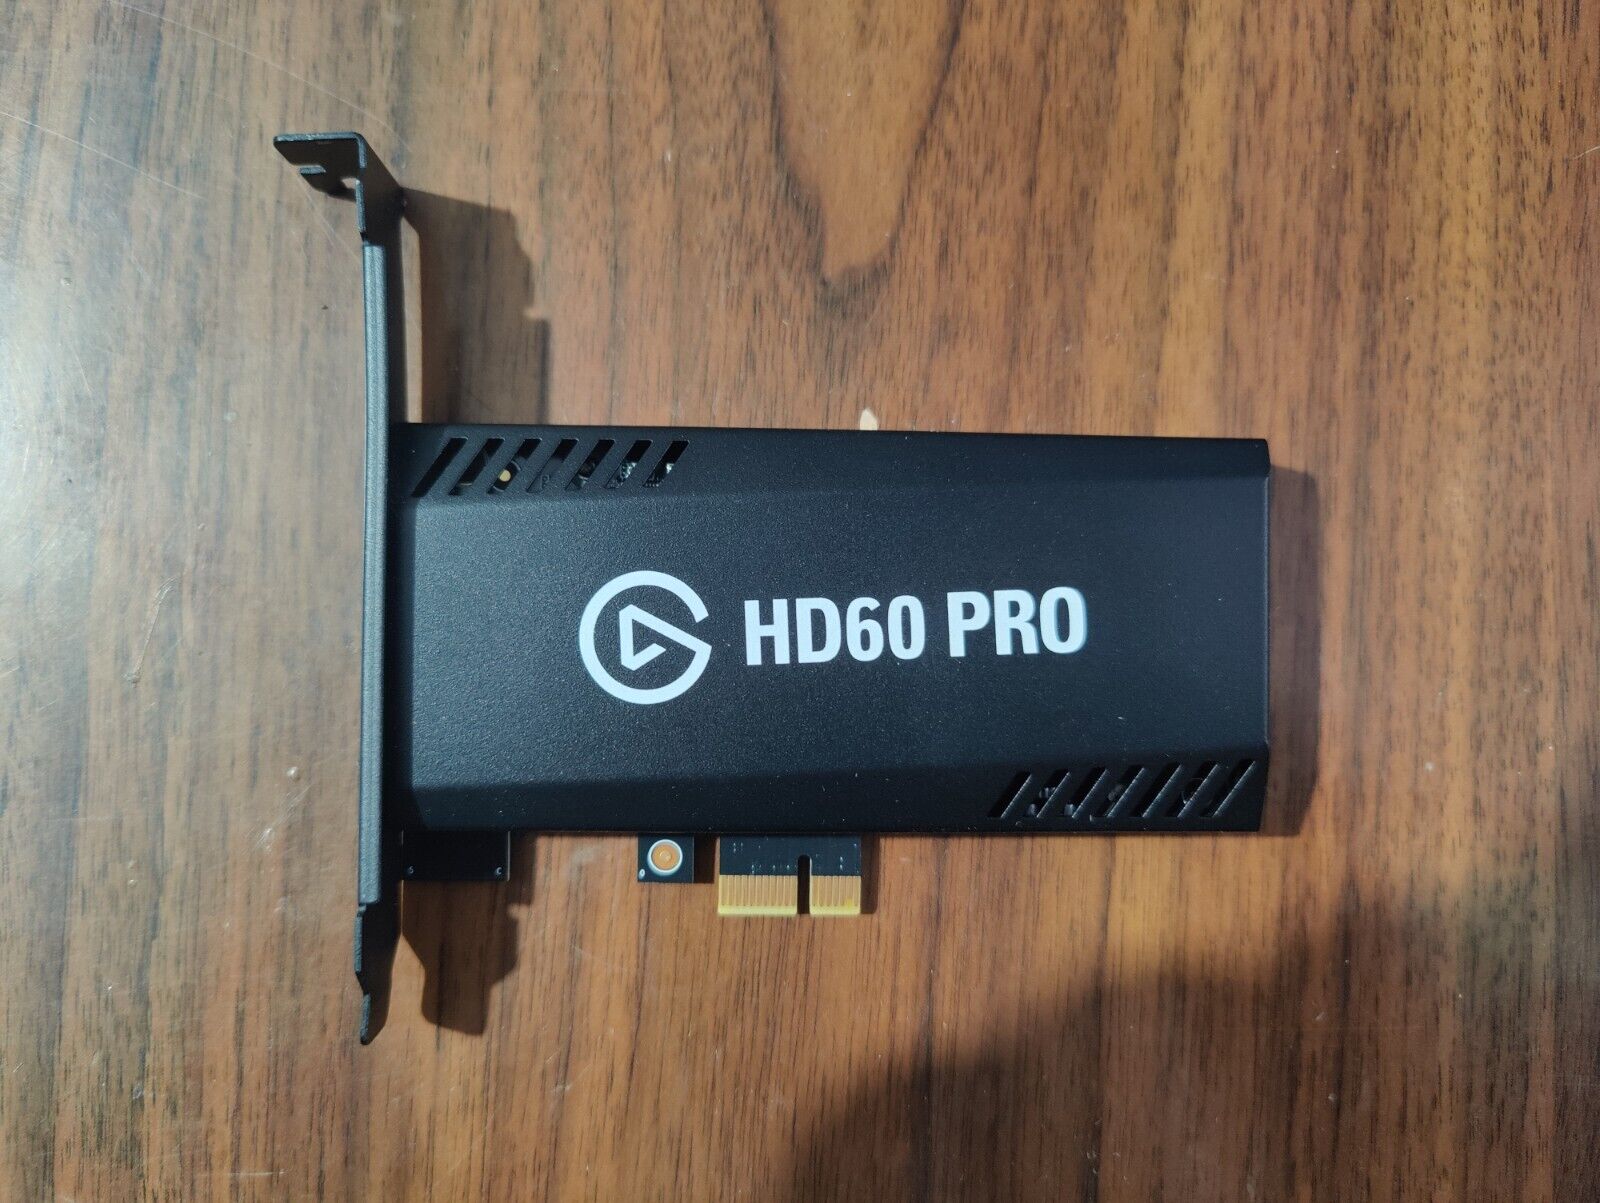
The Elgato Capture Card is a high-quality hardware device designed to capture and record gameplay footage from various gaming consoles and PCs. It acts as an intermediary between your gaming device and your computer, allowing you to capture video and audio signals and transfer them to your computer for recording or live streaming.
The Elgato Capture Card is known for its exceptional video and audio quality, ensuring that your gameplay footage is captured with utmost clarity and fidelity. Whether you’re playing on a console like PlayStation or Xbox, or gaming on a PC, the Elgato Capture Card supports a wide range of devices, making it versatile and suitable for different setups.
With the Elgato Capture Card, you can expect seamless integration with popular streaming platforms like Twitch, YouTube, or Mixer, allowing you to effortlessly stream your gameplay to your audience. It provides real-time video preview, live commentary support, and customizable overlays, enhancing your streaming experience.
In addition to its live streaming capabilities, the Elgato Capture Card also allows you to record gameplay footage for later editing and publishing. Whether you want to create engaging Let’s Play videos, montage highlights, or detailed gaming tutorials, the Elgato Capture Card offers the necessary tools and functionality to capture and produce professional-quality content.
Moreover, the Elgato Capture Card comes with advanced features like instant recording, flashback recording, and multi-device support. These features enable you to capture and save gameplay moments on the fly, ensuring you never miss a thrilling moment or game-changing play.
Overall, the Elgato Capture Card is a must-have tool for anyone serious about content creation, streaming, or capturing gameplay footage. Its reliability, compatibility, and outstanding performance make it a top choice among gamers and content creators alike.
Why do you need an Elgato Capture Card?
If you’re wondering why you need an Elgato Capture Card for your content creation or streaming endeavors, let’s explore some compelling reasons:
1. High-Quality Capture: The Elgato Capture Card ensures that your gameplay footage is captured in exceptional quality. With support for resolutions up to 4K, you can showcase your gaming skills and immerse your viewers in stunning visuals.
2. Professional-Grade Audio: In addition to video capture, the Elgato Capture Card captures high-fidelity audio, ensuring that your commentary, in-game sounds, and background music are recorded with clarity. This enhances the overall viewer experience and makes your content more engaging.
3. Seamless Integration: The Elgato Capture Card seamlessly integrates with popular streaming platforms like Twitch, YouTube, or Mixer. It offers easy-to-use software that enables you to go live with just a few clicks, connecting you with your audience in real-time.
4. Customizable Overlays: Add a professional touch to your streams and recordings with customizable overlays. The Elgato Capture Card allows you to personalize your content with overlays for webcam feeds, chat interactions, donation alerts, and more, enhancing the visual appeal of your streams.
5. Instant Recording: Missed a great moment during your gameplay? The Elgato Capture Card has instant recording functionality that allows you to capture gameplay moments retroactively. Simply hit the record button, and the card saves the last few moments of your gameplay, ensuring you never miss an exciting play.
6. Multi-Device Support: Whether you’re gaming on a console or a PC, the Elgato Capture Card supports a wide range of devices. It offers compatibility with popular gaming consoles like PlayStation, Xbox, and Nintendo Switch, as well as support for PCs, making it versatile and suitable for various setups.
7. Professional Content Creation: If you’re aspiring to create professional-quality gaming content, the Elgato Capture Card is a valuable tool. By capturing and recording gameplay with exceptional clarity and audio quality, you can create compelling Let’s Play videos, tutorials, or highlights that stand out from the crowd.
Having an Elgato Capture Card elevates your content creation game, enabling you to provide your viewers with visually stunning and immersive gameplay experiences. It’s a worthwhile investment for content creators, streamers, and gamers looking to take their channels and content to the next level.
System Requirements
Before diving into setting up your Elgato Capture Card, it’s crucial to ensure that your system meets the necessary requirements for seamless performance. Here are the system requirements you need to consider:
1. Operating System: The Elgato Capture Card is compatible with both Windows and macOS. Ensure that your computer is running a supported operating system to ensure optimal performance.
2. Processor: A powerful processor is essential for smooth gameplay capture and streaming. Check the recommended processor specifications provided by Elgato to ensure compatibility with your computer’s CPU.
3. Graphics Card: A capable graphics card is crucial for capturing and streaming gameplay in high resolution. Ensure that your graphics card meets the minimum requirements specified by the Elgato Capture Card to avoid any performance issues.
4. RAM: Sufficient RAM is necessary to handle the capture and encoding process. Make sure your system has enough RAM to support the operation of both the Elgato Capture Card software and your games or applications.
5. Available USB Ports: The Elgato Capture Card typically connects to your computer via USB. Ensure that you have an available USB 3.0 port to connect the capture card and facilitate high-speed data transfer.
6. Game Consoles: If you plan to use the Elgato Capture Card with a game console, such as PlayStation or Xbox, ensure that your console is compatible with the capture card. Verify the specific console models and connections supported by the Elgato Capture Card before making your purchase.
7. Internet Connection: While not a requirement for using the Elgato Capture Card, having a stable and fast internet connection is necessary if you plan to livestream your gameplay sessions. A reliable internet connection ensures uninterrupted streaming and a smooth experience for your viewers.
Checking and meeting the system requirements listed above will help ensure that you have a seamless experience setting up and using your Elgato Capture Card. It’s essential to verify compatibility before making a purchase to avoid any compatibility issues or performance limitations.
Step 1: Unboxing the Elgato Capture Card
Congratulations on your new Elgato Capture Card! Before you can get started, the first step is to unbox the package and familiarize yourself with the contents. Here’s a step-by-step guide on unboxing your Elgato Capture Card:
1. Find a clean and spacious area: Ensure that you have enough space to work comfortably as you unbox your Elgato Capture Card. A clutter-free area will help you keep track of all the components.
2. Open the box: Carefully remove the packaging materials and open the box containing your Elgato Capture Card. Take a moment to appreciate the sleek design and build quality of the device.
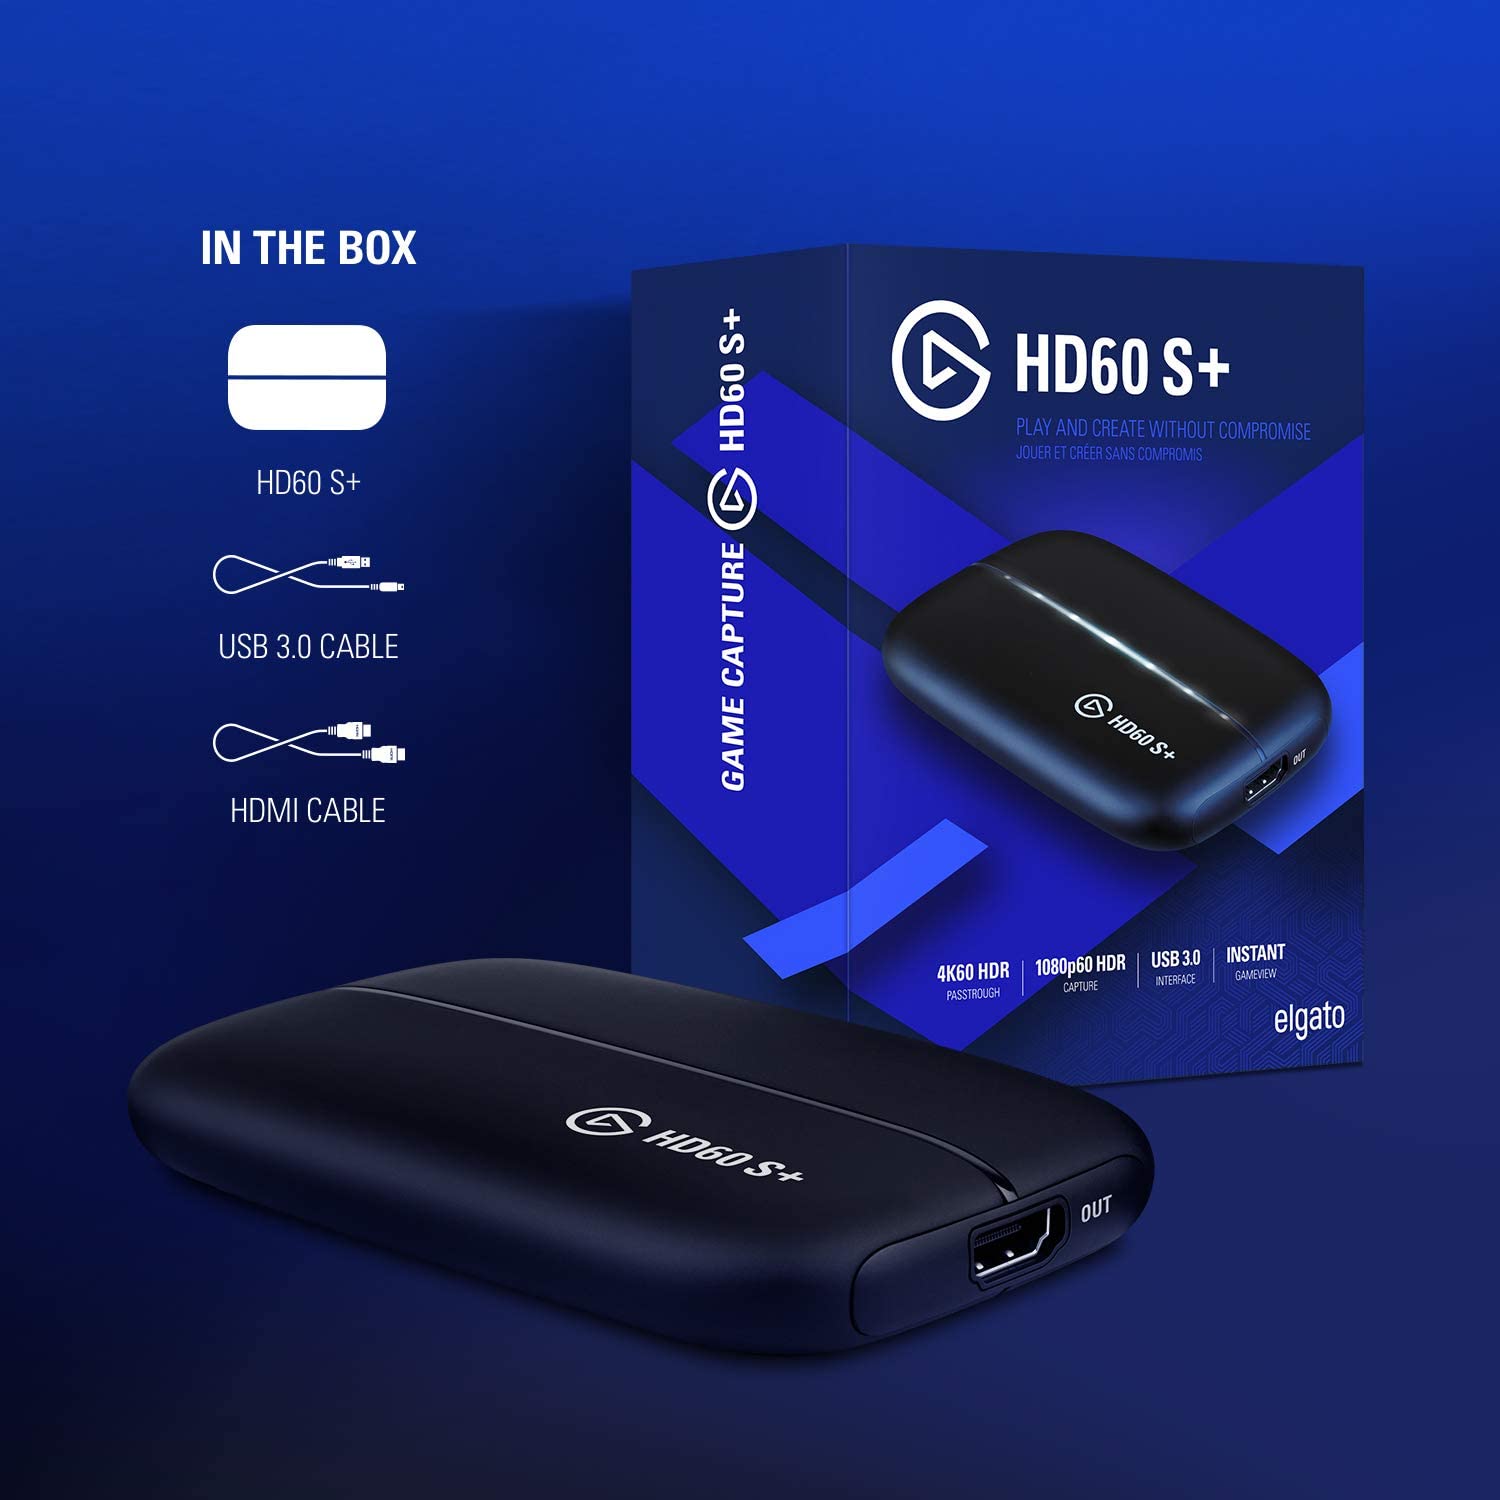
3. Check the contents: Inside the box, you will find the Elgato Capture Card, a USB cable, and any additional accessories that may have come with your specific model. Confirm that all the components are present.
4. Read the manual: Locate the user manual or instruction guide included in the package. Take some time to read through the manual as it contains essential information on setup, installation, and troubleshooting.
5. Inspect the Elgato Capture Card: Carefully examine the capture card for any visible damage during shipping. Ensure that there are no scratches, dents, or loose parts. If you notice any issues, contact customer support for assistance.
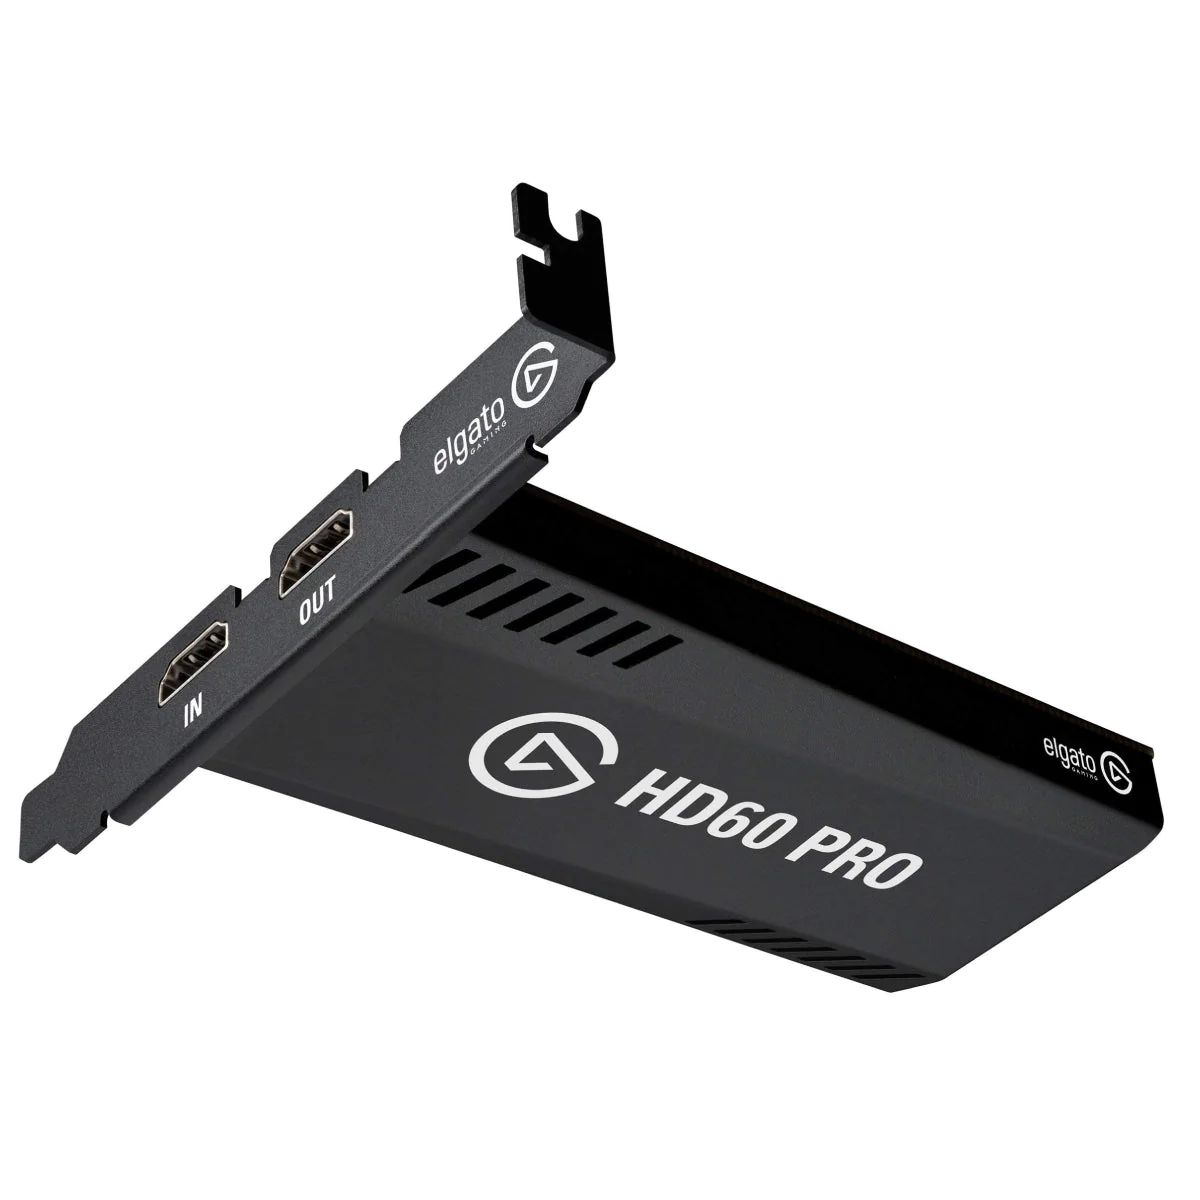
6. Identify the input/output ports: Familiarize yourself with the input and output ports on the Elgato Capture Card. These ports will be used to connect your gaming console or PC to the capture card.
7. Arrange the cables: Organize the provided USB cable and any other cables that may have come with your capture card. This will make the next steps of the setup process more efficient.
8. Keep the packaging: It’s always a good idea to keep the original packaging in case you need to transport or store the Elgato Capture Card in the future. Properly pack and store the box for safekeeping.
By following these steps, you will have successfully unboxed your Elgato Capture Card and prepared it for the next steps of the setup process. Remember to thoroughly read the user manual for detailed instructions on the specific model you purchased. Now, you’re ready to move on to the next step of connecting the capture card to your computer.
Step 2: Connecting the Elgato Capture Card to your Computer
Now that you’ve unboxed your Elgato Capture Card, it’s time to connect it to your computer. Follow these step-by-step instructions to ensure a successful connection:
1. Prepare the USB cable: Take the USB cable that came with your Elgato Capture Card and ensure that it is in good condition without any visible damage or fraying.
2. Locate the USB port: Identify an available USB port on your computer. Ideally, you should use a USB 3.0 port for optimal performance, as it provides faster data transfer rates compared to USB 2.0.
3. Connect the USB cable: Plug one end of the USB cable into the USB port on your computer and the other end into the corresponding USB port on the Elgato Capture Card.
4. Check the connection: Confirm that the USB connection is secure and properly inserted. Ensure that there are no loose connections or disconnecting cables.
5. Power up the Elgato Capture Card: Depending on the specific model you have, the capture card may require additional power. If so, connect the power adapter to the capture card and plug it into a power outlet.
6. LED indicators: Once the capture card is connected and powered on, you may notice LED indicators on the device. These indicators provide status information, such as power status, signal detection, and recording status.
7. Install any required drivers: In some cases, your computer may require specific drivers to recognize and communicate with the Elgato Capture Card. If prompted, follow the on-screen instructions to install the necessary drivers.
8. Verify the connection: To ensure that your computer recognizes the Elgato Capture Card, open the software provided by Elgato or check the device manager on your computer. Look for the capture card as a recognized device.
9. Test the connection: Once the connection is established, you can test the connection by launching the Elgato Capture Card software or any compatible recording or streaming software. Ensure that the capture card is detected and functioning correctly.
By following these steps, you will successfully connect your Elgato Capture Card to your computer. The connection is the crucial first step in utilizing the capture card for recording or streaming your gameplay. Now that your capture card is connected, you can proceed to the next steps of installing the software and configuring the settings.
Step 3: Installing the Elgato Capture Card Software
With your Elgato Capture Card connected to your computer, it’s time to install the necessary software to utilize all its features. Follow the step-by-step instructions below to install the Elgato Capture Card software:
1. Visit the Elgato website: Open your preferred web browser and navigate to the official Elgato website https://www.elgato.com.
2. Locate the software section: Browse the website and find the section dedicated to software and drivers for Elgato capture cards.
3. Select your capture card: Identify your specific Elgato capture card model from the list provided. Click on the appropriate link to access the software downloads for your card.
4. Download the software: On the download page for your capture card model, click on the download button to initiate the software download process.
5. Run the installer: Once the software installer is downloaded, locate the file on your computer and run it to begin the installation process.
6. Follow the installation prompts: The installer will guide you through the installation process. Follow the on-screen prompts and instructions to complete the installation of the Elgato Capture Card software.
7. Accept the license terms: During the installation, you may be prompted to accept the license terms for the software. Read through the terms and click “Accept” to proceed with the installation.
8. Customize the installation: If the installer provides any customization options, such as choosing the installation location or additional components, select your preferences accordingly.
9. Complete the installation: Once the installation is complete, you may be prompted to restart your computer. Follow any remaining instructions provided by the installer to finalize the software installation process.
10. Launch the software: After the installation is complete and your computer has restarted (if required), you can launch the Elgato Capture Card software. Look for the software application in your program files or desktop shortcuts.
By following these steps, you will successfully install the Elgato Capture Card software onto your computer. This software is essential for configuring your capture card settings, recording gameplay, and streaming content. With the software installed, you’re now ready to move on to the next step, which is configuring the Elgato Capture Card software to optimize your setup.
Step 4: Configuring the Elgato Capture Card Software
After installing the Elgato Capture Card software, it’s time to configure it to optimize your capture and streaming setup. Follow these step-by-step instructions to configure the software:
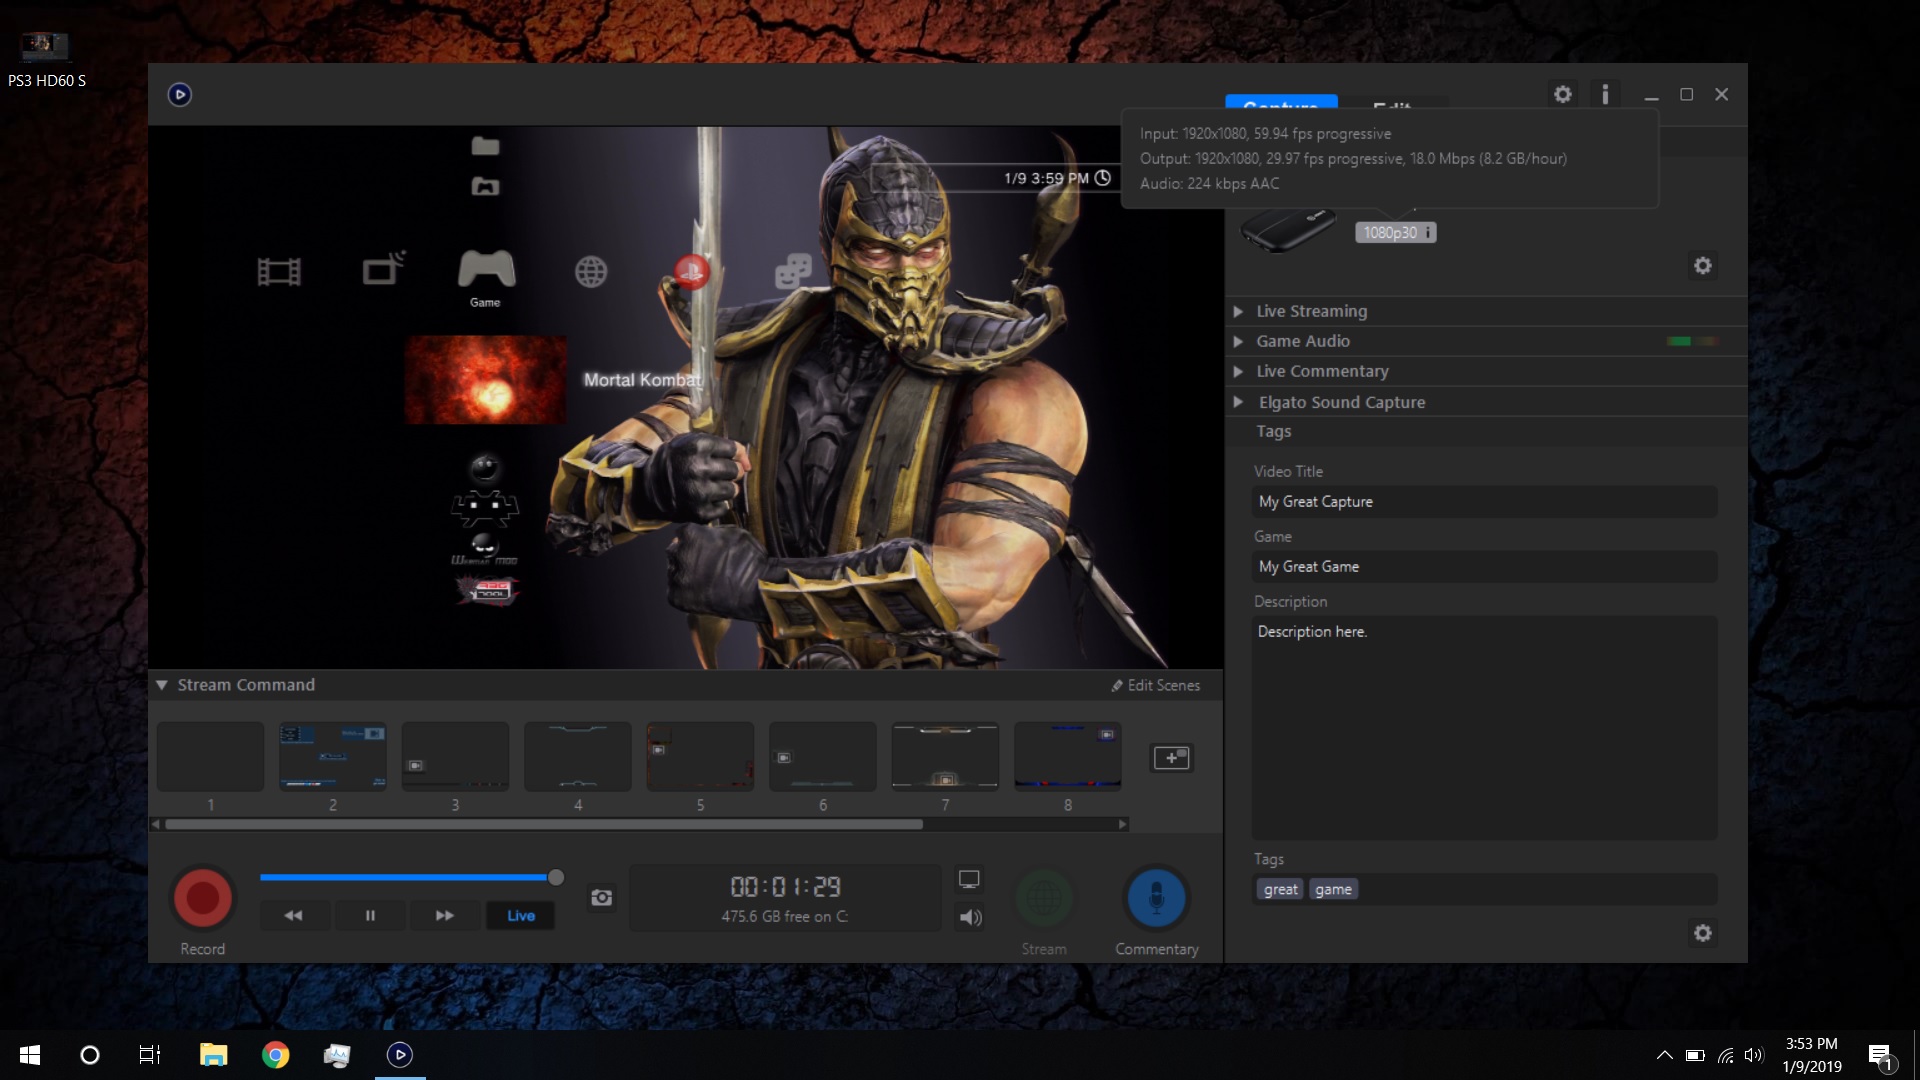
1. Launch the Elgato Capture Card software: Open the software application by clicking on the desktop shortcut or locating it in your program files. It may have a name like “Elgato Game Capture HD” or “Elgato 4K Capture Utility,” depending on your specific model.
2. Select your capture card: Once the software is running, it should detect your Elgato Capture Card automatically. If not, click on the “Settings,” “Preferences,” or similar menu option to access the device settings. Select your capture card from the list of available devices.
3. Adjust video and audio settings: Within the software, you’ll find various settings to customize your capture and streaming experience. Explore the options for video resolution, frame rate, audio input, and output settings. Adjust these settings based on your preferences and the capabilities of your computer.
4. Configure recording and streaming settings: If you plan to record gameplay footage or stream live, navigate to the recording and streaming settings section within the software. Set the desired recording format, save location, and other preferences. For streaming, enter the necessary information for your chosen streaming platform.
5. Customize overlays and effects: Many Elgato Capture Card software applications offer customizable overlays and effects. Explore these options to add overlays for your webcam, graphics, text, and other elements to enhance your streams or recordings. Customize them to suit your branding or desired aesthetic.
6. Test your settings: It’s essential to verify that your capture card, video, audio, and streaming settings are properly configured and functioning correctly. Start a test recording or stream to ensure that all aspects of your setup are working as expected. Make adjustments if necessary.
7. Save your configuration: Once you’re satisfied with your settings, remember to save your configuration within the software. This will allow you to quickly load your preferred settings for future recording or streaming sessions without having to reconfigure everything each time.
8. Regularly update the software: Stay up-to-date with the latest software updates and driver releases for your Elgato Capture Card. Regularly check the Elgato website or use the built-in update functionality within the software to ensure you’re running the latest version.
By following these steps, you will successfully configure the Elgato Capture Card software to optimize your capture and streaming setup. Remember, each software application may have slight differences in terms of features and layout, but the basic configuration options and settings are similar. Take some time to explore and familiarize yourself with the software’s capabilities to make the most out of your Elgato Capture Card.
Step 5: Connecting your Devices to the Elgato Capture Card
With the Elgato Capture Card software configured, it’s time to connect your gaming consoles or PC to the capture card. Follow these steps to successfully connect your devices:
1. Locate the input/output ports: Identify the input and output ports on your Elgato Capture Card. These ports will vary depending on the model but typically include HDMI, component, or composite inputs for connecting gaming consoles, and HDMI or USB outputs for connecting to your computer.
2. Connect your gaming console: If you’re using a gaming console, such as PlayStation, Xbox, or Nintendo Switch, connect the console’s HDMI output to the corresponding HDMI input on the Elgato Capture Card. Use high-quality HDMI cables for optimal video and audio transmission.
3. Connect your PC: If you’re gaming on a PC, connect the PC’s HDMI output or DisplayPort output to the HDMI input on the Elgato Capture Card. This allows you to capture and record your PC gameplay.
4. Check for additional connections: Depending on your specific setup and requirements, you may need to make additional connections for audio. Consider connecting the audio output from your console or PC to the audio input on the Elgato Capture Card to capture game audio and any external audio sources.
5. Connect your display: Ensure that you have a display, such as a monitor or TV, connected to the HDMI output of the Elgato Capture Card. This allows you to view your gameplay while it is being captured or recorded. Use another HDMI cable to connect the output of the capture card to the display.
6. Power on your devices: Power on your gaming console, PC, and external display. Make sure that everything is connected properly and turned on before moving forward.
7. Launch the Elgato Capture Card software: Open the Elgato Capture Card software on your computer. Ensure that the software detects your capture card and recognizes the connected devices. Check the software preview window to confirm that the gameplay is being captured.
8. Test the connection: Start a test recording or stream to verify that the capture card is successfully capturing your gameplay footage. Monitor the recording or stream to ensure that the video and audio quality are satisfactory.
9. Make adjustments if necessary: If you encounter any issues with the connection or experience audio/video delays, refer to the troubleshooting section of the user manual or reach out to Elgato support for guidance. They can assist you in resolving any connection or configuration problems.
By following these steps, you will successfully connect your gaming console or PC to the Elgato Capture Card, allowing you to capture and record your gameplay with ease. Now that your devices are connected, you’re ready to move on to the final step of recording or streaming with the Elgato Capture Card.
Step 6: Recording or Streaming with the Elgato Capture Card
With your devices connected and everything set up, it’s time to start recording or streaming using the Elgato Capture Card. Follow these steps to begin capturing your gameplay:
1. Launch the Elgato Capture Card software: Open the software application on your computer. Ensure that the software detects your capture card and recognizes the connected devices. The software should display a preview of your gameplay.
2. Choose your recording mode: Within the software, select your preferred recording mode. You can typically choose between manual recording, automatic recording when the capture card detects gameplay, or instant recording, which captures the last few minutes of gameplay.
3. Set recording parameters: Configure the recording parameters, such as video resolution, frame rate, and file format. Set the desired quality settings based on your preferences and the capacity of your computer’s storage.
4. Start and stop recording: To start recording, click on the “Record” button within the software. You can also use hotkeys if they’re configured. To stop the recording, click on the same button or use the hotkey again.
5. Monitor recording progress: While recording, monitor the software to ensure that the capture card is successfully capturing your gameplay footage. Keep an eye on the recording timer and the video preview to confirm that everything is working as expected.
6. Review and edit your recordings: Once you’ve finished recording, you can review your gameplay footage within the Elgato Capture Card software or open the saved video file in a video editing software of your choice. Trim, edit, and enhance the footage to create engaging content.
7. Stream your gameplay: If you prefer to stream your gameplay live, configure the streaming settings within the software. Enter the required information for your chosen streaming platform, such as the stream key, bitrate, and resolution. When ready, click on the “Start Stream” button to go live.
8. Engage with your audience: While recording or streaming, interact with your audience through chat, responding to comments, and accepting user engagements. Engaging with viewers enhances the overall experience and helps build a community around your content.
9. Experiment and improve: As you gain more experience with the Elgato Capture Card and content creation, don’t be afraid to experiment with different recording and streaming techniques. Continuously seek ways to improve the quality and engagement of your gameplay content.
By following these steps, you will successfully record or stream your gameplay using the Elgato Capture Card. Experiment with different settings and techniques to find the best setup that suits your preferences and goals. Enjoy the process of creating and sharing your gaming content with your audience!
Tips and Troubleshooting
While using the Elgato Capture Card, consider these helpful tips and troubleshooting strategies to enhance your experience:
1. Optimize your lighting: Ensure that your gaming area is well-lit to improve video quality. Avoid harsh lighting or bright backgrounds that may cause distractions or washout in the footage.
2. Avoid heavy background noise: If you’re recording audio commentary, minimize background noise as much as possible. Consider using a noise-canceling microphone or placing sound-absorbing materials in your recording space.
3. Maintain adequate storage space: Check your computer’s storage capacity to ensure you have sufficient space for recording and storing your gameplay footage. Regularly transfer or delete older recordings to free up space.
4. Monitor your system’s performance: While capturing gameplay, monitor your computer’s performance. Make sure that the CPU, RAM, and GPU usage remain within acceptable levels to avoid performance issues or dropped frames.
5. Keep your Elgato software up to date: Stay updated with the latest software and firmware releases for your Elgato Capture Card. Regularly check the Elgato website or enable automatic updates within the software to ensure you have the newest features, bug fixes, and performance improvements.
6. Use a stable internet connection: If you’re streaming your gameplay, a stable and fast internet connection is essential. Connect to a reliable network with sufficient upload speed to ensure uninterrupted streaming and high-quality video delivery.
7. Enable hardware acceleration (if available): If your Elgato Capture Card software supports hardware acceleration, consider enabling this feature to offload some of the encoding processes to your GPU. Hardware acceleration can improve performance and reduce the strain on your CPU.
8. Check Elgato’s support resources: If you encounter any technical issues or need further assistance, consult Elgato’s support resources. Visit their official website for troubleshooting guides, forums, and contact information for their customer support team.
9. Experiment and learn: Don’t be afraid to experiment with different settings, recording techniques, and content styles. The more you practice and explore, the better you will become at utilizing the Elgato Capture Card to create compelling gameplay content.
10. Engage with your viewers: Take time to interact with your viewers, respond to comments, and build a community around your content. Engaging with your audience fosters a sense of connection and loyalty, making your channel more enjoyable for both you and your viewers.
By following these tips and utilizing troubleshooting strategies, you can optimize your experience with the Elgato Capture Card and create high-quality gameplay content that resonates with your audience. Enjoy the journey of capturing and sharing your gaming adventures!
Conclusion
Congratulations! You’ve successfully learned how to set up and utilize the Elgato Capture Card to capture and record your gameplay or stream it live. From unboxing the device to connecting your gaming consoles or PC, installing the software, configuring settings, and finally, recording or streaming your gameplay, you now possess the knowledge needed to create impactful and engaging gaming content.
The Elgato Capture Card offers a user-friendly interface, high-quality video and audio capture, and a range of customizable features. Whether you’re a content creator, streamer, or gaming enthusiast, this device provides the essential tools to showcase your skills and entertain your audience.
Remember, optimization is key. Experiment with different settings and techniques to find what works best for your specific setup and desired outcomes. Regularly updating the software and drivers will ensure you have access to the latest features and improvements provided by Elgato.
Additionally, troubleshooting common issues, maintaining adequate storage space, and seeking support resources when needed will enhance your experience and keep your content creation process running smoothly.
Now, armed with your Elgato Capture Card and the knowledge gained from this guide, you’re ready to embark on your gaming content creation journey. Engage with your viewers, have fun, and continue to refine your skills as you capture and share your gaming adventures with the world.
Happy gaming, recording, and streaming! Remember, your creativity and enthusiasm are the keys to building a successful gaming channel and connecting with your audience on a deeper level.