Introduction
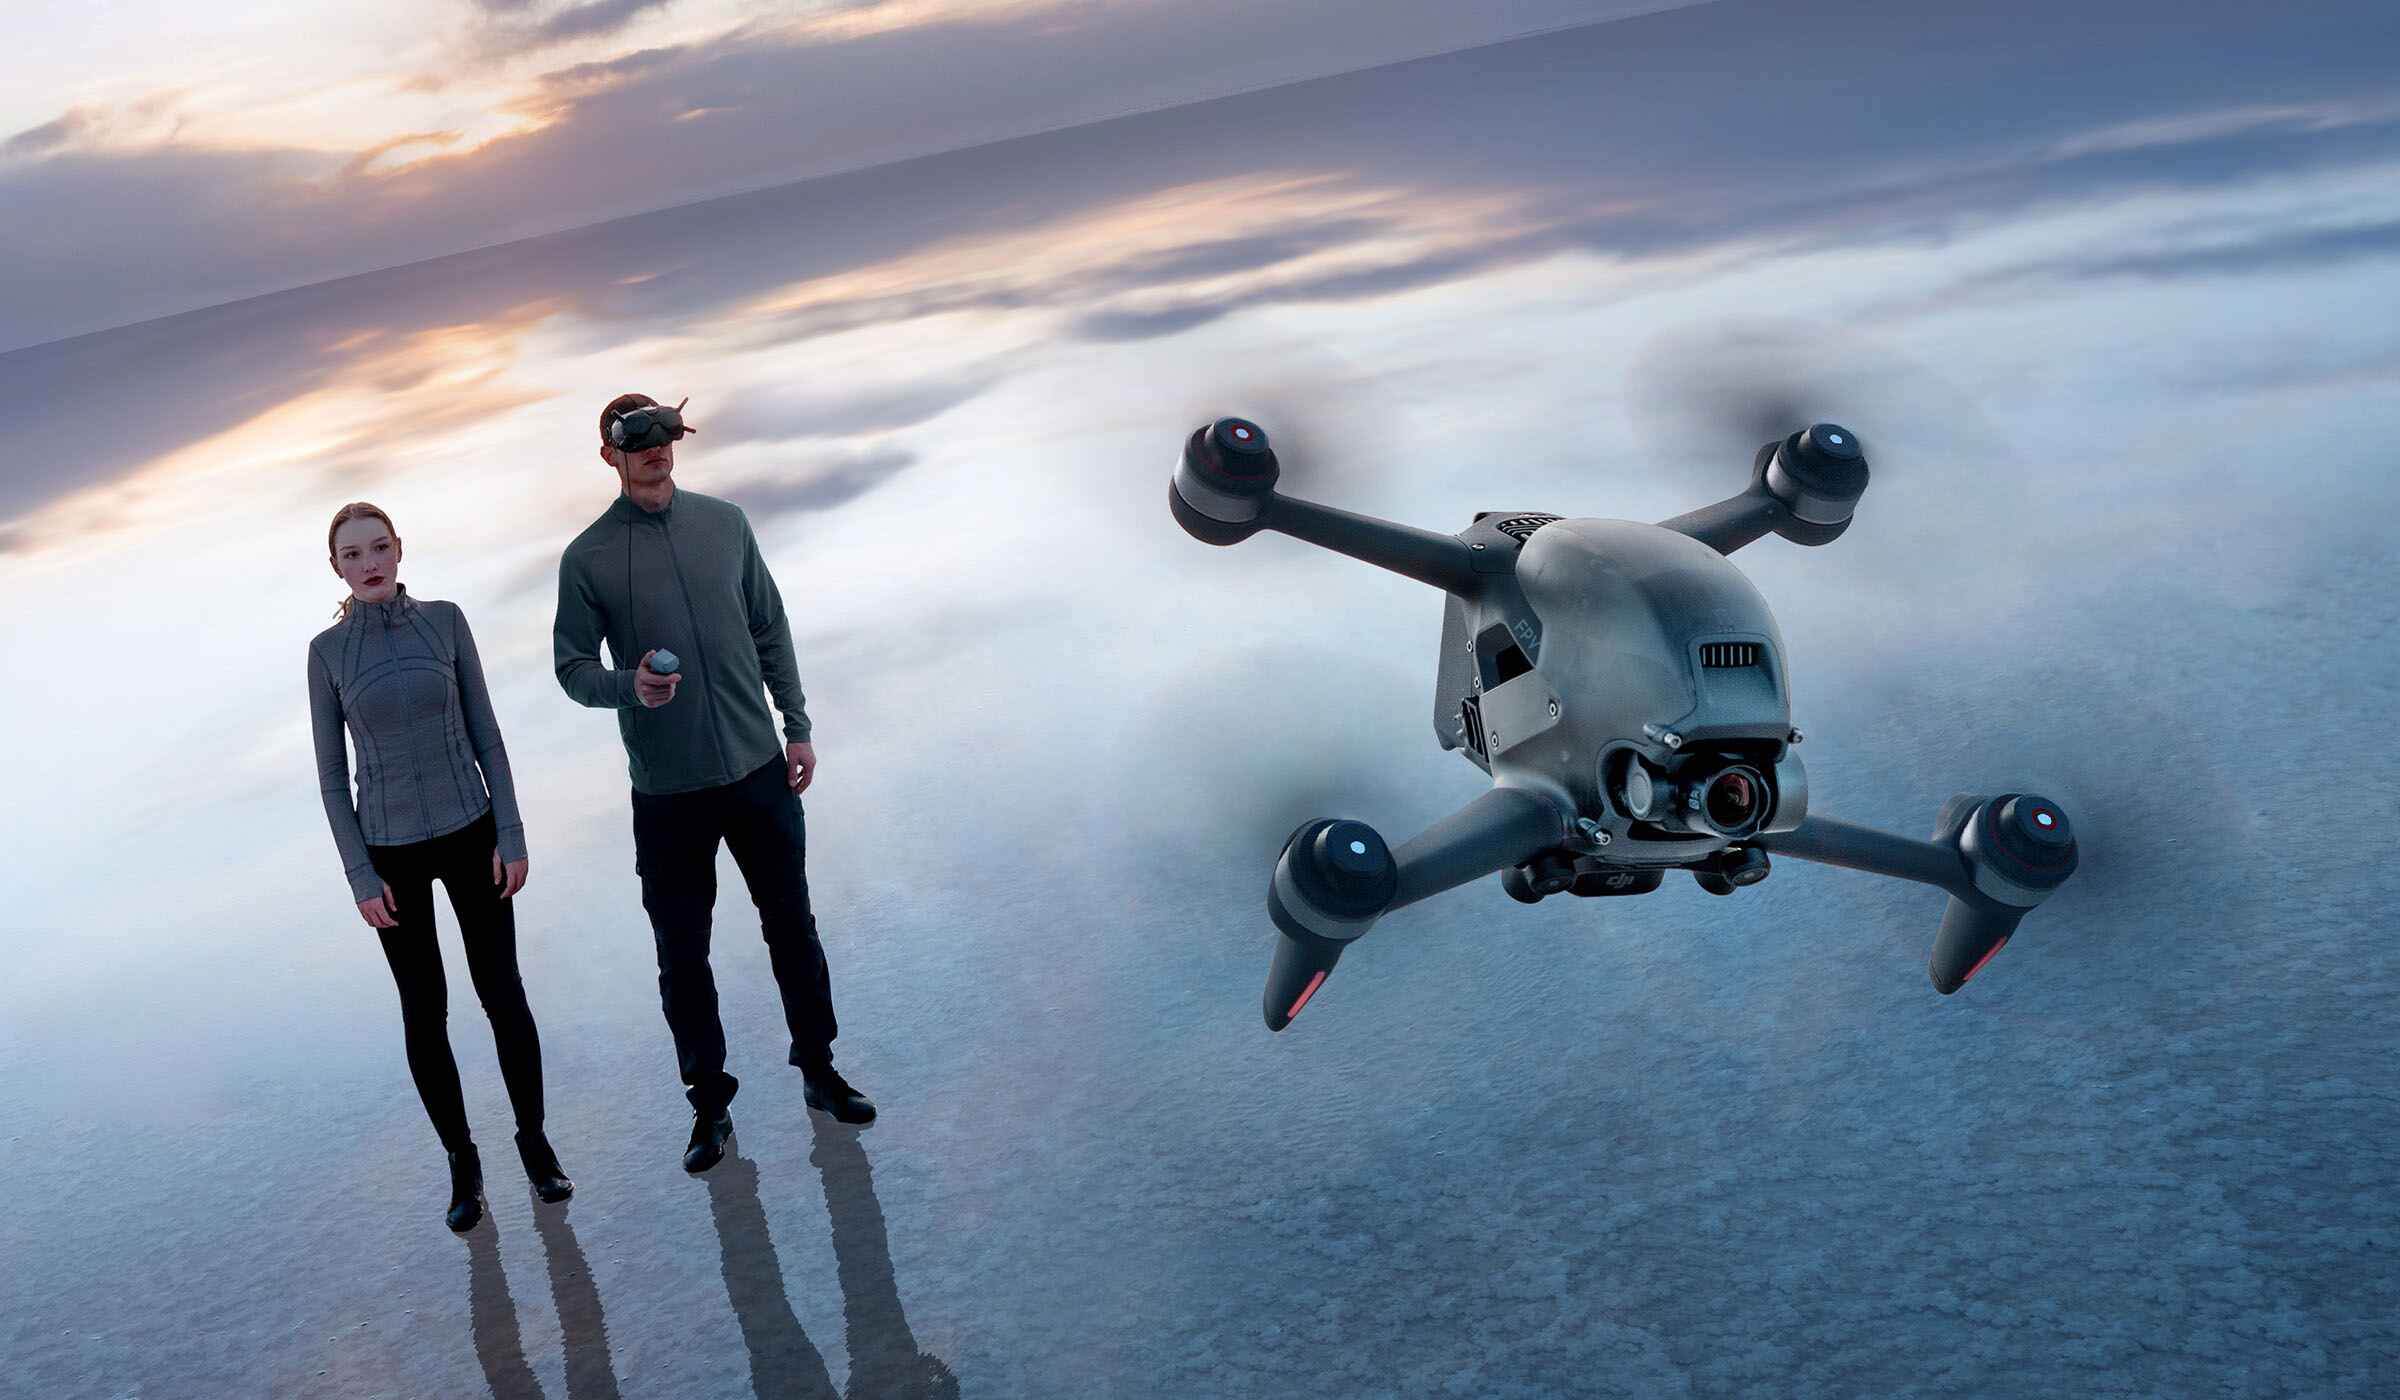
Welcome to the exciting world of DJI FPV (First Person View) drone flying! If you’re looking to experience the thrill of flying a drone from a first-person perspective, the DJI FPV system is the perfect choice. With its high-definition video transmission and immersive goggles, you’ll feel as if you’re sitting in the cockpit of the drone, soaring through the sky.
In this article, we’ll guide you through the step-by-step process of setting up your DJI FPV system, from unboxing the components to calibrating the controller and configuring the video settings. Whether you’re an experienced pilot or just starting out, this guide will help you get your new DJI FPV system up and running quickly and smoothly.
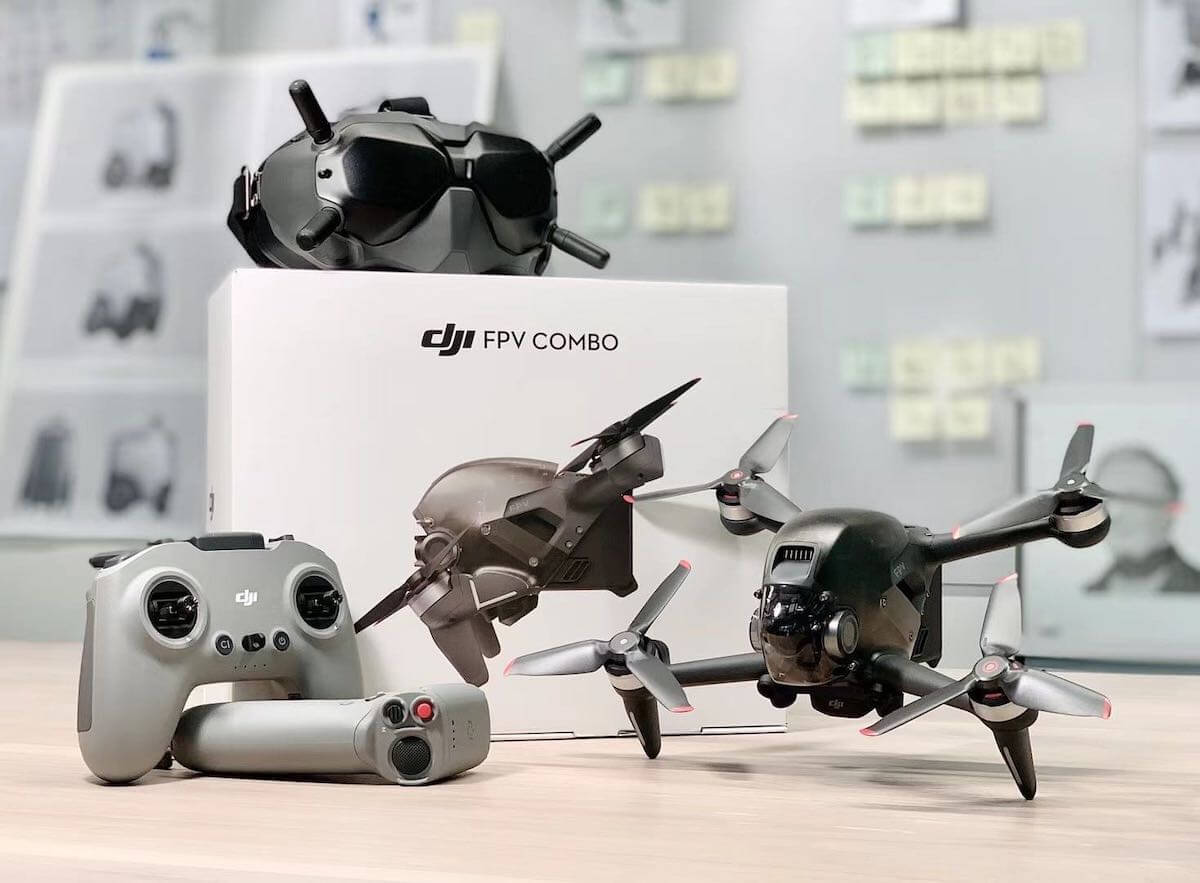
Before we dive into the setup process, let’s take a look at the essential equipment you’ll need. The DJI FPV system consists of the drone, the goggles, and the controller. The drone is equipped with a high-quality camera that provides real-time video footage. The goggles provide an immersive experience by displaying the live video feed from the drone, allowing you to see what the drone sees. The controller serves as the interface between you and the drone, allowing you to control its movements and access various settings.
Setting up the DJI FPV system may seem intimidating at first, especially if you’re new to the world of drones. However, with the help of this guide, you’ll be able to set up your DJI FPV system with ease. So, let’s get started with unboxing and checking the contents of the package!
Equipment Needed
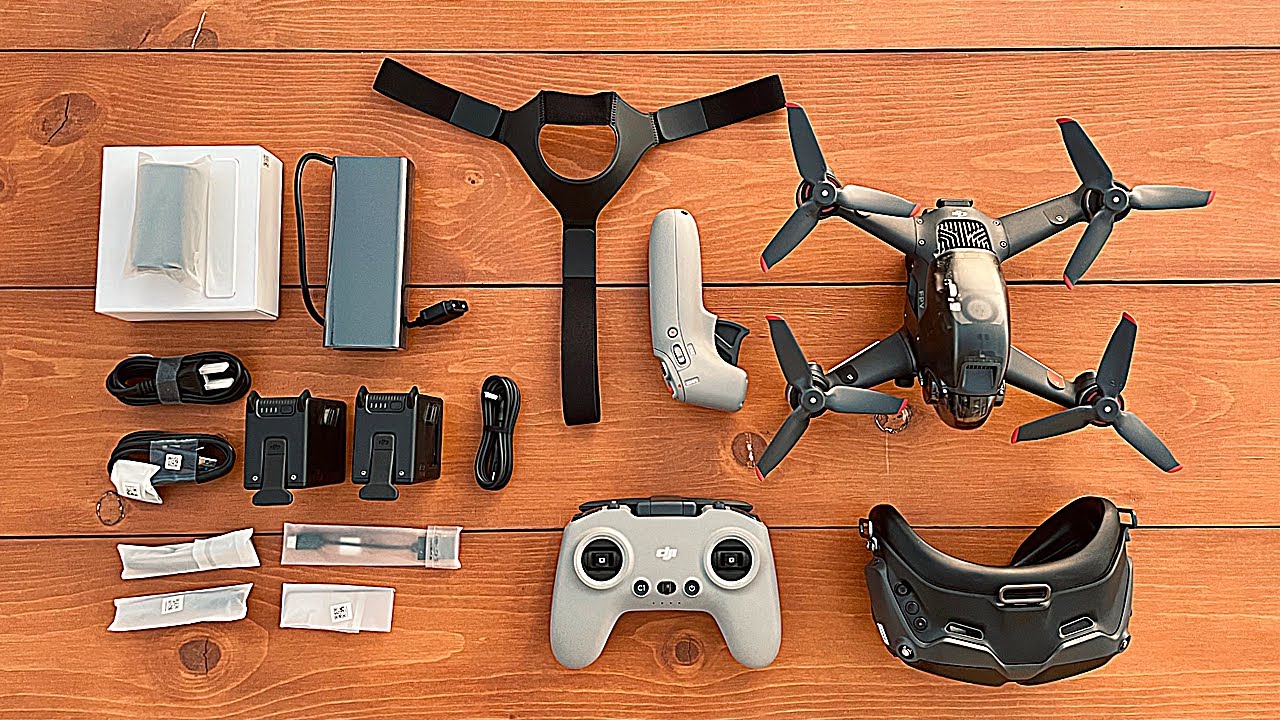
Before you start setting up your DJI FPV system, it’s important to make sure you have all the necessary equipment. Here’s a list of the items you’ll need:
- DJI FPV drone
- DJI FPV goggles
- DJI FPV controller
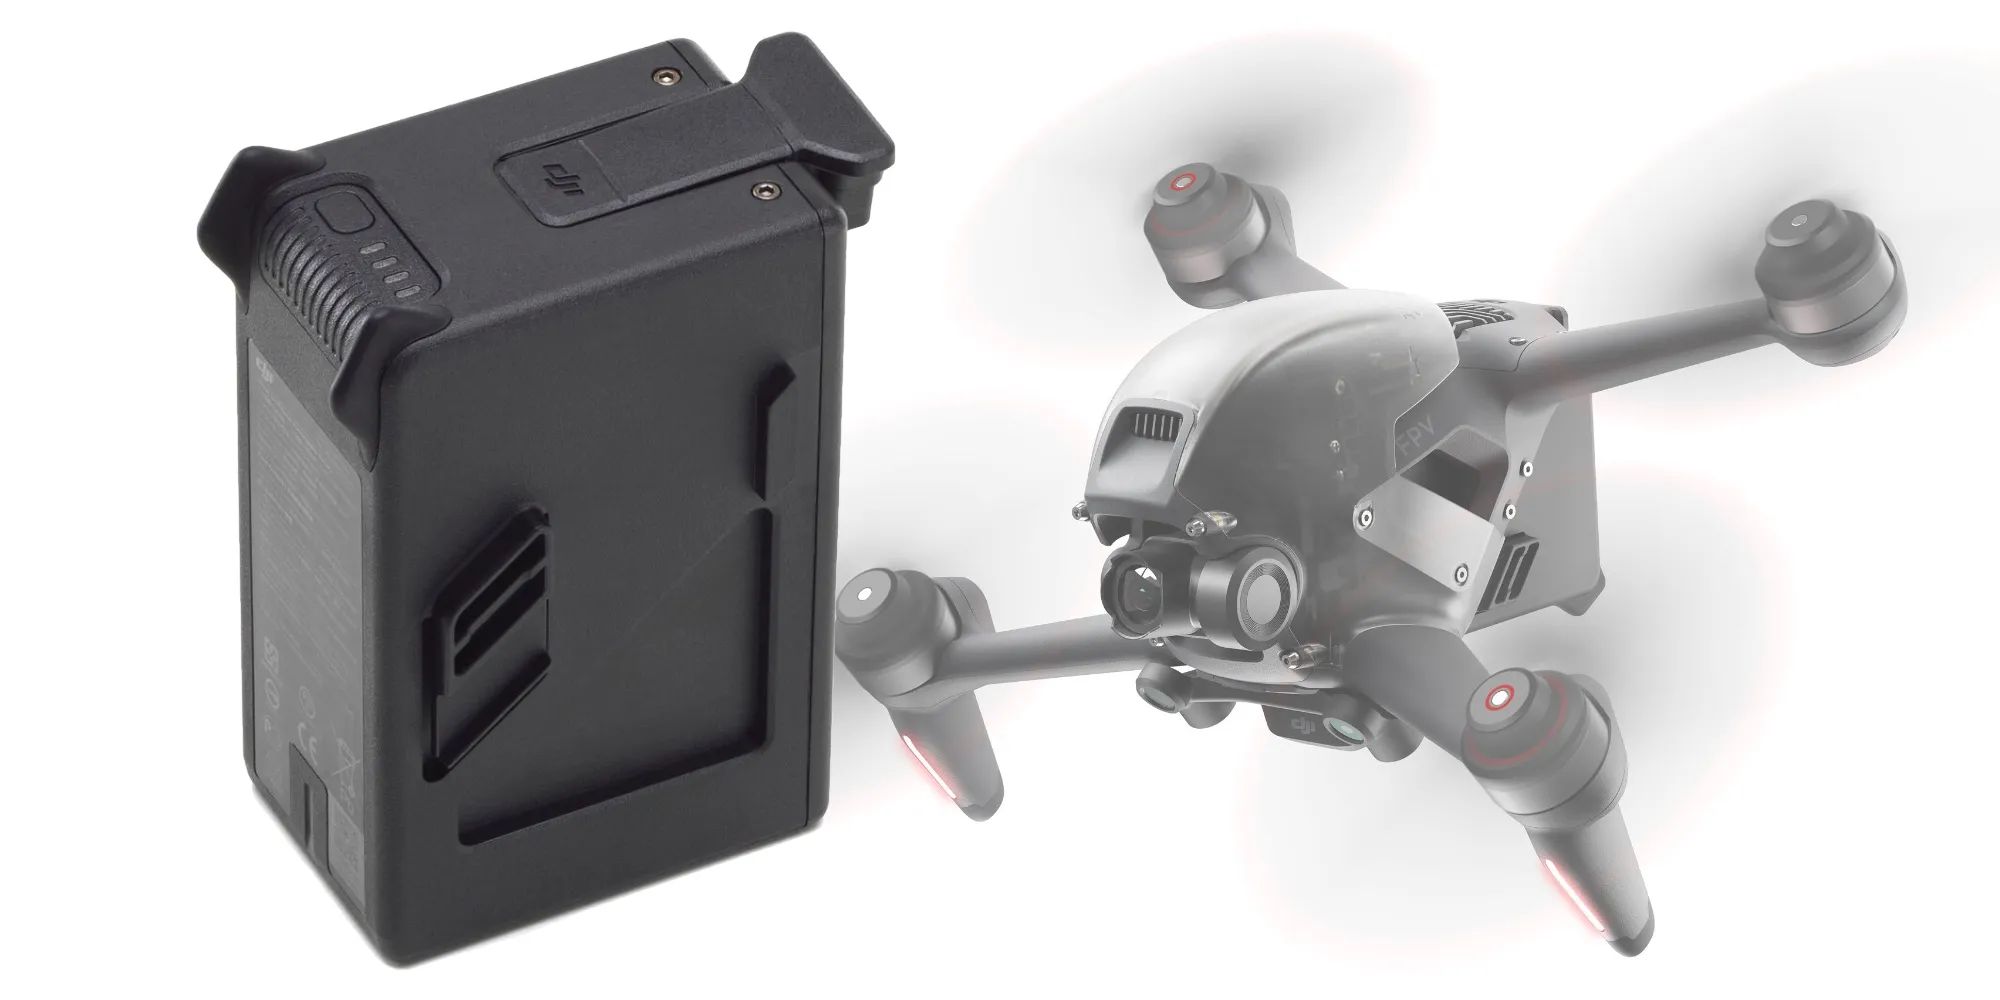
- DJI FPV Intelligent Flight Battery
- Micro USB cable (for charging the goggles and controller)
- Power adapter (for charging the battery)
- Micro SD card (for recording video footage)
- Mobile device (for downloading the DJI Fly app)
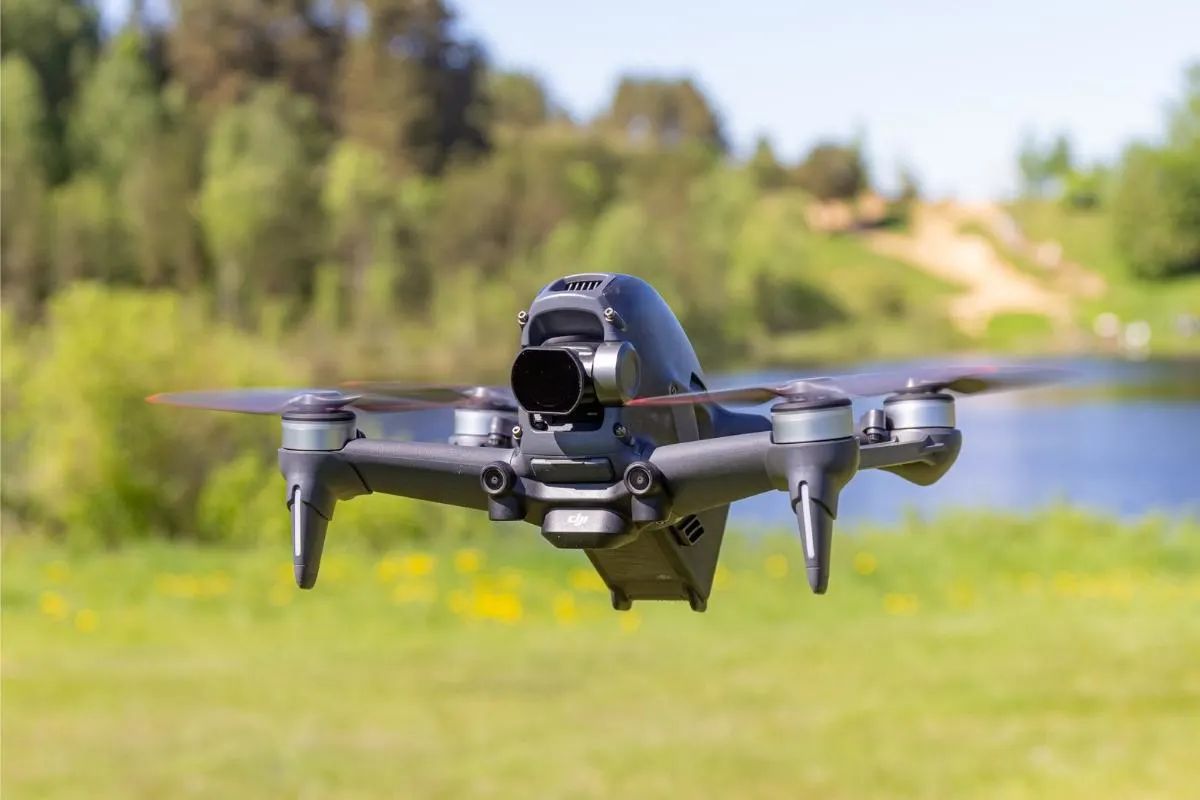
The DJI FPV drone is the heart of the system. It’s a sleek and powerful drone equipped with a high-quality camera that can capture stunning aerial footage. The DJI FPV goggles provide an immersive flying experience by displaying the live video feed from the drone. They have a built-in receiver that allows you to control the drone using the included DJI FPV controller.
Make sure to charge the DJI FPV Intelligent Flight Battery before you start flying. It’s always a good idea to have an extra battery or two, so you can extend your flight time. The Micro USB cable is used to charge the goggles and controller, while the power adapter is used to charge the battery. Keep in mind that the battery and controller should be fully charged before every flight.
Having a Micro SD card is essential if you want to record your flights and capture amazing footage. Make sure to get a high-quality, high-capacity card to ensure smooth recording and storage of your videos. Additionally, you’ll need a mobile device (such as a smartphone or tablet) to download the DJI Fly app, which is required for connecting to the drone and accessing its settings.
Now that you have all the necessary equipment, you’re ready to start setting up your DJI FPV system. In the next section, we’ll guide you through the process of unboxing and checking the contents of the package. Let’s get started!
Step 1: Unboxing and Checking Contents
The first step in setting up your DJI FPV system is unboxing and checking the contents of the package. Follow these steps to ensure that you have received all the necessary components:
- Locate the box containing your DJI FPV drone system. Carefully remove the packaging and open the box.
- Inside the box, you will find the DJI FPV drone, the DJI FPV goggles, the DJI FPV controller, and other accessories.
- Take out each component one by one and inspect them for any visible damage. Check for any signs of physical defects or missing parts.
- Verify that all the accessories mentioned in the product documentation are included.
- Inspect the camera on the DJI FPV drone to ensure it is securely attached and not damaged.
- Check the straps and foam padding on the DJI FPV goggles for any signs of wear or damage. Make sure the goggles feel comfortable when worn.
- Inspect the buttons, joysticks, and switches on the DJI FPV controller to ensure they are in good working condition.
- Review the user manual and product documentation to familiarize yourself with the different components and their functions.
It’s important to thoroughly inspect the contents of the package to ensure everything is in pristine condition before proceeding with the setup. This will help avoid any complications or issues during the setup process.
If you notice any damage or missing components, it’s crucial to contact DJI customer support or the retailer from whom you purchased the system. They will assist you in resolving the issue promptly.
Once you have verified that all the components are present and undamaged, it’s time to move on to the next step: charging the battery and controller. We’ll cover this in detail in the next section.
Step 2: Charging the Battery and Controller
After unboxing and checking the contents of your DJI FPV system, the next step is to charge the battery and controller. Here’s how:
- Take the DJI FPV Intelligent Flight Battery out of the box.
- Locate the power adapter and plug it into a power outlet.
- Connect the Micro USB cable to the power adapter.
- Attach the other end of the Micro USB cable to the charging port on the DJI FPV Intelligent Flight Battery.
- Once the battery is plugged in, the LED indicator on the battery will start flashing to indicate that it’s charging.
- While the battery is charging, you can proceed to charge the DJI FPV controller.
- Connect one end of the Micro USB cable to the charging port on the DJI FPV controller.
- Attach the other end of the Micro USB cable to the power adapter.
- The LED indicator on the controller will light up to indicate that it’s charging.
- Leave the battery and controller connected to the power source until they are fully charged.
It’s essential to ensure that both the battery and controller are fully charged before every flight. This will ensure that you have sufficient power to fly the drone and control it effectively.
While the battery and controller are charging, take this opportunity to download and install the DJI Fly app on your mobile device. The app will be used to connect to the drone and access various settings and features. You can find the app on the App Store for iOS devices or Google Play Store for Android devices.
Once the battery and controller are fully charged, you’re ready to move on to the next step: downloading and installing the DJI Fly app. We’ll cover this in detail in the following section.
Step 3: Downloading and Installing DJI Fly App
In order to connect to your DJI FPV system and access its settings, you need to download and install the DJI Fly app on your mobile device. Here’s how:
- Open the App Store (for iOS devices) or Google Play Store (for Android devices) on your mobile device.
- Search for “DJI Fly” in the search bar.
- Locate the official DJI Fly app and tap on it.
- Tap on the “Install” or “Get” button to initiate the download and installation process.
- Wait for the app to download and install on your device. This may take a few moments, depending on your internet connection speed.
- Once the DJI Fly app is successfully installed, open it by tapping on the app icon.
- Follow the on-screen prompts to create a DJI account or log in to your existing account.
- Ensure that your mobile device has a stable internet connection before proceeding.
Once you have successfully downloaded and installed the DJI Fly app, you’re ready to connect your DJI FPV goggles to the controller. But before moving on to the next step, it’s important to check for any available firmware updates for your DJI FPV system. Firmware updates often include performance improvements, bug fixes, and new features, so it’s essential to keep your system up to date.
In the next section, we’ll guide you through the process of updating the firmware on your DJI FPV system. Stay tuned!
Step 4: Connecting the Goggles to the Controller
Now that you have downloaded and installed the DJI Fly app, it’s time to connect your DJI FPV goggles to the controller. This step is crucial as it allows you to view the live video feed from the drone and control its movements. Follow these steps to establish the connection:
- Make sure both the goggles and the controller are powered on.
- On the DJI FPV goggles, navigate to the “Device” menu by swiping left on the touchpad.
- Select “Controller” from the device list.
- On the DJI FPV controller, press and hold the C1 and C2 buttons simultaneously until the LED on the goggles starts blinking.
- On the DJI FPV goggles, tap on “Connect” when the controller’s name appears on the screen.
- The goggles will establish a connection with the controller, and the LED on the goggles will turn solid green.
- Once the connection is established, you will be able to see the live video feed from the drone on the goggles.
It’s important to ensure a strong and stable connection between the goggles and the controller to avoid any video transmission issues during the flight. If you experience any connectivity problems, make sure the goggles and controller are within close proximity of each other and try the connection process again.
Now that the goggles are successfully connected to the controller, you’re one step closer to experiencing the thrill of flying your DJI FPV drone. In the next step, we’ll guide you through the process of updating the firmware on your DJI FPV system to ensure optimal performance. Let’s move on!
Step 5: Updating Firmware
Keeping your DJI FPV system’s firmware up to date is essential for optimal performance, improved stability, and access to the latest features. In this step, we’ll guide you through the process of updating the firmware for your DJI FPV drone, goggles, and controller. Follow these steps:
- Ensure that your DJI FPV goggles and controller are connected and powered on.
- Open the DJI Fly app on your mobile device that is connected to the controller.
- Tap on the “Settings” icon in the top-right corner of the screen.
- Scroll down and select the “Firmware Update” option.
- The app will automatically detect the available firmware updates for your drone, goggles, and controller.
- If updates are available, tap on the respective device’s “Update” button.
- Follow the on-screen instructions to initiate the firmware update process for each device.
- During the firmware update process, make sure your mobile device remains connected to the controller and has a stable internet connection.
- Wait for the update process to complete. This may take several minutes.
- Once the firmware update is complete, restart each device as prompted by the app.
It’s crucial to follow these steps carefully and ensure that each device’s firmware is updated. Updated firmware not only improves performance and stability but also addresses any known issues or bugs that may affect your flying experience.
Remember to regularly check for firmware updates as the DJI FPV system evolves with new features and improvements. Keeping your system up to date will ensure you’re always flying with the latest enhancements.
With the firmware updates complete, you’re ready to move on to the next step, which involves connecting the goggles to the drone. We’ll cover this in detail in the following section. Let’s continue!
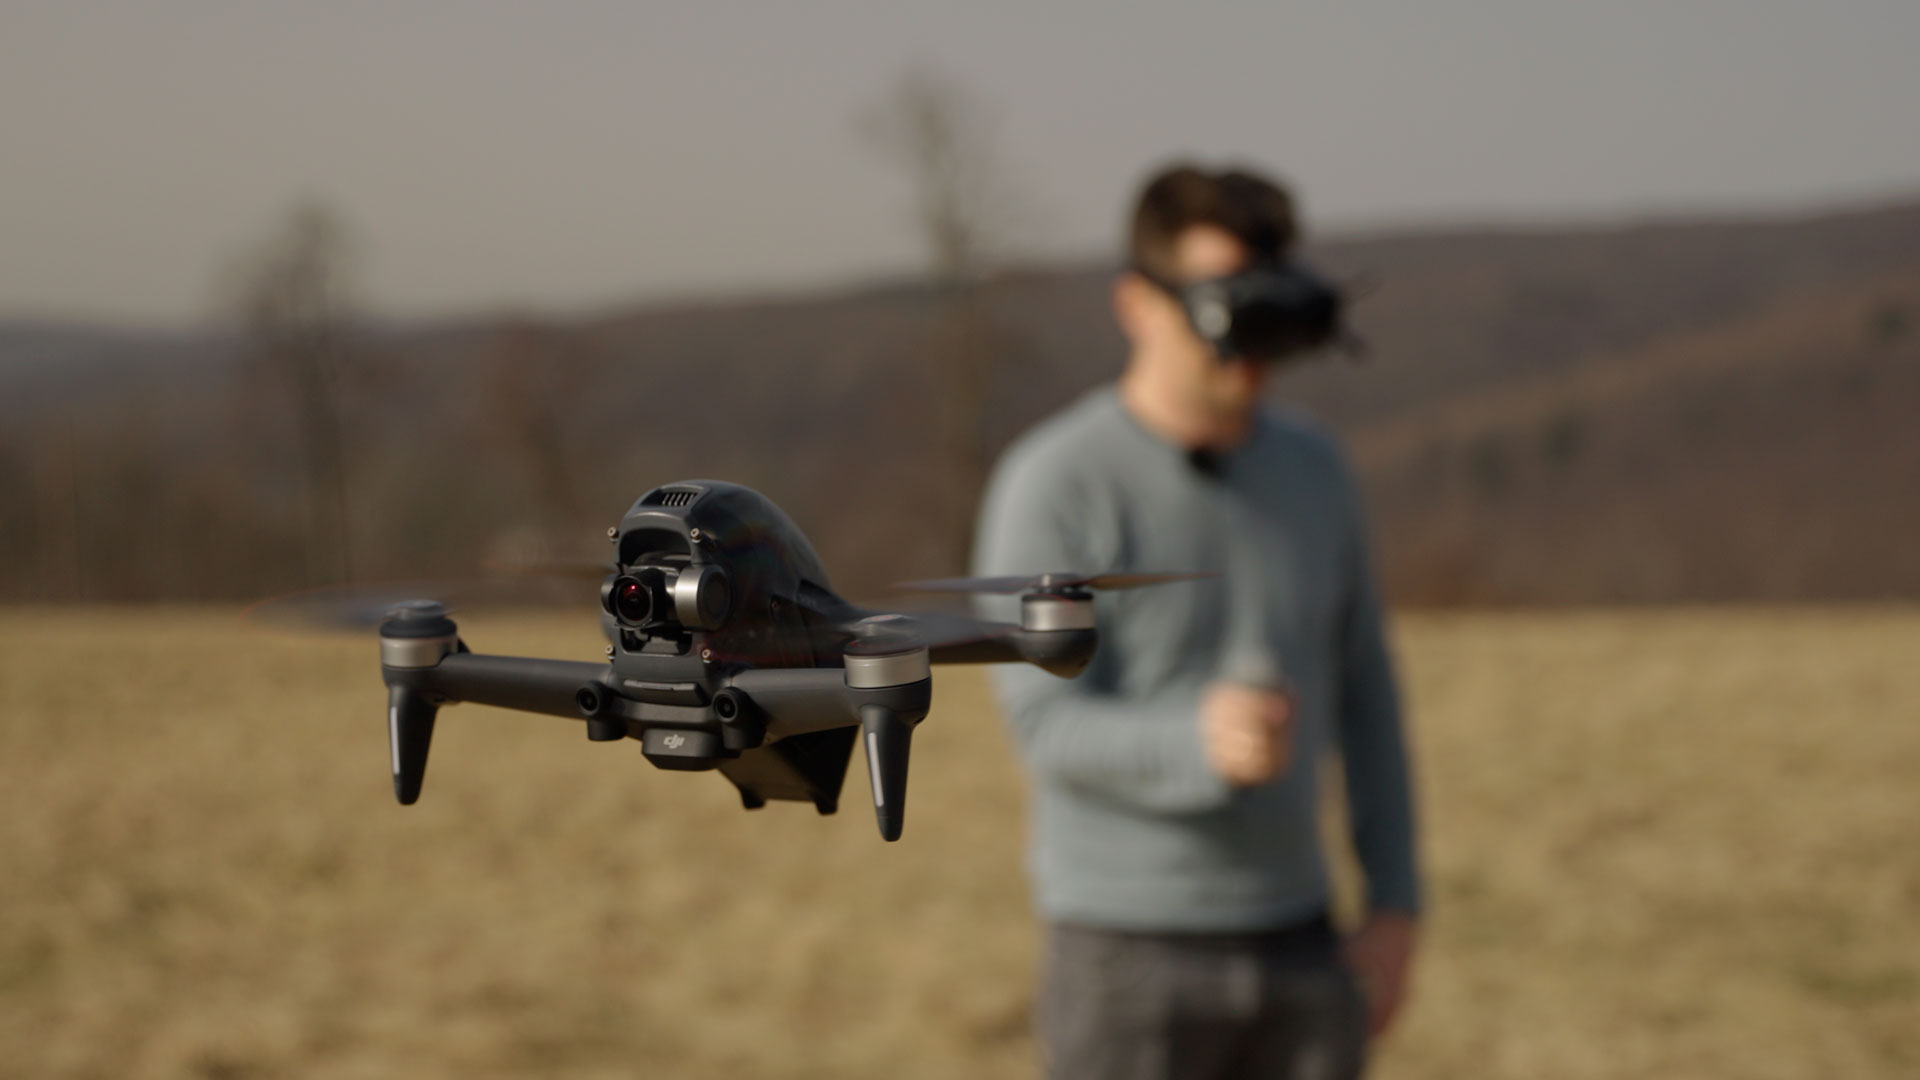
Step 6: Connecting the Goggles to the Drone
Now that you have updated the firmware for your DJI FPV system, it’s time to connect the goggles to the drone. This step allows you to view the live video feed from the drone’s camera on the goggles. Follow these steps to establish the connection:
- Make sure your DJI FPV drone is powered on and in a stable position.
- Put on your DJI FPV goggles and adjust them for a comfortable fit.
- Press the power button on the goggles to turn them on.
- Once the goggles are powered on, navigate to the “Device” menu by swiping left on the touchpad.
- Select “Drone” from the device list.
- On the DJI FPV drone, locate the LED module on the front. Press and hold the link button on the LED module until the LED starts blinking rapidly.
- On the DJI FPV goggles, tap on “Connect” when the drone’s name appears on the screen.
- The goggles will establish a connection with the drone, and the LED on the goggles will turn solid green.
- Once the connection is established, you will be able to see the live video feed from the drone’s camera on the goggles.
Ensuring a strong and stable connection between the goggles and the drone is crucial for a seamless flying experience. If you experience any connectivity issues, make sure the drone and goggles are within close proximity of each other and try the connection process again.
With the goggles successfully connected to the drone, you’re now ready to move on to the next step: adjusting the goggles for comfort. We’ll cover this in detail in the following section. Let’s continue!
Step 7: Adjusting the Goggles for Comfort
Now that you have successfully connected the DJI FPV goggles to the drone, it’s important to adjust them for optimal comfort. Wearing the goggles for an extended period can strain your eyes and become uncomfortable if not properly adjusted. Follow these steps to ensure a comfortable fit:
- Place the DJI FPV goggles on your head, making sure they sit comfortably on your face.
- Adjust the strap at the back of the goggles to secure them in place. Avoid overtightening the strap, as it may cause discomfort.
- Use the adjustable nose piece, if available, to position the goggles at the correct distance from your eyes.
- Ensure that the lenses of the goggles are aligned with your pupils for optimal visibility.
- Take a moment to find the right balance between a snug fit and comfort. You should be able to see the display clearly without feeling any excessive pressure on your face.
It’s essential to take breaks and rest your eyes during extended FPV flying sessions. This will help reduce eye strain and ensure your overall well-being.
During flights, it’s also important to pause and readjust the goggles if you experience any discomfort or blurred vision. This can be caused by incorrect positioning or a loose strap.
By properly adjusting the DJI FPV goggles, you’ll ensure a comfortable and immersive flying experience. Now that the goggles are adjusted to your liking, let’s move on to the next step: calibrating the controller. We’ll cover this in detail in the following section. Let’s continue!
Step 8: Calibrating the Controller
Calibrating the DJI FPV controller is an essential step to ensure accurate control and smooth flying experience. By calibrating the controller, you’re allowing it to set the correct baseline for movement detection and input responsiveness. Follow these steps to calibrate your DJI FPV controller:
- Ensure that the DJI FPV goggles and drone are powered off.
- Hold the DJI FPV controller in a comfortable grip.
- Press and hold the left throttle stick down and the right AUX button simultaneously.
- While holding down both buttons, turn on the DJI FPV controller by pressing the power button.
- Continue holding down the left throttle stick and right AUX button until the lights on the controller start flashing rapidly.
- Place the controller on a flat, stable surface and allow the calibration process to complete.
- Once the calibration is finished, the controller lights will stop flashing, indicating that it’s ready for flight.
Calibrating the controller ensures that the control inputs are accurately interpreted by the system, enabling precise flight control. It’s important to perform this calibration whenever you start using the DJI FPV system, or if you notice any irregularities in the controller’s response during flight.
With the controller properly calibrated, you’re one step closer to taking flight with your DJI FPV system. In the next section, we’ll guide you through the process of setting up flight modes for different flying styles. Stay tuned!
Step 9: Setting up Flight Modes
Setting up flight modes on your DJI FPV system allows you to customize and optimize your flying experience. Flight modes provide different functionalities and control options that cater to varying skill levels and flying styles. Follow these steps to set up flight modes:
- Open the DJI Fly app on your mobile device.
- Ensure that your DJI FPV goggles and controller are connected and powered on.
- Tap on the “Settings” icon in the top-right corner of the screen.
- Select “Control” from the list of options.
- Choose the desired flight mode from the available options, such as Normal Mode, Sport Mode, or Manual Mode.
- Review and adjust the control sensitivity settings for each flight mode, if necessary. This allows you to fine-tune the responsiveness of the controls to your liking.
- Experiment with the different flight modes to find the one that best suits your skill level and flying style.
- Go through the flight mode settings and familiarize yourself with the available options and their respective features.
Each flight mode offers a unique set of characteristics, ranging from stability and ease of control to more advanced and agile flying capabilities. It’s important to choose the flight mode that suits your skill level and comfort level as a pilot.
Additionally, it’s recommended to start with a more stable flight mode, such as Normal Mode, if you’re a beginner. As you gain more experience and confidence, you can gradually transition to more advanced flight modes like Sport Mode or Manual Mode.
By setting up flight modes, you have the flexibility to tailor your flying experience to your preferences and skill level. In the next step, we’ll guide you through configuring video settings for optimal recording and live viewing experience. Let’s proceed!
Step 10: Configuring Video Settings
Configuring the video settings on your DJI FPV system allows you to capture high-quality footage and customize your video recording experience. By adjusting settings like resolution, frame rate, and color profile, you can achieve the desired video output for your specific needs. Follow these steps to configure video settings:
- Open the DJI Fly app on your mobile device.
- Ensure that your DJI FPV goggles and controller are connected and powered on.
- Tap on the “Camera” icon in the app’s main menu to access the camera settings.
- Review the available video settings, such as resolution, frame rate, and color profile.
- Adjust the settings according to your preferences and the purpose of your video recording.
- For high-quality footage, choose a higher resolution and frame rate.
- Consider the storage capacity of your Micro SD card when selecting resolution and frame rate options.
- Experiment with different color profiles to achieve the desired look and feel of your videos.
- Take into account the lighting conditions and environment in which you’ll be flying to optimize video settings accordingly.
- Once you have configured the video settings, you’re ready to start recording your flight footage.
It’s important to note that adjusting video settings may impact battery life and storage requirements. Therefore, it’s recommended to have extra batteries and sufficient storage capacity available for extended recording sessions.
By configuring video settings to your liking, you can capture breathtaking aerial footage and tailor it to your creative vision. In the final step, we’ll touch on testing and troubleshooting your DJI FPV system to ensure everything is working smoothly. Let’s move on!
Step 11: Testing and Troubleshooting
After setting up your DJI FPV system, it’s important to test its functionalities and troubleshoot any issues that may arise. Conducting a thorough test ensures that everything is working correctly, providing you with a safe and enjoyable flying experience. Follow these steps for testing and troubleshooting:
- Find an open and safe area to perform a test flight.
- Ensure that the DJI FPV goggles, controller, and drone are all fully charged and powered on.
- Calibrate the drone’s compass and perform a pre-flight safety check as per the manufacturer’s guidelines.
- Verify that the live video feed from the drone is displaying properly on the goggles.
- Test the control responsiveness and ensure that all the buttons, joysticks, and switches on the controller function as intended.
- Practice basic flight maneuvers, such as takeoff, landing, hovering, and controlling the drone’s movements in different directions.
- Make note of any abnormal behaviors, such as lag in the video feed, control delays, or connection issues.
- If you encounter any issues, consult the user manual or support documentation provided by DJI for troubleshooting tips.
- Check for any available firmware updates and install them if necessary to address any known issues or bugs.
- Repeat the testing process until you’re confident that the DJI FPV system is functioning correctly.
Testing and troubleshooting are crucial steps to ensure a safe and problem-free flight experience. If you come across any persistent issues or concerns that you cannot resolve on your own, reach out to DJI customer support or consult with experienced pilots for further assistance.
With successful testing and troubleshooting, you’re all set to enjoy the thrilling experience of flying your DJI FPV system. Remember to always prioritize safety and comply with local regulations while operating your drone. Happy flying!
Conclusion
Congratulations on successfully setting up and configuring your DJI FPV system! We have covered the step-by-step process, from unboxing and checking the contents to testing and troubleshooting. By following these instructions, you have laid the foundation for immersive and exhilarating drone flights.
Throughout the setup process, we emphasized the importance of proper equipment, such as the DJI FPV drone, goggles, and controller. We also discussed the significance of charging the battery and controller, downloading the DJI Fly app, connecting the goggles to the controller, and updating the firmware.
Additionally, we explored adjusting the goggles for comfort, calibrating the controller, setting up flight modes, configuring video settings, and conducting thorough testing and troubleshooting. These steps ensure optimal performance, safety, and an enjoyable flying experience.
Remember, as you embark on your FPV drone adventures, always prioritize safety. Familiarize yourself with local regulations, fly in designated areas, and maintain visual contact with your drone at all times.
As you gain more experience, continue experimenting with different flight modes and video settings to enhance your skills and capture stunning aerial footage. Share your adventures with others, as the DJI FPV system offers an incredible tool to unleash your creativity and explore the world from a unique perspective.
Always stay up-to-date with software and firmware updates from DJI to benefit from the latest features, improvements, and bug fixes. Explore online resources, participate in communities, and connect with fellow FPV enthusiasts to learn and grow in your drone flying journey.
Now that you have completed the setup process, get ready to spread your wings and experience the breathtaking world of FPV drone flying with the DJI FPV system. Enjoy the freedom of flight and the thrill of capturing stunning aerial footage as you embark on your next adventure!